Mask tracking in Premiere Pro lets you apply effects to precise regions of a frame, enabling professional‑looking edits by highlighting key details, obscuring sensitive content, or adding creative visual effects.
This guide walks you through the process, from understanding mask tracking basics to mastering the technique in Premiere Pro, and offers a comparison with Wondershare Filmora for those seeking a simpler alternative.
In this article
- Understanding Mask Tracking in Video Editing
- How to Perform Mask Tracking in Adobe Premiere Pro
- Mask Tracking Made Simple with Wondershare Filmora
- Conclusion
Part 1. Understanding Mask Tracking in Video Editing
Mask tracking is the automated process of following a specified area—such as a face, object, or region—through every frame of a clip. By employing computer‑vision algorithms like optical flow, feature tracking, or machine learning, the mask stays aligned with the target as it moves.
The goal is to keep the effect—be it a filter, color grade, or graphic—consistently applied to the tracked area, giving editors precise control over where visual changes occur.
Part 2. How to Perform Mask Tracking in Adobe Premiere Pro
Adobe Premiere Pro is an industry‑standard editing suite that offers robust mask‑tracking capabilities. Below is a step‑by‑step workflow that delivers clean, reliable results.
Key Features of Premiere Pro
- Video Editing: Combine audio, add effects and transitions, and integrate animated titles.
- Text‑Based Editing: Generate transcripts, highlight dialogue, and manipulate clips as if editing a text document.
- Color Correction: Use AI‑assisted color wheels, curves, and scopes to balance tones automatically.
- Audio Editing: License tracks and apply AI‑driven audio adaptation to match the visual narrative.
Step‑by‑Step Mask‑Tracking Workflow
Step 1 – Import and Position Your Clip: Drag the footage onto the timeline, then open the Effect Controls panel from the top menu.
Step 2 – Create a Mask: Under the Opacity section, choose a shape tool (circle, square, or custom pen) to define the area you wish to track.
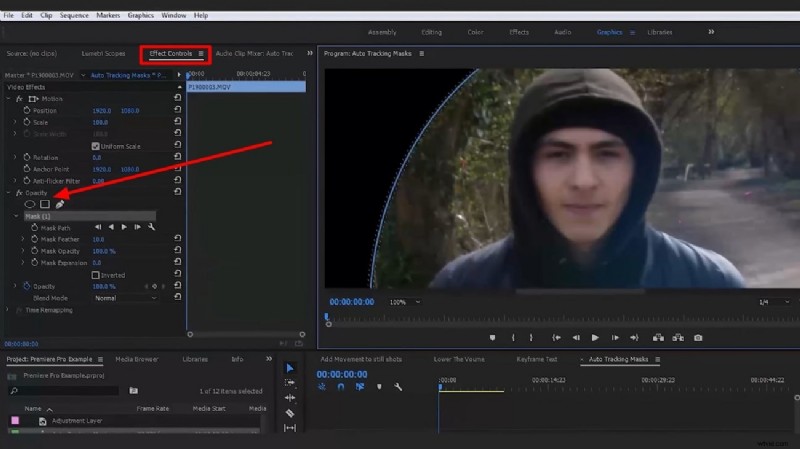
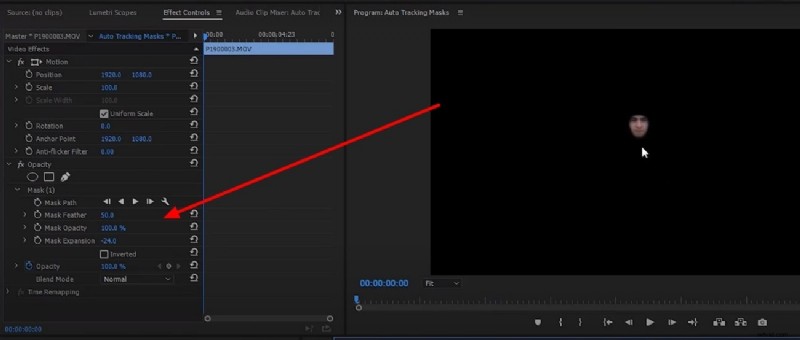
Step 3 – Refine the Mask: Adjust the Mask Feather to soften edges and prevent harsh transitions. Position the mask precisely over the target object.
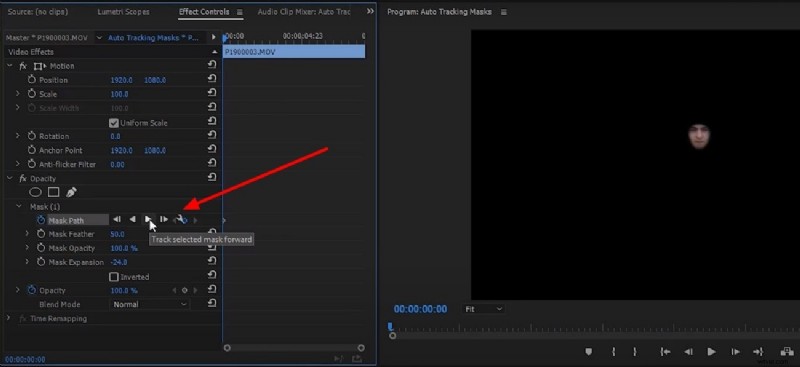
Step 4 – Enable Tracking: Move to the first frame, select the mask, then click Track Selected Masked Forward in the Mask Path options. Premiere will calculate the mask’s movement across the clip.
Part 3. Mask Tracking Made Simple with Wondershare Filmora
While Premiere Pro delivers powerful results, its learning curve can be steep for newcomers. Wondershare Filmora offers a streamlined interface with AI‑powered tools that let even beginners achieve professional‑looking mask tracking.
Key Features of Wondershare Filmora
- Compound Clip: Combine multiple clips into a single, editable unit for simplified workflow.
- AI Text‑to‑Video: Transform written content into engaging visual narratives automatically.
- Speed Ramping: Create cinematic motion effects by controlling keyframe velocity.
- AI Thumbnail Creator: Generate eye‑catching thumbnails using preset styles.
AI Masking Workflow in Filmora
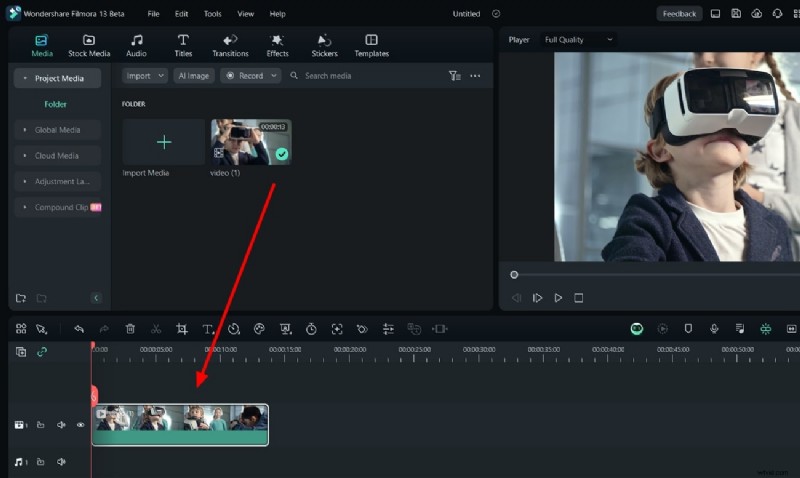
Step 1 – Add Your Video: Launch Filmora, start a new project, and drag your clip into the timeline.
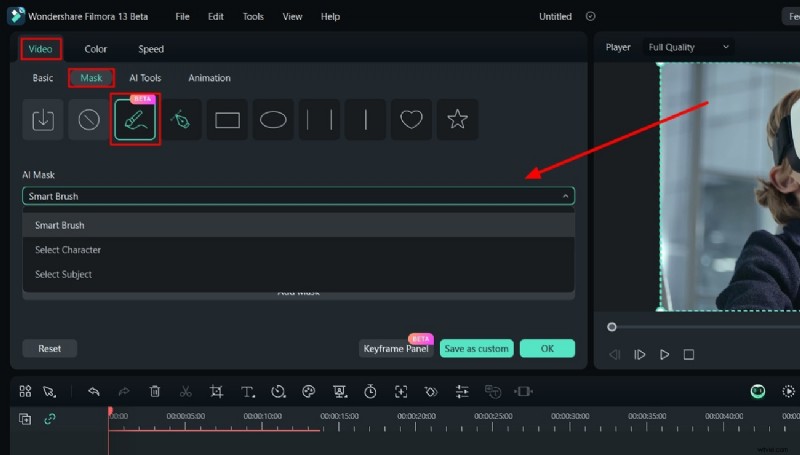
Step 2 – Apply AI Mask: Double‑click the clip, go to the Video tab, then select Mask > AI Mask. Choose a mode—Smart Brush, Smart Character, or Smart Subject—and adjust parameters to fit your target.
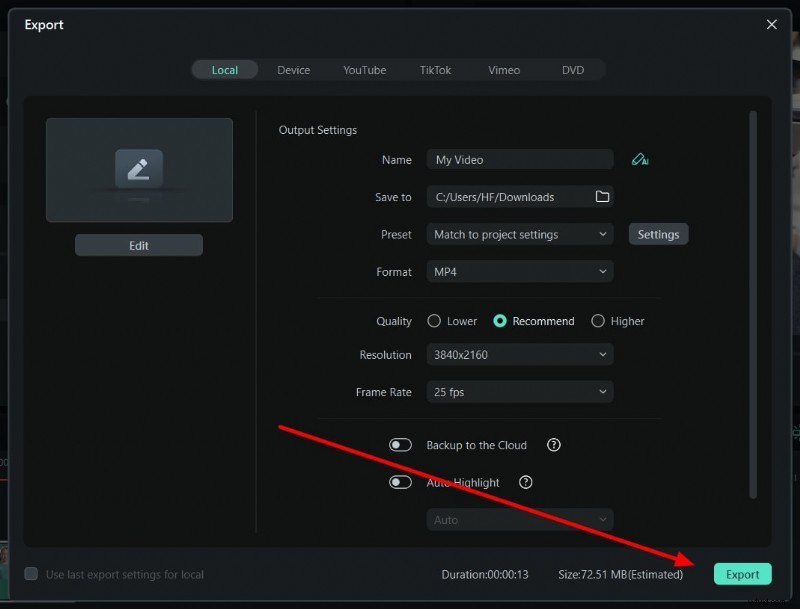
Step 3 – Export Your Result: After confirming the mask, click OK and then Export to save the edited video to your computer.
🤩 Related Post
- 2025 Beginner's Guide to Video Masking: Essential Tips & Techniques
Conclusion
Mask tracking empowers editors to keep visual effects anchored to moving subjects, ensuring consistency across every frame. Whether you choose Premiere Pro for its depth or Filmora for its simplicity, mastering this technique can elevate your videos from ordinary to compelling.