Have you ever wondered how to move text on iMovie to make your videos more dynamic? This complete step-by-step guide will show you exactly how to move text in iMovie on iPhone, iPad, and Mac, giving you better control over text placement and timing. While iMovie offers simple titles and basic motion, our tips will help you create engaging, professional-looking text flow. Ready to make your text flow naturally with your video? Let's dive in.
Part 1. How to Add Moving Text in iMovie
Adding animated text can instantly make your video more engaging and professional. If you are wondering how to move text on iMovie, both Mac and iPhone versions include built-in tools for creating simple motion effects. While iMovie's options are limited compared to professional editors, you can still achieve clean, dynamic results using its titles and effects.
How to Move Text on iMovie on Mac
Step 1
Open iMovie and Import Footage
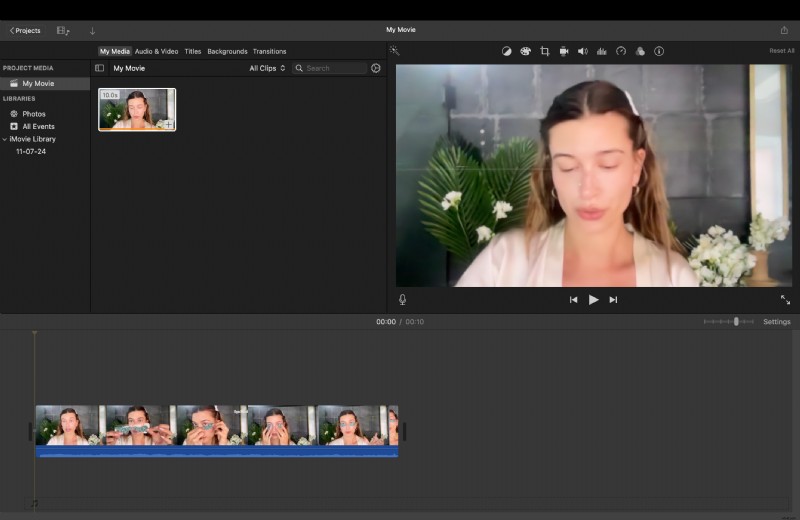
Launch iMovie on your Mac, click Create New Project, and select Movie. Then drag your video clips into the timeline to preview where your text will appear.
Step 2
Add and Edit a Title
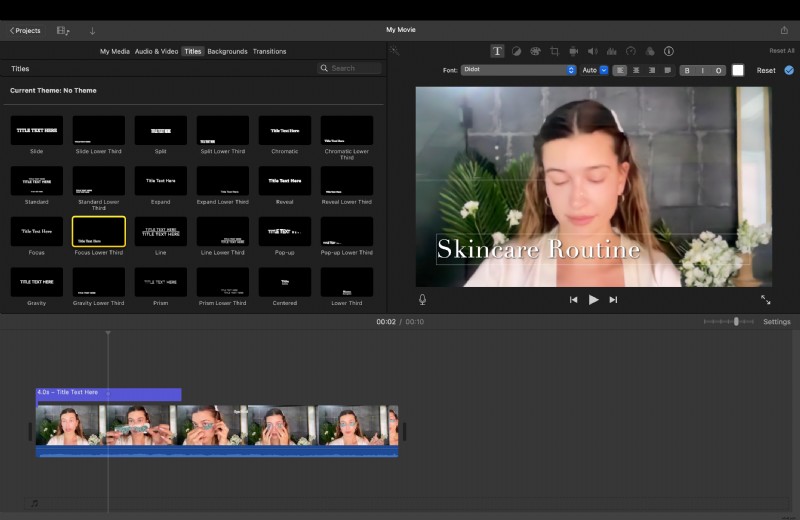
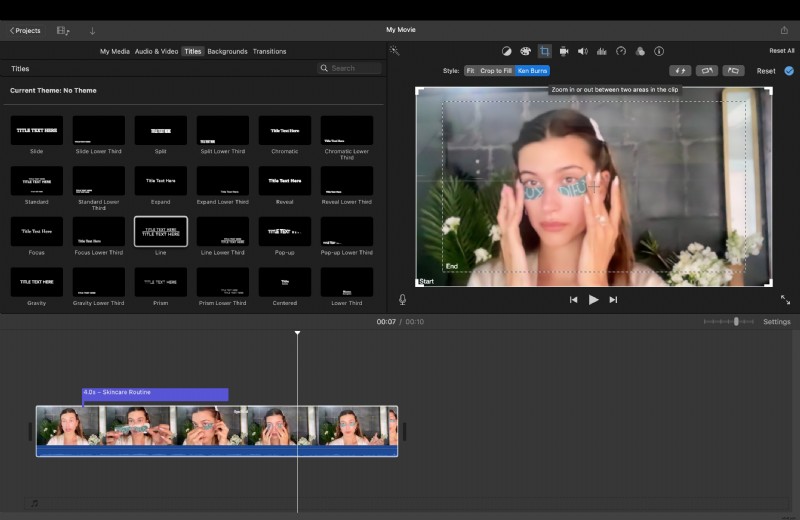
- Go to the Titles tab at the top of the screen.
- Browse through animated title styles such as Standard Lower Third, Reveal, or Focus.
- Drag your preferred title above the video clip on the timeline.
- Double-click the text in the preview window to edit it, adjusting the font, color, and size as needed.
Step 3
Adjust Animation Timing and Placement
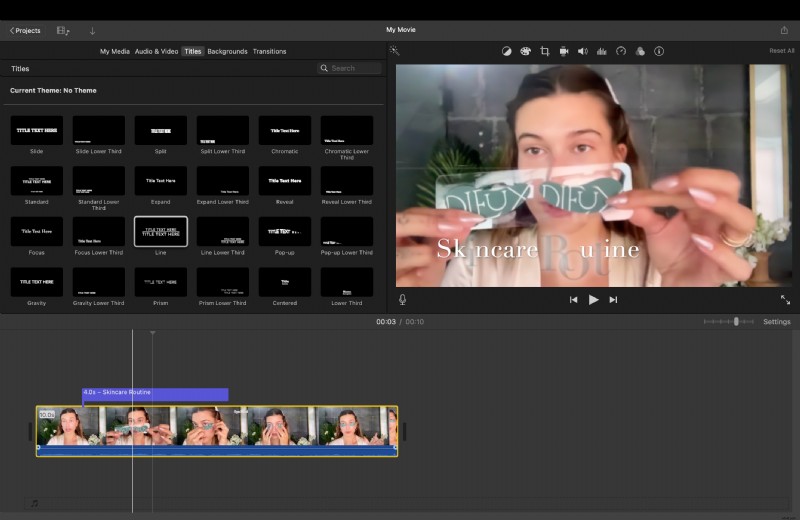
Each title in iMovie includes built-in animation, so there's no need to animate text manually. Drag the edges of the title clip on the timeline to control duration, or reposition text directly in the preview window to improve framing.
Step 4
Enhance Text Motion (Optional)
To make your text feel more dynamic, combine it with background movement using the Ken Burns effect. This adds smooth panning or zooming that gives the illusion of motion within the scene. Adjust the duration of both the title and video motion for balance.
How to Move Text in iMovie on iPhone and iPad
The mobile version of iMovie on both the iPhone and iPad allows you to add text with basic movement, perfect for quick edits on the go. Here is your step-by-step guide on how to move text in iMovie on iPhone and your iPad using the app's simple title tools.
Step 1
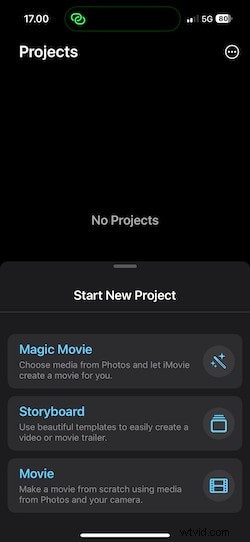
Open iMovie and Create a Project
Launch iMovie, tap Create Project, and choose Movie. Select your video clip from the gallery, then tap Create Movie to start editing.
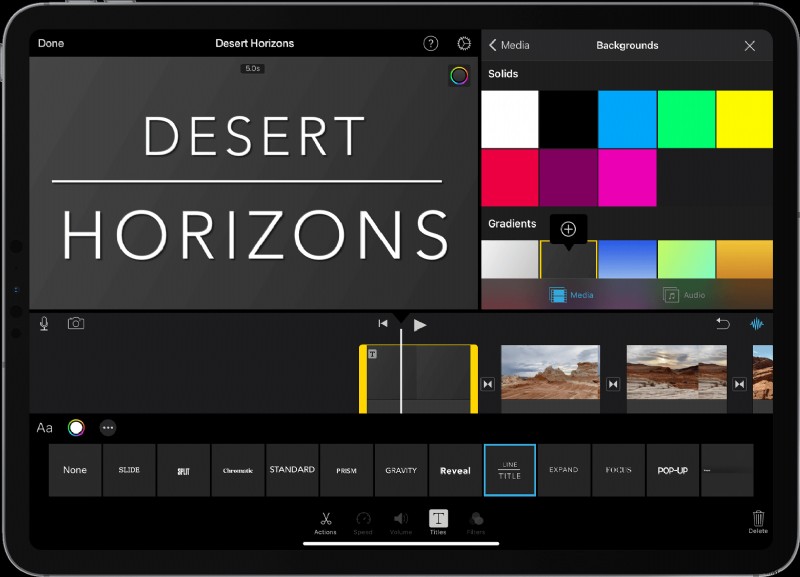
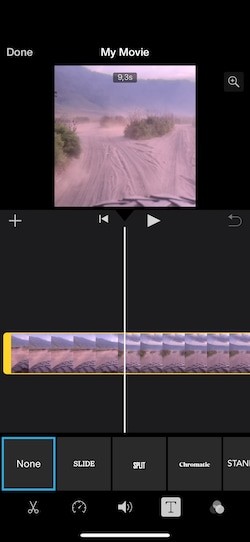
Tap your clip in the timeline and then tap the T (Titles) icon. Browse through the available options, including Standard, Gravity, and Reveal, and select one that fits your video's tone.
Step 3
Edit and Reposition the Text
Tap on the preview to edit the text. You can drag it to a new position or pinch to resize. Some title styles, such as Gravity, automatically add sliding or fade-in motion to create simple movement.
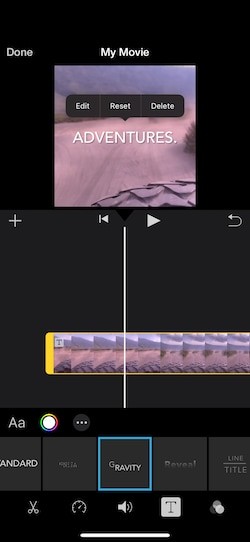
Once you've finished, tap Done and play back your video to see the animation. If it looks right, tap the Share icon to save or export your project.
The iPhone version of iMovie offers a quick and easy way to add moving text to a video in iMovie, though it's best suited for basic titles.
Part 2. How to Add Moving Text with More Flexibility than iMovie
After learning how to move text on iMovie on both Mac and iPhone, you've probably noticed that its motion features are quite limited. iMovie can handle basic fades and slides, but it doesn't allow full animation control. If you want smoother movement, precise timing, or more creative motion options, you'll need a video editor that offers greater flexibility.
One strong option is Wondershare Filmora, which introduces a modern Text Animation System designed to make professional results achievable without complex tools. With organized categories, easy previewing, and motion customization, Filmora gives you the creative freedom that iMovie lacks.
 Secure Download
Key Highlights
- Organized Animation Directory: Filmora groups all text effects into "In," "Out," and "Loop" categories. That makes it easy to find the right animation for titles, intros, or transitions.
- Favorites and Recently Used: You can save your most-used effects in Favorites for quick access, or revisit your Recently Used list to keep a consistent look across projects.
- Expanded Preset Library: Filmora V15 introduces more than a dozen new text animations, covering slides, bounces, zooms, fades, and continuous loops, with new presets added regularly.
- Motion Customization: Fine-tune animation direction, duration, and easing directly in the animation panel. You can make the text slide from any direction or adjust how quickly it moves in and out.
- Cloud Sync: All your saved favorites are stored in the cloud, ensuring your preferred animations are available whenever you log in on another device.
This organized system saves editing time and provides full control over text motion. Instead of relying on fixed transitions like in iMovie, you can create unique animations that enhance your video's flow and rhythm.
How to Add or Move Text in Filmora
Step 1
Launch Filmora and Create a New Project
Open Filmora and click New Project on the start screen. Import your video clips by dragging them into the media panel, then place them on the timeline.
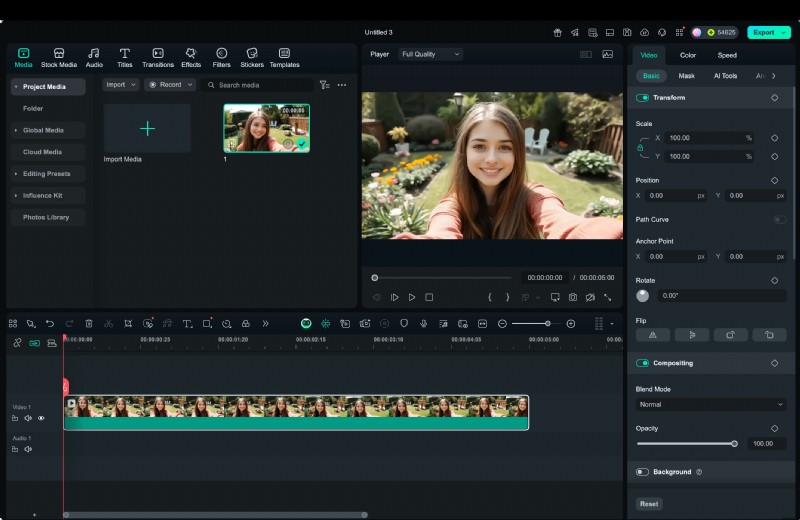
Secure Download
Step 2
Add a Text or Title Layer
Go to the Titles tab in the top menu. You'll find categories such as Openers, Lower Thirds, and Subtitles. Drag your preferred title template above the video track on the timeline. This creates a separate text layer you can animate independently.
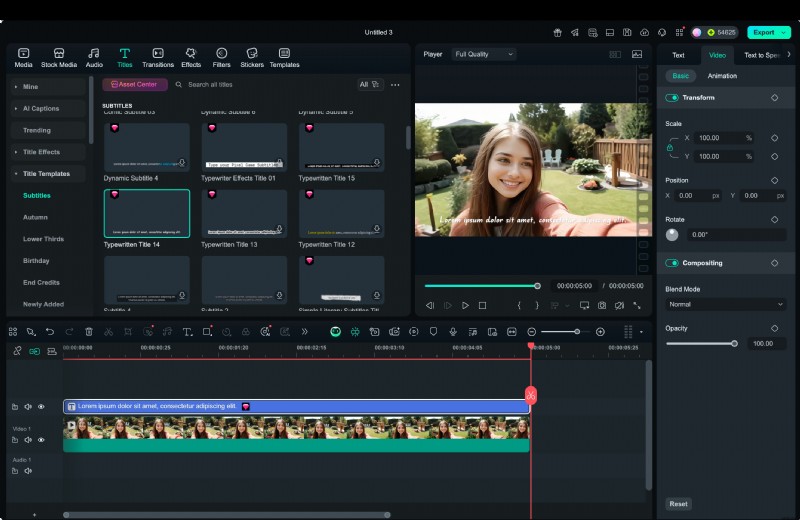
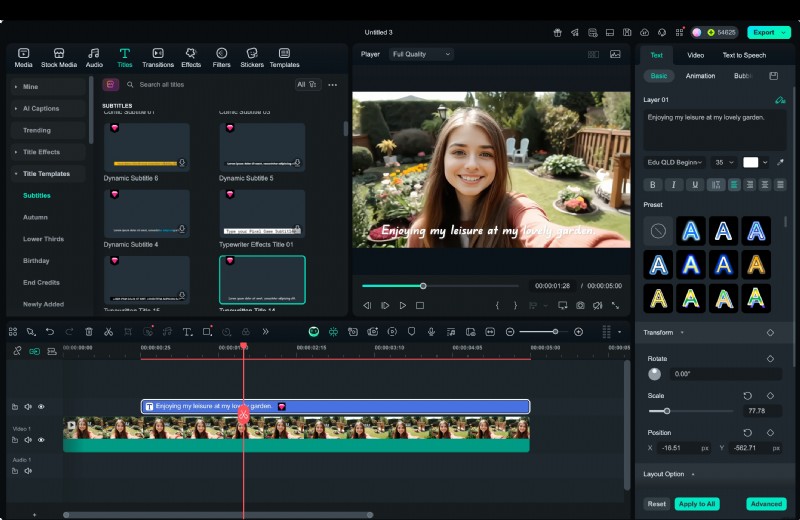
- Double-click the text track to open the editing panel. Here, you can modify the font, color, size, spacing, and alignment.
- You can also rotate or reposition the text directly in the preview window to ensure it fits your frame perfectly.
- Adjust the clip length on the timeline to control how long the text stays visible.
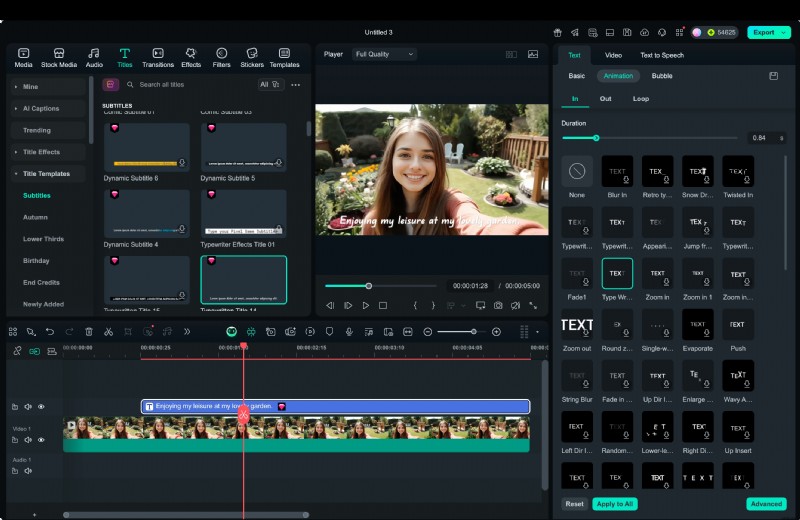
Click the Animation tab to access Filmora's categorized animation options. Choose from In, Out, and Loop effects.
- In controls how your text enters, such as sliding or fading in.
- Out defines how it exits, such as shrinking or fading out.
- Loop adds continuous motion like floating or pulsing.
Select a preset to apply it instantly, then use the sliders to control speed or easing for smoother transitions.
Step 5
Save or Reuse Animations
When you find an animation that fits your project, click the star (⭐) icon to save it in Favorites for future use. You can also view Recently Used to reapply your most recent animation styles without searching through the entire library again.
Use the preview window to watch how the animated text appears over your video. Make minor adjustments to timing or motion until it looks natural. Once everything is set, click Export, choose your desired resolution and format, and save your final video.
Part 3. Text Animation Comparison: iMovie vs. Filmora
If you've tried how to move text on iMovie, you already know that it works well for simple titles but lacks flexibility for advanced animation. Filmora, on the other hand, focuses on giving users complete control over how text moves, appears, and loops on screen.
Both editors can handle basic title creation, but they differ greatly in speed, creative range, and animation customization. The table below highlights the main differences between iMovie and Filmora to help you decide which tool suits your video editing needs best.
| Feature | iMovie | Filmora |
| Built-in Text Animation | Limited to basic fades and slides | Categorized "In," "Out," and "Loop" animations for flexible motion control |
| Animation Library | Small selection of title templates | Over a dozen new preset styles with regular updates |
| Favorites & Recently Used | Not available | Quickly reapply previous or favorite animations for faster editing |
| Cloud Sync | No cloud access for titles | Favorites are stored and synced across devices |
| Custom Speed & Easing | Not adjustable | Fully adjustable for precise motion timing |
| Workflow | Manual setup with optional Keynote integration | One-click application with real-time preview |
| Ideal For | Beginners who want quick title edits | Creators who need professional-level text animation with ease |
Author's Verdict:
While iMovie is ideal for simple projects and quick edits, Filmora provides a more advanced and organized way to animate text. Its categorized presets, adjustable motion controls, and cloud-based Favorites make it the better choice for anyone who wants professional-looking text animation without dealing with complex tools.
Conclusion
Learning how to move text on iMovie or how to add moving text to a video in iMovie is a great start for beginners who want simple titles and motion effects. However, iMovie's tools are limited when it comes to flexibility and animation depth.
If you want smoother transitions, customizable speed, and advanced creative options, Filmora offers a more complete solution. Its organized text animation system lets you control every movement with precision while keeping the workflow simple. You can animate text freely and produce more dynamic, professional-looking videos with Filmora.

Filmora
AI Video Editing App & Software
Best tool for making videos anywhere for all creators!
Simplify all your steps in video editing, from the pre-processing to finalizing, Filmora AI stays tuned.