Learning a new application can mean spending hours stumped by usability issues. Here’s one we found in Resolve — and how to fix it.
Every so often, we run across an issue that doesn’t have an apparent answer, partly because we’re not too sure what’s causing the problem. There’s one issue in Resolve that, when I was new to the platform, boggled me for hours, and that’s selecting multiple clips at once from the playheads position using the track select forward shortcut.
If familiar with Premiere Pro, you’re likely familiar with this button:
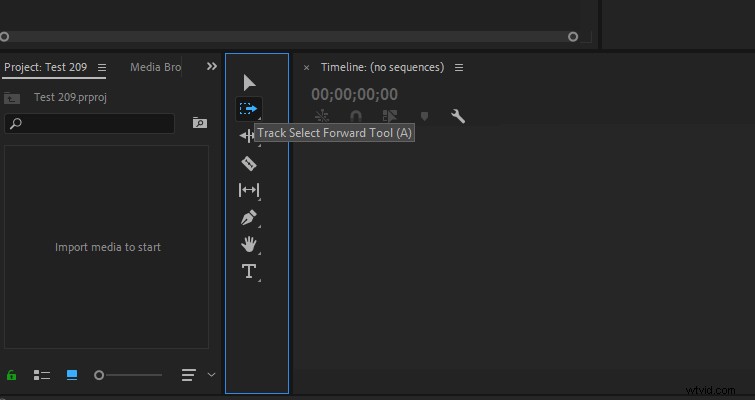
It’s the handy Track Select Tool, which allows you to move the contents of an entire track forward from the position of the playhead. You can also move multiple tracks by holding shift and selecting a different track. It’s an efficient way of moving multiple clips on numerous tracks forward or backward, without selecting all clips. As is the case in Resolve, if we were to select all clips (Ctrl+A) in the image below, we would be unable to move the clips back because track one already has clips that reach the start of the timeline, which acts as a wall.
However, if we were to track-select Video 2 and Audio 1 and 2, we could then move all clips back to the desired position.
We could, in theory, also hold shift and highlight the desired clips across the tracks to move them backward or forward. However, if you have a long timeline with multiple clips, that’s a recipe for disaster. I could happily sing the praises of Resolve’s user interface and design mechanics all day long. It’s very user-friendly, but every so often, I do run into a feature that could perform better. Selecting clips forward and backward is the heel today.
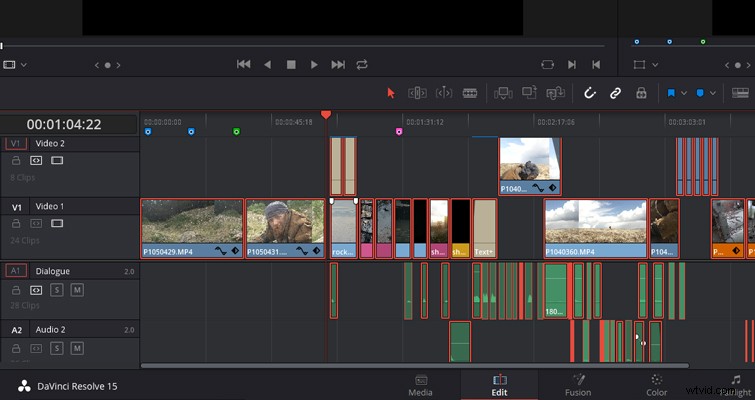
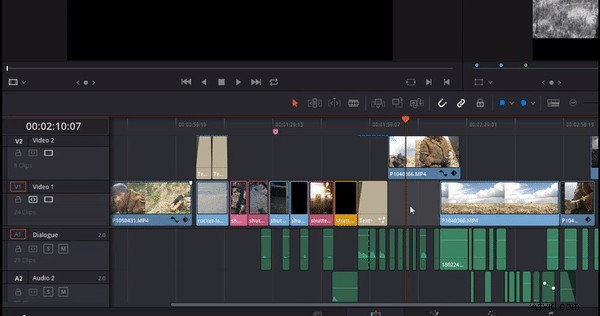
In Resolve, we don’t exactly have a tool icon to select, nor is it available using the trim tool, but you can perform the operation by using a keyboard shortcut — which is Y or Ctrl+Y to select all clips back from the playhead position. However, as you can see in the GIF below, look what happens when I hit Y and Ctrl+Y after selecting the track region I want to move forward:
The clips on the track above become selected, and the clips on track one, the track I selected, have been omitted from the process. This is because the track above is currently the designated video track, meaning if I were to insert a clip from the source viewer, it would appear on the secondary track. We can see that it’s the destination track because of the orange square active on the track header. So, even though I have selected track one because it’s not the active destination track, the select clips forward function does not work the way I need it to. To move the clips forward for the first video track, which is confusingly also called V1, you have to change the destination track — which you can do so by selecting the V1 button.
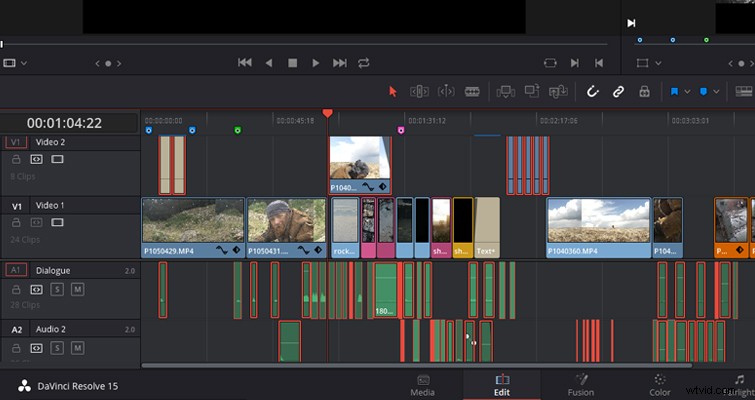
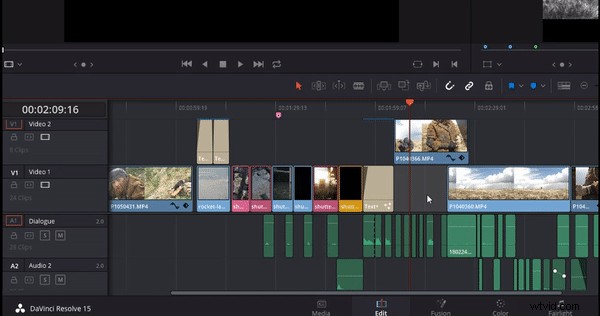
A secondary issue when using these shortcuts is when you want to move clips forward from all tracks, which you do by pressing Alt+Y, or Ctrl+ALT+Y to select all tracks backward from your position. One would think that as you’re selecting all the tracks, there wouldn’t be an issue with having a designated video track as you’re selecting multiple. Yet, as you can see below, when hitting Alt+Y, only the clips from the one video track are selected.
Why is this? Well, unlike having an active video track destination, this is now a result of autoselect (if you are unfamiliar with autoselect, you can read about that feature here). In the example, you can see that I don’t have autoselect active on any of the tracks. Therefore, to track-select all tracks, I need to activate autoselect. At first, this seems like a hindrance. However, it was designed this way — if you need to select all tracks except two, you can omit those two tracks by deselecting autoselect.
So, the tl;dr:
- To change the track that you want to use the track select tool on, you have to change the designated video or audio track.
- To select multiple tracks, you have to turn autoselect on.
Lewis McGregor is a certified DaVinci Resolve Trainer.