Reading Time: 4 minutes
Published: November 26, 2025 | Last Updated: January 19, 2026

What Is a Color Checker Tool?
A color checker tool—also known as a color chart or calibration target—is a physical grid of standardized swatches that provides a reliable reference for correcting color in-camera and in post‑production. The industry‑standard chart contains 24 patches arranged in a 4 × 6 grid, representing common on‑set colors such as human skin, sky, foliage, gray, and primary hues. Each patch has a fixed reference value that remains constant across lighting setups and camera models, allowing editors to neutralise shifts caused by sensors, lenses, or light sources.
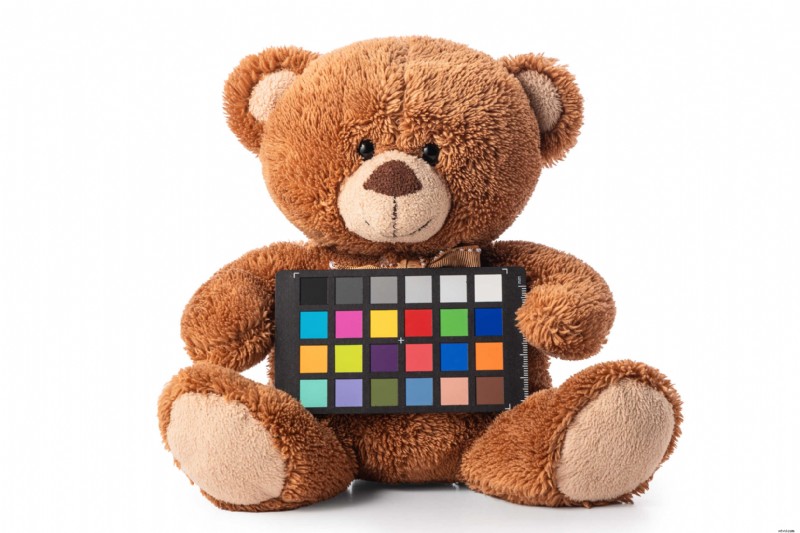 Color Checker Tool with Teddy Bear – calibrates hue, brightness and saturation under the same lighting as the subject.
Key Components
- Neutral grayscale patches – black to white, for setting white balance and exposure.
- Primary and secondary colors – red, green, blue, cyan, magenta, yellow, to correct hue and saturation.
- Natural tones – skin, sky, foliage, earth tones that appear in real‑world scenes.
By photographing the chart under the same light as your actors or props, editors can compare the captured colors to their reference values and adjust hue, saturation, or brightness accordingly. This process corrects color shifts that white balance alone can’t fix—such as green‑tinged skin under LED lights or orange casts from tungsten bulbs.
Why Color Checkers Matter in Your Workflow
Color checkers are indispensable when color accuracy is critical:
- Multi‑camera shoots – match footage from different sensors.
- Consistent skin tones – keep actors’ complexions natural.
- Wardrobe and props – ensure colours meet brand specifications.
- Stable look across scenes – maintain continuity when shooting on different days or under varying light.
Once your footage is calibrated, creative grading, LUTs, and format conversions behave predictably across monitors and exports, because the underlying colors are stable.
Limitations
Color checkers work only when the chart is illuminated identically to the subject. If lighting changes, shoot a new reference. They focus on mid‑tones; extreme highlights or shadows still need manual contrast adjustments using curves or lift/gamma/gain controls. Waveforms and histograms can help verify those adjustments.
Color Checker vs. Gray Card

Both tools aid color control, but they serve distinct purposes:
- Gray card – single 18% neutral patch used to set white balance and exposure.
- Color checker – full‑spectrum reference that corrects hue, saturation and luminance.
Combining them yields the best results: the gray card sets exposure, while the color checker fine‑tunes the palette so faces, costumes and environments look natural.
 Portable Color Checker Tool (also known as a ‘color checker passport’) – dual‑fold layout with skin tone references and grayscale patches for on‑set calibration.
Step‑by‑Step: Using a Color Checker
Follow this workflow to ensure accurate color correction:
- Shoot in RAW (if possible) – preserves all colour data for lossless adjustments.
- Place the chart under the same light source – angle it toward the brightest light so patches match the subject’s illumination.
- Expose properly – use histogram or waveform to avoid clipping highlights or crushing shadows.
- Capture a reference shot – record the chart before or during each new lighting setup.
- Create and apply corrections – in DaVinci Resolve, Premiere Pro or similar, use the known patch values to auto‑match the chart. This adjusts hue, saturation and luminance to the original reference.
Watch these tutorials for hands‑on guidance:
How to use a color checker tool for color correction in DaVinci Resolve.
How to use a color checker tool for color correction in Adobe Premiere Pro.
Conclusion
A color checker tool provides a physical reference that empowers editors to correct colour accurately and consistently. It’s essential for skin tones, costume matching, and multi‑camera consistency. While it doesn’t solve exposure problems alone, it lays a solid foundation for fast, reliable colour grading and creative workflows.
Read Next: Ready to level up your colour work?
Start with our main Post‑Production hub to see how editing, sound and colour come together to build the final cut. Then explore the full Colour Grading section for guides on colour theory, contrast, LUTs, scopes, and practical workflows you can use in DaVinci Resolve.