If you’re venturing into film photography, you’ve likely heard the terms *pushing* and *pulling* film. These techniques let you treat a roll as if it has a different ISO, offering a powerful creative lever that digital cameras can’t match.
Despite the abundance of information online, many explanations are confusing or outright incorrect. This guide distills the essentials, giving you a clear, professional roadmap to mastering both pushing and pulling film.
Understanding ISO in Film Photography
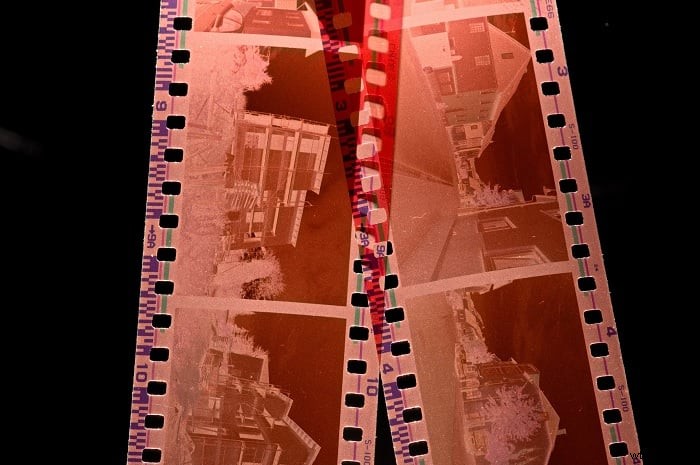
ISO is the film speed – the sensitivity of a roll to light. Lower ISO numbers mean less sensitivity and finer grain, while higher ISO numbers increase light sensitivity but also grain. Unlike digital cameras, the ISO on a film roll is fixed; you can’t change it in-camera without swapping cartridges.
Because of this limitation, film photographers often adjust exposure and development to achieve desired results. That’s where pushing and pulling come into play.
What Is Pushing and Pulling Film?
Pushing and pulling treat a roll as if it had a higher or lower ISO than the box speed. The process involves two parts:
- In‑camera exposure: under‑expose (push) or over‑expose (pull) the film.
- Development: compensate by adjusting processing time.
Pushing Film
When you push film, you expose it as if it had a higher ISO. For example, a box labeled ISO 200 is shot as if it were ISO 400 or 800. Each increment of ISO is a “stop.” Pushing from 200 to 400 is one stop; from 200 to 800 is two stops.
In an automatic camera, simply set the ISO one or two stops higher than the box speed. In a manual or fully analog camera, use a light meter: set the meter to the desired ISO and adjust shutter speed and aperture accordingly.
Pushing under‑exposes the film, which you compensate for by extending the development time. The result is deeper blacks, higher contrast, and a pronounced grain texture.
Pulling Film
Pulling film is the opposite: you expose a high‑ISO film as if it were lower ISO. For instance, an ISO 800 roll shot at ISO 400 or 200 is over‑exposed relative to its box speed. The extra light is balanced by shortening development time.
The technique reduces contrast, brightens shadows, and can tame grain on high‑ISO stocks. Pulling is common with black‑and‑white film; it is generally discouraged for color negatives due to color shift and loss of detail.
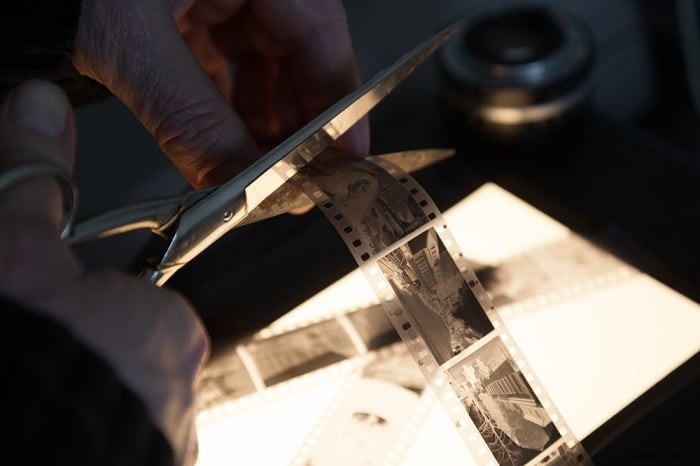
Developing Pushed & Pulled Film
Compensation during development is crucial. When taking film to a lab, inform the technician of your push/pull status and note the stops on the canister (e.g., “+1” or “‑2”). For DIY developers, the following guidelines apply.
Push Developing
With an under‑exposed roll, increase the time in the developer. Using Kodak T‑Max 400 as an example (1 + 4 developer ratio):
- Native ISO 400: 6.75 min
- Push one stop to ISO 800: 8 min
- Push two stops to ISO 1600: 8.5 min
Pull Developing
For over‑exposed rolls, reduce development time. Using Kodak T‑Max 3200 (native ISO 3200):
- Native ISO 3200: 9.5 min
- Pull one stop to ISO 1600: 7 min
- Pull two stops to ISO 800: 6 min
Why Push or Pull Film?
These techniques grant photographers granular creative control that modern digital settings can’t replicate:
- Contrast management: Pushing boosts contrast; pulling softens it.
- Grain manipulation: Pushing increases grain, pulling reduces it.
- Low‑light performance: Pushing allows shooting in less light without increasing ISO.
- Expired or aged film: Pulling can revive under‑exposed expired stock (roughly one stop per decade past the sell‑by date).
- Old camera compensation: Pulling can correct for outdated automatic exposure systems that misread modern ISO designations.
When you inadvertently expose a roll at the wrong ISO, you can still rescue it by adjusting development times.
Conclusion
Mastering pushing and pulling film may feel daunting at first, but the process is straightforward once you understand the relationship between exposure, ISO, and development. These techniques unlock a range of artistic possibilities, allowing you to tailor grain, contrast, and light sensitivity to your vision.
Film photography thrives on intentionality and experimentation—pushing and pulling are just the beginning. For deeper guidance on ISO selection and exposure fundamentals, explore our Photography for Beginners course.