Getting creative with bokeh can help you take unique photos and show you how to find artistic potential in everyday things.
If you don’t know where to start, try using heart-shaped bokeh for a simple, romantic, or conceptual photoshoot.
What You’ll Need for Heart Shaped Bokeh
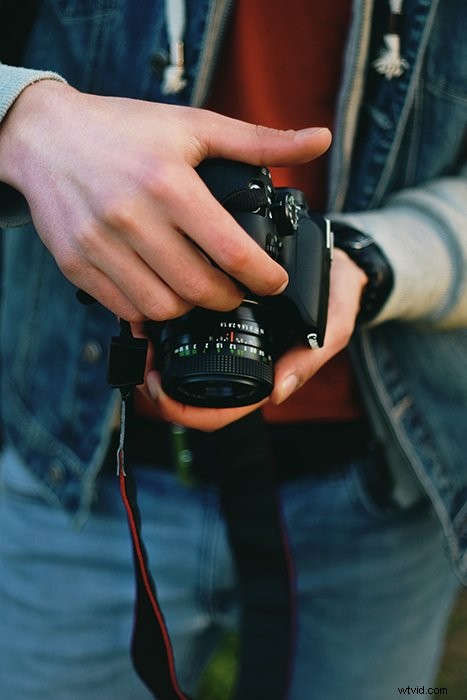
- A prime lens – this isn’t 100% necessary, but it will help you take soft photos of bokeh without worrying about surrounding light. Prime lenses are great for nighttime and low light photography.
- Paper – a thick sheet of paper is enough for this project. You can use black or colored paper. The colored paper will give your photos a tint, which is great for colorful photography.
- Scissors
- Pencil
- Colorful lights – these will help you create that delicious bokeh. You can use Christmas lights, candles, nighttime city lights, or any other light source that stands out to you. The more lights you can work with, the more heart-shaped bokeh you’ll be able to make!
- A dark backdrop – since you want your heart-shaped bokeh to stand out, use a very simple backdrop. You can use a sheet of paper, a door, or a table.
Creating Your Heart Shaped Bokeh
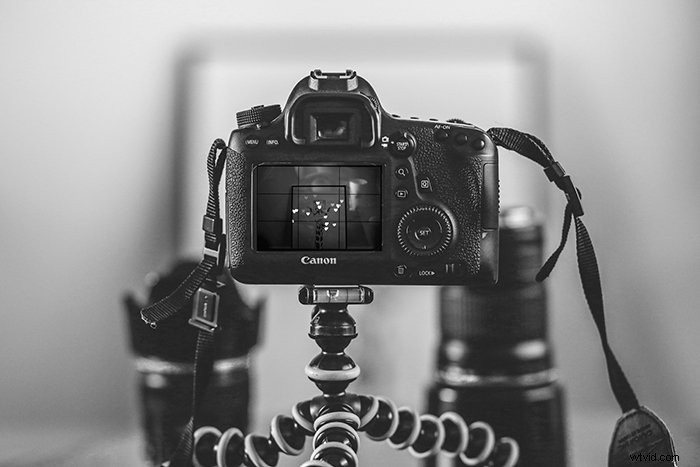
Adjust Your Camera Settings
If this is your first time working with DIY lens filters, you need to make the shooting process as easy as possible. To ensure this, set up your DIY studio and adjust your camera settings before you do anything else.
For the best results, use a large aperture. The larger it is, the softer and bigger your bokeh will be. To remember this, just associate a large aperture with small numbers like 1.2 and 1.8.
If you want the focus to be on your bokeh, underexpose your photos to get rid of surrounding distractions and light.
If you’re going to include other subjects in your photo, take test photos of them beforehand to adjust your exposure correctly.
Also, don’t be afraid of slightly increasing your ISO if your photos end up looking blurry or shaky. To avoid shakiness completely, use a tripod.
Prepare Your DIY Studio
Once you’re comfortable with your camera settings, make sure your DIY studio looks good.
Place your lights on, or in front of, a dark backdrop. I put mine on a dark brown table.
You can also hang your lights on a door or wall. Spread them out so that the bokeh fills your frame.
If you want to be more creative, you can place your lights in a jar, make them float over a cup, or have someone hold them above their head. You can also use this as a concept for Valentine’s Day photo shoots.
Make sure your studio can be changed whenever you like. Avoid permanently sticking your lights to a wall or creating a complicated system.
Your aim is to experiment with different angles and distances, so make your space as flexible as possible.
Draw a Few Circles That Match Your Lens Size
You can measure or trace your lens to ensure that the circles end up fitting it. To be safe, always cut out circles that are slightly larger than your lens.
The circles don’t have to perfect. As you can see in the image above, mine ended up looking slightly crooked. The point is for them to work.

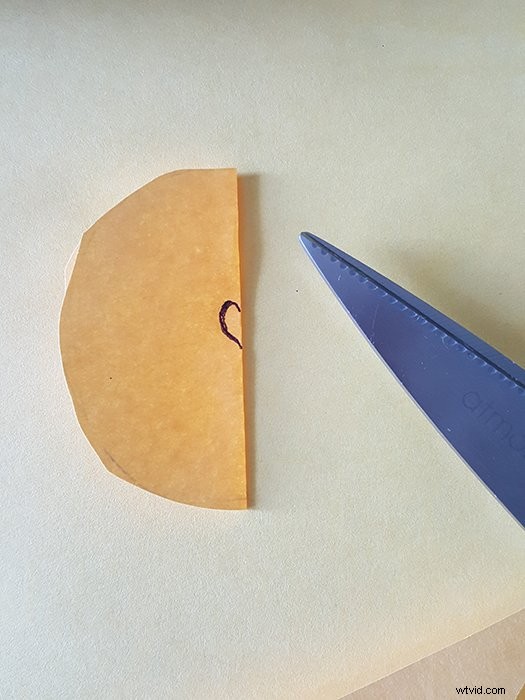
Cut Out Hearts in the Centre
To make the heart symmetrical, fold your circle in half and draw half a heart on the edge, as pictured above.
I experimented with three different shapes and sizes. What worked best for me was the largest heart. I used a 50mm 1.8 lens with an aperture of 1.8.
Make sure your hearts are all centered so that your heart shaped bokeh effect works properly.
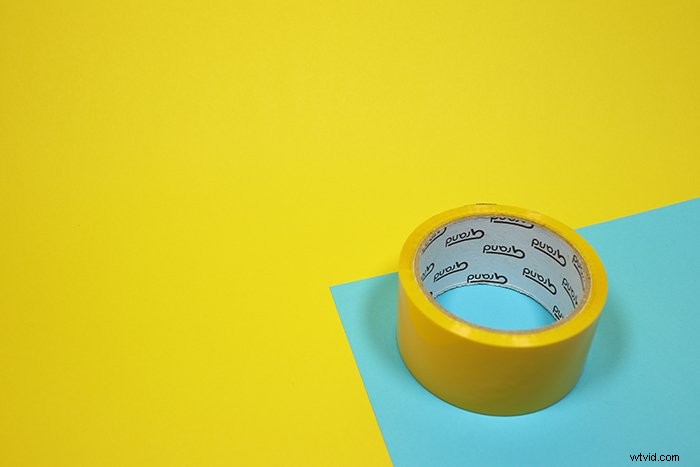
Safely Attach Your Paper to the Lens
For this step, you can use tape or your hand.
Tape the paper to your lens. Avoid taping anything directly on to the lens or any moving part. My 50mm prime lens has a ring that I use for manual focus. Taping it to it stopped me from efficiently focusing away from my subjects.
If you want to avoid sticking anything to your lens, simply hold your DIY filter in front of it. This will significantly limit the way you take pictures, though.
Focus Away From the Lights
Once the paper is on your lens, focus away from your subjects.
The more you focus away, the larger and softer the heart shaped bokeh will look.
Don’t take photos close to your subject. The farther away you are, the easier it will be to determine the shape of the bokeh.
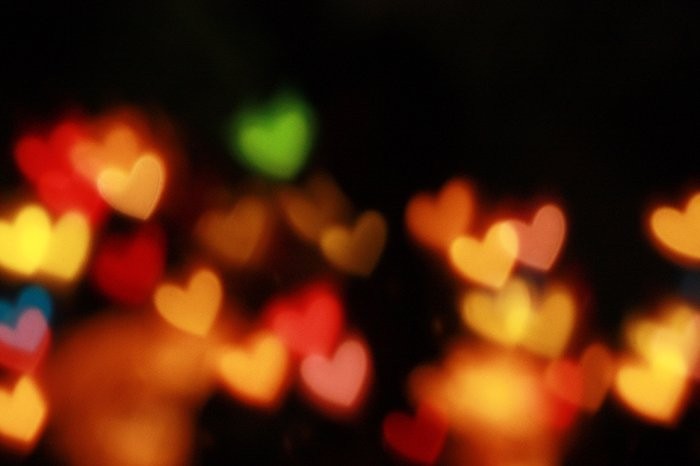
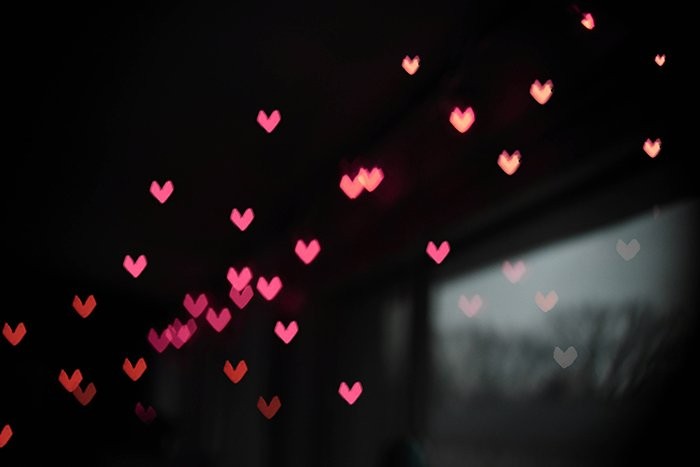
Experiment With Different Heart Sizes
If your results don’t look great, don’t give up immediately. Depending on your lens, you might need to cut out smaller or bigger hearts.
Some photographers take incredible photos with small heart cut-outs. Personally, I found more creative freedom with a larger and wider heart.
Here are a few examples of different heart-shaped filters.
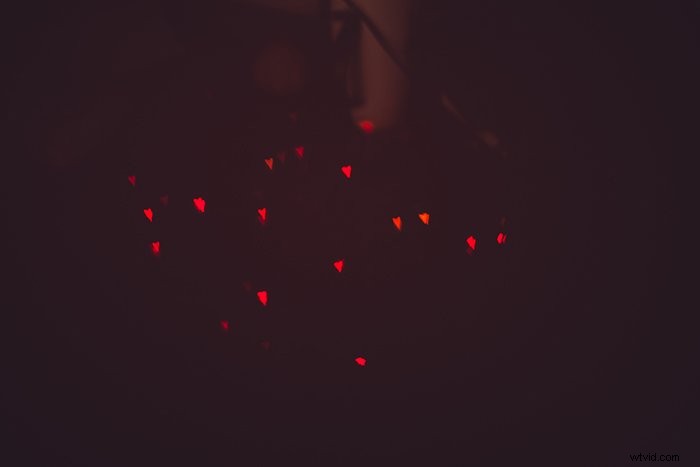
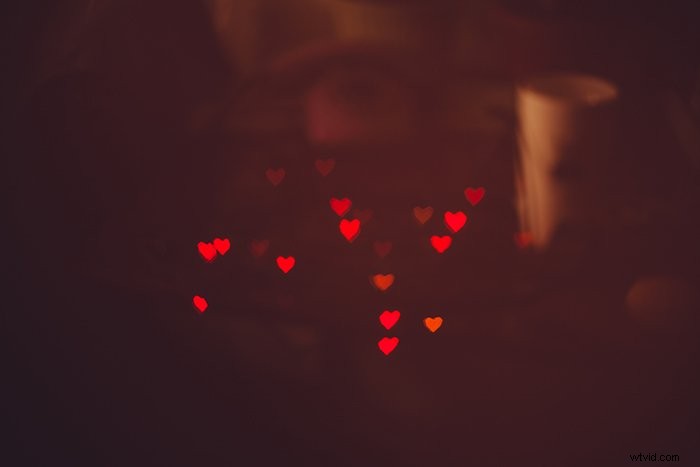
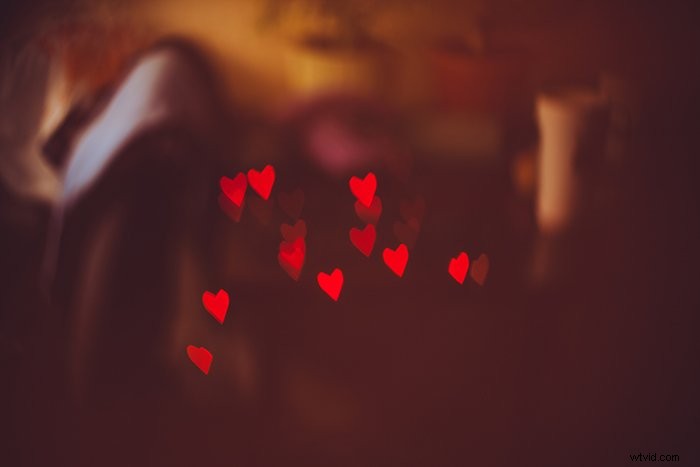
Keep in mind that distance, aperture, and lens type all play an important role in bokeh photography.
Easy Tips to Remember
To have a successful photo shoot, remember these quick tips:
- The farther away you are from your subject, the larger your bokeh will be.
- Use large apertures for large and soft bokeh. Examples: f/1.4 and f/2.0. The smaller the number, the better.
- Experiment with different cut-outs to find the best shapes and sizes for your lens.
- Use a tripod to avoid shaky results.
Conclusion
While it might seem complicated, bokeh photography is an easy and fun way to take creative photos of lights.
Once you get the hang of it, you’ll be able to take conceptual and romantic photos using the simplest tools!