
If you’ve ever had to update a training video after a policy change or re‑record a voiceover because a detail went out of date, you know how frustrating mandatory edits can be when the entire video is treated as a single, continuous clip. This guide shows a smarter workflow that lets you build videos faster, update them with ease, and repurpose content effortlessly.
The problem with traditional video projects
Many whiteboard‑animation videos are assembled on a single, uninterrupted canvas: one long voiceover tracks the entire script, and all graphic elements share a single scene. While this approach can yield striking visuals, it also makes updates costly—any change forces a new audio recording, re‑timing of all elements, and a full re‑export.
The “Scenes” method solves this by treating each section of your video as an independent, self‑contained component.
Why this method works
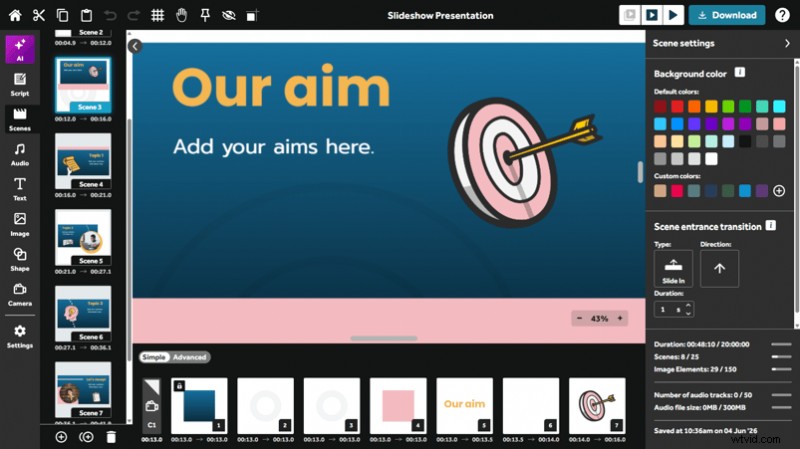
Think of it like creating a slide deck: each slide is independent, so you can reorder, edit, or reuse slides without affecting the rest. VideoScribe scenes function in the same way.
This approach is particularly well suited to:
- Internal training videos where compliance rules, processes, or policies change regularly
- Onboarding content where role‑specific sections need to be swapped in or out
- Product documentation where features evolve and individual sections need refreshing
- Modular content libraries where sections are reused across multiple different videos
- Collaborative projects where different team members are responsible for different sections
Step 1: Break your script into sections
Before launching VideoScribe, spend a few minutes segmenting your script into clear, self‑contained sections. Each section should encapsulate a single idea or topic so it can stand alone as its own scene.
In the same way that a presentation uses slides, each of these sections will become a separate scene in VideoScribe.
Step 2: Add a scene for each section
In VideoScribe, you manage scenes via the Scenes panel on the left. From there you can add new scenes, duplicate existing ones, reorder them, or delete them.
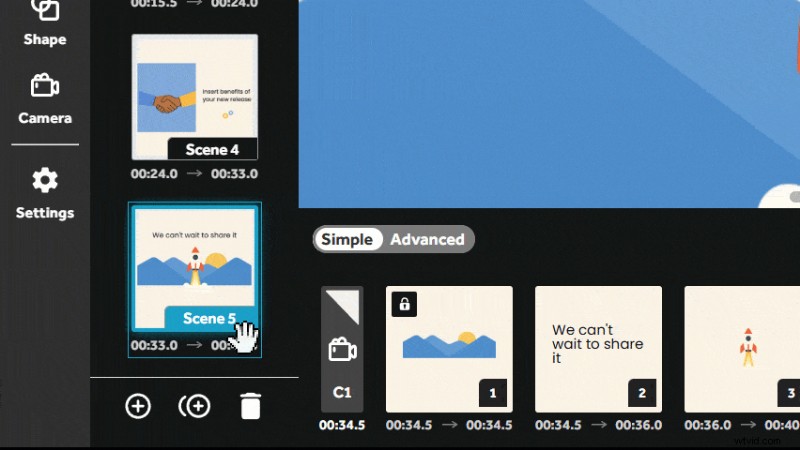
For every script section, create a new scene. Each scene automatically includes a camera element that defines its visible area.
Populate each scene with the content relevant to its section—text, imported images, library graphics, or shapes. Arrange them within the camera area and position them on the timeline as needed.
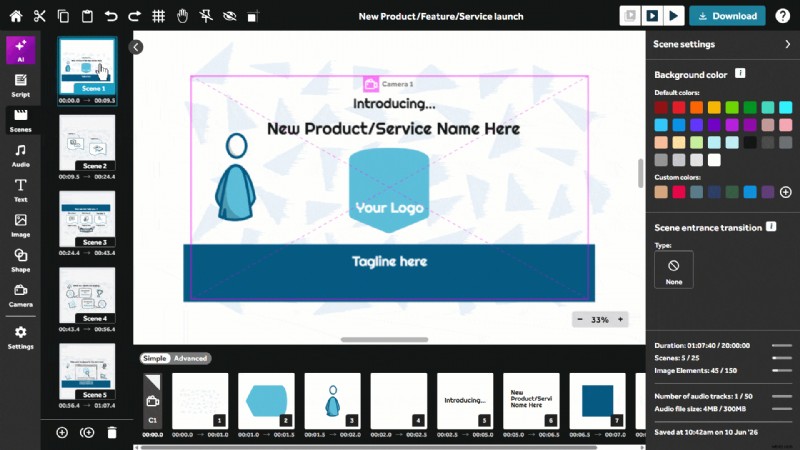
By building the video as a sequence of self‑contained scenes, you effectively create modular video components that can be stitched together to produce the final product.
Step 3: Add audio as scene audio (not project audio)
Now add audio to each scene. In the Audio menu on the left, you can record a voiceover, import an audio file, or generate one using VideoScribe’s AI voice tool.
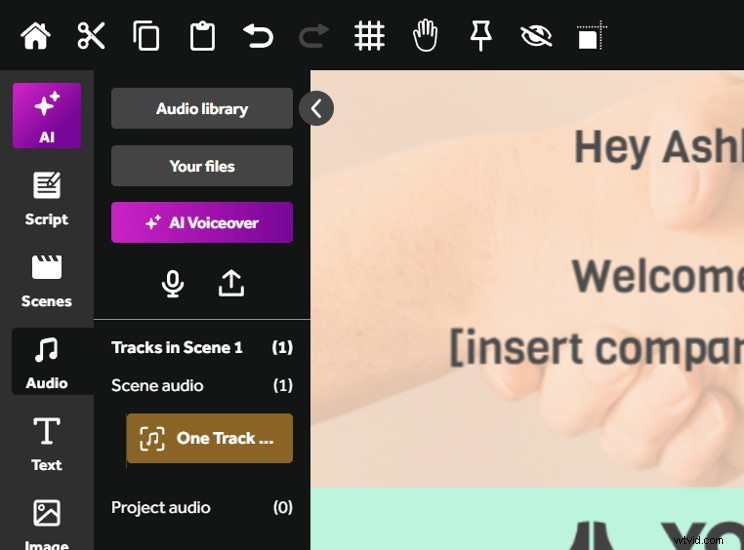
When using the AI tool, select the desired language and voice, then paste the script excerpt for the current scene. Regardless of method, always choose “Add to Video as Scene Audio” rather than project‑level audio.
Why is this important? A single, continuous voiceover forces you to re‑record and re‑time the entire video whenever a single section changes. Scene‑level audio isolates each section, allowing you to edit or replace only the relevant part.
If you’re using AI voice generation, record the voice settings now; they’ll be essential when regenerating audio for an updated scene to maintain consistency.
Step 4: Set your scene timings
After adding content and audio, fine‑tune the timing of each element so that drawings and text appear exactly when you intend. Because scenes are isolated, adjustments to earlier scenes—or inserting new ones—won’t ripple through the rest of the timeline.
Step 5: Add transitions between scenes
With all scenes in place, decide how they’ll flow together. Reorder scenes in the Scenes panel; selecting a scene reveals its Scene Settings on the right, where you can:
- Choose a background color for the scene
- Select the entrance transition, controlling how the video shifts from the previous scene to this one—options range from a simple fade to a hand‑drag effect, or even an erase transition.
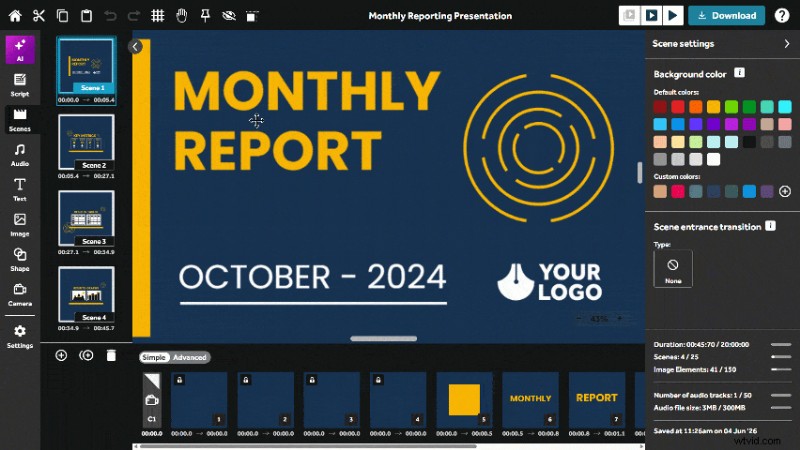
Pro tip: To emulate classic whiteboard animation where the camera pans across the canvas, choose the slide‑in transition and set its direction to “left” or “up.” With a uniform background color, this will create the illusion of a right‑ward or downward camera movement.
Maintaining and updating your videos over time
The real benefit of the scenes approach is how effortlessly you can maintain and update videos. Because each component lives in its own scene, you can modify it without touching the rest of the project. When updates are needed:
- Update content: Open the relevant scene and edit directly—no other scene is affected.
- Update the voiceover: Delete the existing scene audio and re‑record or regenerate it for that scene only. If you used the AI tool, simply generate a new voiceover with the same voice.
- Replace an entire section: Delete the scene and recreate a fresh version. Insert it into the Scenes panel at the desired position.
- Add new sections: Insert a new scene wherever needed; all preceding and following scenes remain unchanged.
- Reorder sections: Drag scenes up or down in the Scenes panel to alter the sequence.
Reusing scenes across projects
You can copy a scene from one project and paste it into another, a powerful feature for reusing and repurposing common content across multiple videos.
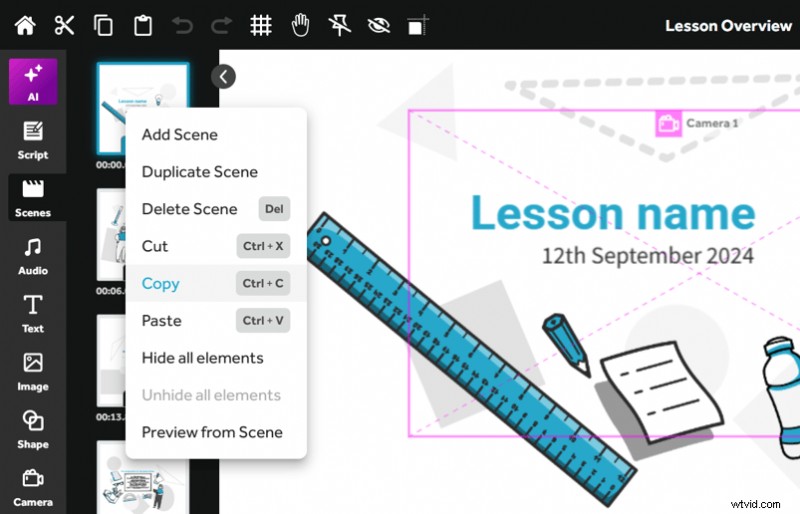
If you have recurring components—like a branded intro, an outro with contact details, or a standard disclaimer—save those scenes as template projects. This makes them readily available for reuse.
Summary
By converting a video into modular scenes, you transform a monolithic file into a collection of independent components. This not only speeds up creation but also simplifies updates, maintenance, and repurposing. For anyone producing training or compliance content that must remain current, the scenes method is the most efficient workflow.