Master Smooth Warp & Turbulence Transitions in Filmora 13
Whether you’re editing a music video, an AMV, or a creative montage, adding a polished warp or turbulence transition can elevate your project from good to stunning. This guide walks you through every step—from keyframe setup to final color‑shift—so you’ll create fluid, eye‑catching transitions with confidence.
What You’ll Need
- Windows or macOS computer with Filmora 13 installed
- Your video clips and accompanying audio tracks
- Optional: a downloadable project file (link provided in the description)
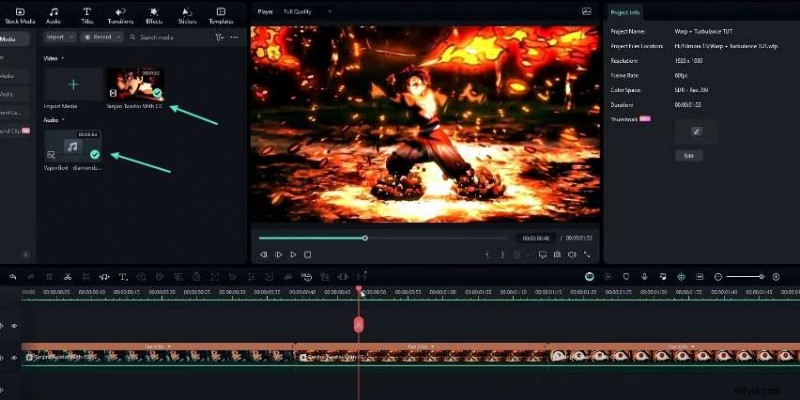
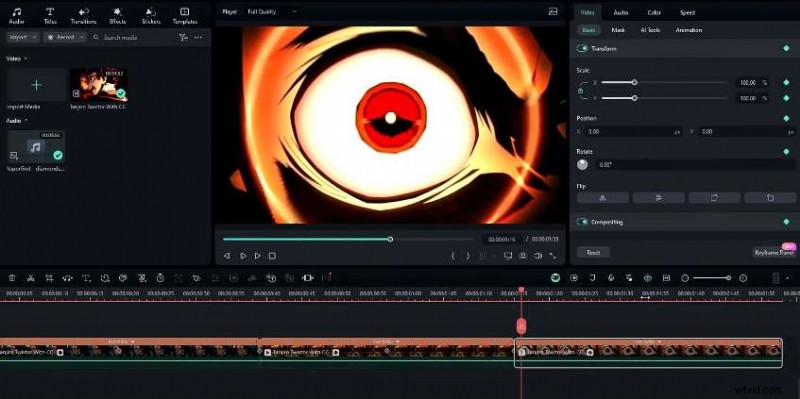
Step 1: Import and Align Clips
Place your video clips and audio on the timeline, ensuring each clip syncs with its corresponding audio track. You can trim or reorder clips to achieve the desired narrative flow.
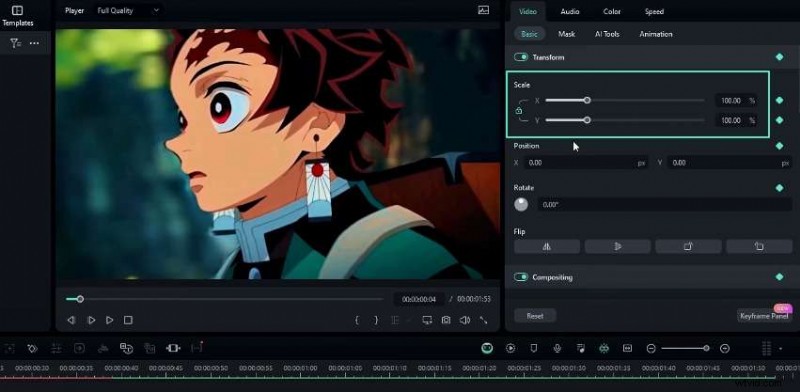
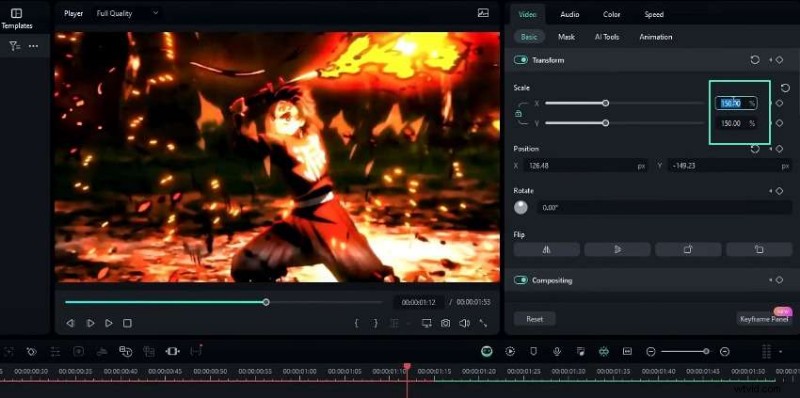
Step 2: Create Movement for the First Clip
Select the first clip and add a keyframe. Set the initial scale to 200% at the center of the clip, then adjust the position as needed. A few seconds later, reduce the scale to 120% and reposition slightly. Finally, bring the keyframe to the clip’s end to finish the motion.
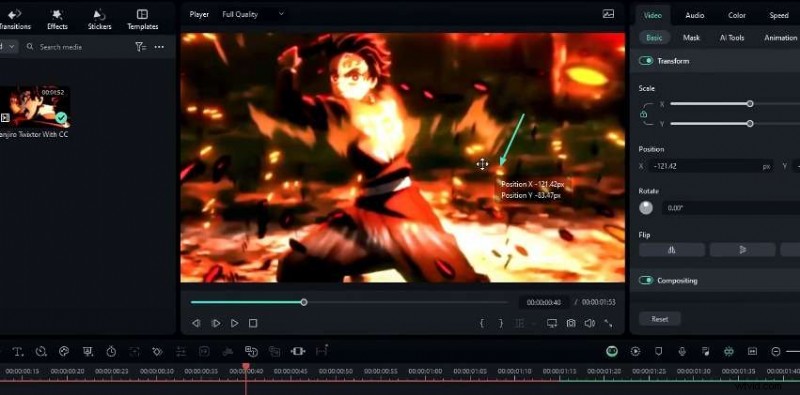
Step 3: Add Movement to the Second Clip
Insert a keyframe at the start of the second clip, then set the scale to 200% and shift the position slightly to the side for a seamless match. Move the keyframe to the center, adjust the scale to 150%, and fine‑tune the position. Near the clip’s end, increase the scale to 300% to create a dramatic zoom‑in on a focal point, then drag the keyframe to the end for a natural zoom‑out.
Step 4: Animate the Third Clip
Apply a keyframe at the beginning, leave default settings, then increase the scale to 120% at the clip’s center. Return the scale to 100% at the end to close the movement loop.
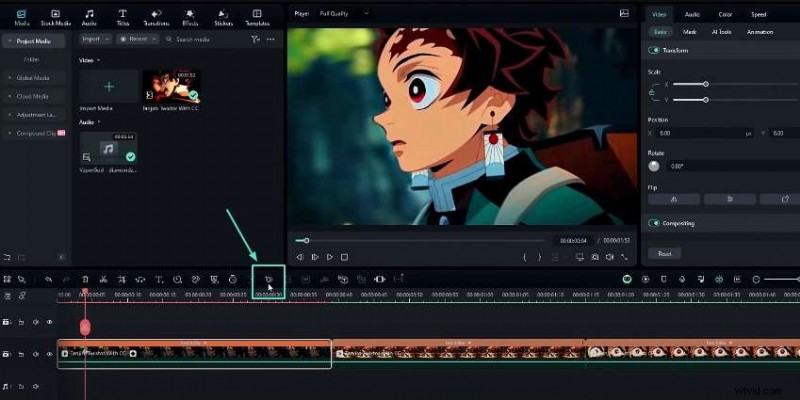
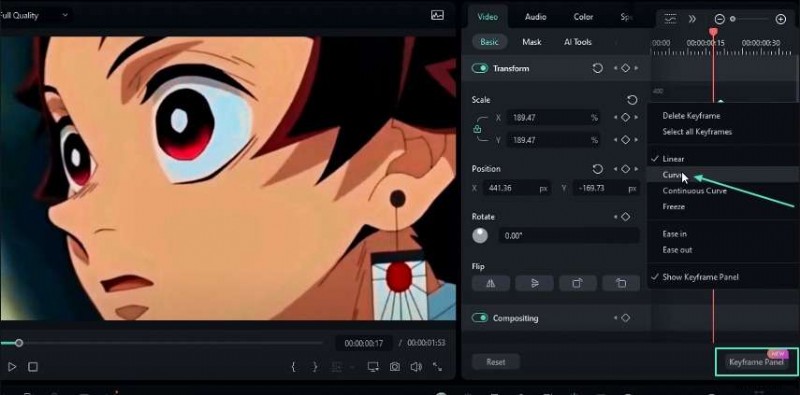
Step 5: Smooth the Keyframe Transitions
Open the keyframe panel for each clip, select the middle keyframes, and apply the Curve preset. This adds gentle easing, ensuring the motion feels natural rather than abrupt.
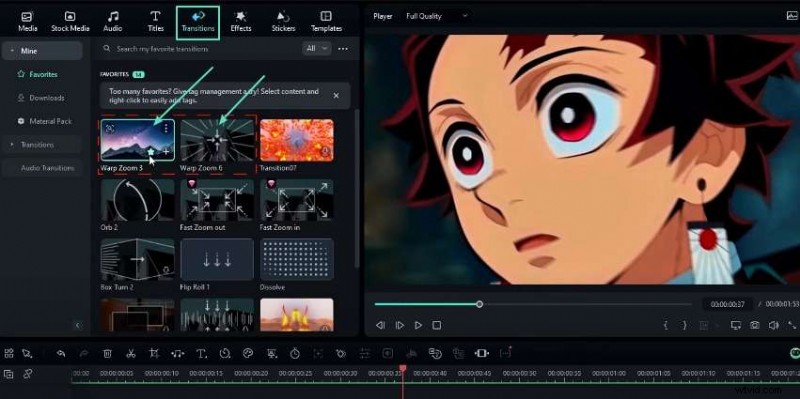
Step 6: Insert Warp Transitions
From the Transitions panel, choose Warp Zoom 6 for zoom‑out moments and Warp Zoom 3 for zoom‑in effects. Adjust the duration to 10 ms and disable trimmed frames for a crisp cut.
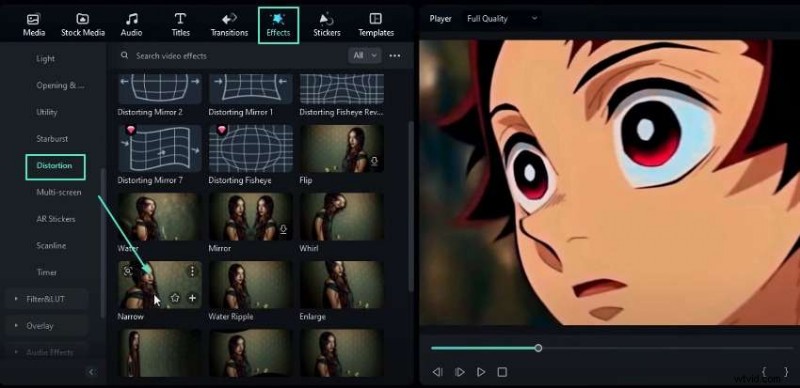
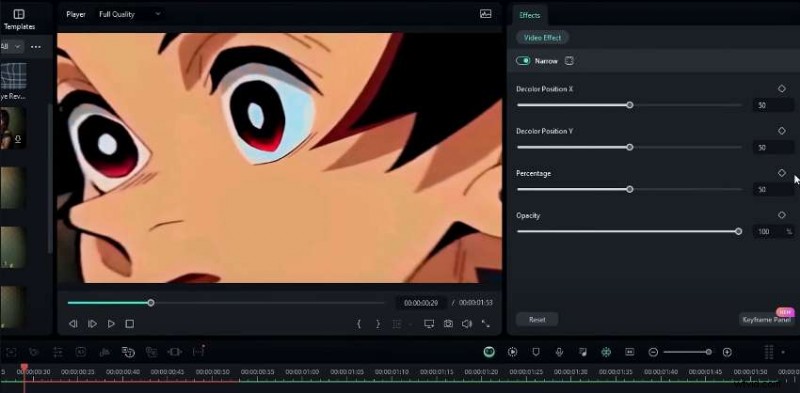
Step 7: Enhance with Warp Distortion
Apply the Narrow effect from the Distortion category. Select a 25‑frame segment and keyframe the Percentage property: start at 0, rise to 50 in the middle, then drop back to 0.
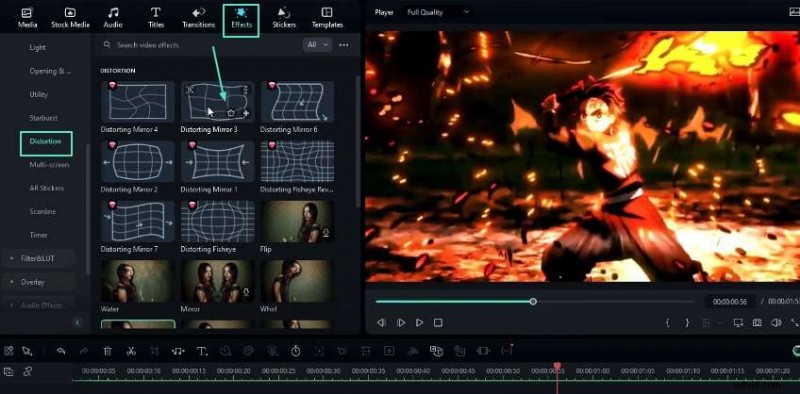
Step 8: Add Turbulence for Dynamic Flair
Drag the Distorting Mirror 3 effect onto the timeline. Use a 25‑frame clip, keyframe the Strength at 5 at the start and taper it to 0 by the end.
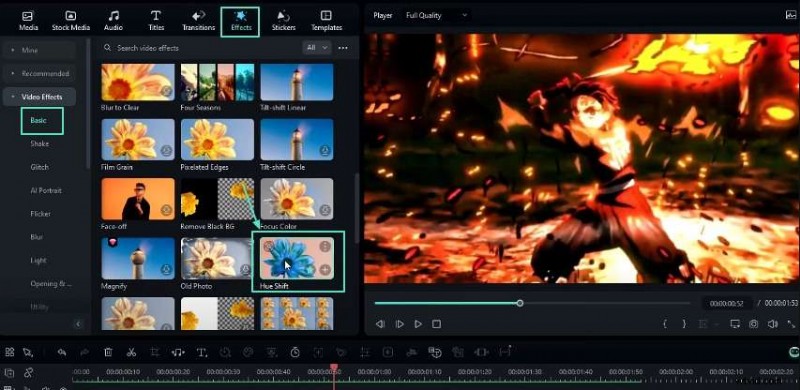
Step 9: Apply a Color‑Shift with Hue Shift
Insert the Hue Shift effect and keyframe the Hue value from 0 at the start to 100 at the end. This subtle color transition adds depth to the transition.
Final Touches
Group your text layers into a compound clip by selecting them all and pressing Alt + G for a clean timeline. Review the entire sequence, fine‑tune keyframe curves, and adjust transition durations to match the pacing of your audio.
Download the full project file via the link in the description to jump straight into practice.
Explore More Filmora Tutorials
Expand your editing skill set with our comprehensive Filmora tutorial playlist—perfect for mastering everything from basic cuts to advanced visual effects.