How to Create Smoke Effect in Filmora
Wondershow in Filmora you can generate realistic smoke effects by layering footage, using the Smart Cutout tool, and applying built‑in stickers and transitions. Follow this guide to create five distinct smoke styles that will make your videos look polished and cinematic.
What You’ll Need
- Computer (Windows or macOS)
- Your source video footage
- Wondershare Filmora installed
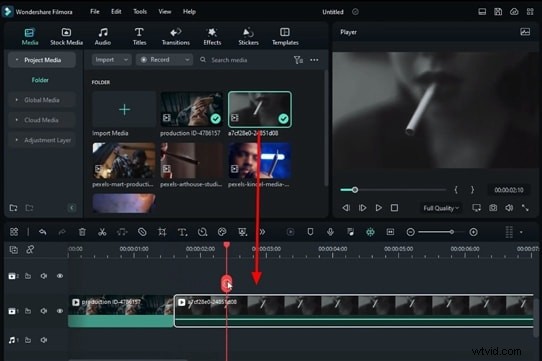
Step 1 – Import Media onto the Timeline
Launch Filmora and create a new project. Drag your video files from the Media panel to the first video track on the timeline.
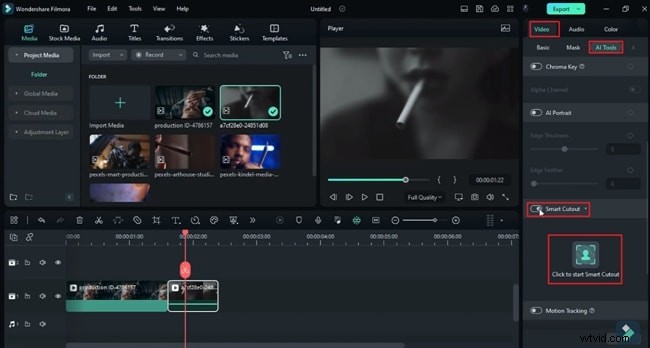
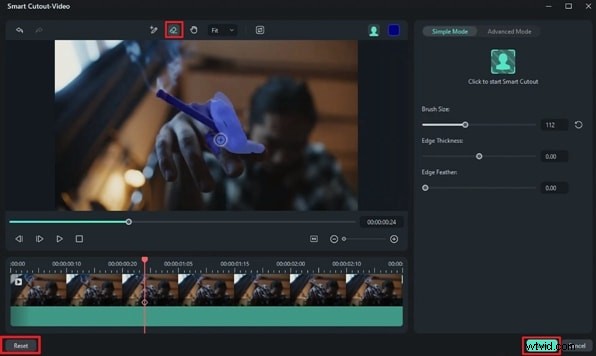
Step 2 – Use Smart Cutout for the First Effect
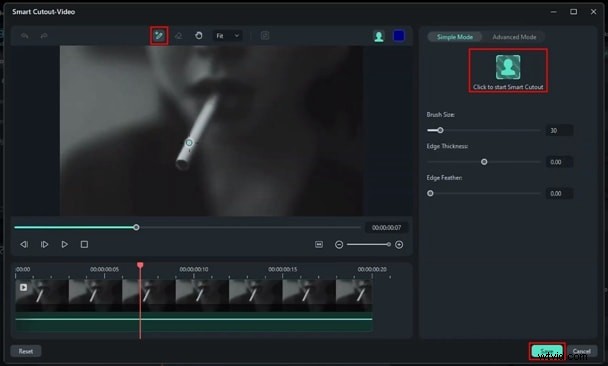
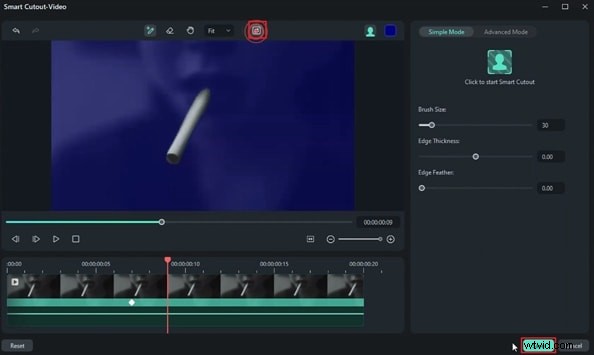
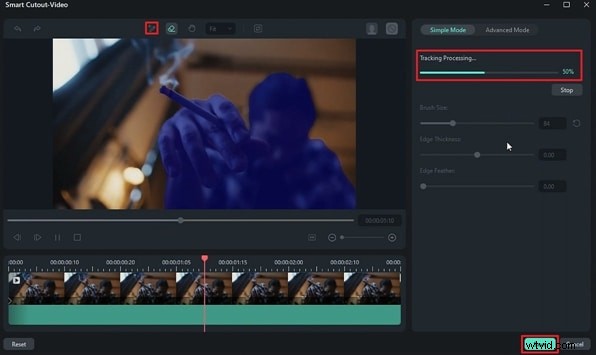
Double‑click the clip to open its settings. Under the Video tab, navigate to AI Tools and enable Smart Cutout. In the new window, select the Smart Brush tool, outline the cigarette, then click Start Smart Cutout and Save once processing completes.
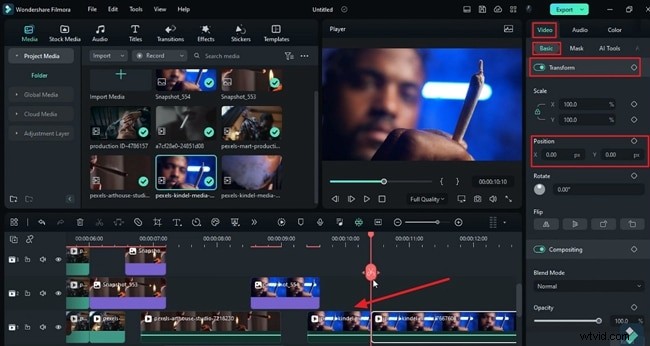
Step 3 – Apply the First Smoke Effect
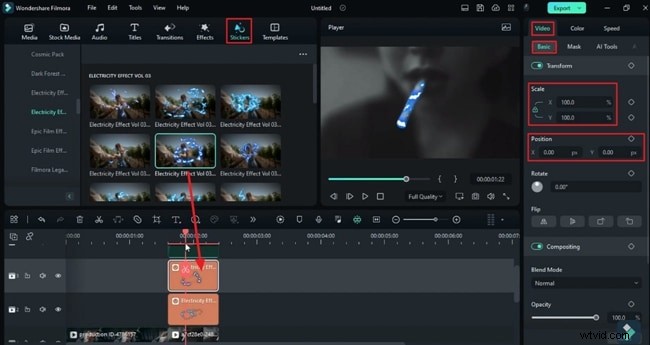
Duplicate the original clip onto a second track. In its settings, enable Smart Cutout and toggle Invert Mask. Add two “Electricity” stickers from the Stickers tab, place each on a separate track, and adjust Scale and Position so they match the cigarette. Preview the timeline to see the first smoke effect.
Step 4 – Create the Second Smoke Effect
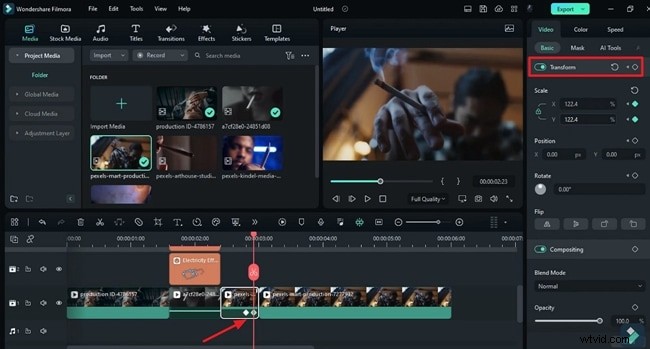
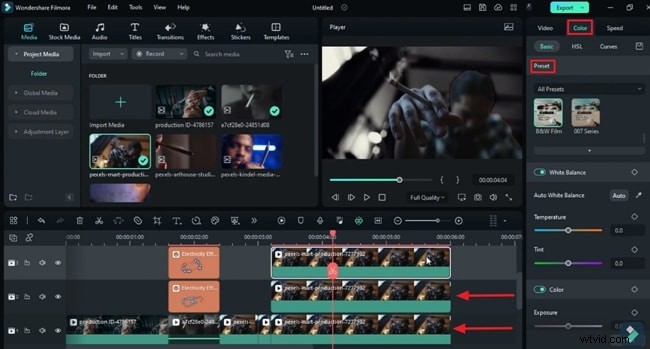
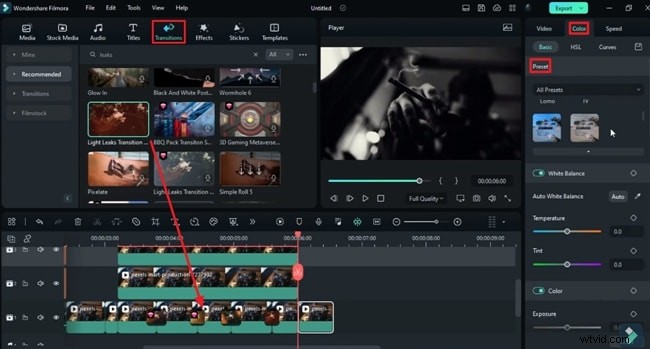
Drop a new footage onto the timeline and split it at 3 s. Apply a zoom‑in/out using the Transform keyframes on the split segment. Select the last part, enable Smart Cutout, and track the cigarette with the brush. Duplicate the clip onto tracks 2 and 3, invert the mask on the original, and convert those layers to black & white in the Colors tab. Use the Eraser to isolate the cigarette. Add Leak Light transitions at split points for a smooth blend.

Step 5 – Build the Third Smoke Effect
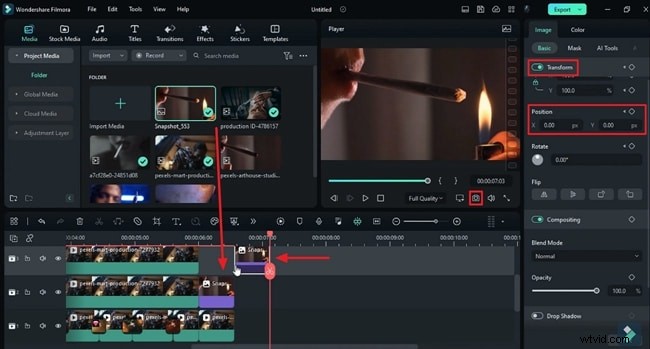
Take a snapshot of the desired frame and drop it on track 2 for 14 frames. Add a Transform keyframe to position it at the lower left corner, then bring it back at the timeline’s midpoint, adding another keyframe. Duplicate this snapshot on tracks 3‑5, extending its duration to 7 s 5 frames. Apply Smart Cutout around the cigarette, lighten the mask, and keep it on the snapshot layer.
Step 6 – Assemble the Fourth Smoke Effect
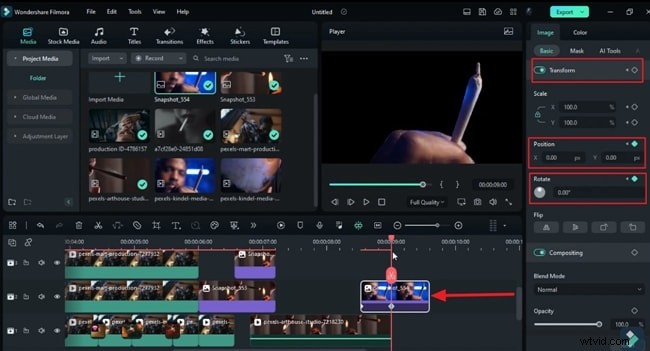
Capture the first frame of the clip, drop it on track 2, and split at 9 s 15 f. Use Smart Cutout to cover the hand and cigarette. Rotate and reposition the snapshot to either corner, resetting it at 9 s 5 f. Drop the original footage on track 1 at 9 s 10 f, apply a 5‑frame slide‑down via Transform, and keep it until 10 s 10 f.
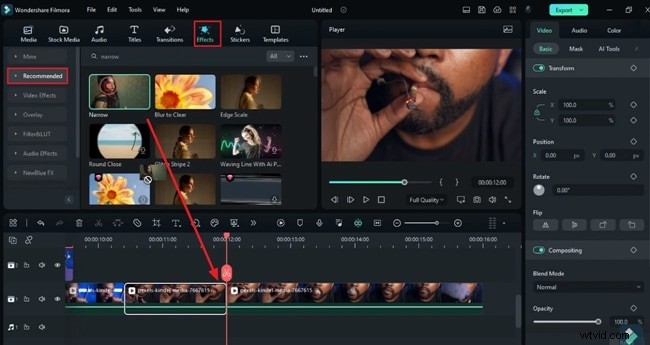
Step 7 – Craft the Fifth Smoke Effect
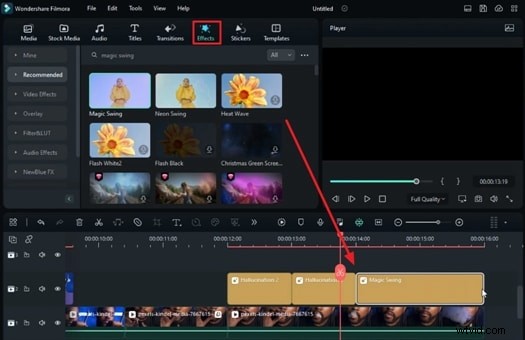
Place your footage on track 1, split at 16 s and then at 12 s. On the first segment, add the Narrow effect. At 11 s 10 f, set Percentage to 0, ramp to 100 after 8 f, then back to 0 at the end. On the second segment, stack Hallucination 2, Hallucination 1, and a Magic Swing effect to cover the remaining footage, and apply Hallucination 1 on track 3.
Step 8 – Finalize with Smoke Transition
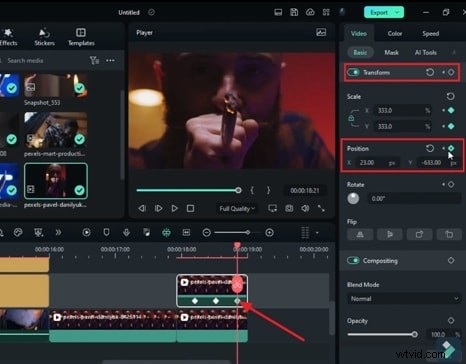
Drop the main clip on track 1, extend its scale to fill the frame, and split right before the cigarette ignites. Duplicate the segment on track 2, apply Smart Cutout to isolate the cigarette, then use keyframes to zoom out over 7 f. Insert a Smoke Transition between the two tracks for a seamless reveal.
Summary
With these techniques, you can create layered, realistic smoke effects that enhance storytelling and visual impact. By mastering Smart Cutout, stickers, and built‑in transitions, you’ll add a professional polish to any project.