Timecodes, boom mics, room tone, and more. Record flawless sound when you’re going solo with this breakdown of all things audio.
Excellent picture quality tops all, right? I mean, after all. We did start as a website selling pictures, and the best-looking pictures sell. Even with video, we’ve written numerous gear articles and produced hundreds of video tutorials on how to make your videos stand out. However, I would very much argue that sound is just as important, if not more so than video.
Think about it. There are countless videos online that show camera operator bloopers when the camera operator accidentally appears in a reflection, and many films use low-quality cameras as crash cams. But, we’re often too engrossed in the action to notice. Nonetheless, the moment we hear bad audio, it becomes instantly recognizable.
That’s why there are teams on big productions dedicated to just capturing audio, filled with a good number of crew members who all assist in making sure the audio is captured correctly.
However, on smaller productions like solo interview shoots, we don’t always have that luxury. So, we have to capture that audio and run a camera. The good news is that we can use a few tools and techniques to still get great-sounding audio. In the video tutorial below, you can find out just how.
What Gear Do I Need for Recording Audio As A Solo Filmmaker?
I know this list may seem pretty intense. However, one of the most important things as a solo filmmaker is making sure you’re as prepared as you can be. As the excellent David F. Sandberg said, filmmaking is problem solving. What you’ve planned can fall apart in an instant and you will be thankful you had those extra lav mics or an extra memory card in your kit.
If you don’t have the money saved up for all of this, you can always rent the gear you need. If you’re just starting, renting equipment can be a great way to have professional gear on set without breaking the bank. Even though I have a complete kit for my production company, I will still rent equipment if needed—especially when traveling.
- Boom mic Set Up
- C-Stand
- Sandbag
- Boom pole
- Boom pole holder
- Shockmount for mic
- Cable for microphone
- Wireless lavalier mic system
- Audio recorder
- Appropriate timecode cables
- Memory cards (x2) for recorder
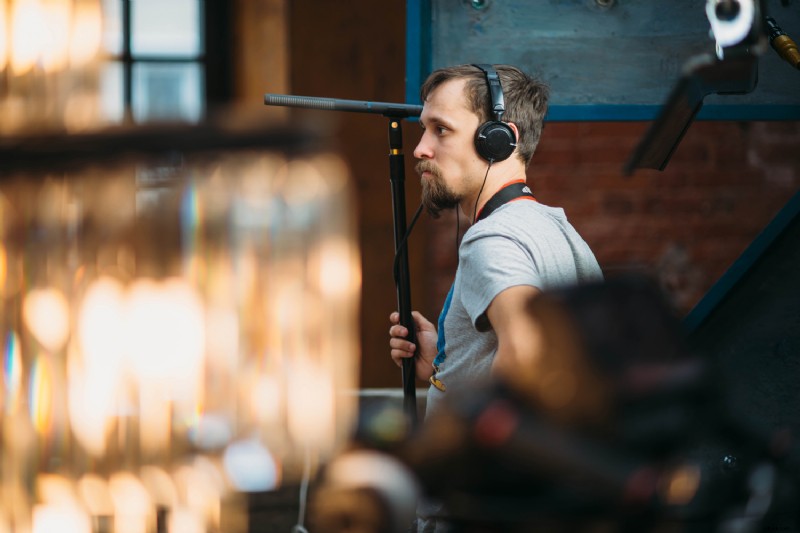
- Headphones for monitoring
Now that we have a basic kit let’s dive into each of these items a bit more.
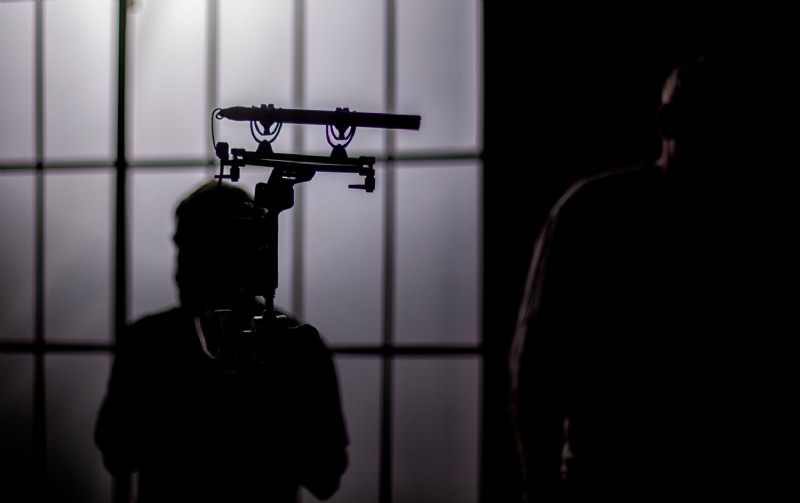
Boom Mics
What exactly is a boom mic? Simply put: a boom mic is a microphone attached to a boom pole and placed pointing towards the talent. There are several options for boom mics but by far the most common is a shotgun microphone.
Shotgun Microphones
Shotgun microphones are used widely in the film and video industry because of their versatility. These mics do a great job of rejecting off-axis noise and isolating the audio directly in front of the microphone.
What’s more, shotgun mics have a more extended physical design compared to other microphones, resulting from interference tubes that help create a narrow polar pattern. With the narrow polar pattern of a shotgun mic, you have to be sure that the mic is pointed directly towards the source.
Shotgun microphones shine outdoors because they reject off-axis noise, but they can also be used indoors with excellent results.
Ideally, you want to use a shotgun microphone with an XLR connection because XLR cables will deliver superior sound quality over a single 3.5mm cable. With XLR cables, you can have a long cable run from the microphone to the sound recorder with no loss in audio quality, but the same cannot be said for 3.5mm cables.
Here are a few great shotgun mic options that I have personally used many times with great results:
- Sennheiser MKH 416
- RØDE NTG 3
- RØDE NTG 5
- Sennheiser MKE 600
- Deity S-Mic 2S
All of these microphones require 48V phantom power, provided by either the sound recorder or camera (if capable) and passed through the XLR cable. The one exception in this list is the MKE600, which can be powered via a removable AA battery. However, I have found that the audio quality is better when powering the MKE 600 with phantom power. The Sennheiser MKH 416 is probably the most popular shotgun microphone and is considered by many as the industry standard.
Suppose budget and/or availability prevent you from being able to get one of the microphones listed above. In that case, there are other options that are more affordable, but will not yield the same quality:
- RØDE Videomic NTG
- Sennheiser MKE 400
- Deity S-Mic 2S
I only recommend these types of shotgun microphones as on-camera microphones for reference audio or for capturing a quick “man on the street” type of interview if I am filming solo.
Hyper-Cardioid Microphones
If you are primarily filming interviews indoors, then a shotgun microphone isn’t always the best choice as shotgun microphones can sometimes pick up distracting echoes and low-end reverberations.
Non-shotgun super-cardioid or hyper-cardioid microphones do not exhibit that same behavior which is why it is a popular choice for recording dialogue indoors—especially in smaller rooms that aren’t acoustically treated. These microphones also require 48V phantom power. Here are a few great options:
- Schoeps CMC641
- Sennheiser MKH 50
- Audix SCX1/HC
- Oktava MK!2
How Do I Boom a Mic?
First, set up your c-stand out of frame. I like to position the stand 90º from the talent opposite side of the key light if room allows.
Next, you’ll need a boom pole holder. Mount the boom pole holder to the grip head so that the direction of the boom pole (when mounted) will face to the right, and the tallest leg of the stand will point in the same direction of the boom pole for safety.
Before you go any further, make sure to also place a sandbag on that tallest leg for safety. Now that the stand is ready, mount the boom pole in the holder and extend it so it will be over where the talent will be sitting.
Next, attach the mic to the shock mount and then attach it to the boom pole—typically, the boom pole will thread into the shock mount.
Lastly, plug the mic cable into the mic and run it down the c-stand.
Where Do I Place The Boom Mic?
Boom mic placement is critical to capturing clear audio due to the narrow polar patterns of these mics. The goal is to get the mic as close to the source as possible without the mic being in the frame. The closer the mic, the better the sound will be.
Anywhere from 15-50 cm (6-20 in) will typically yield great results depending on the mic. It is best to position the mic overhead and a little in front of the talent so the microphone points down toward the talent.
This will ensure that clear audio is still captured if the talent leans in towards the camera. The boom mic is typically one of the last things I set up. I’ll get it in the general area of the interview seat and then make final adjustments when the talent sits in the seat.
Wireless Lavalier System — Don’t Rely Just on the Boom Mic.
Boom mics are lovely tools for capturing audio because of how rich and natural they sound. However, I never record an interview with just a boom mic.
As a secondary microphone, I use a wireless lavalier microphone system such as the Sennheiser AVX. Lav mics are omnidirectional microphones mounted on the talent by either clipping to their shirt or hidden in some manner. As much as I prefer the audio from a boom mic, the lav mic is—in my opinion—a critical piece of an audio kit.
It can serve as a backup audio track in case of an issue with the boom mic audio, but sometimes I’ve even opted for the lav mic track in post because it ended up sounding better for the particular edit.
Additionally, if you’re filming an interview where the talent is either far away from the camera or walking around in frame (think TV host), a wireless lav mic will serve you better. Be sure to check out the YouTube video to hear the difference between a boom mic and a lav mic.
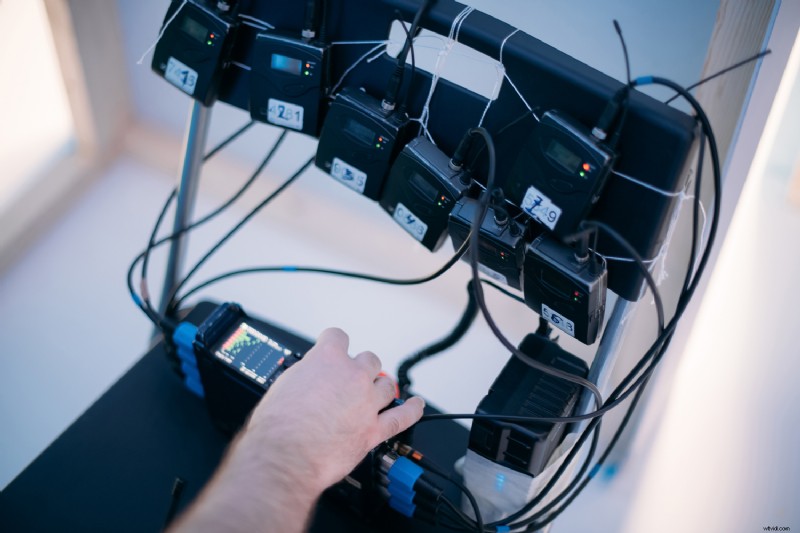
Recording Audio
Although some cameras have XLR inputs and decent preamps, they will never be better than a dedicated sound recorder.
Sound recorders have one job that they do very well; capturing audio. Sound recorders have better and cleaner preamps than those found in cameras, and depending on the type of recorder, they provide more benefits over recording audio in-camera. That includes analog limiters, more audio tracks/inputs than cameras, providing phantom power, recording in 32-bit float, and timecode generation, to name a few.
Additionally, when recording audio separate from the camera, you have peace of mind that if the camera stops recording for whatever reason, your audio is still speeding. You can then use a b-roll to cover that up in post if it was a good take.
Recording separate audio from the camera sounds like a hassle regarding editing, right? Well, yes, it is an extra step, but well worth it, in my opinion. Also, if you’re running multiple cameras, you’ll have to sync those tracks anyway. This is where slating at the beginning of the take is critical so that you have a distinct spike in the waveform to use to sync everything.
However, there is an even better tool: timecode.
Timecode is essentially a highly accurate internal clock, and if all devices have the same timecode, it makes syncing them in post extremely fast. Many field recorders have the ability to send the timecode from the recorder via a cable to the camera (as long as the camera supports the timecode).
This is what is known as “jamming” timecode. I jam timecode into each of the cameras once they’re all set up. Then, when I bring them in to my editor, I simply stack all the clips in the timeline and align them based on the timecode. That way they’re instantly synced.
Monitoring Audio
Just like we monitor our cameras during an interview, it is also important to monitor the audio. This helps us catch things that we may not even notice, but the mic picks it up to the point where it is distracting, such as a car driving by, a door slamming, people talking in the hall, or a plane flying overhead.
There are many types of monitoring headphones out there, so which ones you choose boils down to personal preference and budget, of course. I use in-ear monitors as they are really low profile, sound great, and pack really well for travel.
Other Considerations When Capturing Audio as a Solo Filmmaker
Sound Treatment
Unless you’re filming an interview in a recording studio or some other acoustically-treated room, you’ll need to treat the location/room for sound. We do this to help reduce unwanted noise, echo, and reverb as much as possible. Here are a few things to consider when treating the location for sound:
- If possible and with permission, turn off the furnace or cooling unit just during the interview.
- If possible and with permission, unplug the refrigerator/freezer during the interview. (Try not to unplug while the compressor is running as that could damage the compressor, which is no good!)
- Lay sound blankets/rig sound blankets to help reduce echo reverb.
Doing these things can help capture the cleanest audio possible, so less work is needed in post.
Room Tone
Room tone is the ambient sound or tone of the room where you are filming. To capture room tone, simply record 20-30 seconds of pure silence. Make sure no one in the room is shuffling around or moving, and if you are in an office environment, politely ask those outside the room if they can accommodate the recording of room tone.
So, why do we need room tone? Room tone helps blend audio between two cuts during an edit so the transition does not feel abrupt, for example.
Capturing audio can seem overwhelming, but as with anything, the more you do, the easier it gets. Set up mock interviews or interview family members to test these things out so you’re well-prepared for the shoot when you get on set with a client. Start practicing at home if you are getting into the filmmaking world.
Feature image via Grusho Anna.
What more audio articles and video tutorials? Check out the links below!
- Recording Audio 101: Boom Pole Basics
- Premiere Pro Tips for Editing and Mixing Audio, Music, and SFX
- 5 Tips for Recording Great Voiceovers
- Boom Microphone vs. Lavalier: What’s the Best Recording Mic?
- 9 Easy-to-Avoid Mistakes When Shooting a Documentary Interview