Preparation
What you need to prepare:
- A computer (Windows or macOS)
- Your video materials.
- Filmora video editor
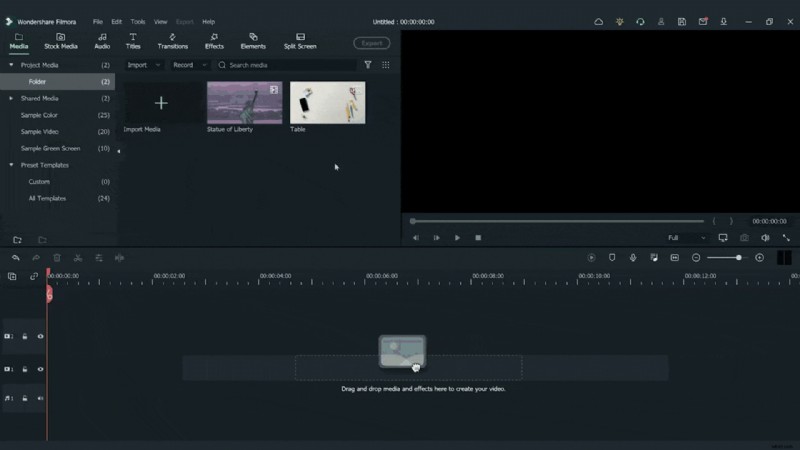
Step 1
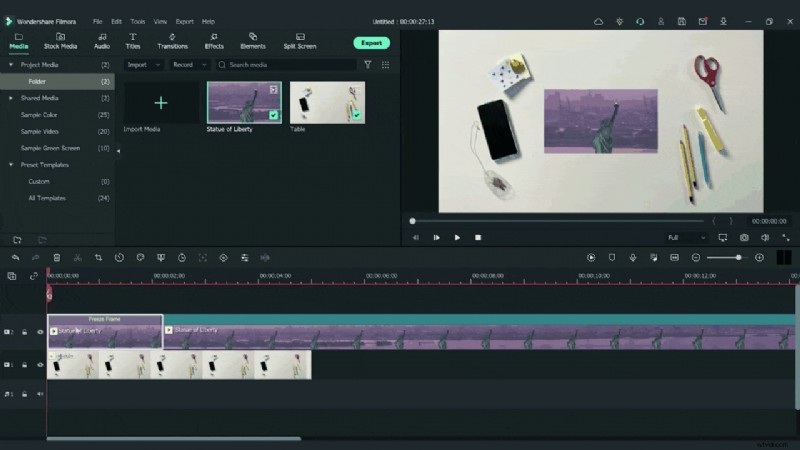
Begin by dragging the top‑down photo onto the first video track of the timeline. Then drop your primary footage—such as the liberty statue clip—onto the second track.
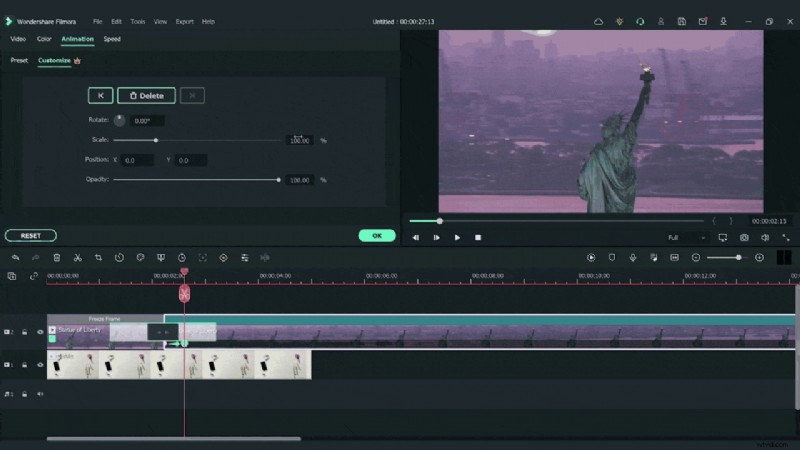
Step 2
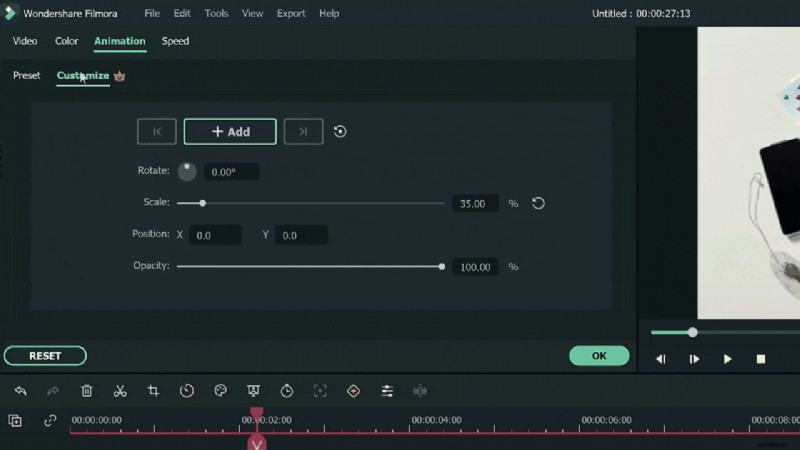
Open the Animation >> Customize menu and set the scale to 35%.

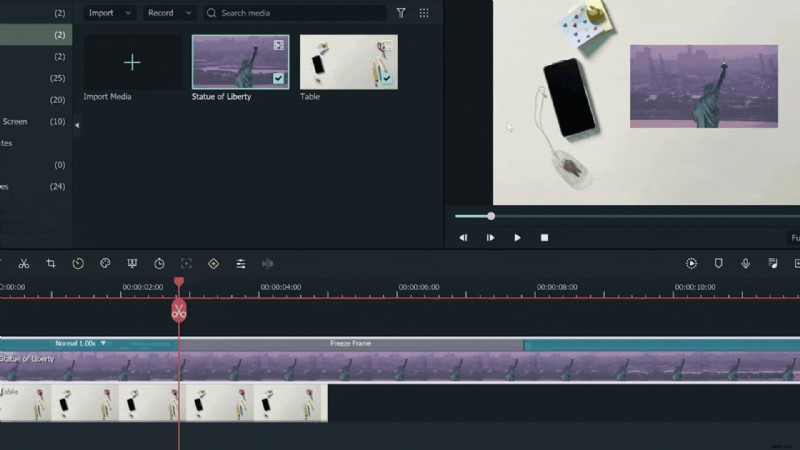
Step 3
Locate the exact frame where you want the transition to begin, click it, and right‑click the video track. From the context menu, choose Speed > Add Freeze Frame.

Step 4
Split the timeline at the freeze‑frame start point and delete the portion on the left side.
Step 5
Use the cut or resize tool to shorten the freeze‑frame duration if needed.
Note: To split a clip, drag the playhead to the desired position, then click the red scissors icon to create the cut.
Step 6
Trim the segment between the frozen frame and the rest of the clip.
Step 7
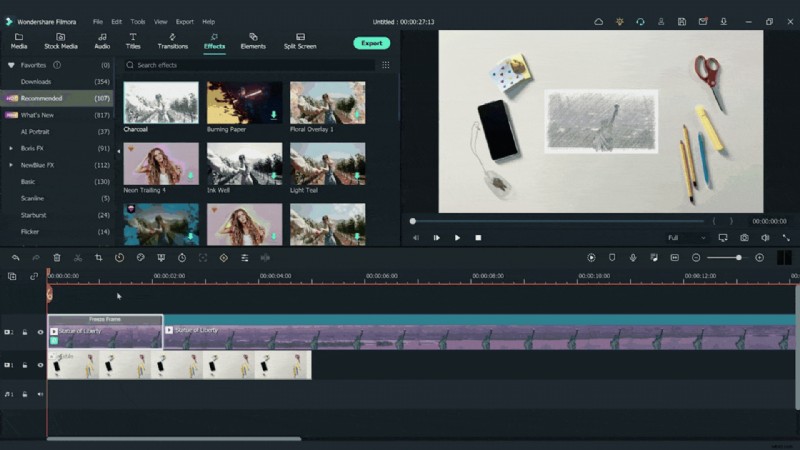
Navigate to the Effects tab, locate the “charcoal” effect, and drag it onto the freeze‑frame clip.
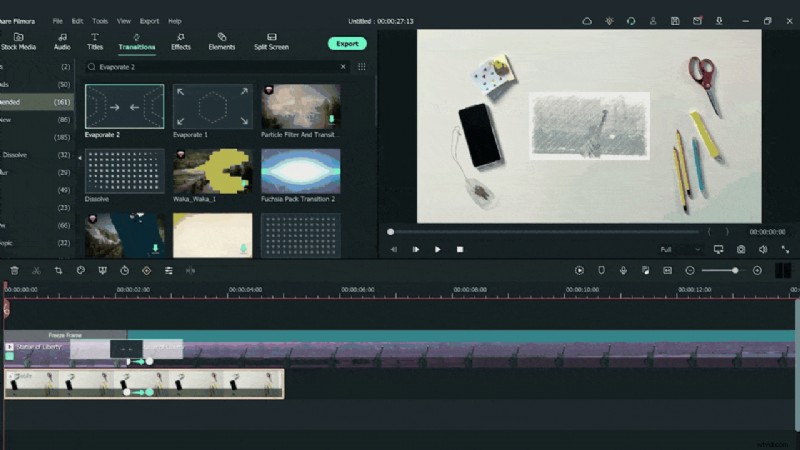
Step 8
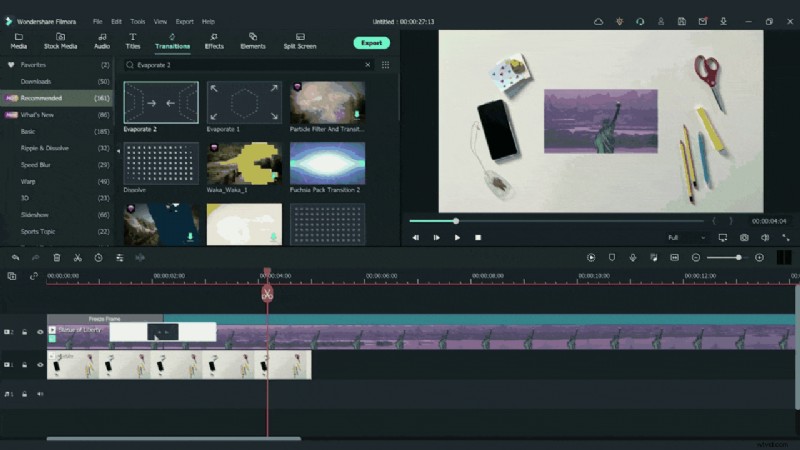
From the Transitions tab, find “evaporate 2” and drop it between the freeze‑frame and the subsequent footage.
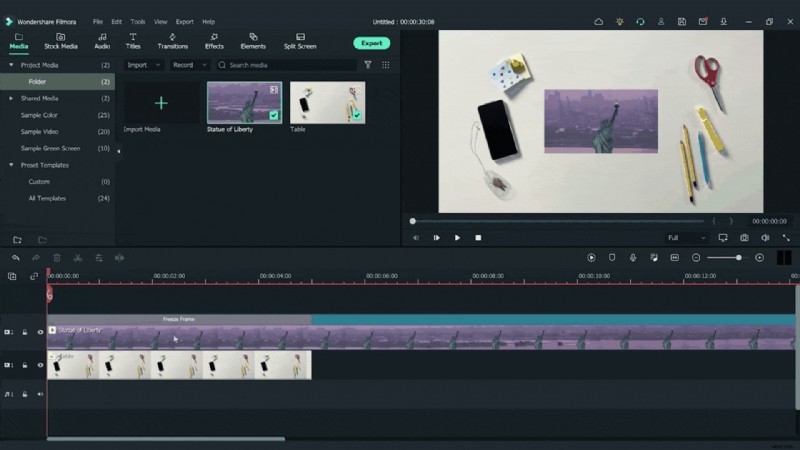
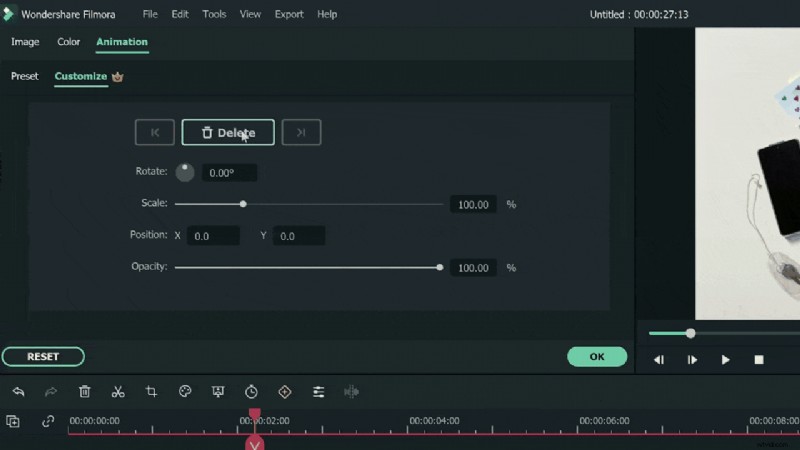
Step 9
To create a zoom‑in effect after the transition, position the playhead at the start of the clip following the freeze‑frame. Double‑click the clip, go to the Animation tab, and select Customize.
Step 10
Add a keyframe at the current position, then move the playhead one frame to the right and insert a second keyframe. Change the scale from 35% to 100% between these two points.
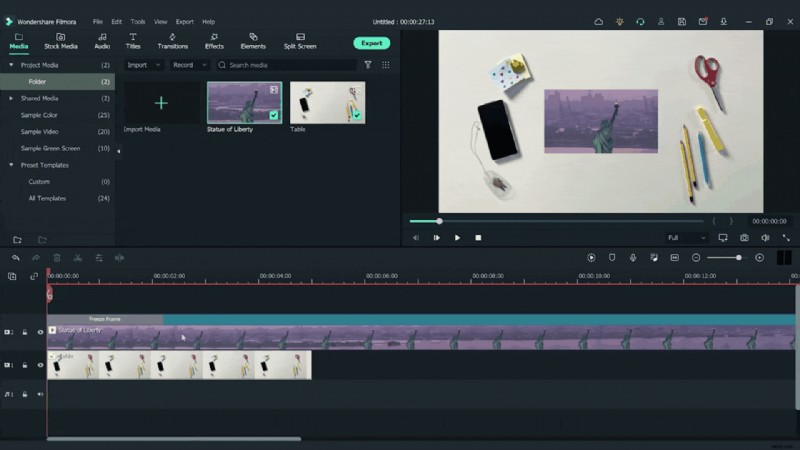
Step 11
Return to the first keyframe, select the top‑down photo on the first track, and add a keyframe through Animation >> Customize while leaving the existing settings unchanged.
Step 12
Move to the second keyframe, click the top‑down photo again, and insert another keyframe. Adjust the scale to 400% at this point.
Step 13
Congratulations! Your vlog now features a polished transition crafted with Filmora 11.
Summary
What you’ve learned:
- How to design a dynamic vlog transition.
- Practical use of freeze‑frame, keyframes, and effects in Filmora.