Preparation
What you need to prepare:
- A computer (Windows or macOS)
- Your video materials.
- Filmora video editor
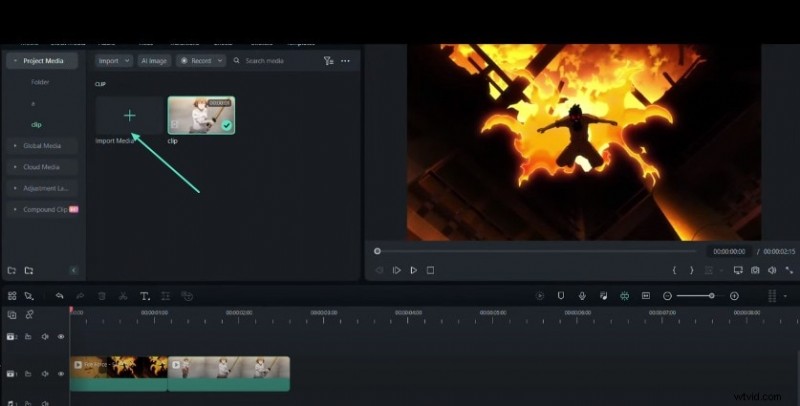
Step 1: Import Your Clip
Launch Filmora and click the New Project button. In the Import Media panel, add your clip and drag it onto the timeline.
Step 2: Split the Clip
Place the playhead at the desired split point and use Split (Ctrl + B) to divide the clip into two segments.
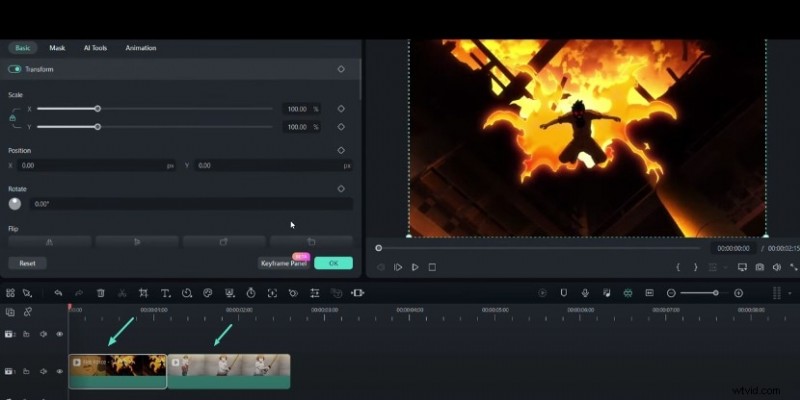
Step 3: Access the Clip Settings
Click the first segment to open its settings panel. Under the Basic tab, locate the Scale controls.
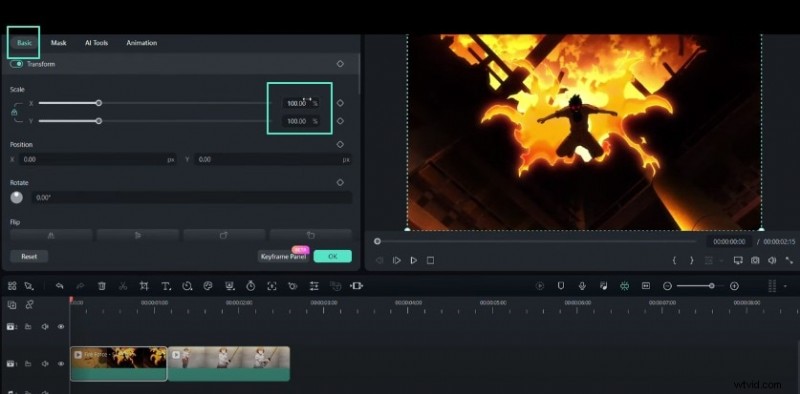
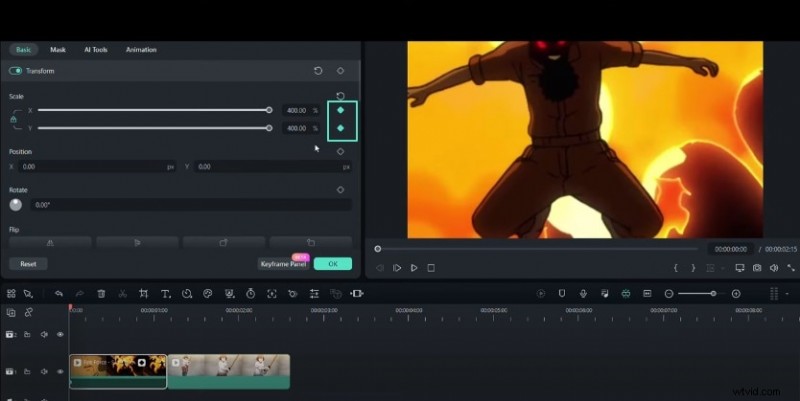
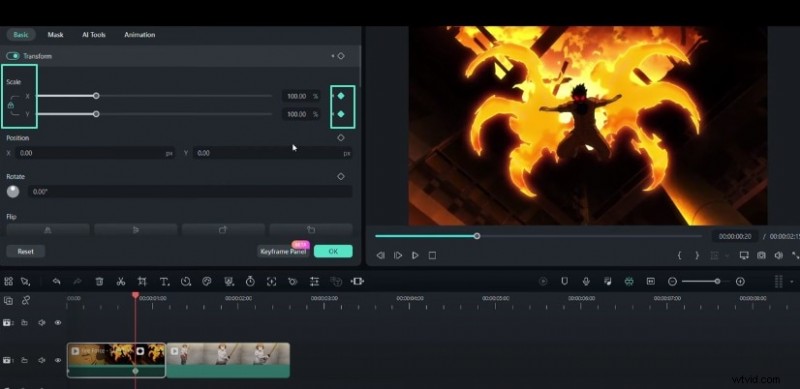
Step 4: Set Initial Keyframes
Move the playhead to the clip’s start. Adjust the X and Y scale values to about 400 %. Click the keyframe icon or press Alt + Left Click to add a keyframe.
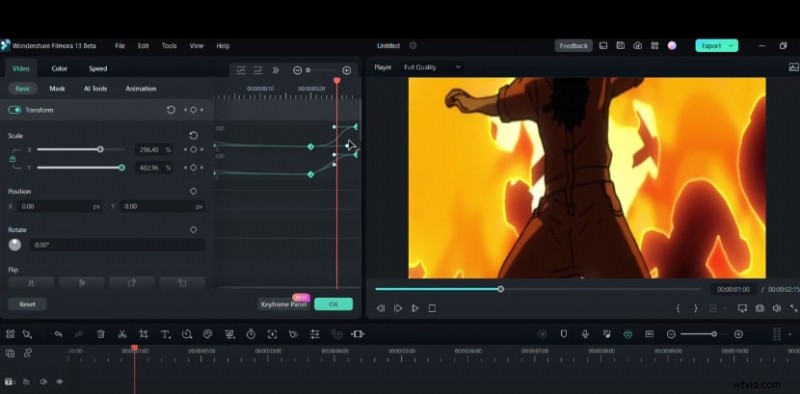
Step 5: Create Transition Keyframes
Advance a few seconds, lower the scale to 100 %, and add a second keyframe. Near the clip’s end, raise the scale to roughly 600 % and insert a third keyframe.
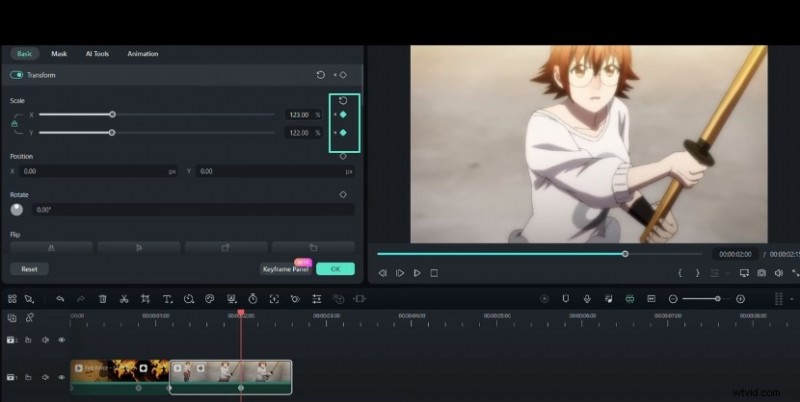
Step 6: Adjust Second Clip Keyframes
Repeat the process on the second segment: start at 100 %, then after a few seconds increase to 139 % and add keyframes accordingly.
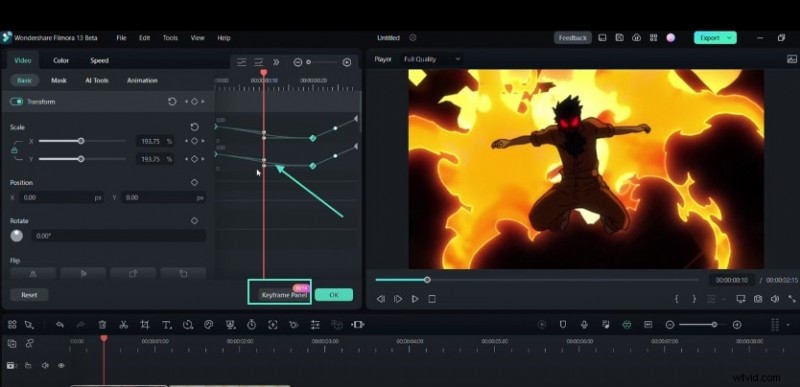
Step 7: Refine Keyframe Graphs
Open the Keyframe panel and switch to the Ease In preset. Drag the handles to the left for a sharper transition or further right for a smoother motion.
Step 8: Review and Finalize
Preview the animation in the timeline. Once satisfied, export or render the video. Experiment with different keyframe values and graph tweaks to refine your effect.
Summary
What you’ve learned:
- Keyframe graphs are a powerful tool for dynamic scaling in Filmora.
- Mastering basic keyframing and graph adjustments elevates your editing workflow.
- Explore more advanced techniques at the Filmora Creator Hub.