Why Your Smartphone Footage Often Feels Like a Home Video (and How to Fix It)
Even the most advanced iPhone sensor outperforms the gear that once captured classics like Raging Bull. Yet most mobile‑shot reels look like rushed video calls because factory settings are tuned for convenience, not storytelling. Auto‑exposure hunting, aggressive sharpening, and ultra‑fast shutter speeds eliminate the natural motion blur that our eyes have learned to read from cinema.
I discovered this firsthand on a 48‑hour film festival shoot for Noelle’s Package. We captured the entire short on a phone because of budget constraints, won the festival, but half the footage looked like a Ring doorbell. The five practices below turned the usable takes into cinematic gems.
The Curse of Auto‑Settings and Deep Depth‑of‑Field
Smartphones keep everything in focus and properly exposed by default—great for video calls but disastrous for film, which relies on selective focus, intentional exposure, and organic motion. Bypass the device’s automation to bring your footage to life.
The Cinematic Mobile Checklist
- Frame Rate & Shutter: Shoot at 24fps with a locked 1/48s shutter speed.
- Exposure Control: Disable auto‑exposure. Use a physical ND filter to reduce light while maintaining shutter speed.
- Codec & Color: Record in a flat log profile (e.g., Apple Log) at the highest bitrate your phone supports.
- Stabilization: Add physical mass to your rig; software stabilization is a patch, not a cure.
To make smartphone video look truly cinematic, lock the shutter at 1/48s, keep ISO below 400, and shoot in a flat log profile for maximum dynamic range.
1. Lock the 180‑Degree Shutter Rule (The Motion Blur Secret)
The 180‑degree rule dictates that the shutter speed should be roughly twice the frame rate. At 24fps, that’s 1/48s. A faster shutter (e.g., 1/1000s) freezes motion into a hyper‑real still, while a slower shutter adds the natural blur our brains expect.
On the set of Married & Isolated, a single oversight of an incorrect shutter speed made an entire dialogue scene look jittery and over‑exposed. Checking the shutter speed before every take became a non‑negotiable part of our physical checklist.
Controlling Explosive Light with Magnetic Variable ND Filters
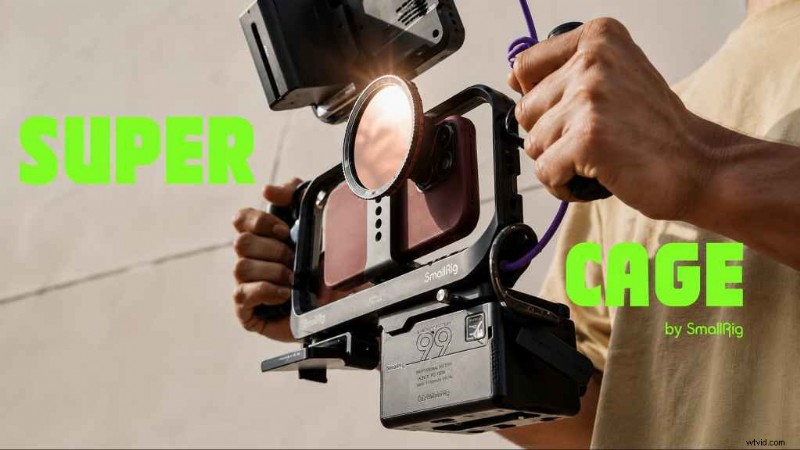
With the shutter locked at 1/48s, a bright outdoor scene can blow out highlights. A magnetic Variable ND filter acts like sunglasses for your sensor, allowing you to dial down light without changing shutter speed or frame rate.
Pro Tip: Avoid digital zoom; walk closer instead. Digital zoom crops and upscales pixels, turning clean 4K footage into a blocky mess.
Tactical Takeaway: A $30–$50 magnetic Variable ND filter is the single highest‑impact investment for outdoor shooting. It keeps your exposure locked and your footage cinematic.
2. Reject Digital Zoom: Match Focal Lengths to Story Beats
Digital zoom is a crop, not a zoom. When you pass the native lens marker, pixels are stretched and quality drops sharply. Treat each optical lens on your phone as a distinct camera with its own narrative purpose.
To emulate shallow depth of field without software, use distance, a short focal length, and the phone’s native telephoto lens.
| Focal Length Mode | Best Narrative Scenario | Common Trap |
|---|---|---|
| 0.5x Ultra‑Wide | High‑energy action, vast landscapes, claustrophobic close‑ups | Edge distortion warps faces near frame edges |
| 1x Standard Wide | General master shots, establishing environments | Factory over‑sharpening |
| 3x / 5x Telephoto | Intimate dialogue, clean portraits | Higher ISO needed; shadows can become noisy |
⚠️ Common Mistake: Treating the zoom slider as a continuous lens. Know your phone’s native markers and stay within them.
📌 Tactical Takeaway: Prior to shooting, note your phone’s native focal lengths (e.g., 0.5x, 1x, 3x). Plan your shots around those fixed lenses only.
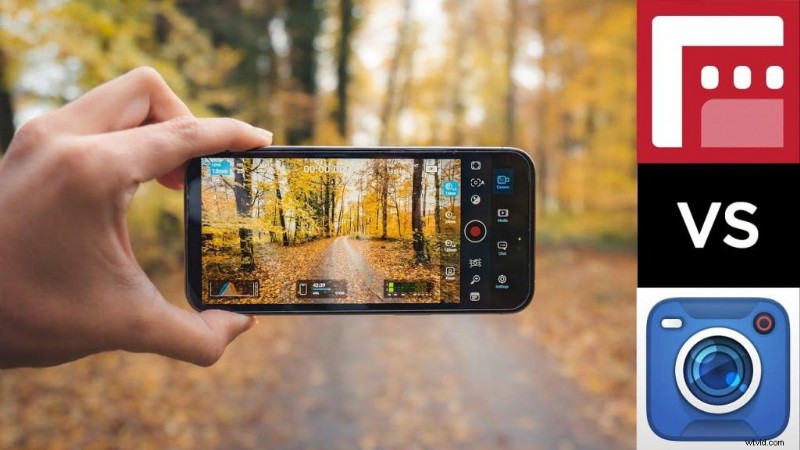
Affiliate links for Filmic Pro and ProTake are provided below. The Blackmagic Camera App is free.
Product Recommendations: Mobile Cinema Camera Apps
Blackmagic Camera App
Free. Professional manual controls, log recording, DaVinci Resolve integration.
Filmic Pro
Paid. Industry standard for robust log control on older devices. Manual focus, zebras, false color, advanced codec options.
App Store / Google Play
ProTake
Paid. Feature‑rich cinema app with waveform monitor, vector scope, professional exposure tools.
App Store / Google Play
📌 Tactical Takeaway: Bypass your native camera app to lock exposure, focus, and white balance. I use Blackmagic for a clean, free monitoring setup.
3. Build Mechanical Inertia (Ditch the Cheap Gimbals)
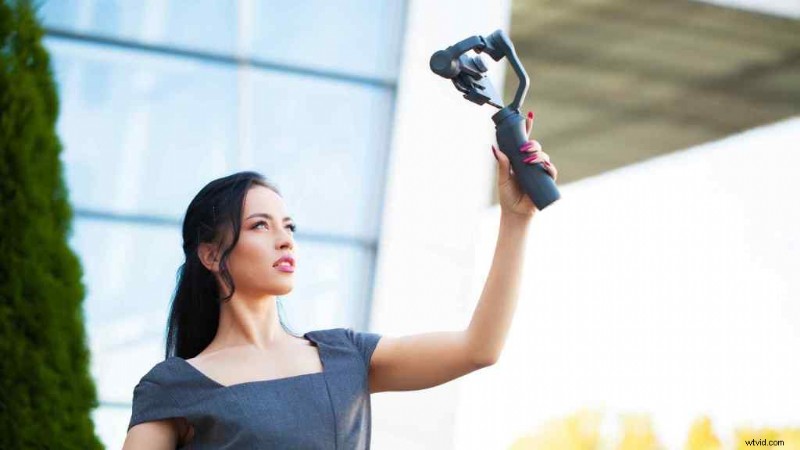
Adding real mass to your rig creates natural mechanical inertia that smooths out human micro‑shakes. A cheap tripod, a pendulum‑style rig, or a weighted phone cage can outperform an expensive gimbal in many scenarios.
The Pendulum Framework
Mount your phone on a tripod, collapse the legs, and hold the center column. The phone hangs like a pendulum, and the tripod’s mass resists sudden direction changes, smoothing up‑and‑down motion.
Physical Rig Weight Trick
Attach an old fluid head or spare baseplate to a phone cage. The added weight behaves like a Steadicam counterweight, reducing jitter for static or slow‑push shots.
Why It Fails Without Weight: A bare phone behaves like a deck of cards—tiny corrections become visible micro‑jitters. Software stabilization crops the frame and can introduce a jello effect on fast pans.
📌 Tactical Takeaway: Before buying a $150 gimbal, try the Pendulum Framework. If you need further stability, add a fluid head under a cage.
Affiliate links below. No extra cost to you.
Product Recommendations: Rigs and Accessories
SmallRig Universal Mobile Phone Cage
Solid, cheap metal cage with NATO rails.
SmallRig Fluid Head
Compact fluid head for added weight and smoother pans.
📌 The Trick: Adding mass to your smartphone rig reduces micro‑jitter. Try it before investing in a gimbal.
4. Exploit the Sensor’s Native Dynamic Range Limit
Smartphone sensors clip highlights quickly and can’t recover lost data in post. Expose for the brightest part of the frame, record in a flat log profile, and keep ISO under 400 to preserve detail.
Highlight‑First Exposure
Blown‑out skies or windows lose all information. Shoot with highlight exposure and lift shadows later—there’s no way to un‑blow highlights.
Apple Log & High‑Bitrate Codecs
A flat log (Apple Log on iPhone, or third‑party log via Blackmagic/Filmic) keeps the sensor’s full dynamic range. Pair it with the highest‑bitrate codec available (e.g., ProRes 422 HQ) for minimal compression artifacts.
ISO Sweet Spot
Most phones have a single clean ISO range; pushing beyond 400 introduces harsh noise that can’t be removed cleanly. Add light—LED panels, practical lamps, or bounce off walls—rather than raising ISO.
What Audiences Notice: A noisy dark scene feels cheap, even if viewers can’t pinpoint the cause.
Airplane Mode: More Than Just Silence
High‑bitrate recording writes data continuously. A call can interrupt this stream, corrupting the file. Airplane mode protects the data stream; check it before every take.
5. Shape Your Light (Don’t Just Chase Brightness)
Cinematic lighting is about controlling where light falls, not just adding more. Negative fill—blocking light from one side—creates depth and contrast with less total light.
Negative Fill Indoors
Use black foam core, a dark curtain, or a jacket held out of frame opposite a window. The resulting shadow contrast gives the face shape and mood without the flatness of over‑lit scenes.
In our work on Maid, the lighting team spent more time blocking light than adding it—an essential practice for a polished look.
Pro Tip: For soft dimension, consider bounce lighting setups to add controlled fill without flattening.
Tactical Takeaway: Next time you shoot near a window, block light on the shadow side before adding any fill.
Affiliate links below. No extra cost to you.
Product Recommendations: Portable Lighting & Negative Fill
Aputure Amaran MC RGBWW LED Light
Portable, accurate color, magnet mounts for cages.
Neewer 5‑in‑1 Portable Reflector / Collapsible Multi‑Disc
Includes a black panel for negative fill; folds into a backpack.
📌 The Fix: Keep a small Amaran MC panel for precise fill. Use the Neewer reflector’s black panel for portable negative fill.
The Final Frame: It’s Not the Tool, It’s the Control
Smartphones are advanced sensors, but they lack narrative intent. Control the shutter, focus, light, and weight to shape your footage into cinema, not a hyper‑technical snapshot.
Stop letting automatic processing dictate your story. Override it, plan your shots, and shoot.
What to Master Next
With your camera settings locked down, tackle exposure deception. Learn why external monitors, false color, and waveforms protect footage before you reach the edit suite.
Frequently Asked Questions
Why does my phone video look shaky even with a gimbal?
Gimbals excel at smoothing pans but don’t eliminate vertical bounce from footsteps. Combine a “ninja walk” with a pendulum rig or added weight to absorb up‑and‑down motion.
Can I get a shallow depth of field on a smartphone without cinematic/portrait mode?
Yes. Move the subject far from the background, get physically close, and use the native telephoto lens. This compresses the background naturally without halo artifacts.
Do I really need an ND filter for mobile filmmaking?
For daylight outdoor shots, yes. It lets you keep the shutter at 1/48s for natural motion blur while controlling brightness.
What’s the difference between digital zoom and optical zoom on a phone?
Digital zoom crops the image and upscales pixels, causing blockiness. Optical zoom uses a different lens, preserving resolution.
Is Apple Log worth using if I’m not planning to color grade?
No. Without grading, Apple Log looks washed out and gray compared to standard processing.
2026 Semantic Glossary
- 180‑Degree Shutter Rule: Shutter speed should be roughly double the frame rate (e.g., 1/48s at 24fps) to produce natural motion blur.
- Motion Blur: Slight smearing of moving elements that our brains read as smooth motion.
- ISO Grain Structure: Pattern and severity of digital noise introduced when a sensor’s sensitivity is pushed beyond its clean range.
- Dual‑Native ISO: A sensor design with two distinct clean ISO settings, offering more flexibility in low light.
- Color Grading: Post‑production adjustment of color and contrast for a consistent look.
- LUTs (Lookup Tables): Preset color transformations applied to footage to convert a flat log into a finished look.
- Anamorphic Squeeze: Horizontal compression of an image using an anamorphic lens, stretched back out in post for a wide cinematic aspect ratio.
- Negative Fill: Using a non‑reflective surface to absorb light from one side of a subject, increasing contrast and shape.
- Three‑Point Lighting: Key light, fill light, and backlight to separate a subject from its background.
- Apple Log: Apple’s flat, high‑dynamic‑range color profile available on certain iPhones, designed for grading.
- ProRes 422 HQ: High‑bitrate, low‑compression codec preserving image detail at the cost of larger file sizes.