
I Ruined Three Shots Before I Figured This Out
It was the second day of shooting Beta Tested. Green screen up, lights set, actors ready. Everything looked perfect on set.
Then I opened iMovie.
Green blobs. Weird halos. One actor’s shoulder had basically ceased to exist. I’d done everything I thought was right—smooth fabric, decent lighting, plenty of space. But “decent” isn’t good enough when you’re trying to chroma key a moving person against a background you dropped in from stock footage.
That experience cost me four hours of re‑editing and one very long night. This guide is what I wish I’d had before I touched record.
Quick note: Some links in this article are affiliate links. If you buy something through them, I get a small commission at no extra cost to you. I only recommend tools I actually use. If something’s garbage, I’ll tell you—commission or not.
Why Most iMovie Green‑Screen Guides Fail You
Many tutorials jump straight into iMovie’s UI, showing you where to click and calling it a day. The truth is, 90% of chroma‑key headaches are introduced before you even launch the editor. The footage you feed into iMovie dictates what the software can do. If your key footage is poorly lit or uneven, iMovie will struggle regardless of how sophisticated its engine is.
Another common misconception is that iMovie is a limited tool. While it doesn’t rival the feature set of Final Cut Pro or DaVinci Resolve, it delivers reliable chroma keying when the fundamentals—lighting, distance, and material—are nailed. For run‑and‑gun indie projects and YouTube creators, iMovie is a solid choice.
Let’s build a clean key from the ground up.
The 3 Root Causes of Bad Chroma Key Results
Almost always, the culprit can be traced to one of three factors:
- Uneven lighting on the screen. A bright spot on one side creates a second shade of green that iMovie can’t remove cleanly, leaving patchy edges.
- Subject too close to the screen. Green light bounces onto hair, clothing, or skin, causing partial key‑out and disappearing features.
- Low‑contrast footage. Low resolution or heavy compression softens edges, making iMovie’s chroma key less effective and producing a fuzzy halo.
Fixing these three issues unlocks iMovie’s full potential.
The Setup: 3 Pillars of a Clean Key
| Factor | Why It Matters | The Quick Fix |
|---|---|---|
| Lighting | Prevents shadows and hot spots | Use two lights at 45° angles on the screen |
| Distance | Eliminates green spill onto your subject | Stand 4–5 feet away from the screen |
| Texture | iMovie hates wrinkles | Steam your fabric, or use a pop‑up screen |
Choosing Your Green Screen Material
Fabric is the most versatile option for home and mobile setups. Wrinkle‑free fabric is essential—small folds create shadows that iMovie reads as a different color. Clamp the edges, use a backdrop stand, and keep the surface taut.
| Material | Best For | Watch Out For |
|---|---|---|
| Fabric/Muslin | Regular home shoots | Must be wrinkle‑free; iron or steam before shooting |
| Paper | Permanent studio setups | Tears easily; not ideal for mobile or multi‑day shoots |
| Collapsible/Pop‑Up | Small spaces, travel | Can lose tension at the edges between takes |
If you shoot regularly, a collapsible portable green screen is a worthwhile investment. They’re made of wrinkle‑resistant material and fold down to almost nothing.
Keep it real: Portable screens can be tricky to keep fully taut at the edges between takes. It’s a small annoyance—worth knowing before you buy.
Lighting—The Secret Sauce
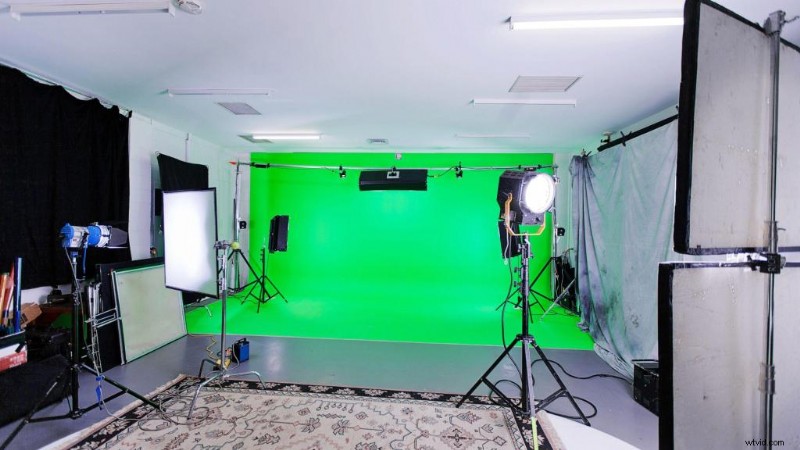
Most budget setups falter here. At a minimum, position two lights on the screen at roughly 45‑degree angles to achieve even, shadow‑free coverage. A single front light creates a hot spot and deep shadows that iMovie’s basic chroma key struggles with.
Separate the subject’s lighting from the screen’s. A key light and a fill light on the actor keep them from looking flat and ensure consistent color temperature between foreground and background.
Softboxes are the workhorse. Affordable LED softbox kits ($80–$150) deliver reliable diffusion. Ring lights work for talking‑head setups but are less effective for full‑body shots.
Keep it real: Cheap softboxes in the same kit may have slightly inconsistent color temperatures. Check them with your camera before shooting. A minor mismatch is fixable; a major one isn’t.
For a deeper dive into budget lighting, see my Lighting on a Budget: What Actually Works guide.
Camera and Settings
iPhone footage can rival DSLR when shot correctly. Key requirements: shoot at 1080p minimum, 4K if storage allows. Disable auto‑exposure and auto‑white balance; lock the settings manually to prevent drift during a take.
Use a tripod—camera shake makes the chroma key editor’s job difficult because the subject’s edges shift relative to the background in each frame.
While iMovie is forgiving, your camera choice sets the ceiling for quality. For those upgrading from a smartphone, check out my Best Budget Cameras for Indie Filmmakers guide.
Filming: What to Do Before You Hit Record
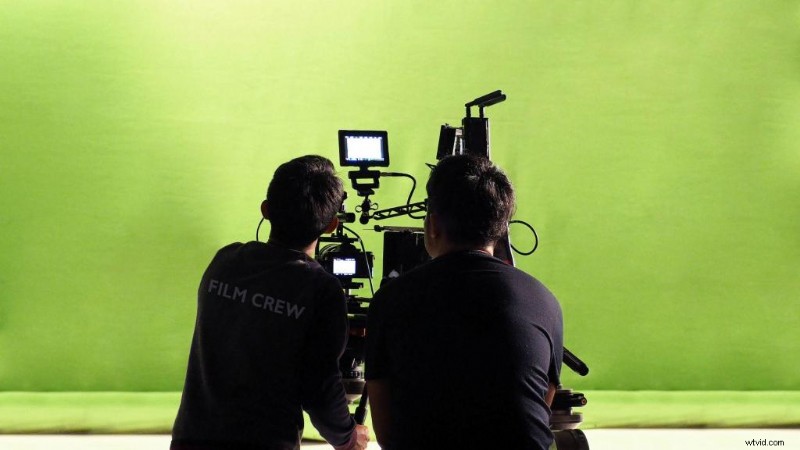
Keep your subject at least four feet from the screen—five feet is ideal—to prevent green spill.
Avoid green clothing and highly reflective accessories; they’ll pick up the screen’s color and partially vanish during keying.
Use the camera’s viewfinder to confirm the screen is a uniform color. Light patches will not disappear in post.
For action shots, slower, deliberate movements key out cleaner. Fast motion introduces blur that complicates edge removal. If fast action is essential, keep movement away from frame edges.
How to Chroma Key in iMovie: Step‑by‑Step (2026)
Mastering the iMovie green‑screen effect requires more than a single click. Follow this workflow to make your subject blend naturally with the background.
Step 1: Import and Organize Your Assets
Create a new project. Import your green‑screen footage (the “A‑Roll”) and your background clip (the “Background Plate”).
Pro‑Tip: Name clips clearly—e.g., “Subject_Final” and “Background_Plate.” Good naming saves time during render.
Step 2: Layer Your Timeline (The “Sandwich” Method)
In iMovie, the background must sit on the bottom track.
- Drag the Background Plate into the main timeline first.
- Drag the green‑screen clip directly above it as an overlay.
This layering tells iMovie that the top clip is the foreground.
Step 3: Activate the Green/Blue Screen Tool
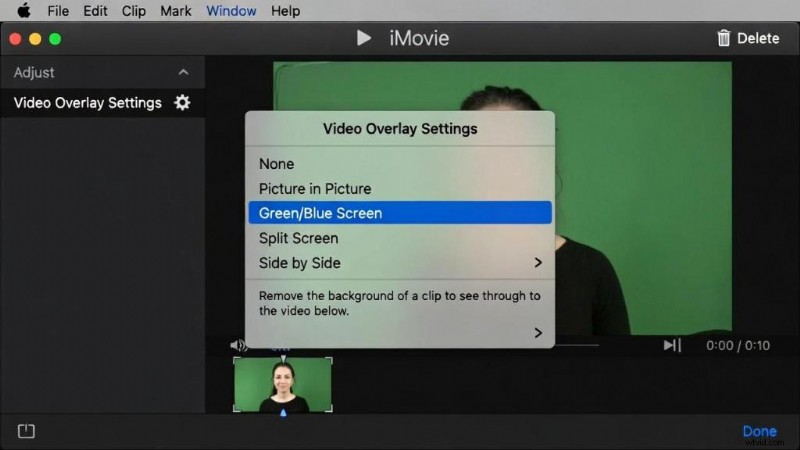
Select the green‑screen clip. Click the Video Overlay Settings icon (two overlapping squares) above the preview. From the dropdown, choose Green/Blue Screen.
iMovie will automatically key out the green. With even lighting, the background should appear instantly.
Step 4: The Garbage Matte Technique
If your green screen didn’t cover the entire frame—visible walls, light stands, or floor—use the crop tool (dotted square icon) to trim the frame to your subject’s boundaries.
In compositing terms, this is a garbage matte. It allows you to work with a smaller green area while keeping the full background visible.
Pro‑Tip: This trick saved us on Beta Tested, where we shot wide‑angle with a six‑foot screen but cropped out excess during editing.
Step 5: Fine‑Tune the Softness Slider
Inspect the subject’s edges, especially hair and clothing.
- Too low: Harsh, pixelated edges.
- Too high: Subject becomes translucent; hair and edges fade.
Find a balance that keeps edges sharp yet smooth. Hair is the ultimate test—if it looks clean, the rest usually does too.
Step 6: Neutralize Green Spill
Green spill appears as a greenish tint around the subject. While the Softness slider helps, persistent spill can be tackled with iMovie’s Color Balance tools—use the eyedropper to sample a neutral area of the subject.
Alternatively, apply a low‑opacity video filter (e.g., “Muted” at 10–15%) to flatten the tint. Don’t over‑apply; the goal is subtle correction.
The real fix is on set: move your subject further from the screen.
Step 7: Color Grade for Realism (The Match)
Many composites fail because the foreground and background have mismatched color tones. Use iMovie’s Color Balance and Color Correction tools to match the background’s mood. For a warm sunset background, add warmth to the subject; for a cool, fluorescent backdrop, shift the subject cooler.
Lowering the subject’s contrast slightly also helps—cameras tend to over‑sharpen foregrounds, making them pop unnaturally.
FAQ: iMovie Green‑Screen Troubleshooting
Why is my green screen not working in iMovie?
Most often it’s a layering issue. The background must be on the bottom track, and the green‑screen clip must overlay it. If clips are side‑by‑side, the Green/Blue Screen option will be greyed out.
How do I fix green spill (green edges) on my subject?
Adjust the Softness slider, use the Color Balance eyedropper, and try a muted filter at 10–15% opacity. In future shoots, keep the subject at least five feet away.
What is the best green screen background to use with iMovie?
Choose matte, wrinkle‑free fabric or a collapsible pop‑up screen. Avoid shiny or plastic surfaces that create specular highlights, which iMovie’s basic chroma key can’t cleanly remove.
Does iMovie support blue screen background removal?
Yes. The Green/Blue Screen option automatically detects the dominant color, whether green or blue.
How do I change the background in iMovie without a green screen?
iMovie lacks AI‑based background removal. For screen‑free removal, you’ll need Final Cut Pro or DaVinci Resolve and manual rotoscoping.
Can I use iMovie green screen on iPhone?
Absolutely. The workflow mirrors the Mac version: add the background clip first, then the green‑screen footage, and select Green/Blue Screen from the overlay menu.
Recommended Gear: The “No‑Fail” Kit for iMovie
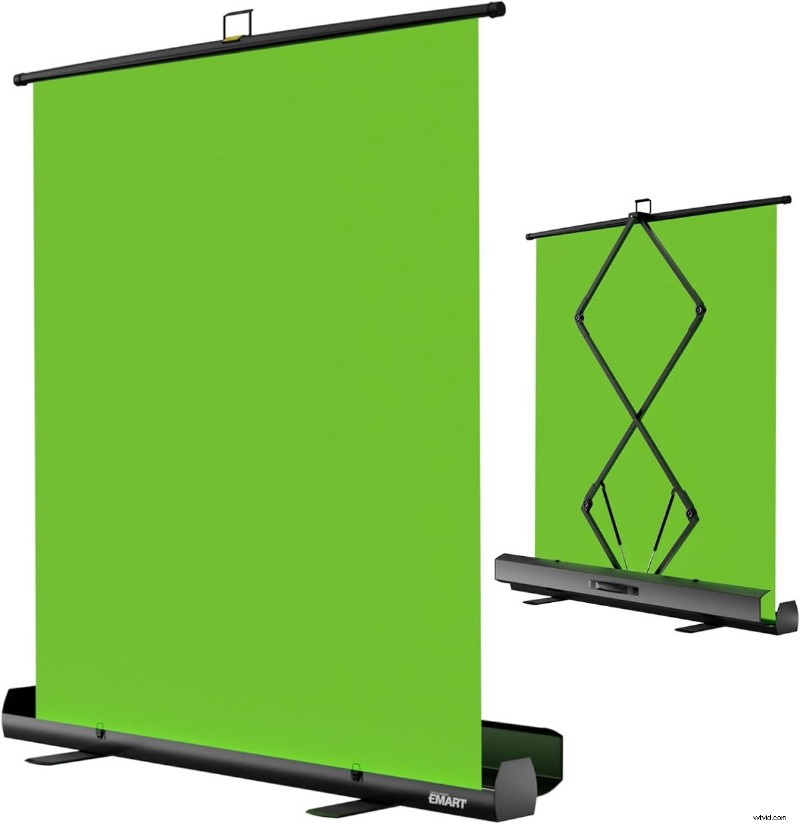
Top Pick for Professionals
Esmart Collapsible Green Screen
This is the exact screen I use to avoid green blobs. It’s wrinkle‑resistant, pops up in seconds, and delivers the flat, even surface iMovie needs.
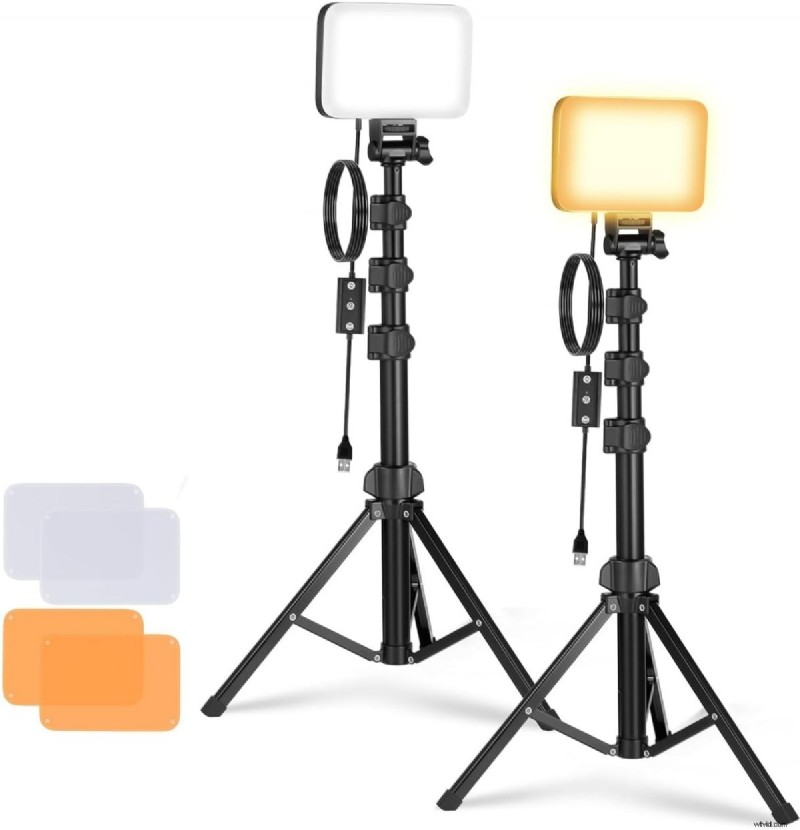
Best All‑In‑One Value
Neewer 2‑Pack Dimmable USB LED Lights
Small, portable, and surprisingly bright—perfect for home studios. They’re easy to position at the critical 45‑degree angles without taking up the whole room.
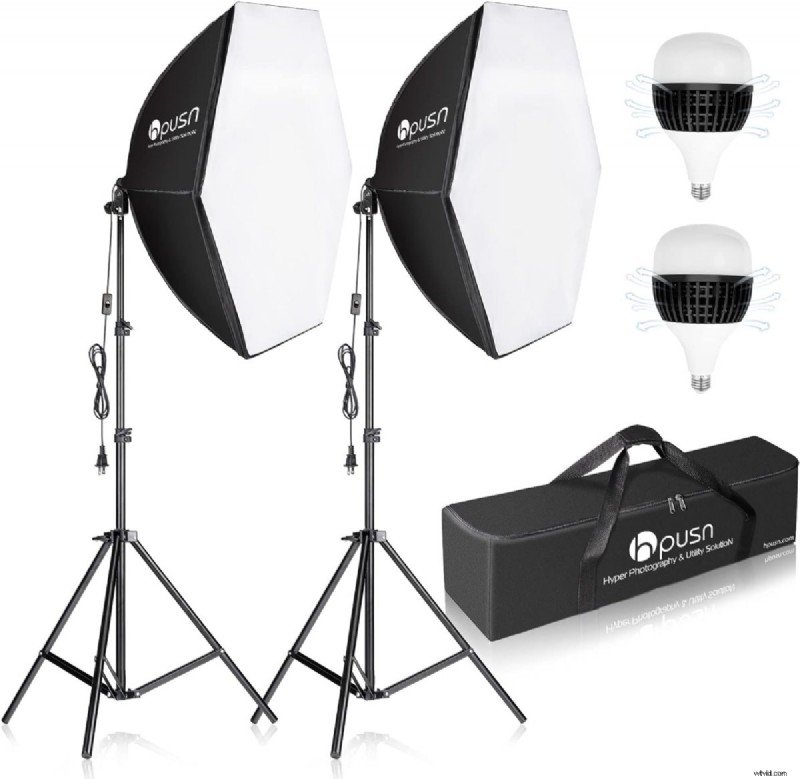
The “Flawless Key” Choice
HPUSN Softbox Lighting Kit
To eliminate green blobs, you need diffused light. These softboxes mimic natural light, spreading it evenly across the screen for a one‑click key.
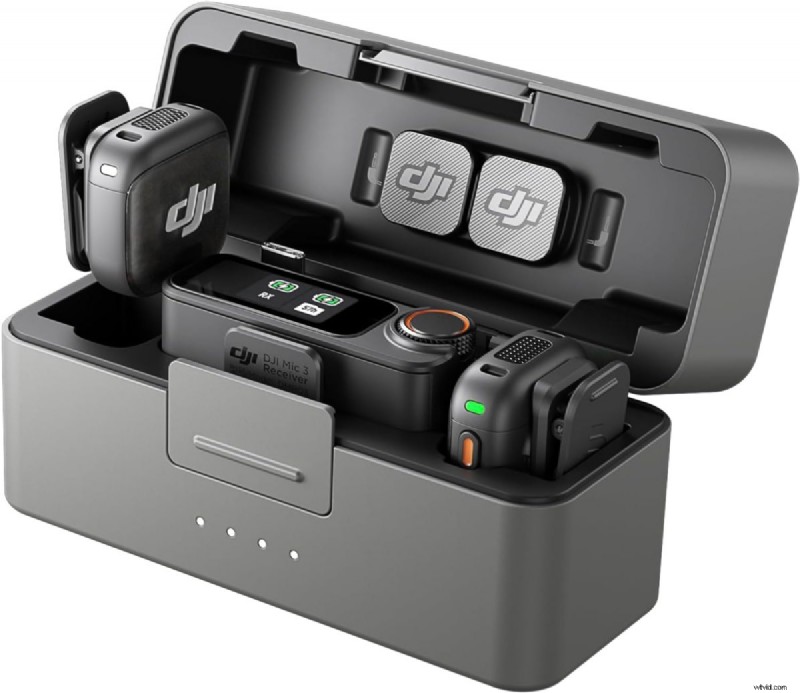
Best for Audio Clarity
Rode Wireless ME / DJI Mic 2
If your video looks cinematic but your audio is tinny, these clip‑on wireless mics are the gold standard for talking‑head setups. They deliver crystal‑clear audio without cluttering your green‑screen frame.
The Honest Verdict
A dollar‑store green cloth, a couple of desk lamps, and an iPhone can produce usable footage. I’ve done it. Results are acceptable for quick YouTube content or social clips.
But if you shoot regularly, invest in a quality lighting kit. Consistent, even light on the screen is the single most common failure point for budget setups. A proper softbox kit eliminates the variable that causes the most editing headaches.
The screen material matters less than lighting. A wrinkle‑free $40 fabric screen with good lighting beats a premium screen with bad lighting every time. Buy the lights first.
One Last Thing
Green‑screen editing has a learning curve, but it’s a short one. Your first result probably won’t be seamless. Your third will be noticeably better. By your fifth or sixth, you’ll be setting it up and editing without thinking about it.
The fundamentals haven’t changed: even light on the screen, subject far enough back, high‑quality footage, careful softness settings. Get those four things right and iMovie does the rest.
Your living room is officially a film set.
What’s your biggest green‑screen headache right now? Drop it in the comments—I check them, and if enough people have the same problem, it becomes the next guide.