
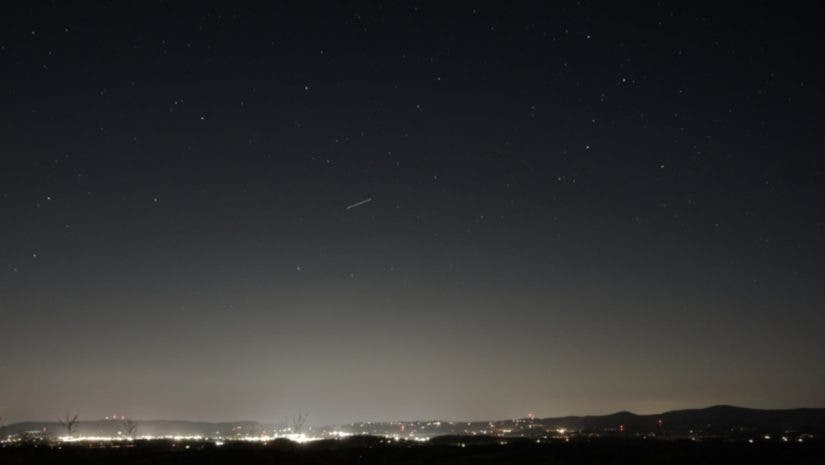
Night‑sky photography offers a refreshing escape from the relentless glare of city lights, allowing you to capture the cosmos in its full, unfiltered glory. While light pollution continues to encroach on more regions, pockets of darkness still exist within a short drive of many urban centers. With the rise of nocturnal tourism, even remote dark‑sky sites now provide lodging, making it easier than ever to plan a stellar getaway. Finding the perfect location means prioritizing a wide, unobstructed field of view, minimal light pollution, and optimal timing. Below, I’ll walk you through the essentials to secure the clearest, most breathtaking skies for your next shoot.
Understanding Darkness: The Bortle Scale Explained
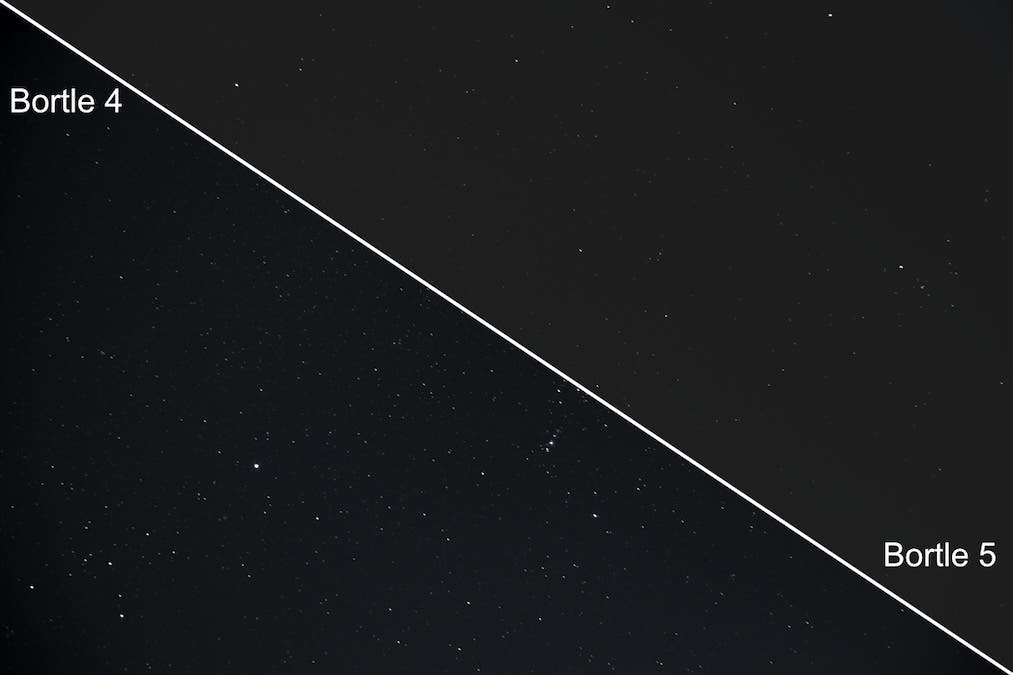 Bortle 5 skies exhibit more glow and fewer stars than Bortle 4 locations.
The Bortle Scale is the industry standard for quantifying sky brightness. It spans nine classes, from the almost star‑free glare of Class 9 (typical of major city cores) to the pristine, star‑laden darkness of Class 1 (remote, protected sites). What you can photograph depends on where you fall on this spectrum. A full moon can be captured in a Class 9 setting, but photographing the Milky Way, faint stars, or planets often requires moving to Class 4 or darker.
How the Scale Works
Class 9 is the darkest, while Class 1 offers the most luminous starfields. The scale helps you gauge whether a location will reveal the objects you’re after.
What You’ll See at Each Level
| Bortle Scale Summary | ||
| Areas Typical of Each Class* | Faintest Magnitude Visible on Moonless Clear Night | |
| Class 9 | Inner City | > 4.0 |
| Class 8 | City | 4.1 to 4.5 |
| Class 7 | Urban/Suburban Transition | 4.6 to 5.0 |
| Class 6 | Bright Suburban | 5.1 to 5.5 |
| The Milky Way begins to become visible. | ||
| Class 5 | Suburban | 5.6 to 6.0 |
| Class 4 | Suburban/Rural Transition | 6.1 to 6.5 |
| Clusters M15, M4, M5, and M22 are becoming visible. | ||
| Class 3 | Rural | 6.6 to 7.0 |
| Zodiacal light increases. | ||
| Class 2 | Typical Dark Sky | 7.1 to 7.5 |
| The Milky Way becomes structured and detailed. | ||
| Class 1 | Excellent Dark Sky | 7.6 or greater |
*Small cities may score like suburban areas if isolated; farmland near large urban centers can register higher light levels.
Locating the Perfect Night‑Sky Spot
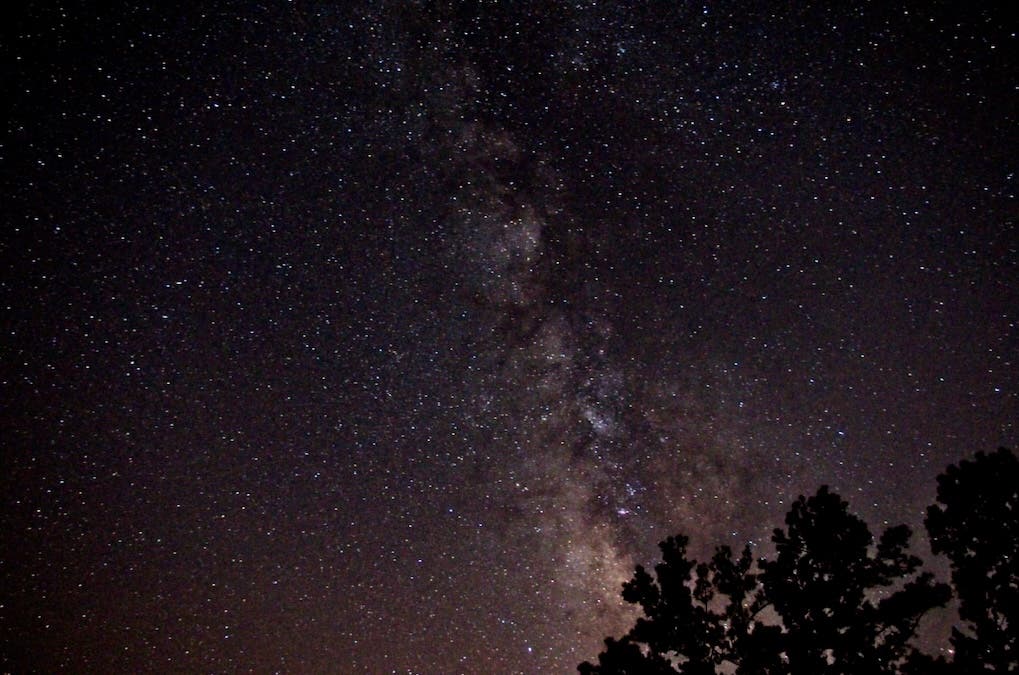 The Milky Way becomes more prominently visible in a Bortle 3 sky, though long exposures reveal it in even fainter skies.
While photographers are the most visible seekers of pristine skies, astronomers, stargazers, and casual sky‑watchers all hunt the same clear vistas. Dark‑sky parks, astronomy club events, and public lands are prime sources of accessible stargazing. Below is a checklist to help you pinpoint a location that meets your technical and logistical needs.
Key Criteria for a Stellar Site
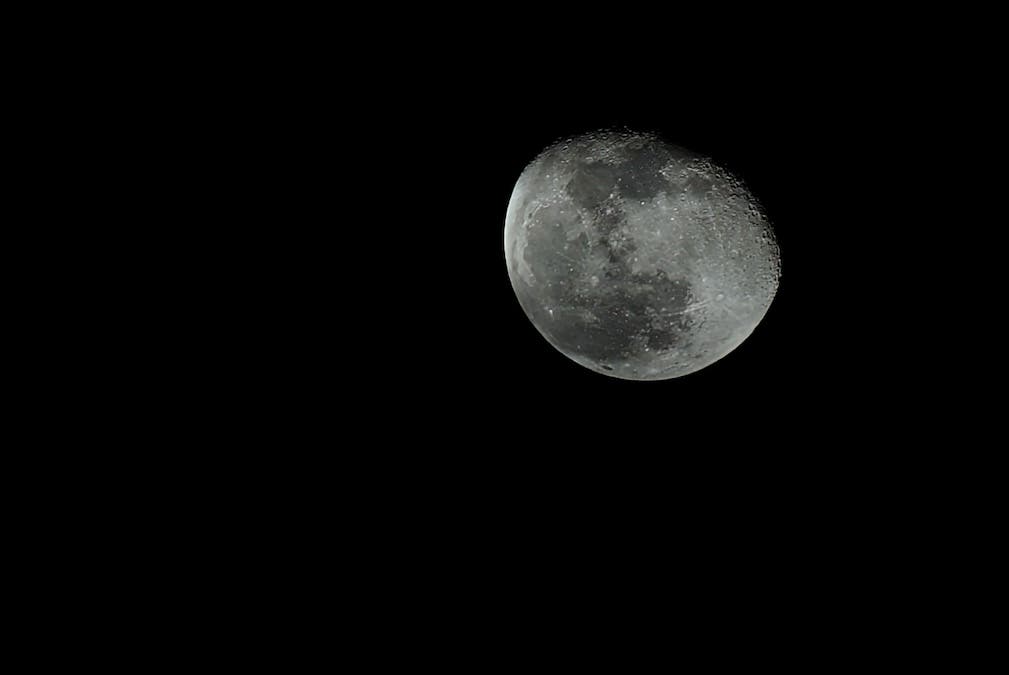 The moon can be a beautiful subject, but its glow often obscures fainter stars.
- Darkness Rating: Unless photographing the moon, aim for Bortle 3 or 4. Apps like Light Pollution Map or Dark Sky Finder can help you estimate local light levels.
- Wide Sky View: Open fields, mountain ridges, or lakeside flats with minimal horizon obstruction provide the best panoramas. Google Street View can preview potential sites.
- Public Access: Verify that the area remains open after sunset—many state parks close at dusk unless you’re camping.
- Travel Distance: For day‑trip shoots, stay within a 2‑hour drive. Overnight trips give you more flexibility but still benefit from proximity for logistics.
- Safety: Choose sites with reliable cell service, clear signage, and manageable terrain. Consider wildlife risks (e.g., alligators in the southeastern U.S.) and always bring a companion.
Top Public Dark‑Sky Locations in the U.S.
Organizations such as DarkSky International certify and promote low‑light sites. Some of the most celebrated public lands include:
- Big Bend National Park, TX: Bortle 1
- Grand Canyon National Park, AZ: Bortle 1
- Yellowstone National Park, WY: Bortle 1/2
- Yosemite National Park, CA: Bortle 1
- Maine Woods International Dark Sky Park, ME: Bortle 2
- Arches National Park, UT: Bortle 2
- Stephen C. Foster State Park, GA: Bortle 2/3
- Voyageurs National Park, MN: Bortle 2
- Cape Lookout National Seashore, NC: Bortle 3
- Cherry Springs State Park, PA: Bortle 3
- Staunton River State Park, VA: Bortle 4
Scout During the Day
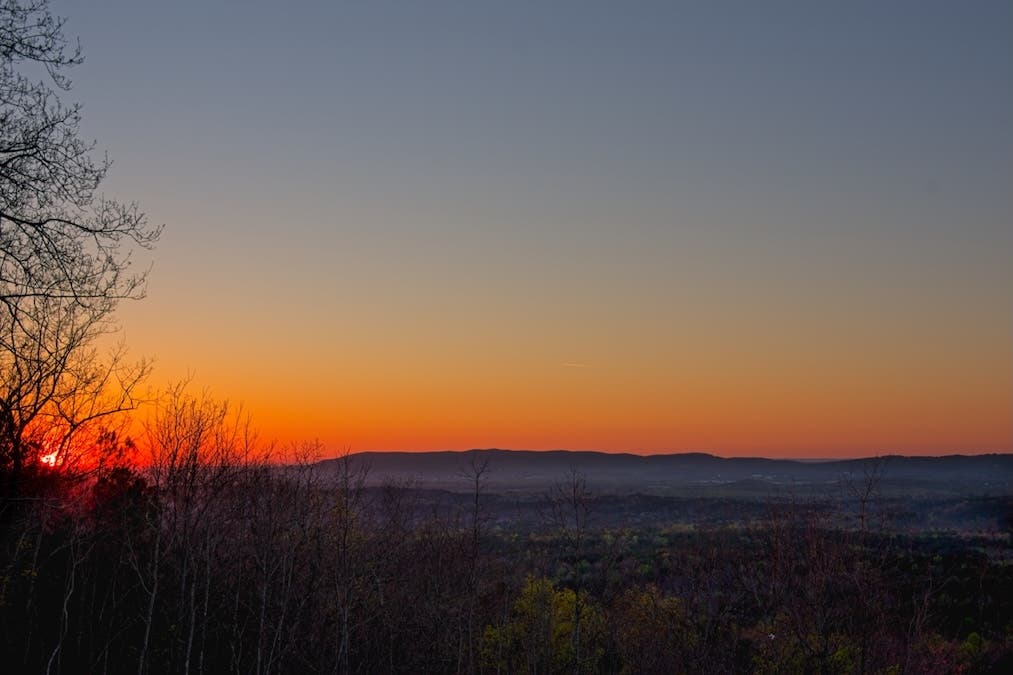 Mountaintops often provide wide, unobstructed views ideal for Milky Way and star‑trail photography.
Visiting a potential site during daylight lets you assess terrain, identify hazards, and plan tripod placement with full visibility. If you can revisit the spot regularly, start with moonlit photography to gauge natural lighting and shadow patterns—this can inform your expectations for darker nights.
Timing Is Everything: Planning Your Night‑Sky Trip
Choosing the right time of night and season is as crucial as picking the right location. The Milky Way’s core appears at different times throughout the year—early dawn in spring, post‑sunset in summer and fall. Tools like Stellarium or SkySafari let you simulate the sky’s layout for any date and time, helping you schedule your shoot for maximum impact.
When planning, consider:
- Moon rise and set times, and the phase of the moon.
- Rise and set times for target stars or planets.
- Sky visibility needed to capture your subjects.
- Clear‑sky forecasts—apps such as ClearSkyDarkSky provide real‑time cloud data.
Gear Essentials for Night‑Sky Photography
Having the right equipment can turn a good observation into a stunning image. If you’re just starting, an entry‑level DSLR or mirrorless camera capable of at least 6‑second exposures paired with a sturdy tripod—such as the 3Pod Everest T5 4‑Section Carbon Fiber Tripod—will get you far. As you progress, consider adding a star tracker for longer exposures, a telescope with a compatible T‑Ring for deep‑sky shots, and a wide‑angle lens for sweeping Milky Way scenes.
To help you capture the Milky Way with confidence, I’ve included a few insights from photographer Austin James Jackson. For more in‑depth reviews of star‑tracking gear, check out the 3Pod Everest T3 & T5 Carbon Fiber Tripods review linked below.
Capture the Milky Way Perfectly with THESE Tips! With Austin James Jackson
Further Reading: 3Pod Everest T3 & T5 Carbon Fiber Tripods: Hands‑On Review

Liz Masoner
Liz Masoner has viewed the world through a lens for over 40 years. As a professional photographer and dedicated mentor, she guides students worldwide with a passion for storytelling and shared experiences. From everyday moments to historic events, Liz believes every scene deserves attention—and that anyone can capture stunning images.
-
Transform Your Garage into a Pro Portrait Studio: Create Dramatic Portraits
-
Canon A1 Viewfinder Upgrade: Easy Broadcast-Style Mod
-
19 Expert Snow Photography Tips for Capturing Stunning Magical Shots
-
Master Natural Portraits: Ultimate Guide to Using an Outdoor Studio
-
7 Expert Tips for Capturing Stunning Skyline Photos
-
15 Common Portrait Photography Mistakes and Proven Fixes
-
5 Critical Post-Processing Mistakes Every Bird Photographer Must Avoid
-
Master Gentle Posing: Essential Starter Prompts for Natural, Authentic Images
-
Master Male Posing: Expert Tips, Ideas & Techniques for Confident Photography
-
Capture Stunning Landscape Photos in 'Boring' Locations: Expert Tips