If you are cropping photos for the 4×5 Instagram you know how difficult it can be to fit your subject in the frame. This is where adding a bit more room vertically or horizontally to your photo using content aware scale in Photoshop can be useful.
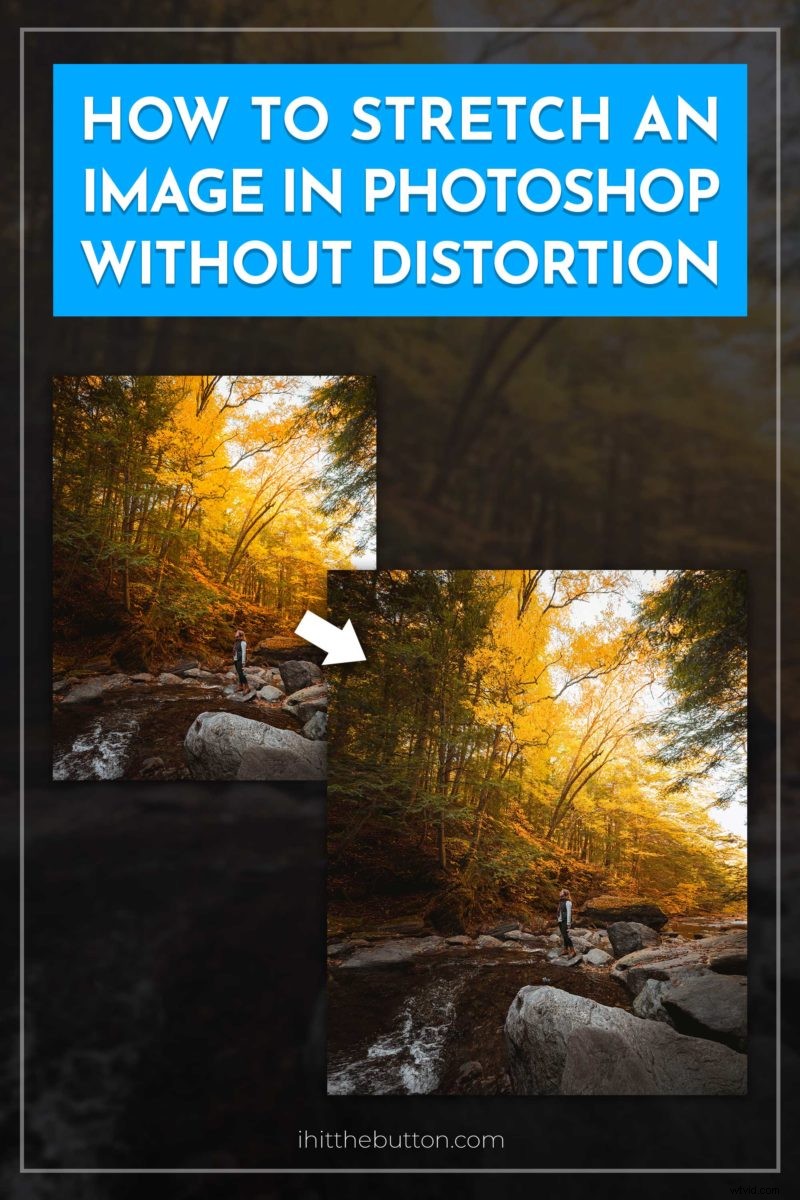
In this article I’ll go over how to use Photoshop to add a bit more breathing room to your photo without distorting the photo.
It’s important to note that this won’t work with all images but photos with simple edges will work best. This includes photos with simple horizons and landscapes.
Steps to Stretch an Image in Photoshop Without Distortion
- 1. Unlock Your Canvas
- 2. Enlarge Your Canvas
- 3. Stretch the Edges with Content Aware Scale
- 4. Clean Visual Artifacts
First of course you’ll need to open your image in Adobe Photoshop. If you’re using Lightroom you can right click your photo and click open in Photoshop.
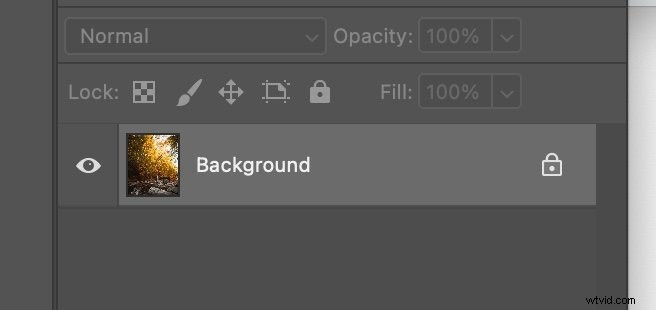
1. Unlock Your Canvas
Once you have your photo in Photoshop you want to be sure the layer is unlocked. This is usually indicated with a tiny lock symbol on the layer. You can unlock a layer by double clicking it and hitting ok.
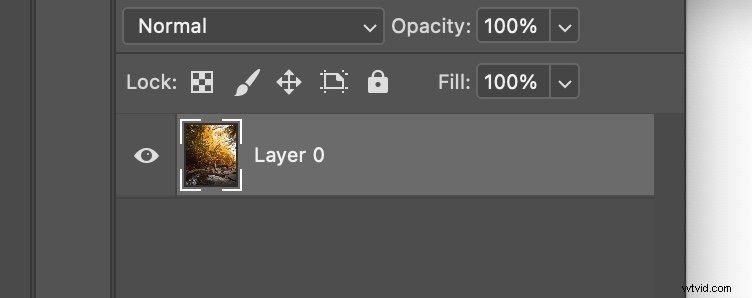
You’ll also want to make sure the layer is not a smart object. If you believe that to be the case you can right click the layer and select “Rasterize Layer”
Now that we know our canvas is unlocked and the layer isn’t a smart object we can move on to the next step to distorting your photo.
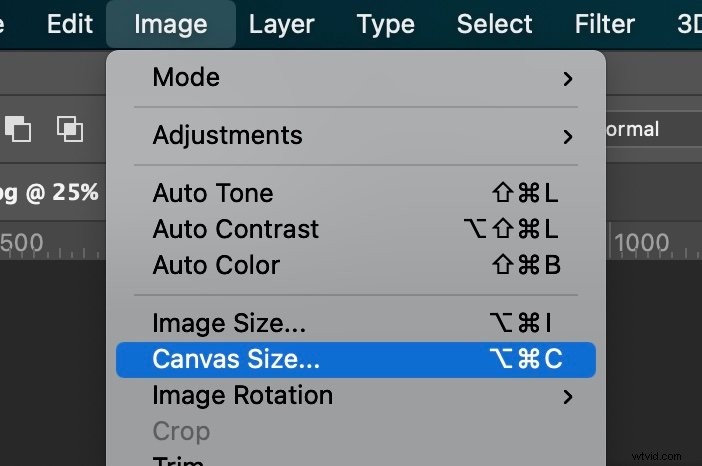
2. Enlarge Your Canvas
Since you want your photo to be horizontally or vertically larger we’ll need to enlarge the canvas.
This can be done by going to Image > Canvas Size.
Once the canvas size option appears you’ll be able to enlarge the canvas in any direction. For this tutorial I recommend using a percentage scale and setting the width to 120%.
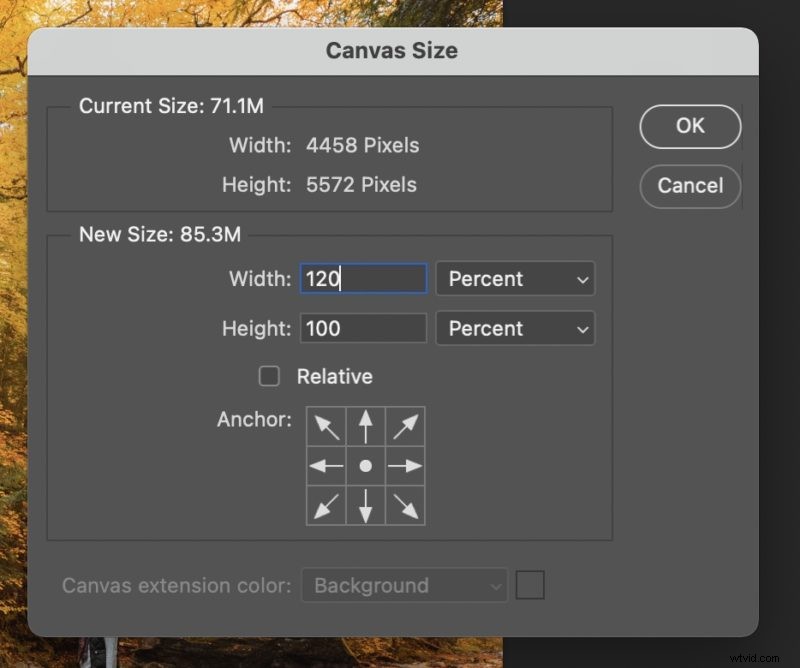
After hitting OK you’ll be greeted with your extended canvas to work with.
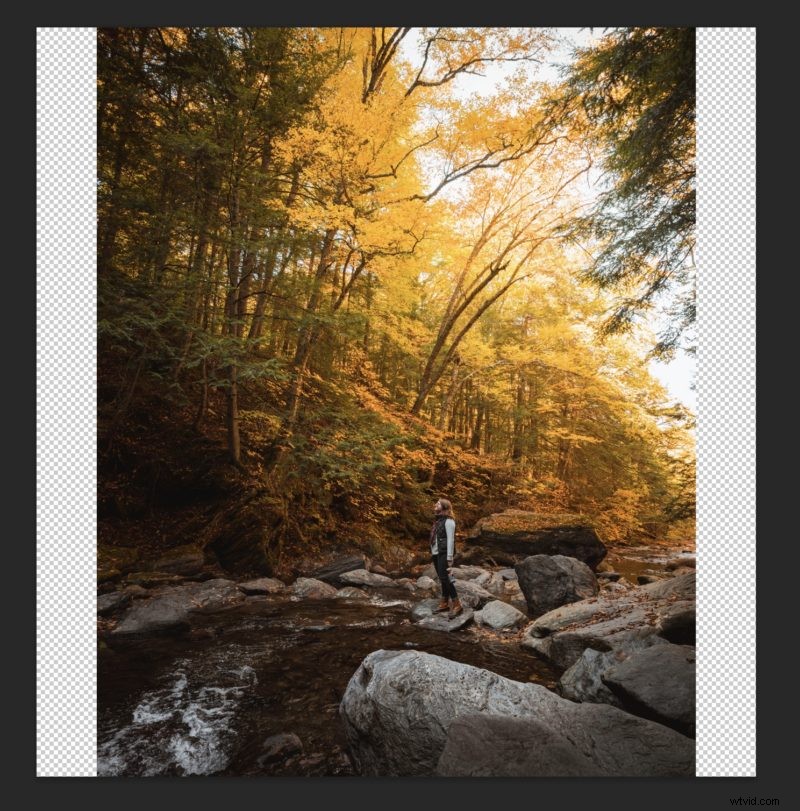
Now that we have our extended canvas we can stretch the edges of our photo.
3. Stretch the Edges with Content Aware Scale
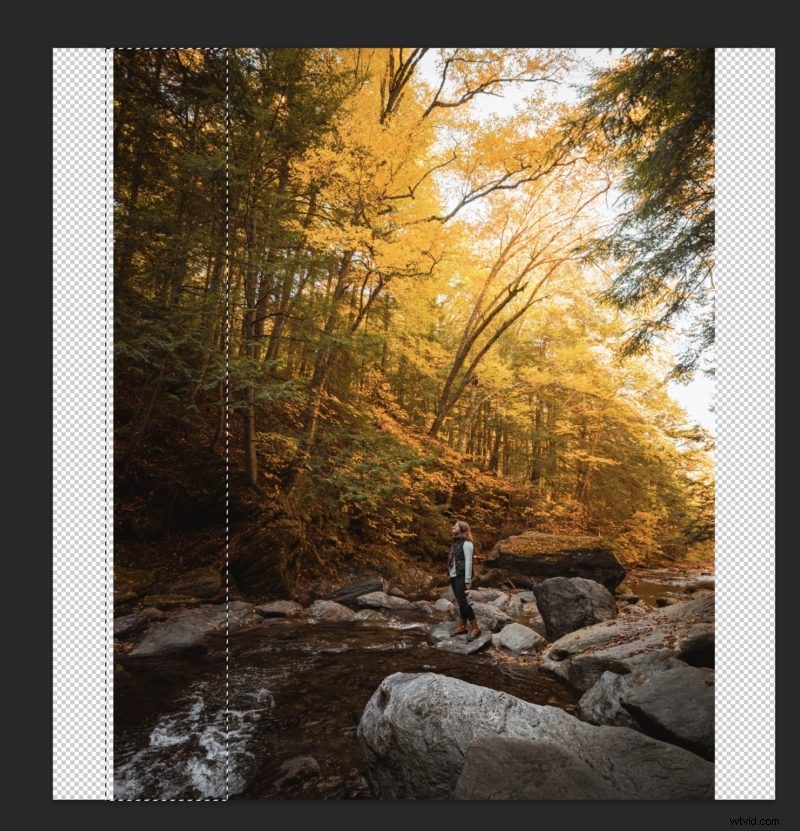
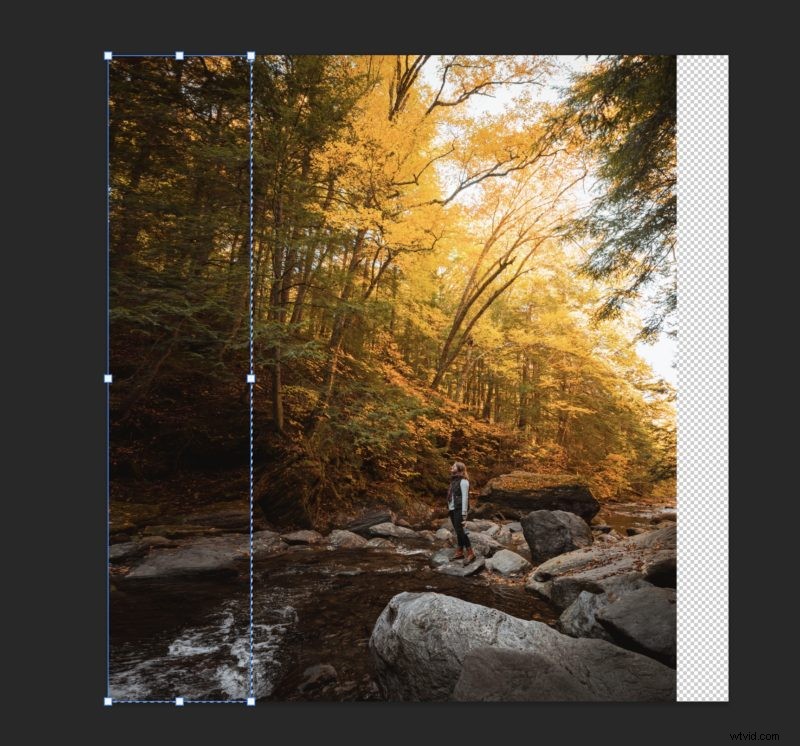
Here comes the fun part, actually stretching our image without distortion. We’ll do this by selecting one of the edges with the marquee tool. You’ll want to do this logically since some elements will stretch better than others. For example if you select your subject (such as a person) the modification will be more obvious.
Once you’ve selected an edge you’ll want to content-aware scale the section of the photo. This can be done by going to Edit > Content-Aware Scale.
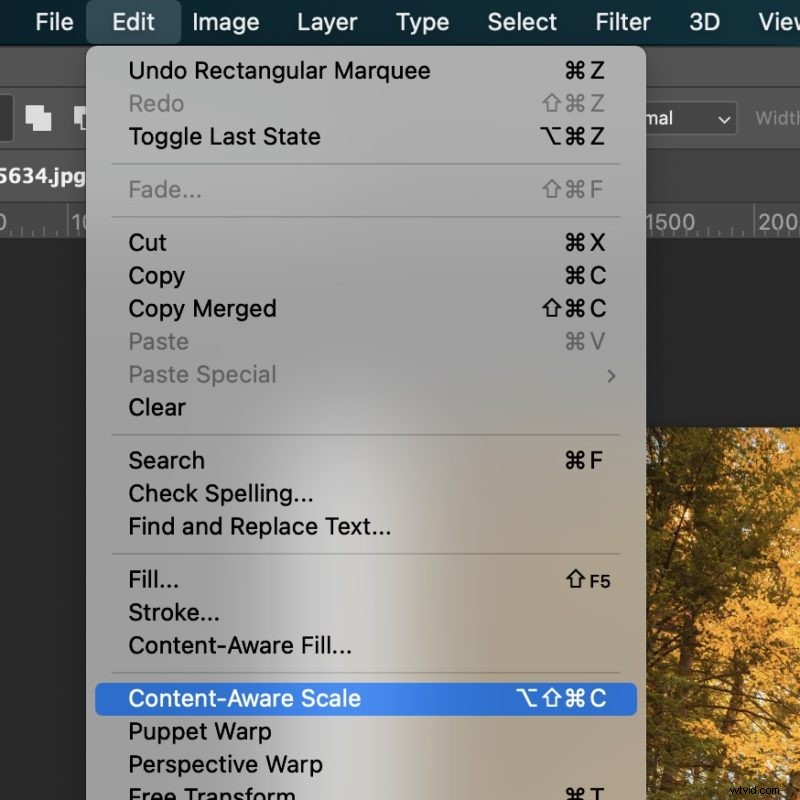
Content-Aware scaling will intelligently widen the area so it looks natural. This won’t work for all photos but should look great on most after some cleaning.
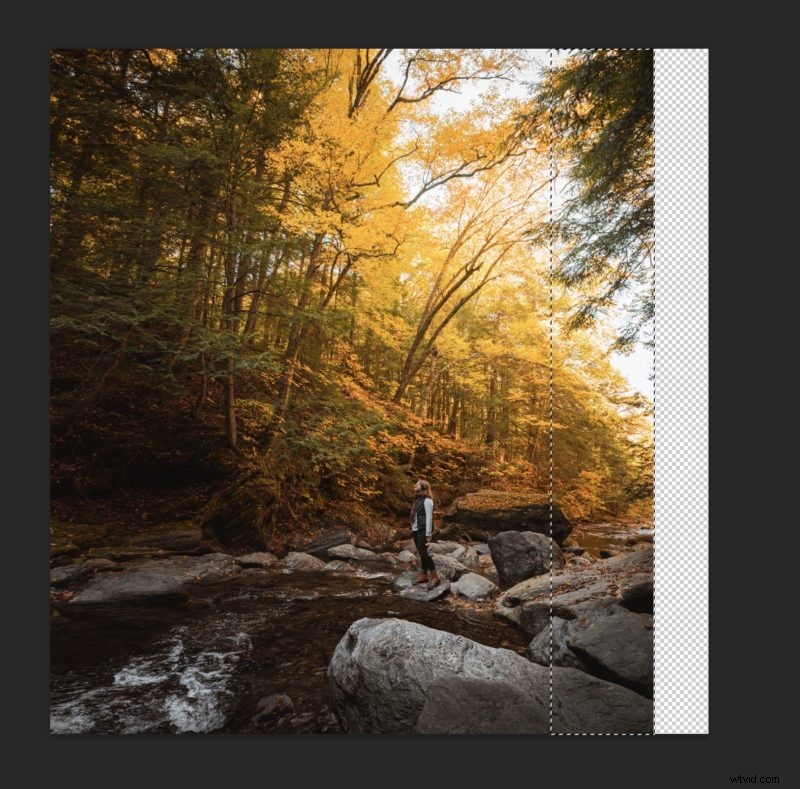
After clicking Content-Aware Scale you’ll want to make sure the aspect ratio isn’t locked by unchecking the little “link” button at the top.
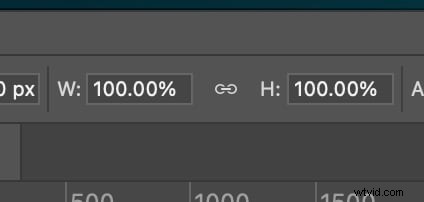
After this we can drag the edge of the photo to the edge of the canvas to stretch the image without distortion.
After hitting check to commit the transformation you can repeat the process on the other side.
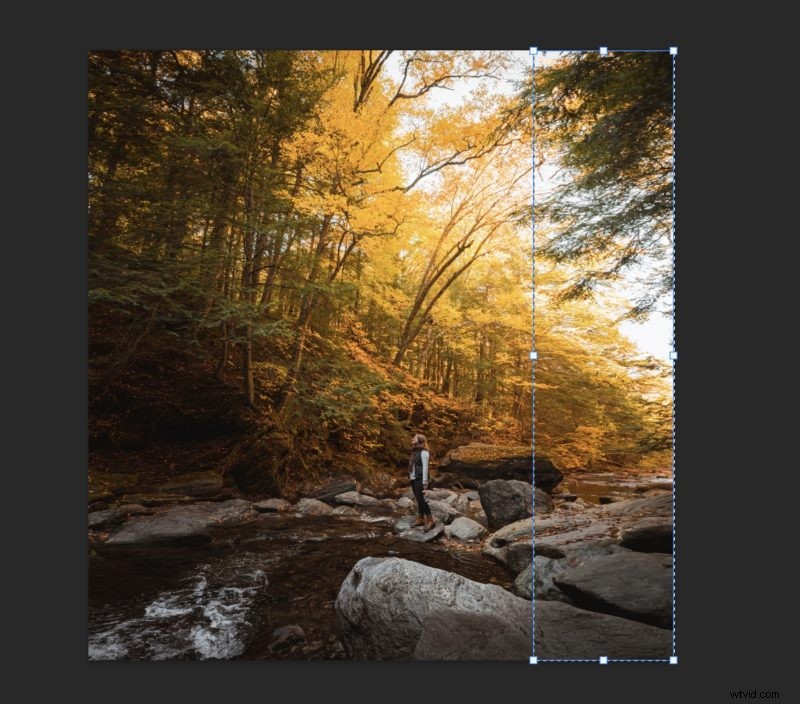
After finishing that side you can repeat the process vertically or move on to the next section to fix any visual artifacts.
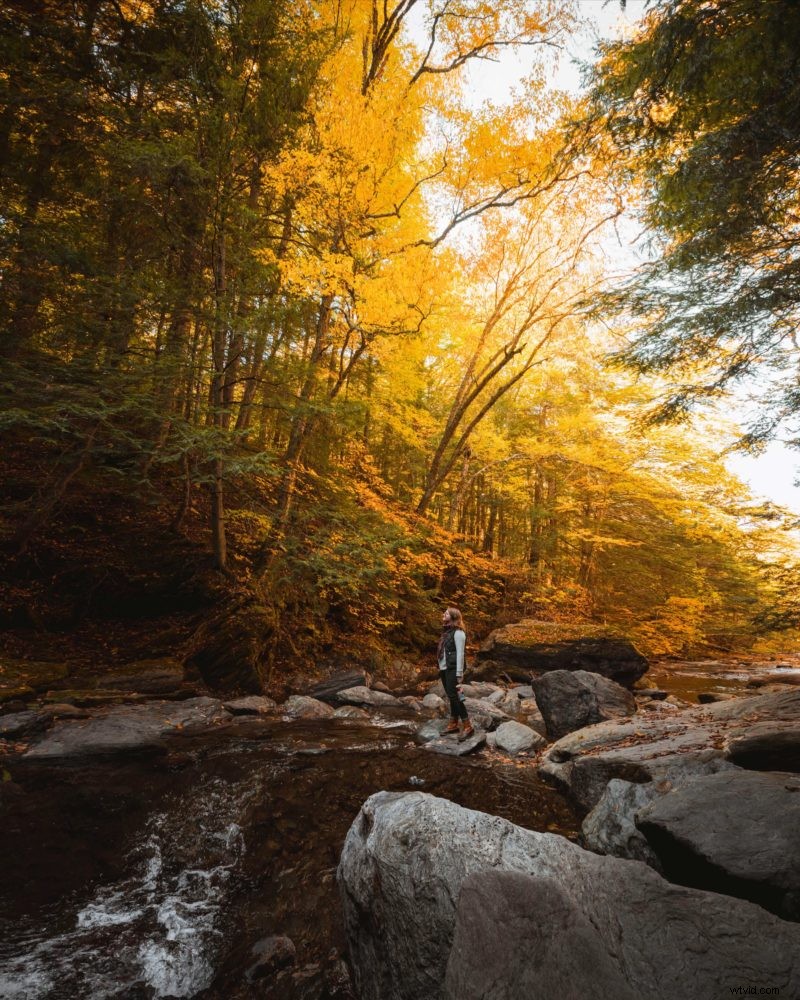
Here is an example where I did the process horizontally and vertically.
4. Clean Visual Artifacts
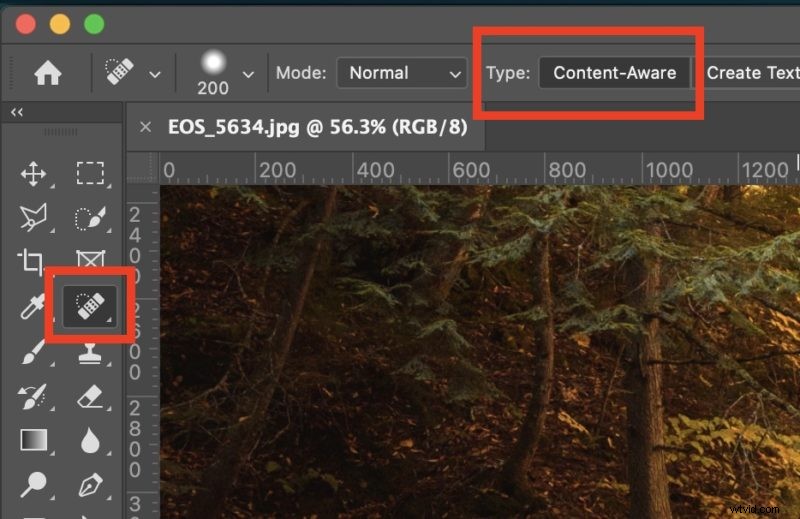
If you notice any small sports with issues one of the easiest tools is to use the spot healing brush. The best mode to use it on is Content-Aware but the others are worth playing around with especially if Content-Aware isn’t working.
You can also use the clone stamp to replace problematic areas of the image as well.
I hope this guide to stretching your images without distortion in Photoshop creates new creative opportunities for you. Whether you’re trying to fit an Instagram crop or just add more “room” to your photos this technique can help bring new life to your photography.
 Pin
Pin