There is an incredible array of color in our world, so it’s no wonder that it plays such a significant role in photography. However, have you ever considered narrowing your pallet down to just two colors? A duotone image is just that – an image made up of two individual tones. A duotone scheme can highlight subtle detail or boast a vivacious color combination that can make an image pop! Here’s how to make use of Photoshop’s Duotone tool to create a beautiful duotone look.
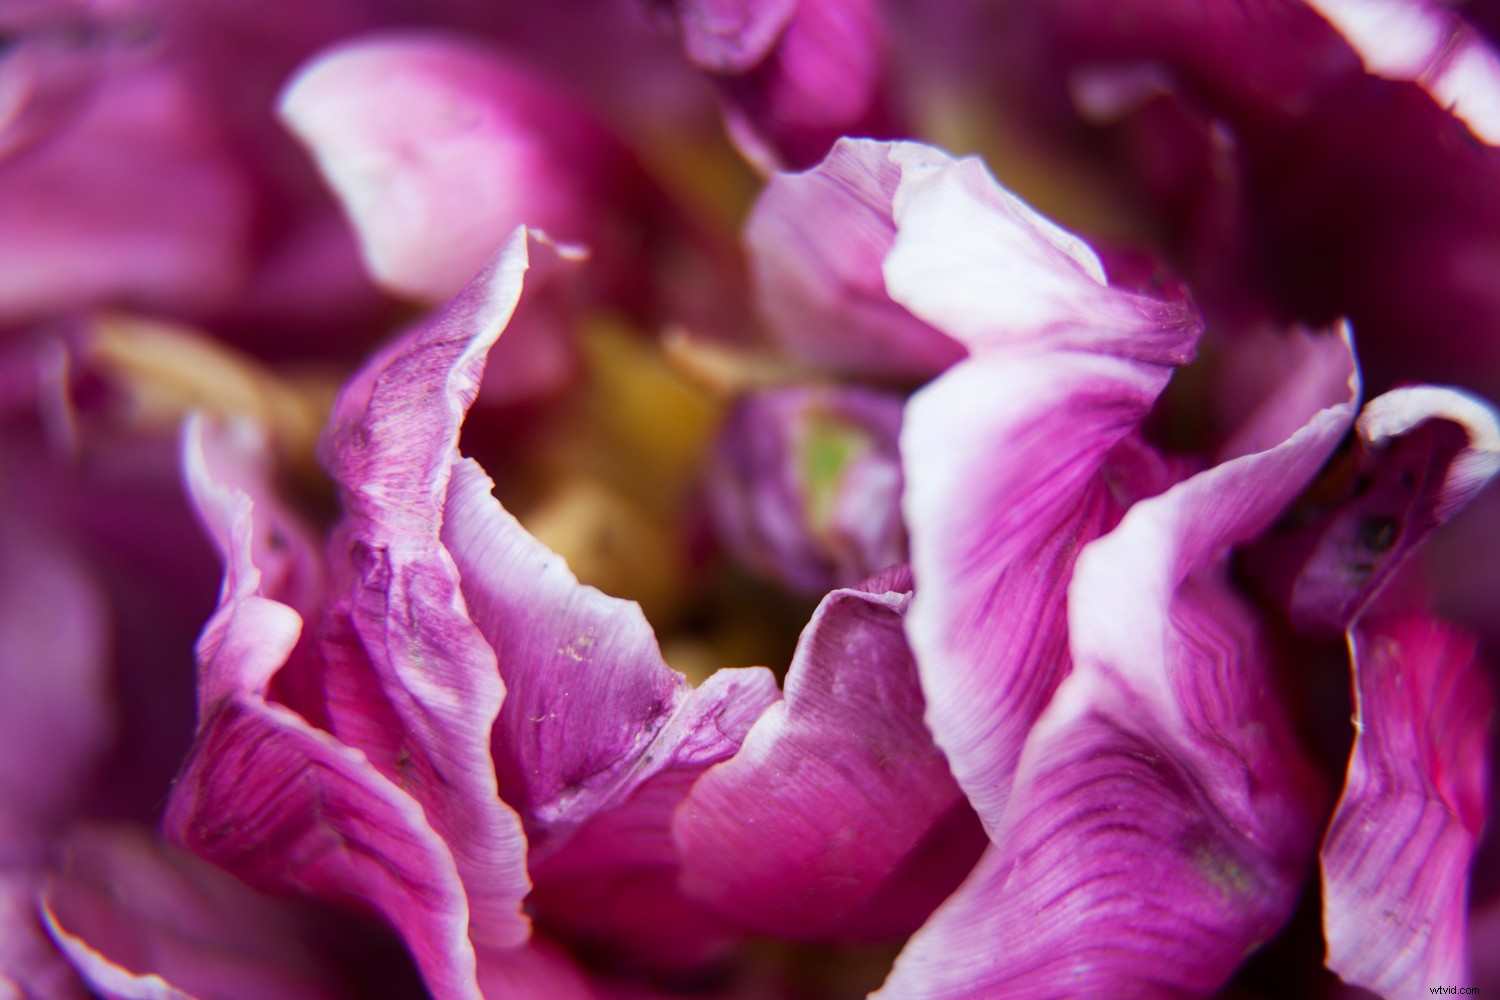
Select an image with a good tonal range so that the duotone can take full effect.
How to Duotone a Photograph
Step 1 – Preparing an Image
First, select an image with a good tonal range and open it in Photoshop. I chose this image of a flower because it has a range of dark shadows through to bright highlights.
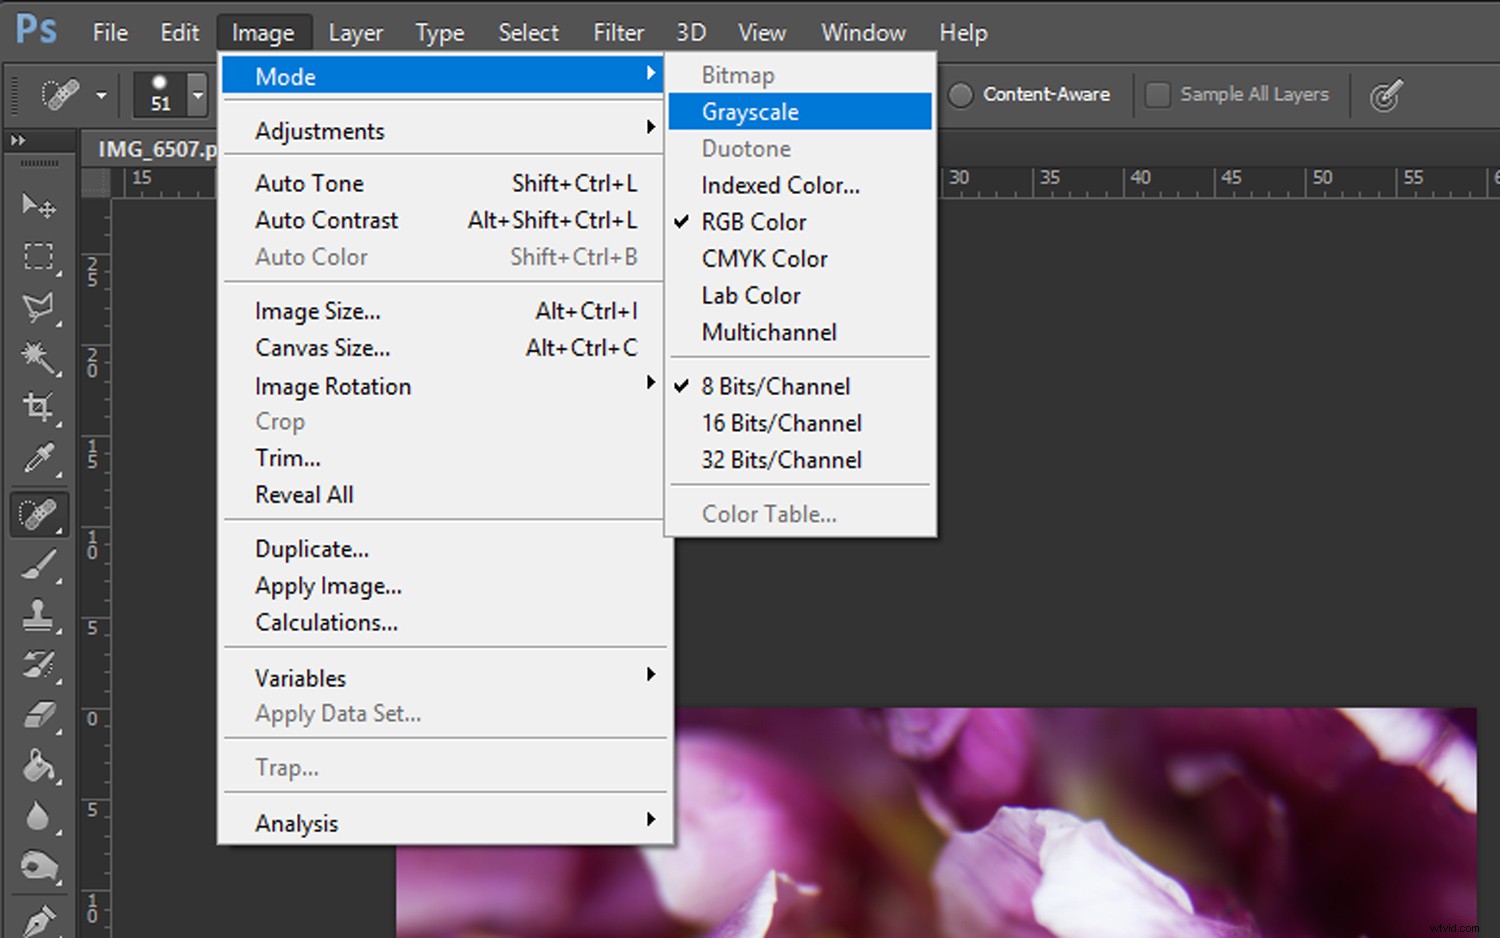
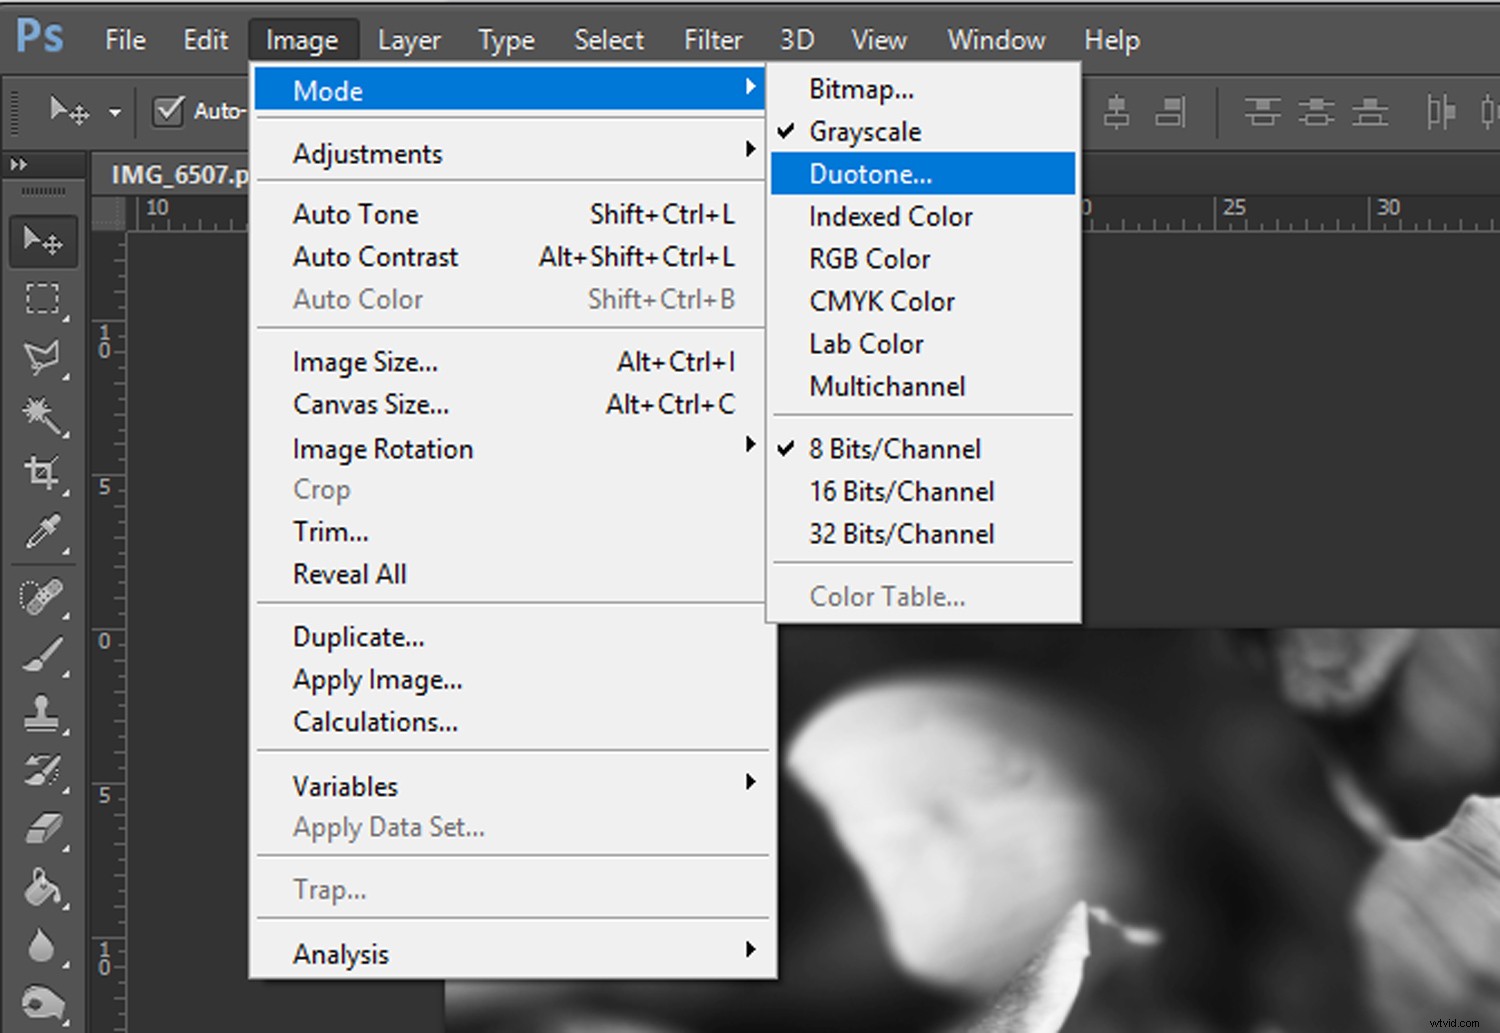
In order to apply a duotone effect to your photograph, you convert it to a greyscale image first. Select ‘Image’ in the top Photoshop menu bar, followed by ‘Mode -> Grayscale.’
A prompt will appear, asking if you want to discard color information. Click ‘Discard’ and your image will be converted to Grayscale.
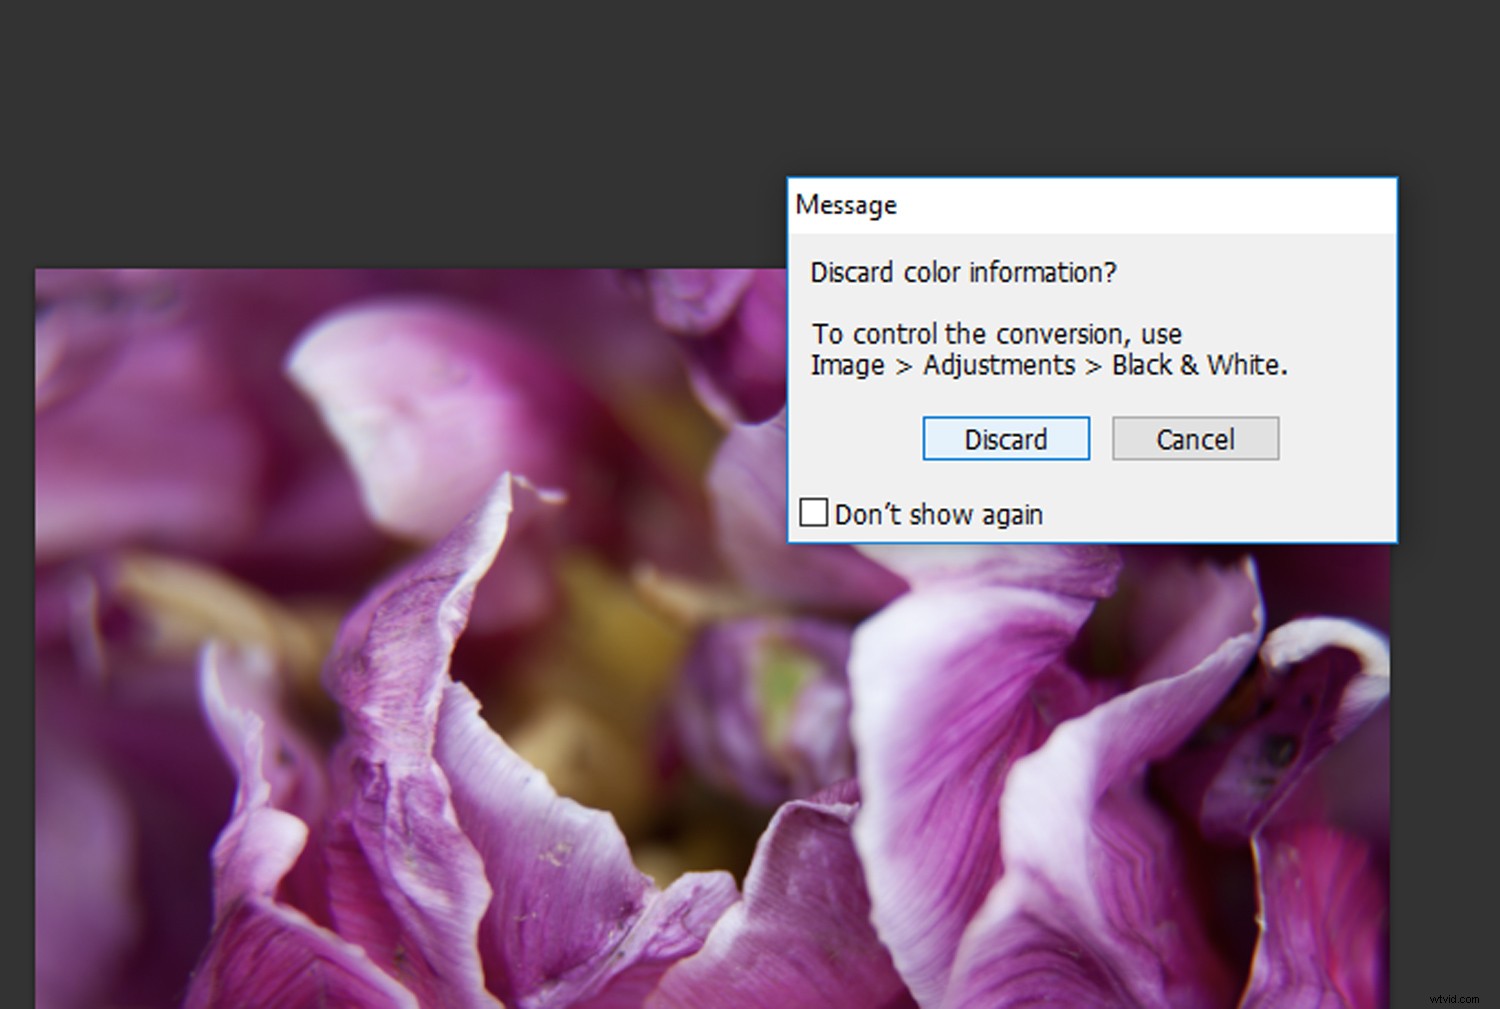
Click the ‘Discard’ button and your image will be converted to grayscale.
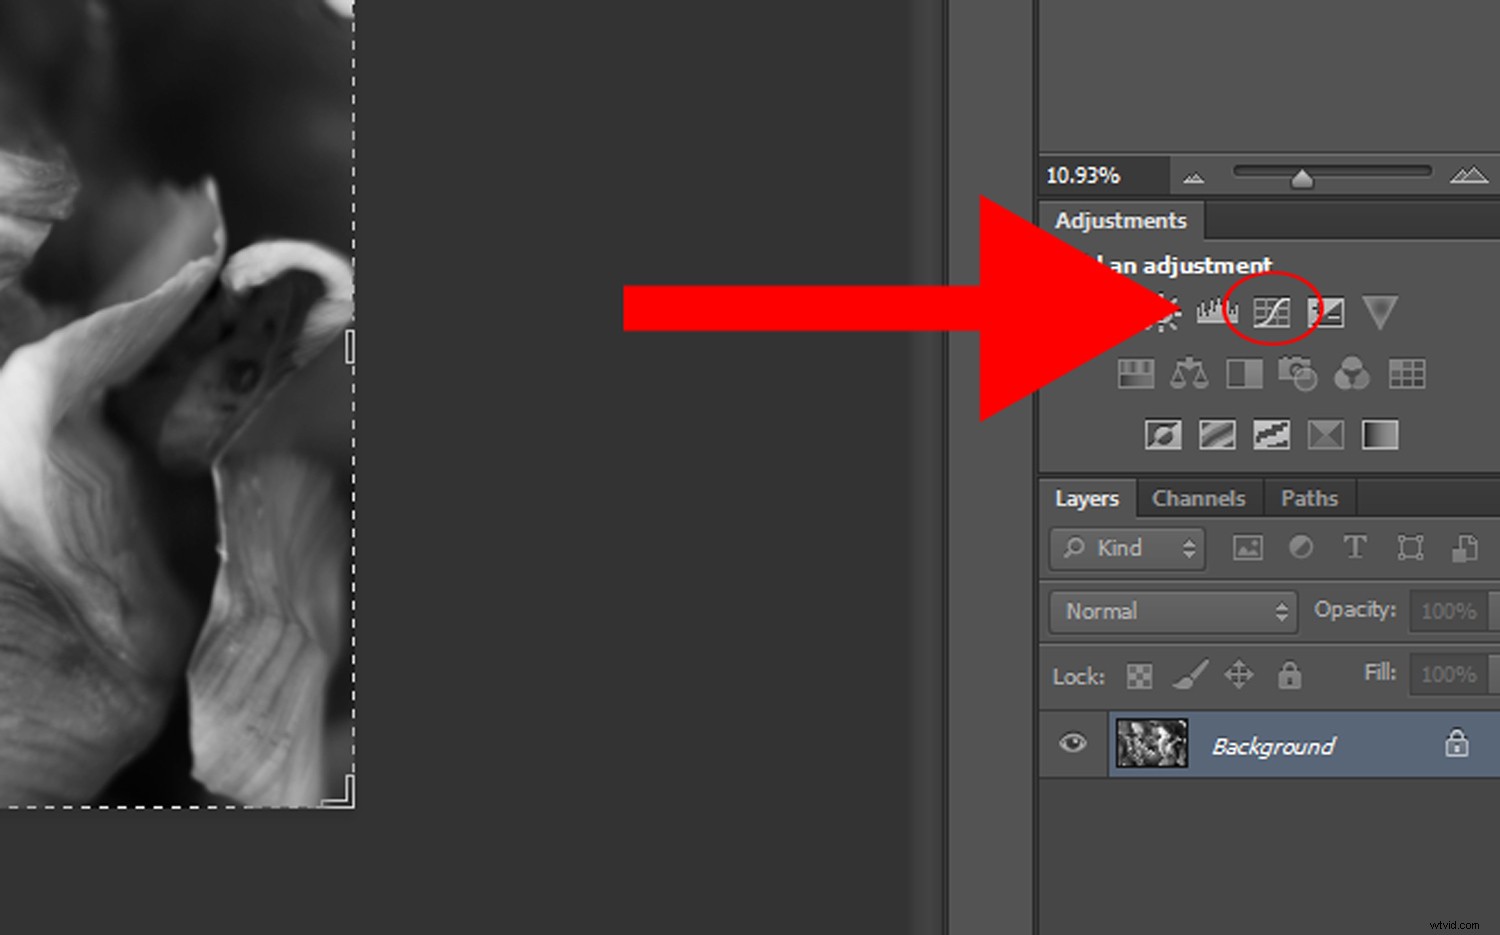
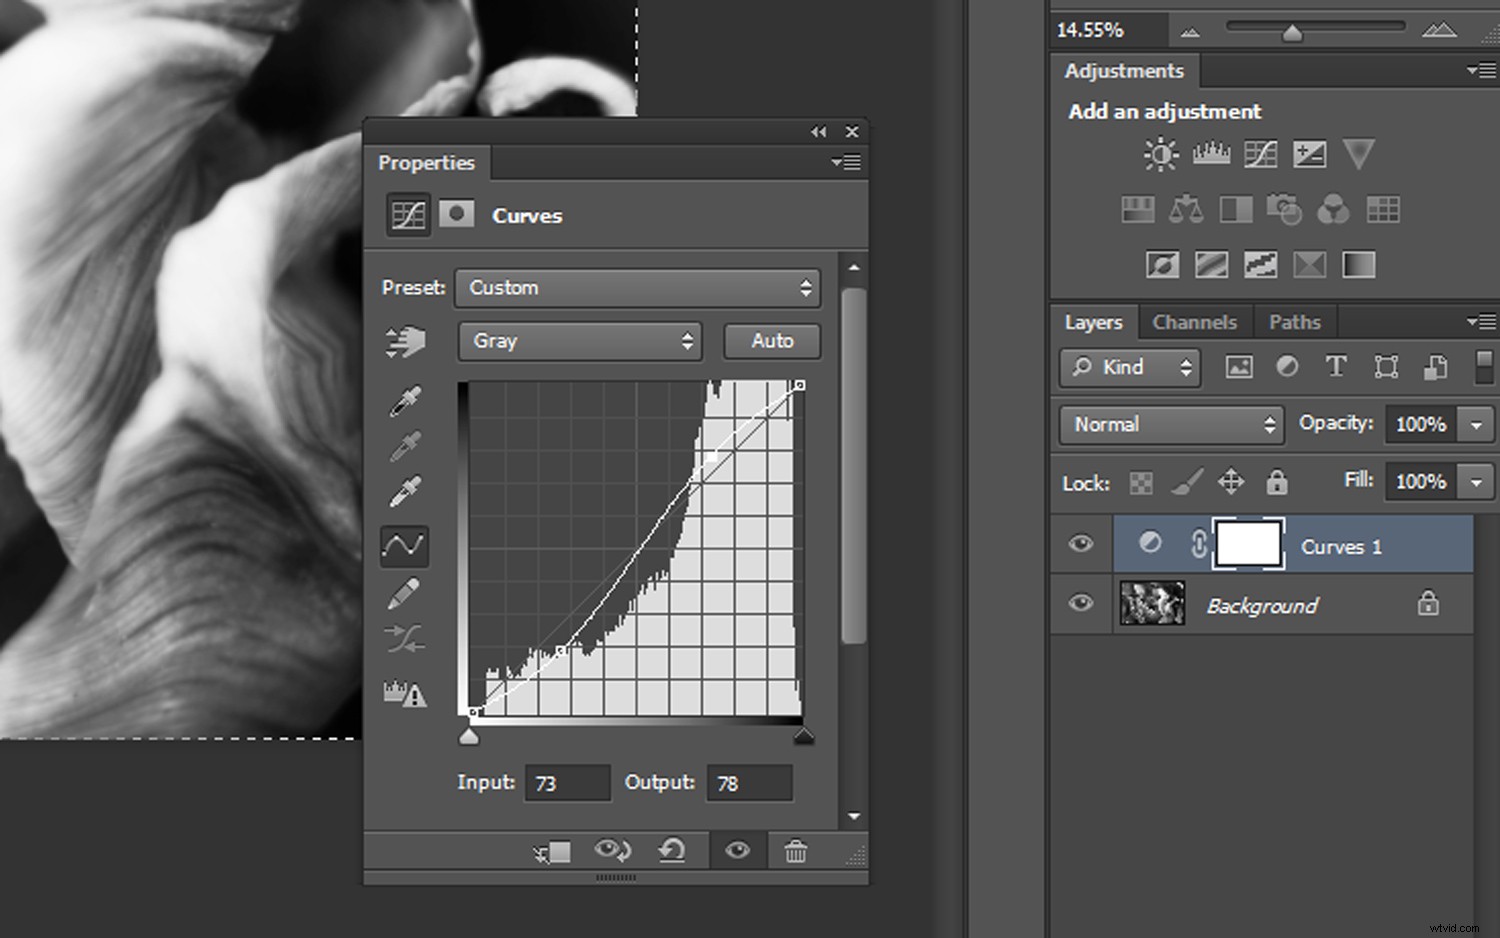
After you have converted your image to grayscale, you may notice that your image looks a bit flat. Open a ‘Curves’ adjustment layer by clicking on the ‘Curves’ icon in the Adjustments tab.
Adjust your contrast with the ‘Curves’ adjustment layer until you are happy with the level of contrast in your image.
Adjust your contrast with the ‘Curves’ adjustment layer until you are happy with the result.
Step 2- Converting to Duotone
The next step is to convert your image to duotone. Make sure you have your original image layer selected and click on ‘Image’ in the top Photoshop menu bar. Select ‘Mode ->Duotone.’
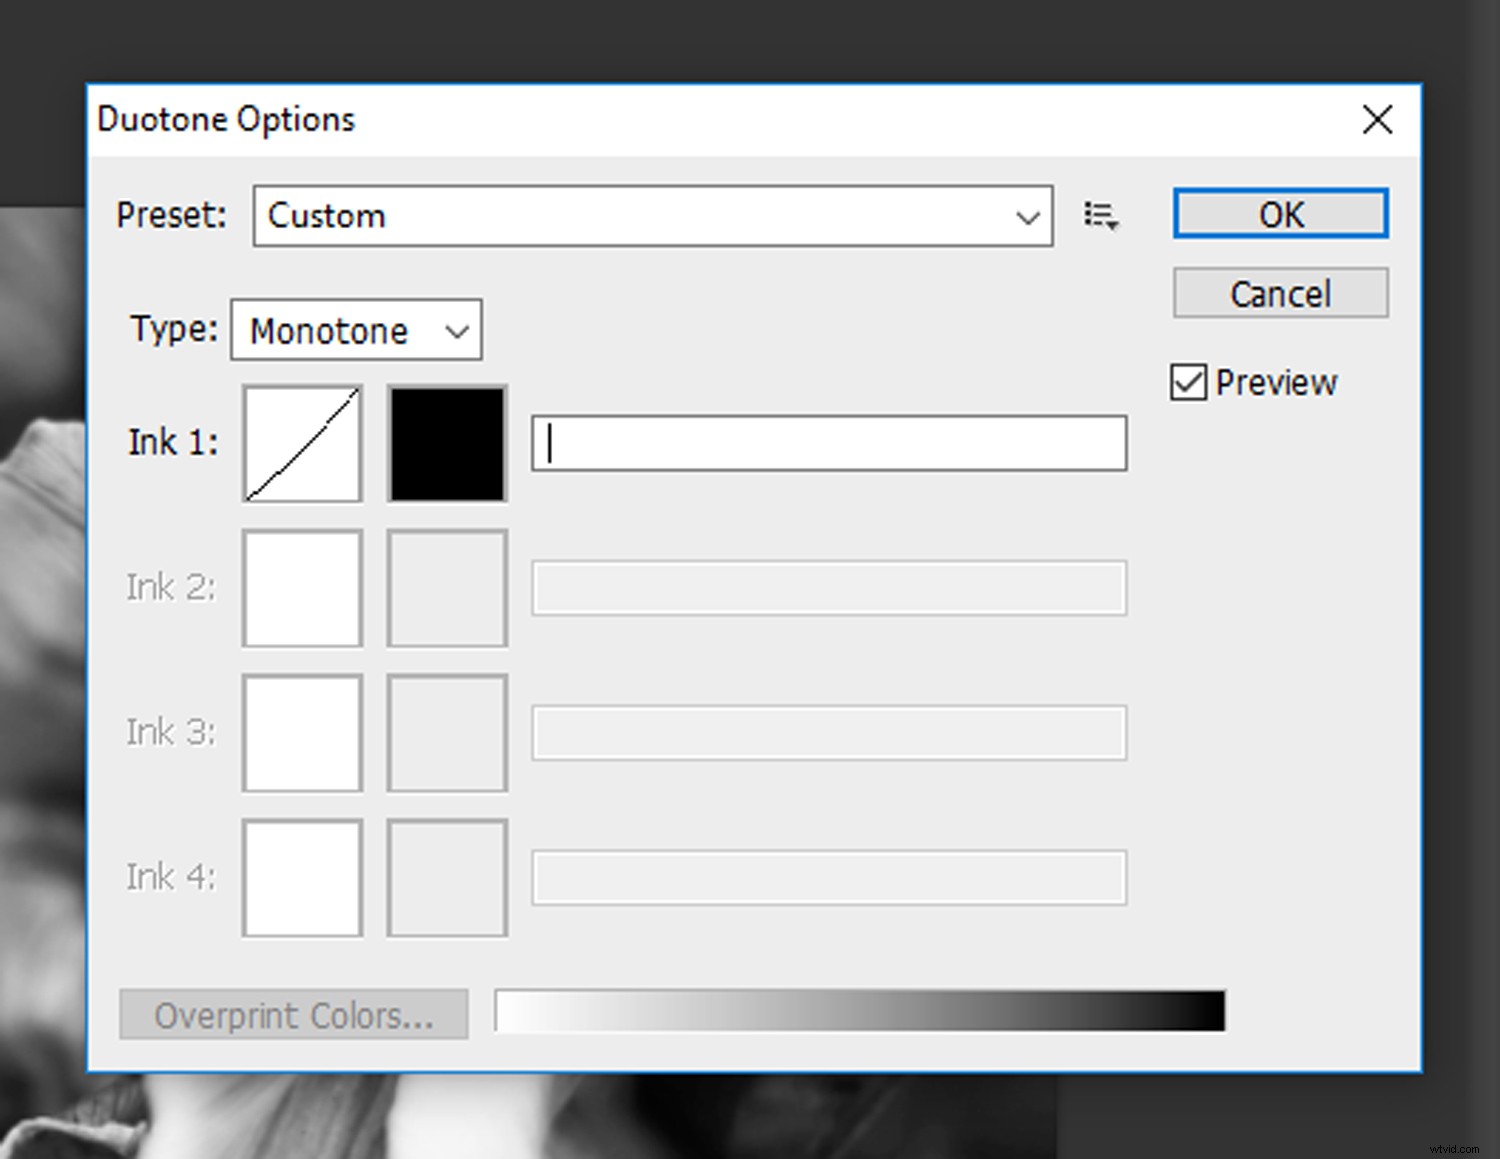
Once you’ve selected ‘Duotone’ from the menu a Duotone Options window will open.
If it isn’t already set, click on the ‘Type’drop-down menu and select ‘Duotone.’ Selecting ‘Tritone’ and ‘Quadtone’ will allow you to add three and four colors respectively, but we’ll just stick with the two colors for now.
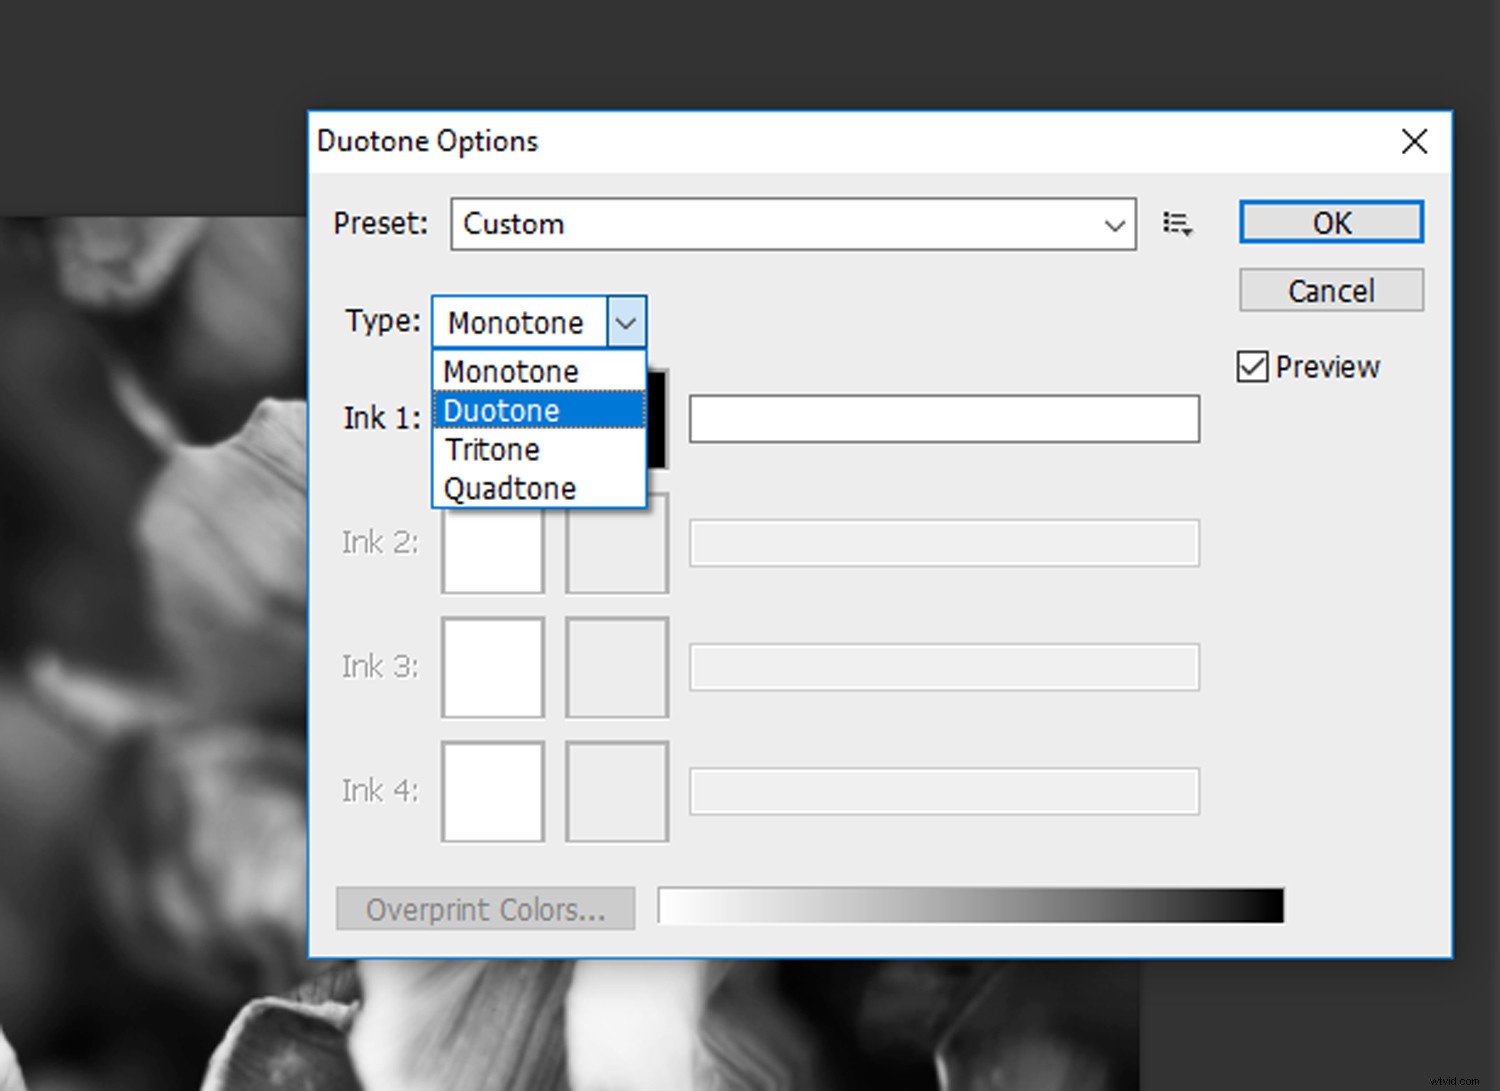
Click on the ‘Type’ drop-down menu and select ‘Duotone.’
Step 3 – Making Adjustments
Once you’ve selected ‘Duotone’ from the ‘Type’ drop-down menu, you’ll see two channels are available: one for ‘Ink 1’ and one for ‘Ink 2’. Traditionally ‘Ink 1’ is set to black, as it defines the shadows in your image, so start with that. Ink 2 is for filling in the mid tones and highlights with your selected color.
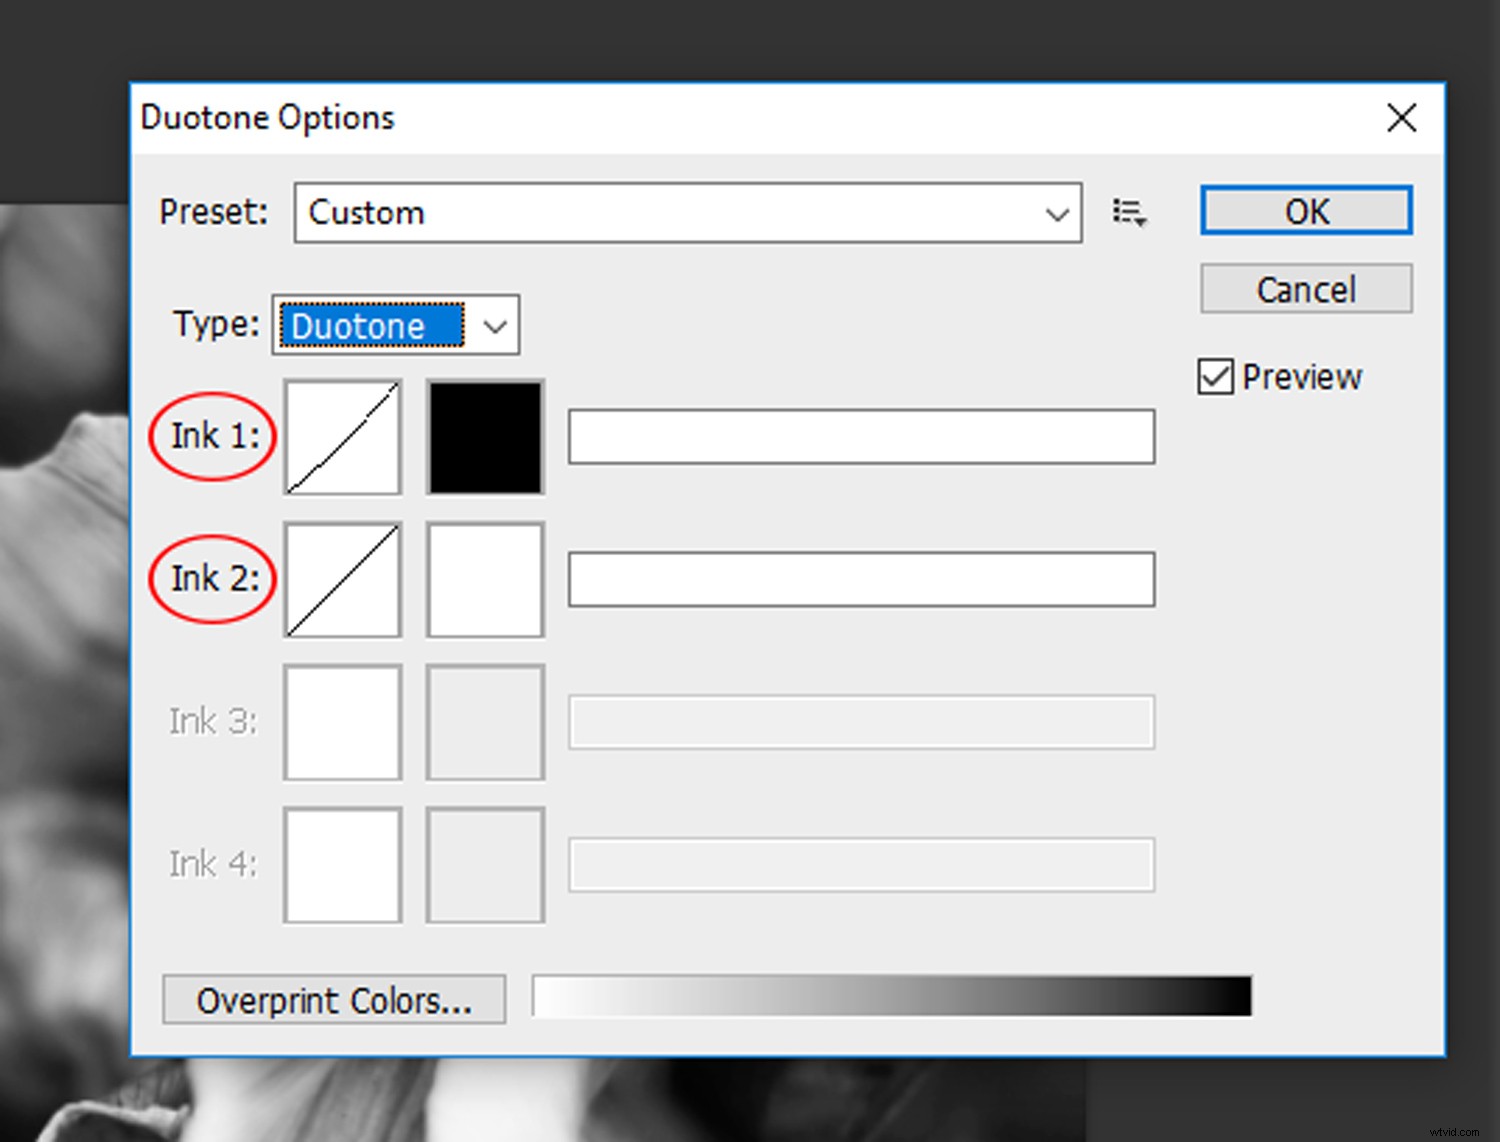
The ‘Ink 1’ and ‘Ink 2’ channels.
There are two ways to go about applying a Duotone effect to your image. The first method is to click on the ‘Preset’ drop-down menu and select a color scheme from the available options. To preview your adjustments as you go, make sure the ‘Preview’ box is checked.
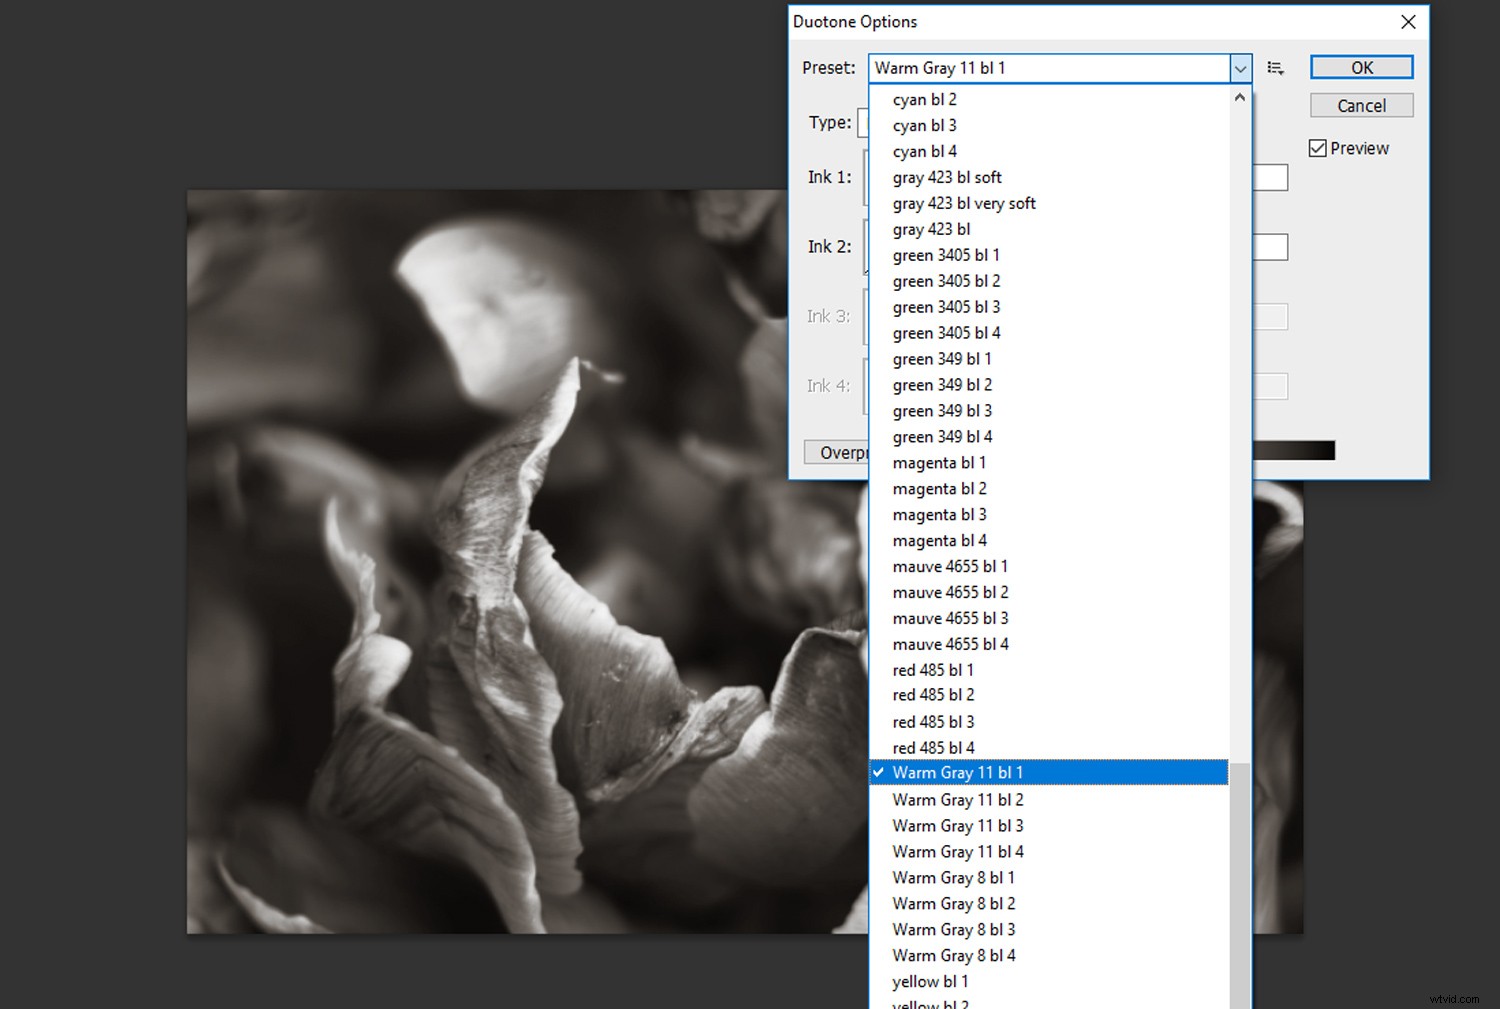
Click on the ‘Preset’ drop-down menu and select a color scheme from the options available.
However, if you aren’t keen on the preset options, you can always select your own custom colors. Click on the colored box for ‘Ink 2’ and you will bring up the ‘Color Libraries’ window.
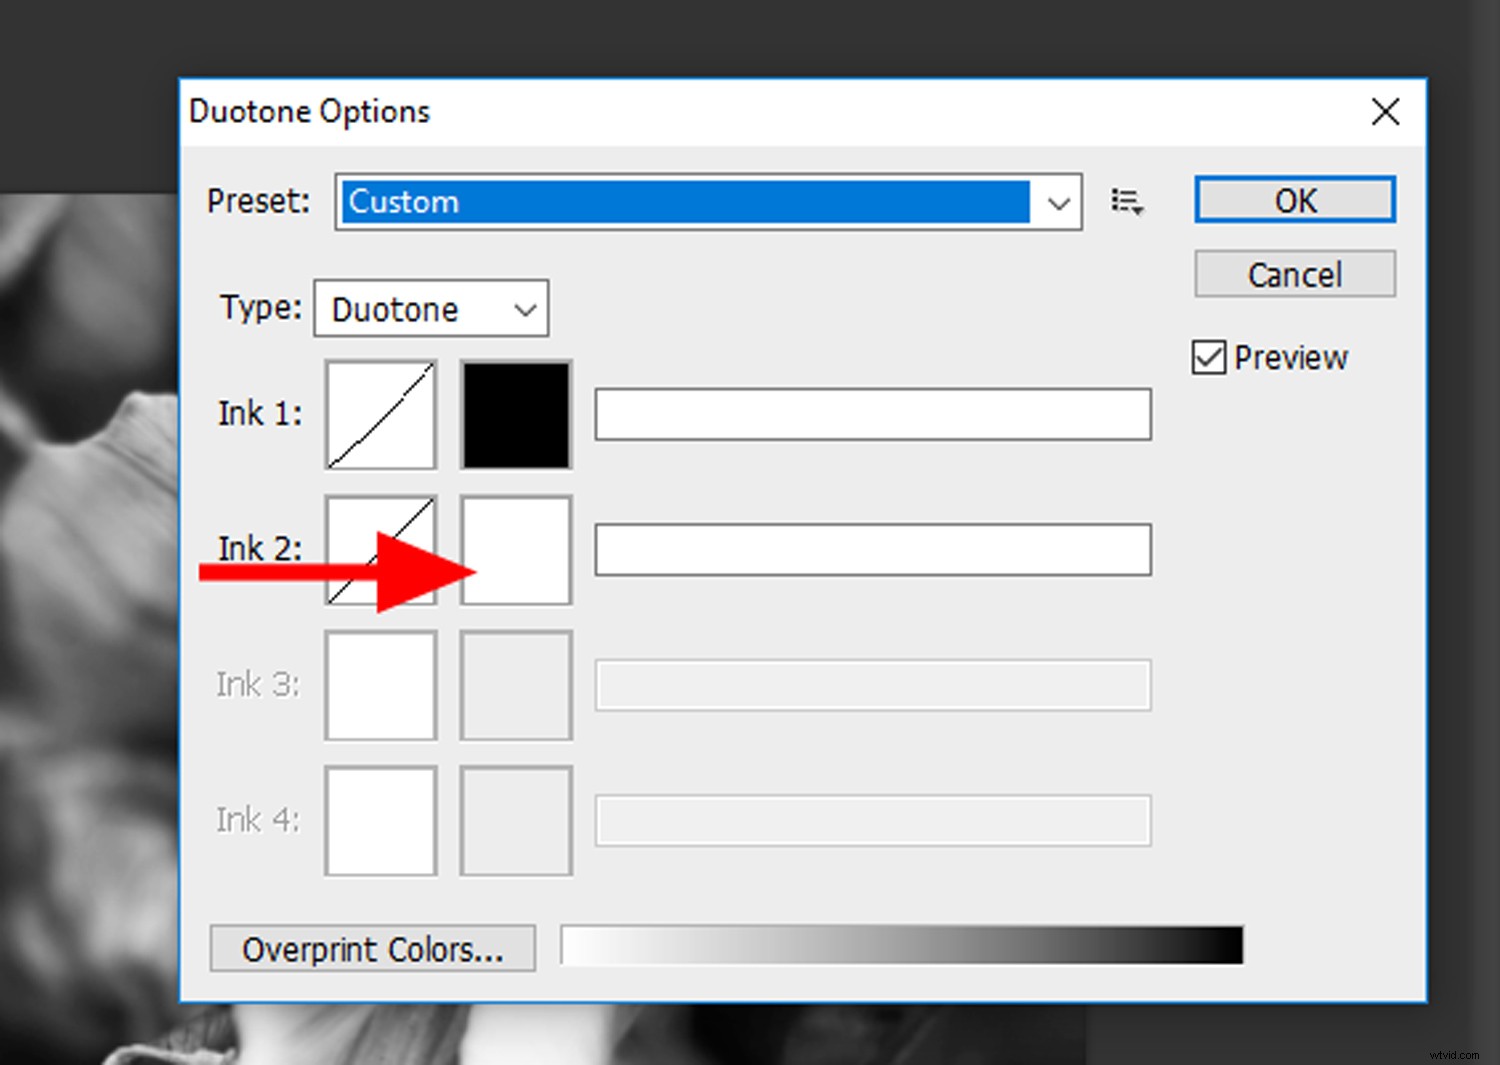
Click on the color box for ‘Ink 2’ to bring up the ‘Color Libraries’ window.
The ‘Color Libraries’ window groups colors into certain printing prerequisites, so have a browse and find a color you like. You can also click the ‘Picker’ button to bring up the standard ‘Color Picker’ window. Once you have found a color you like, click OK.

You can adjust the contrast of each channel individually. Click on the curve window to the left of the color boxes and fine-tune your contrast as you would adjust a Curves adjustment layer.
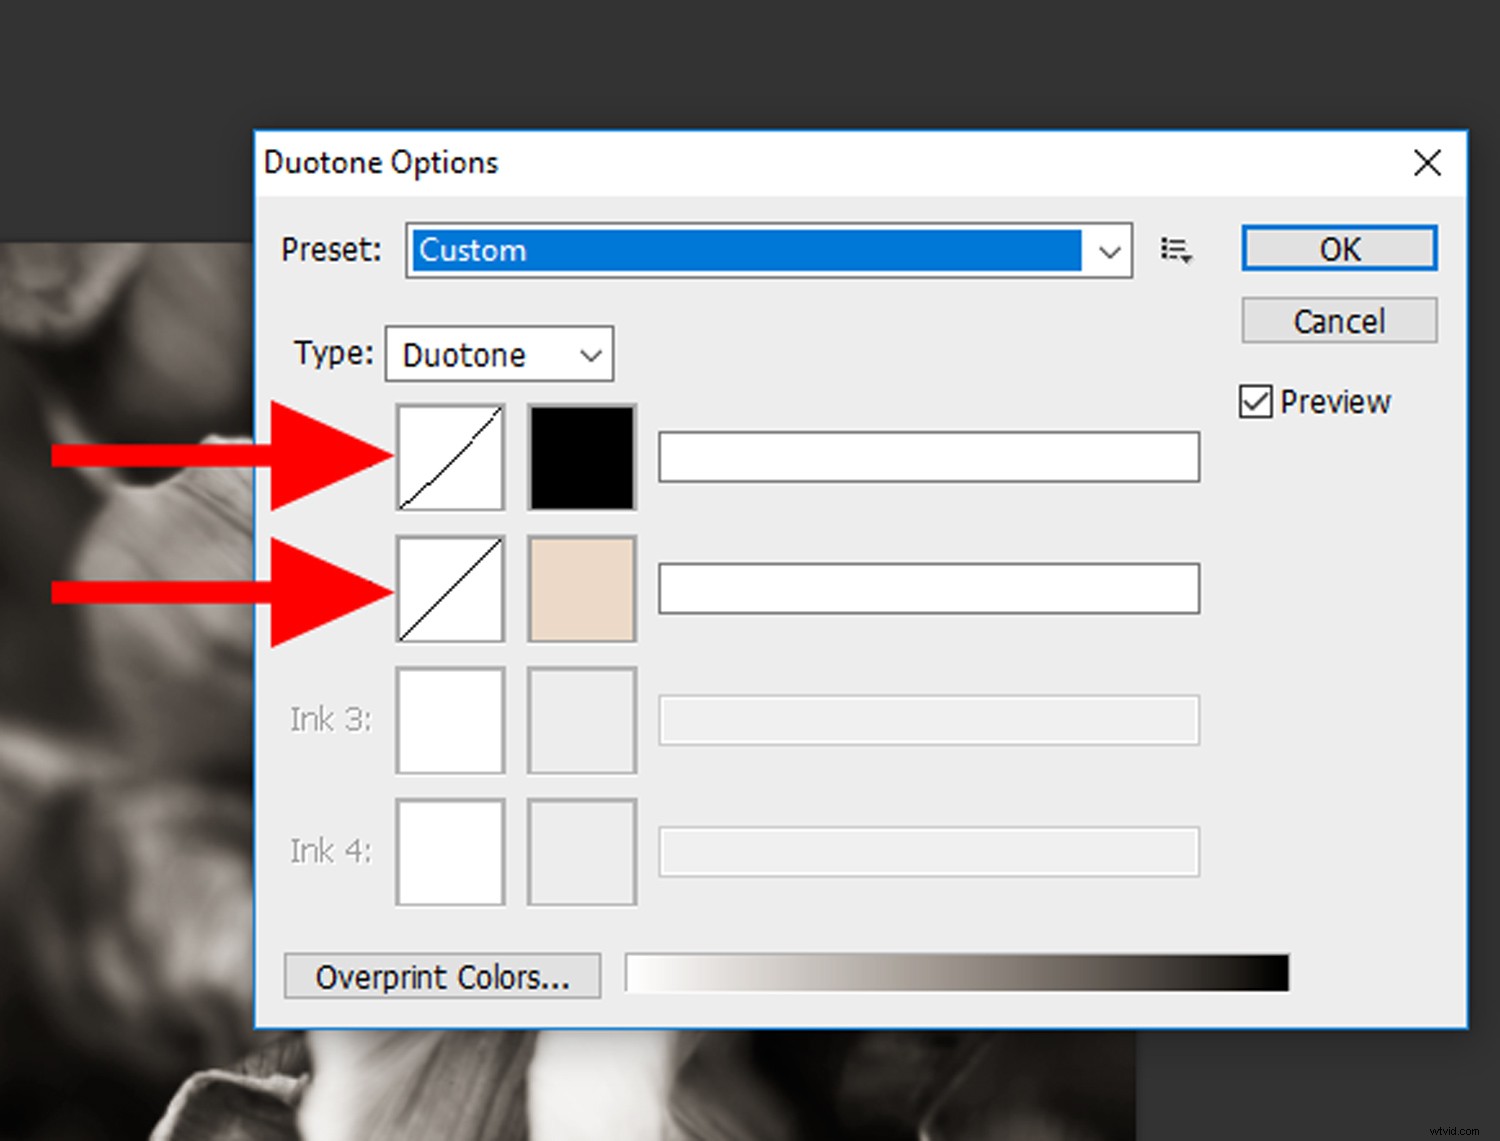
Click on the curves windows to adjust the contrast in each channel.
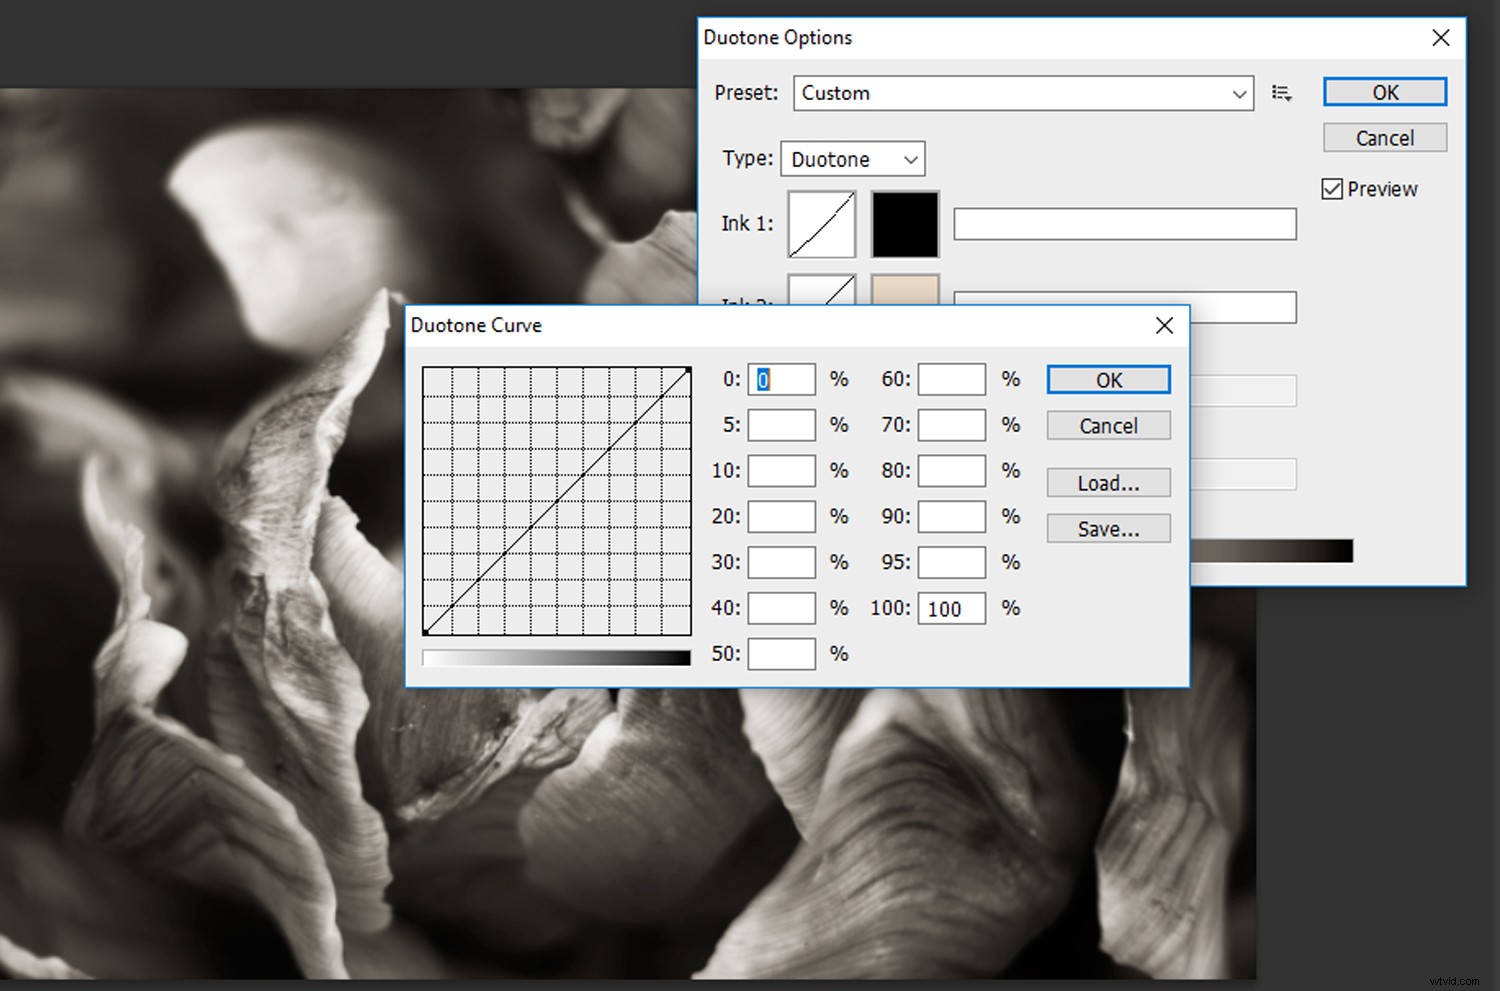
Fine-tune your contrast as you would adjust a ‘Curves’ adjustment layer.
Once you are happy with the result, give a name to each channel (I usually just name them Ink 1 and 2) and click OK!
Step 4- Experiment!
Now you have the basics down, its time to experiment! Here are a few of my own examples below.
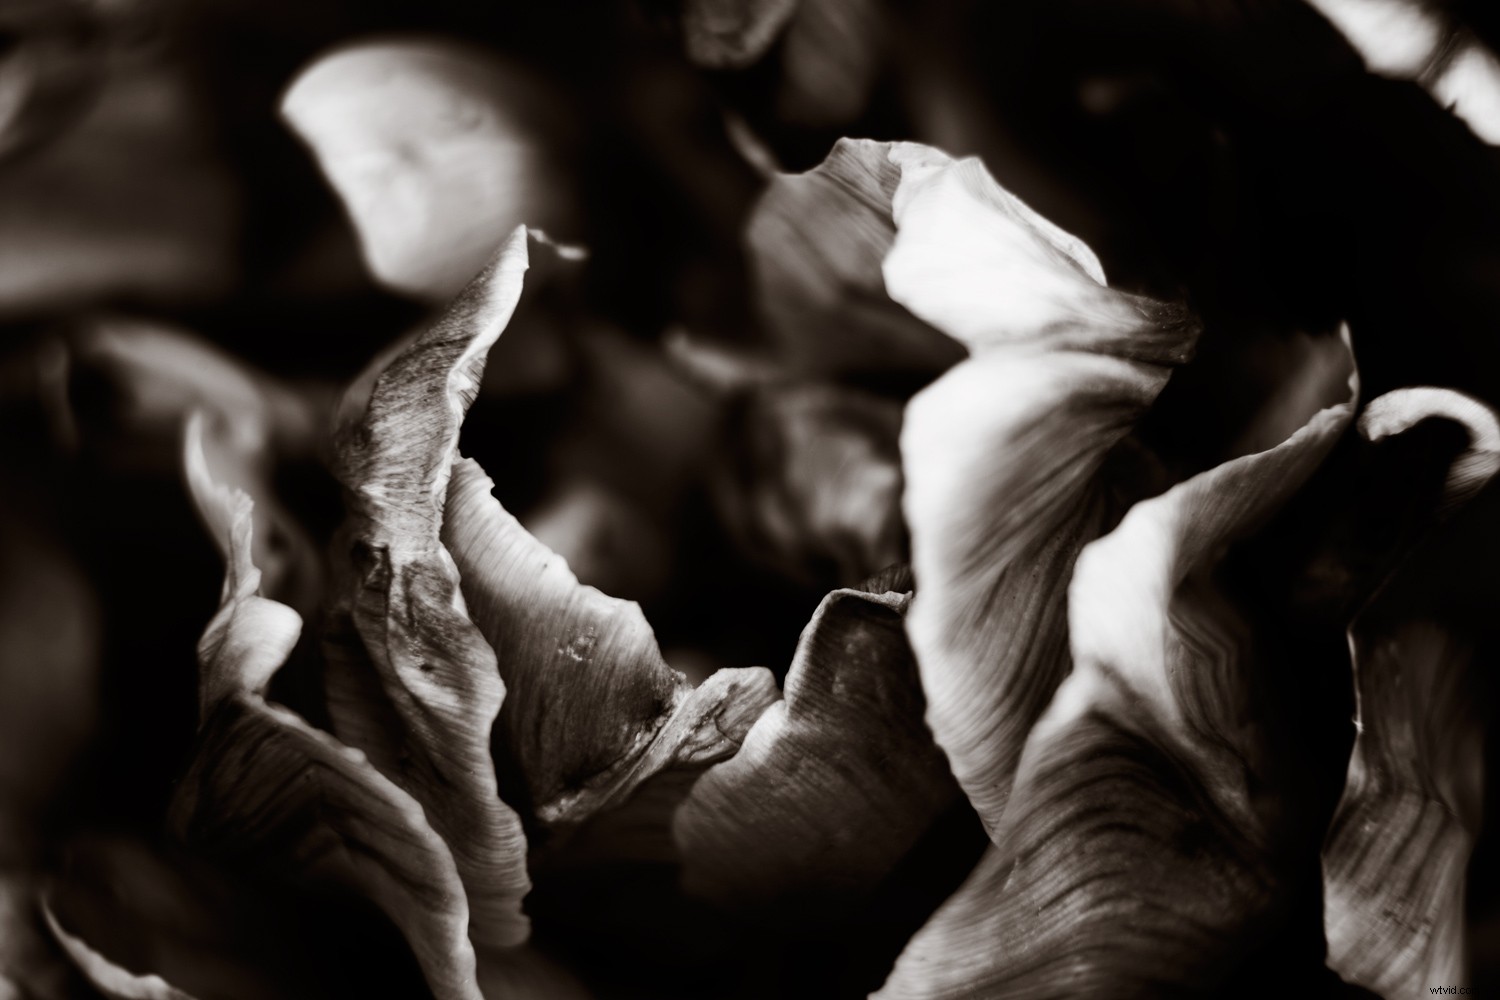
Here is a more traditional application of the duotone tool. I added this sepia tone by selecting a deep brown from the Color Library.
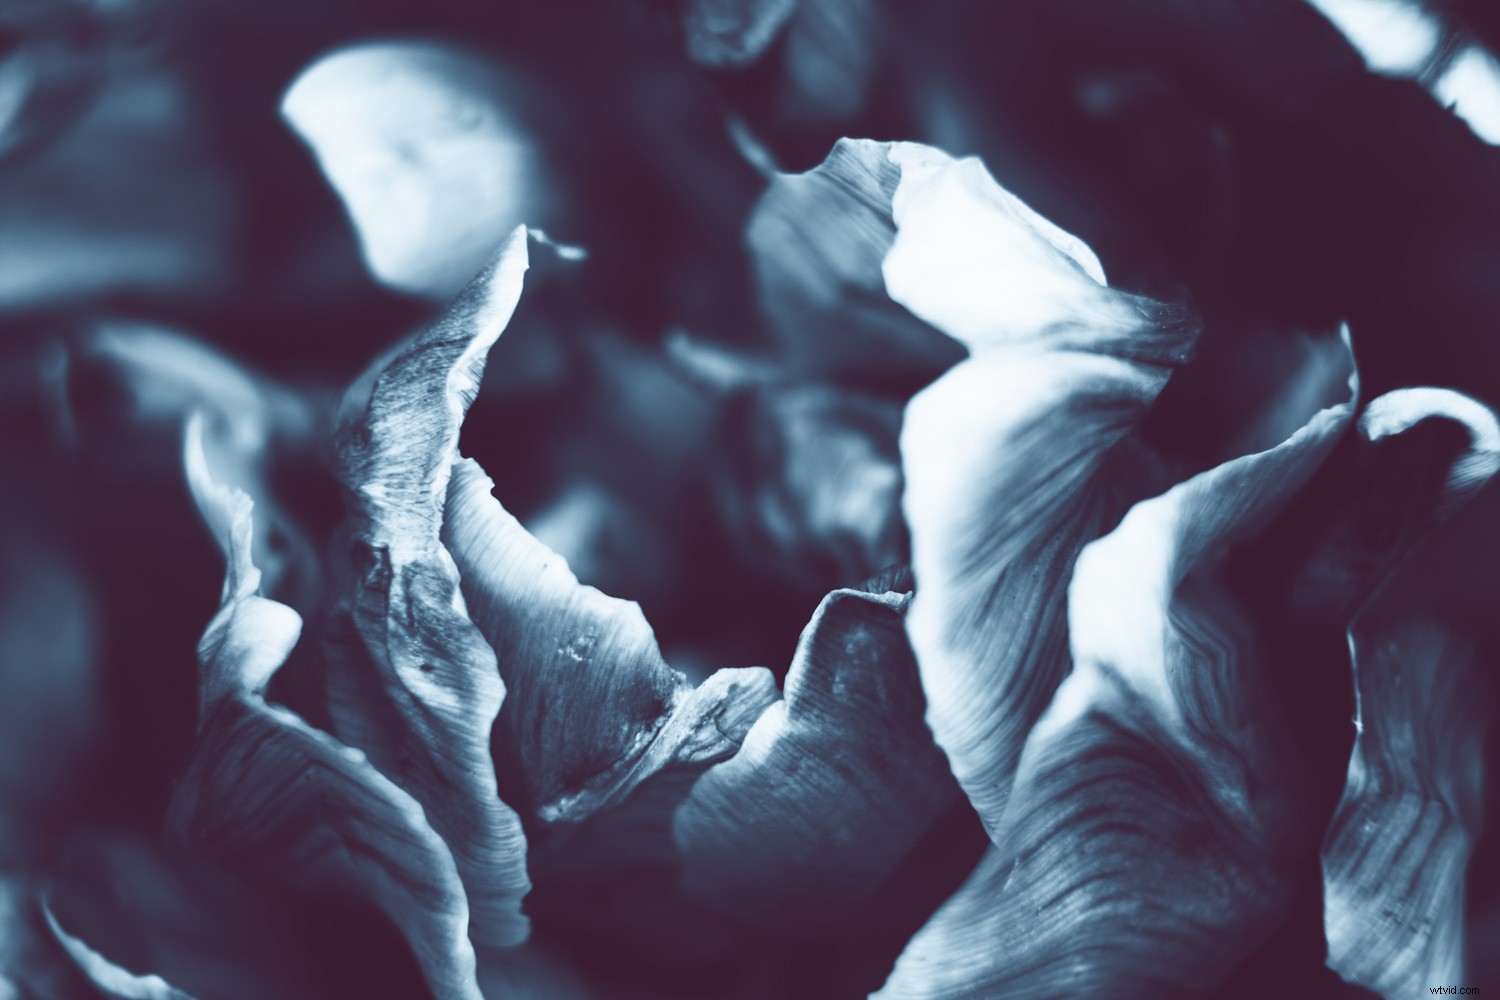
This evocative color scheme was made up of a deep red color for the shadows and a blue tint for the midtones and highlights.
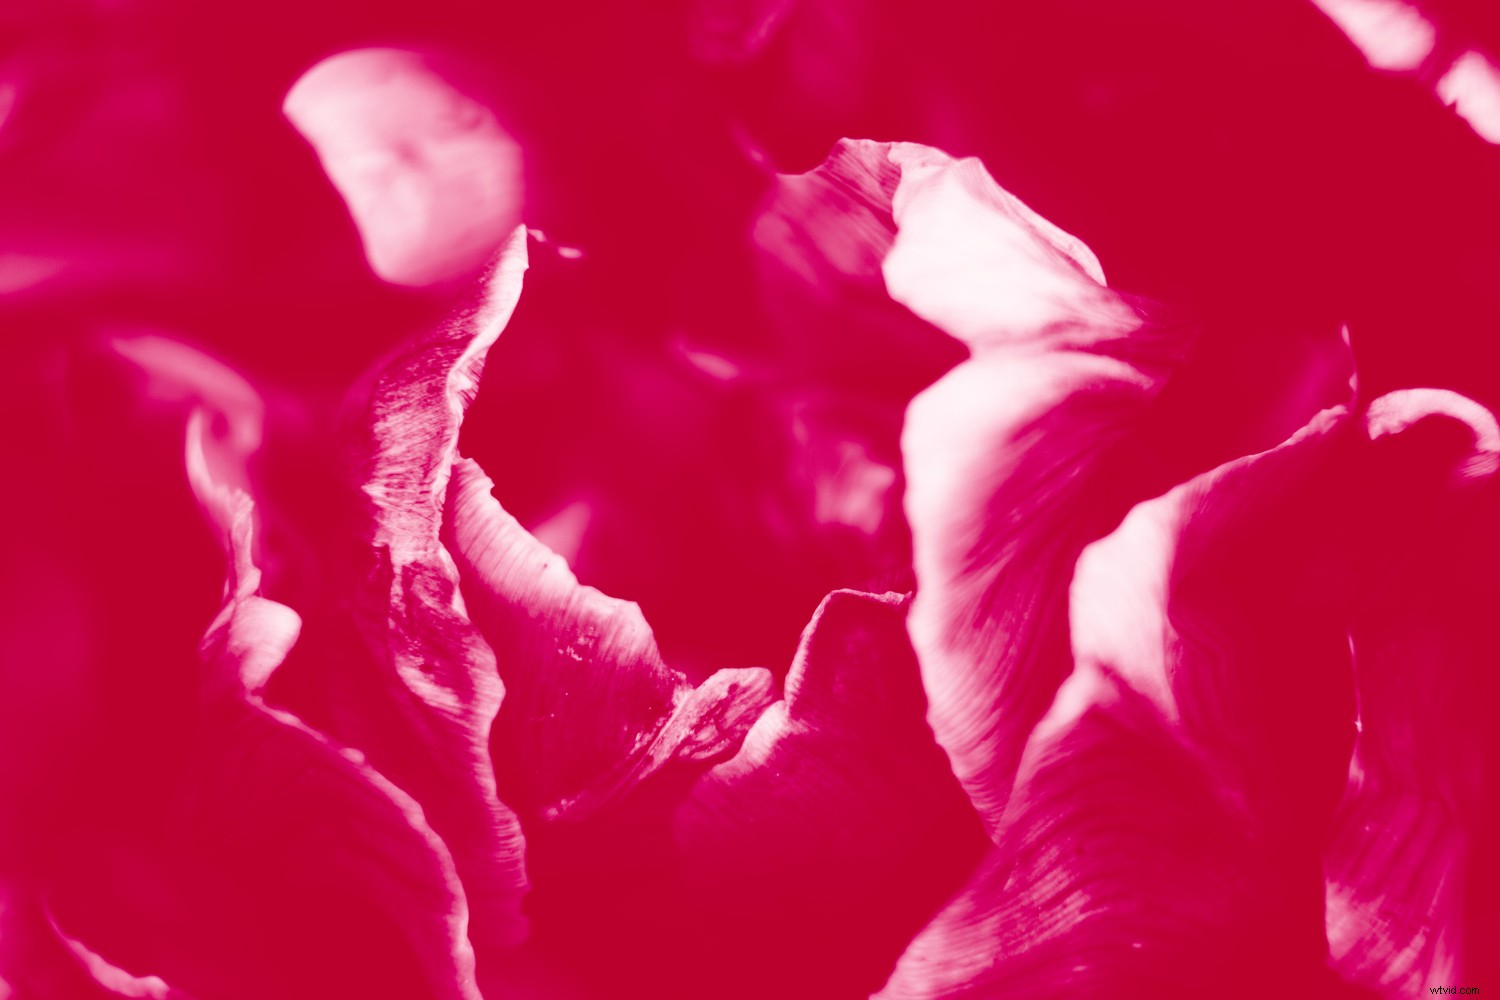
Traditionally, a duotone image is toned with black for the shadows. But that doesn’t mean you can’t experiment! I got this rich, pop-arty effect by combining red with magenta.
Please share your creations below!