Incorporate some movement and texture into your next documentary—and step it up a notch—with these simple, yet elegant tips.
Photographs are essential to documentarians. Perhaps you need a photo of an interviewee at a younger age, a picture of a document, an image of a location at a different moment in time—whatever it may be, there’s a good chance you’ll need at least a dozen photographs for most documentaries.
Take a look at the trailer for Making A Murderer. During the first thirty seconds, you’ll see twelve photos—eight of Steven Avery and four of documentation from his arrest.
However, if you paid close attention, only five of those twelve photographs appear in the timeline in their default format. The other seven photographs either include movement or an effect applied to the footage layer to make it look a little more interesting.
There’s no problem with using photographs in your documentary and having them appear static within your video. However, suppose you simply show photo after photo. In that case, it may start to seem like a high school sideshow, and you run the risk of losing your audience’s attention.
In fact, our resident film photographer expert, Logan Baker, has a great series of tips on how you can incorporate static images into a video here.
Let’s look at some simple effects you can apply to your photographs.
Movement
The most basic of all effects in After Effects, or any NLE, is to pan or zoom. You can skip this segment and jump down to the next effect if you’re already an editor. However, if you’re making your first documentary and have little experience with editing, this tip is for you.
To pan or zoom, bring your photographs into After Effects, create a New Composition, and place your photographs on the timeline. Then, increase the photograph’s scale so it’s slightly larger than the composition.
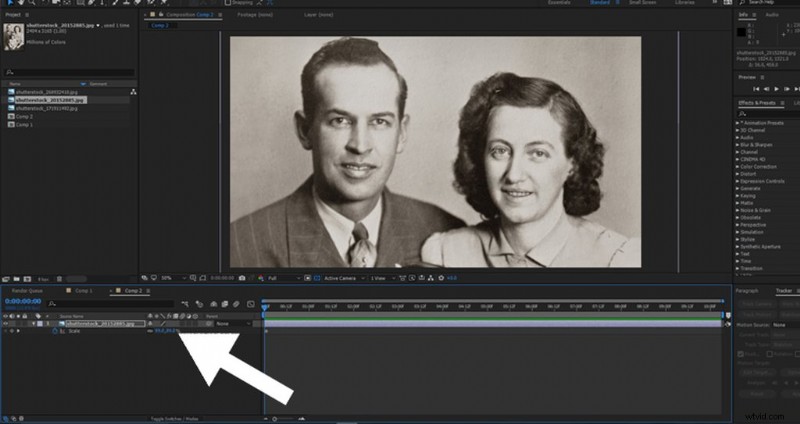
Open the Effects panel or the Layer properties (depending on what software you’re using). There are going to be options to change the keyframe type, but leave it as it is.
Set a keyframe on either the pan or the zoom, scrub ahead, then either increase the scale (to zoom in) or pan across the image.
You don’t want the movement to come to a stop, as that would reduce the momentum of what you’re trying to achieve.
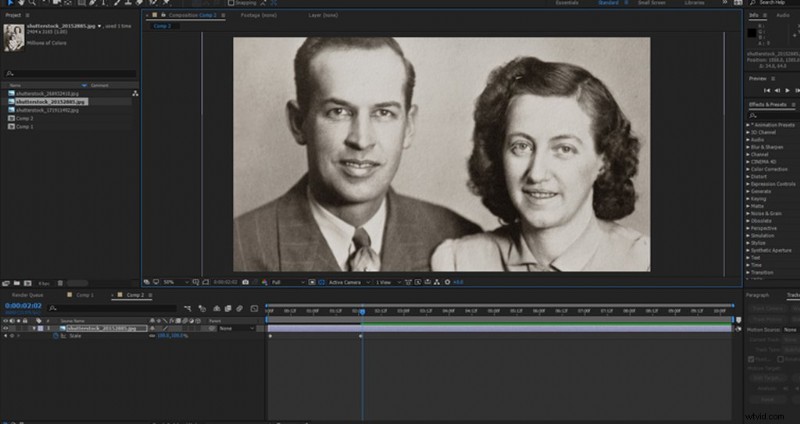
I’ve found that only the slightest movement is necessary for the best results. The edit will also look better if a photograph cuts to another photograph in the same direction.
For example, a zoom cut into another zoom will look better than a zoom cut to a pan.
Grunge Texture
Building on the movement effect, we can also create a grunge or paper texture. You can put this to creative use with textures similar to the photograph’s theme or style.
However, instead of zooming into the texture and photograph as one, we’ll separate the photograph and the texture in Z-space and softly track forward so the grunge texture appears first. When you do this, it creates an interesting dynamic between the photograph and the texture.
For example, using a grunge texture for an old photograph of someone who committed a crime would enhance the mood of that segment.
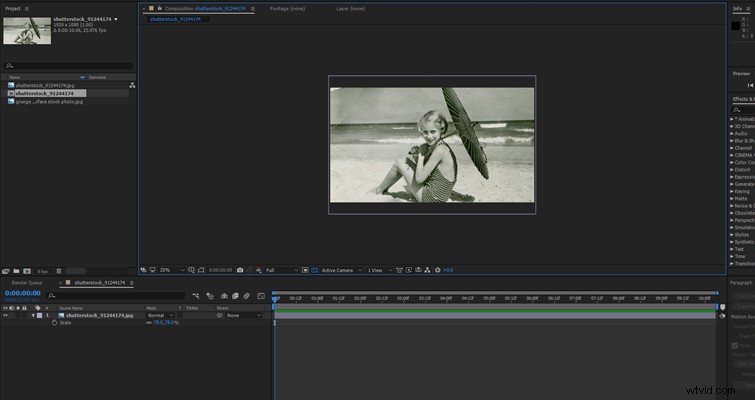
To do this, bring both files into After Effects. Set the texture file above the photograph, and change the texture layer’s blend mode to a mode that works for your image.
In my example, Soft Light works best and decreases the opacity to 75%.
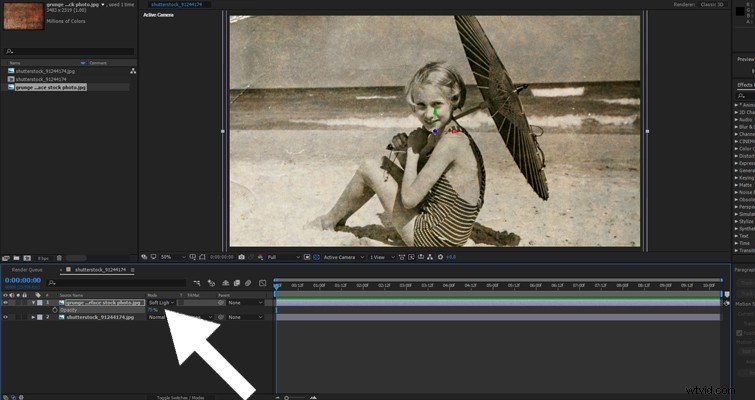
Change both layers to a 3D layer, and create a new camera.
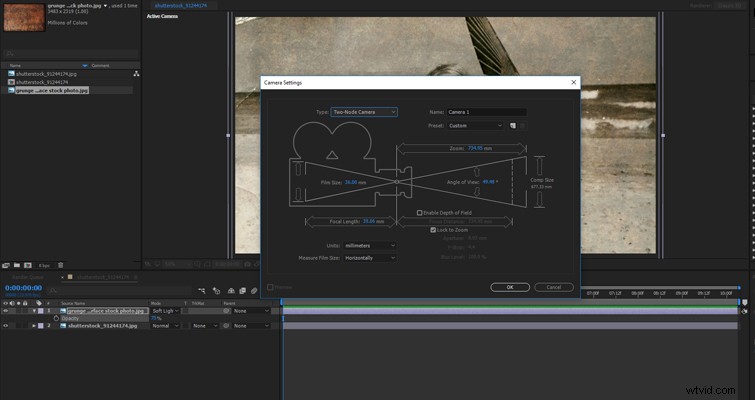
Open the position controls of the Grunge Texture, and bring it forward in z-space. That will be the position controls on the right.
Finally, open the position controls for the camera, set a keyframe, scroll forward two seconds, and then move the camera’s position forward.
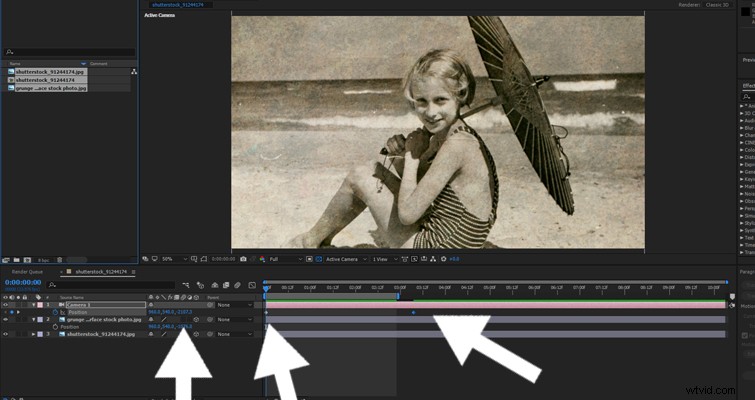
This is the final result.
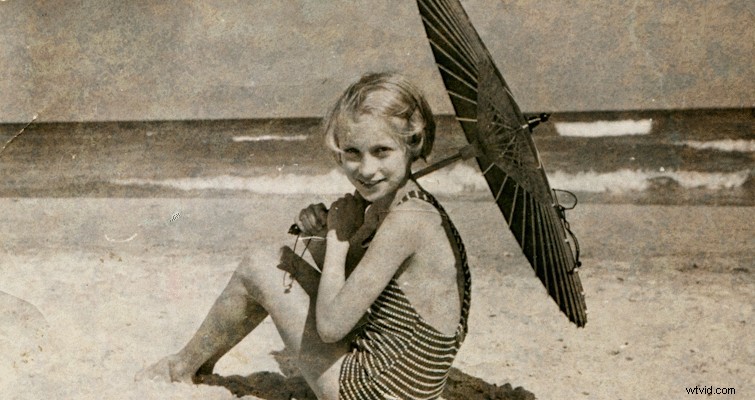
As you can see, it creates a fascinating effect, almost as if the audience is becoming a part of the photograph itself. It will keep your audience more engaged than a static picture would.
Digital Screen
Combining both tips, let’s look at creating a digital screen. Facebook, Twitter, and SMS have become an integral part of daily communication and entertainment.
As a result, many police investigations and high-profile disputes look at photos and status updates on social media. The same is true in documentaries (see Catfish).
If you’re displaying a set of photographs from a social media account, you can immerse the audience a bit more by making the photo appear as if it’s on a computer screen. Of course, you could essentially film the screen itself, but this digital option takes no longer than a few minutes.
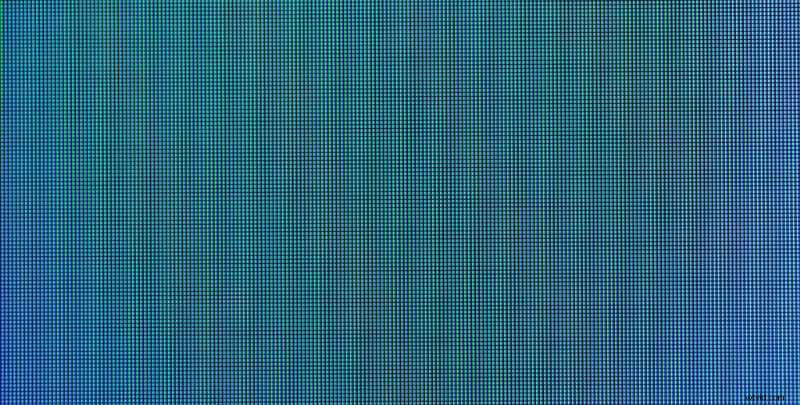
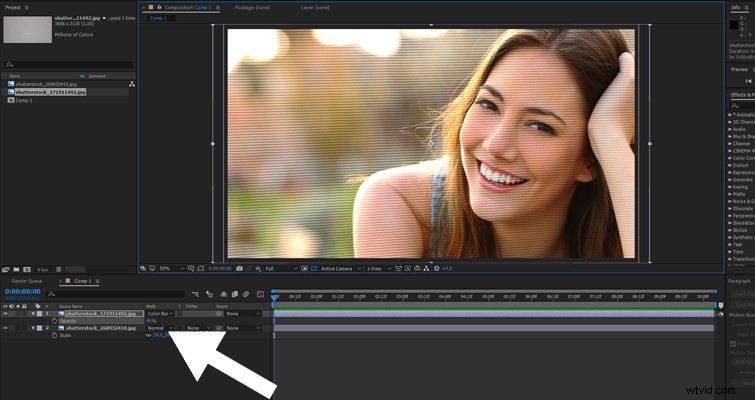
Bring your photograph into After Effects with a computer screen pixel texture.
We have a selection of screen textures available in the Shutterstock library.

Place your pixel layer on top of the photograph, and change the blend mode to Color Burn (or whatever works best for the look you’re trying to achieve). Then lower the opacity to around 25-45%.
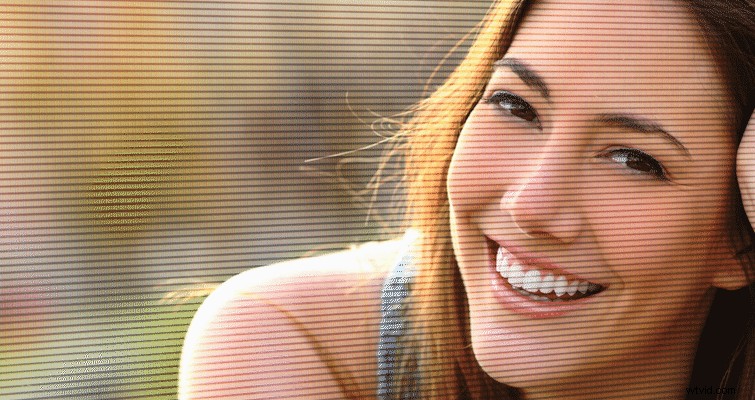
The photo now looks as if it’s a screen capture. However, we can take it one step further by turning the screen layer and the photograph into a 3D layer and moving it along the Z-axis, so it appears as if we’re moving alongside a computer display.
Following the grunge texture tip steps, add a camera, change both files to a 3D layer, hit P on the keyboard to bring up the position controls, and slightly move them back on the Z-axis controls.
Then, using the rotation controls (R on the keyboard), rotate the photographs 20-25. Now, if we keyframe our camera movement, it looks like we’re moving alongside a computer screen image.
Bonus: 2D to 3D
Finally, here’s a video tutorial of my own. In this video tutorial, I break down how to transform a 2D image into a 3D video file.
It takes a little longer than the effects listed above, but this is an excellent technique if you have the time and want to make an individual photograph stand out from the rest.
Of course, there’s nothing wrong with just using a photograph without animations or effects. It would be best if you didn’t enhance every still within your documentary—the effects may become too distracting.
However, using the instructions above, you can now bring a little more emphasis to those photos you need to enhance.
Cover image via Sutipond Somnam.