What exactly are the differences that stand out in images captured by a professional photographer rather than those captured by an amateur — and how do you get there?
If you’re just getting started in photography, you may look at some professional photos on Instagram, compare them to yours, and wonder, “What makes their photos so much better?” Is it the gear they use? Is it the years of experience? Or is it just that they get paid for their work? What is it that makes their photos that extra bit better than everyone else’s?
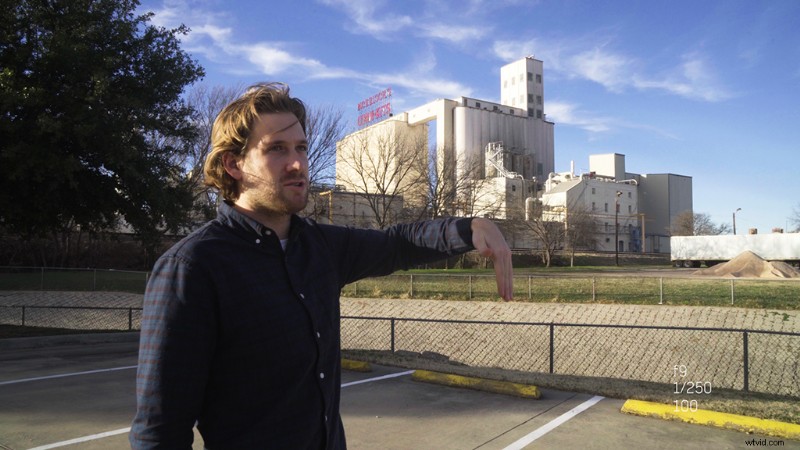
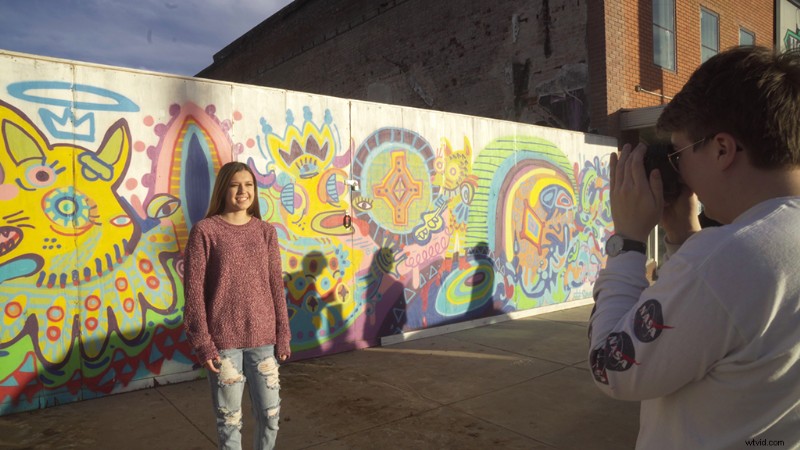
As an amateur photographer, I’ve always wondered this myself. I’ve got plenty of experience shooting video, but when it comes to photos, for some reason my expertise just doesn’t transfer. So, I decided to create a challenge: I enlisted help from Logan, a professional photographer, and we each shot in three different locations with the same camera to really see what the true workflow differences are between someone just starting out and someone who knows what they’re doing.
Here’s what I found out.
Knowing the Exposure Triangle
After shooting at the first location, I realized one thing about Logan’s workflow: he knew exactly which ISO to use and which shutter speed and F-stop to pair it with. I, on the other hand, was just playing a guessing game, trying to figure out what worked best for that particular shot by starting out with settings I assumed were right then correcting as I went.

The exposure triangle is probably one of the most powerful tools in a photographer’s kit. Any pro will tell you it’s not really about the camera you use — it’s about how well you expose your shot. Noting where the light is coming from, how powerful it is, and knowing exactly which setting does what is incredibly helpful information — and it will yield better images.
So what’s the exposure triangle, check out our series on ISO, shutter speed, and aperture.
A Keen Eye for Detail
A beginner’s eye means lot of trial and error. You might look at a landscape and begin shooting rapid fire, then start adjusting from there to get the shot you want. But sometimes, that shot doesn’t turn out the way you planned. It’s because you haven’t yet trained your eyes to take in the small details of the image while shooting — and only focusing on the main subject.
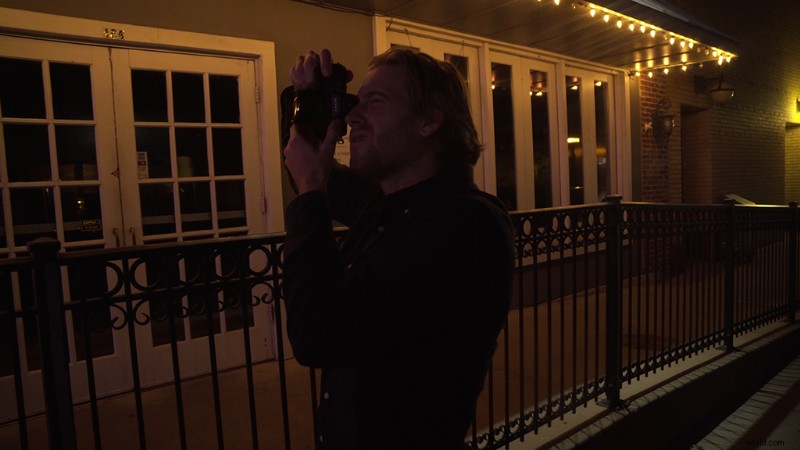
In our challenge, we went out to a town square where we shot a neon sign at night. My immediate thought was just to take a well-exposed picture of the sign in the middle of the frame. Simple enough.
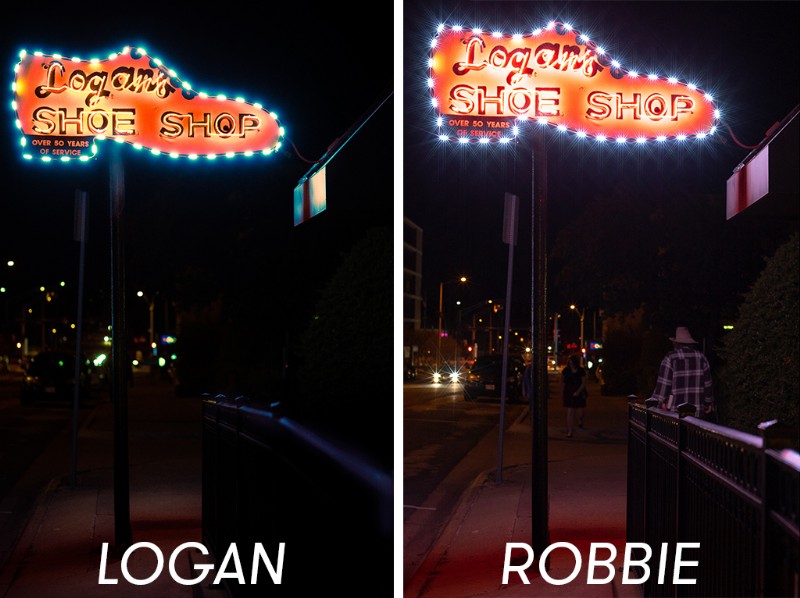
Logan, however, took it a step further. He noticed that there was a handrail that led directly into the path of the sign, and pivoted his composition to include the rail. A few steps back and a few adjustments later, he had lined up the rail (which was perfectly illuminated by the neon sign) to travel straight into the light source, adding a layer of symmetry and style to the photo.
Even in the edit, Logan noticed that there were dust particles on the sensor after we were done shooting. He took his photo into Photoshop, cleared out the dust digitally, and produced a clean image on the other side. Mine on the other hand, well . . . mine stayed dirty.
So when you go out shooting, take a second to really look for the small details that could enhance your photo. There’s no need to rush!
Shooting for the Edit
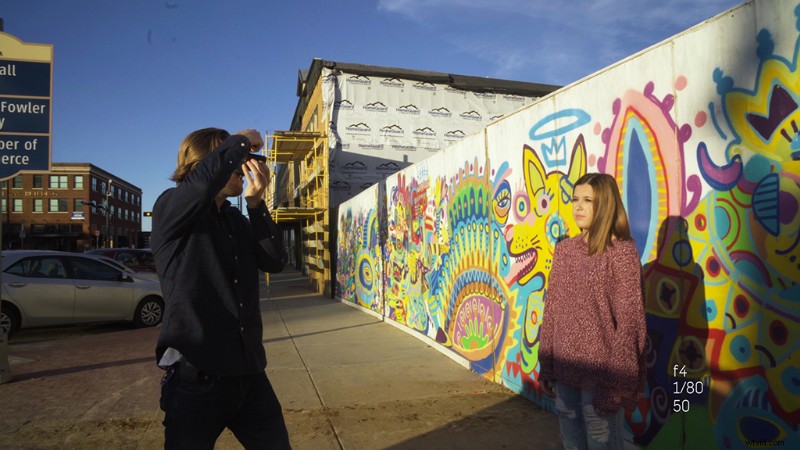
A really big difference that I noted during our challenge was how we approached each photo. I, as the beginner, just wanted the photo to look good right as it came into my preview monitor. Logan, on the other hand, was more patient with his photos, keeping notes in his head about how he wanted to edit this photo down the line. It showed once we got to the editing stage, where I was just bumping my contrast and saturation to get a cool, clear image, while Logan had prepped his original photo so he could edit it according to his style.
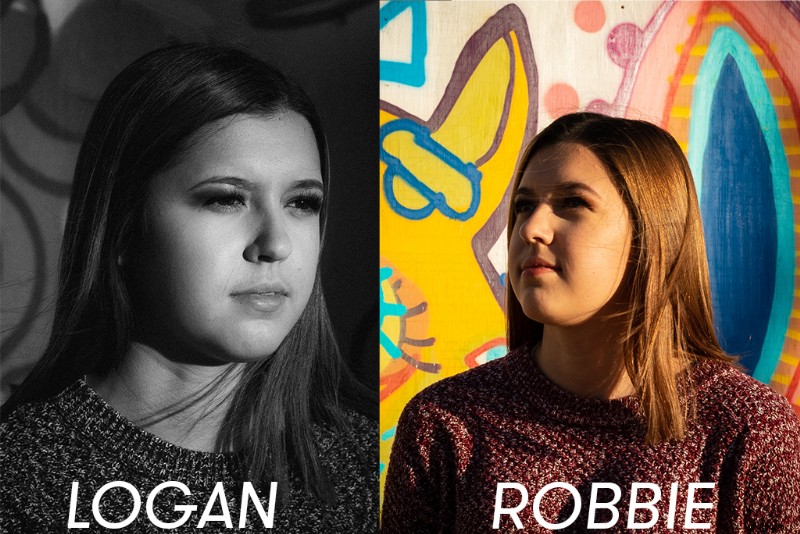
Just take a look at our differences in the street photography challenge: my photo has bouncy colors and a clear image, but it’s really not all that different from a photo someone could take on a new iPhone. Logan’s photo just has that touch of professionalism — the choice to go black and white, the subtle vignette over the subject, and crisp, clean lines.
If you haven’t really tried editing your photos yet, take a look at Logan’s video on how to edit your photos in Lightroom.
So, How Do I Improve?

That’s the million-dollar question: how do I get to that professional level? In my experience as an amateur, and based on this challenge, I’ve learned that going out for the sole purpose of taking a picture will help you get a better grasp on the craft. I’m not just talking about bringing your camera with you and shooting something if you see it; I’m saying you need to plan a shoot, go out, and play around with your camera until you get a shot that you’re proud of.
By the third location on this challenge, I had already started to feel more relaxed, and I gained a better knowledge of the settings on the camera just by trial-and-error’ing my way through the photoshoot. You start to learn what works, and what doesn’t — and after a few sessions, your personal style will start to emerge.
And that is how one becomes a professional. A whole lot of trial, a whole lot of error, a whole of pictures.
So go get your 10,000 hours in — the clock starts now.
Interested in the tracks we used to make this video?
- “Laidback Summer Vibe” by Mattijs Muller
- “Fur Coats and Candles” by GG Riggs
- “Tropical Local” by GG Riggs
- “What’s the Matter” by Aulx Studio
- “All You Need” by Chill Study
- “Simple Math” by Luciano Music Co.
- “Everything We Are” by Ben Bieny
Looking for more video tutorials? Check these out.
- Video Tutorial: How to Use the Duotone Effect in Your Portraits
- 4 Landscape Photography Mistakes You Can Easily Avoid
- Focus Stacking 101: Time to Open Your Aperture All The Way
- 6 Cheap Ways to Light Your Next Portrait Photography Shoot
- Black and White Photography: Understanding Shadows and Color