In this latest video tutorial, check out seven ways to modify, build, or replace new pieces of equipment for your next shoot.
Of all the many beautiful aspects of filmmaking, change and adaptability might be the most beneficial to the everyday storyteller. New, accessible pieces of equipment are always coming out, as are modifications by friendly users that help all of us tell our stories. Even if you’ve never picked up a drill, saw, or extension cord, these filmmaking hacks are super easy and cheap.
Let’s do this thing.
1. Pizza Pan Light
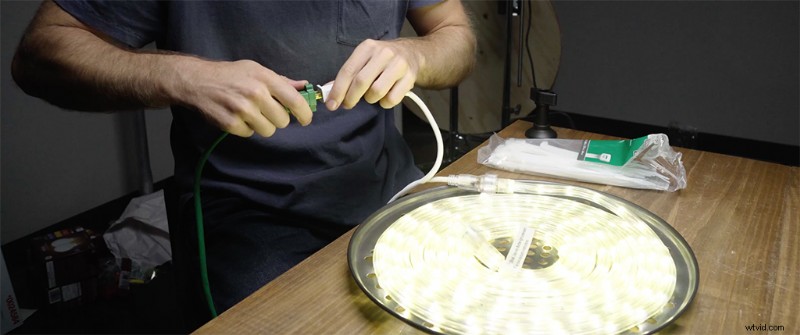
A pizza pan light might be the most simple and obvious build on this list. All you need is a pizza pan with holes on the bottom, zip ties, and a roll of string lights or any type of LED light. Next, all you’ll do is place the lights in a spiral on top of the pizza pan, then feed the zip ties through the holes on the bottom, fastening the light to the pan. Once you’ve done this, the light is ready. If you want to put the light on a C-stand, just stick a bolt through one of the center holes, into the C-stand.
2. Candle Light
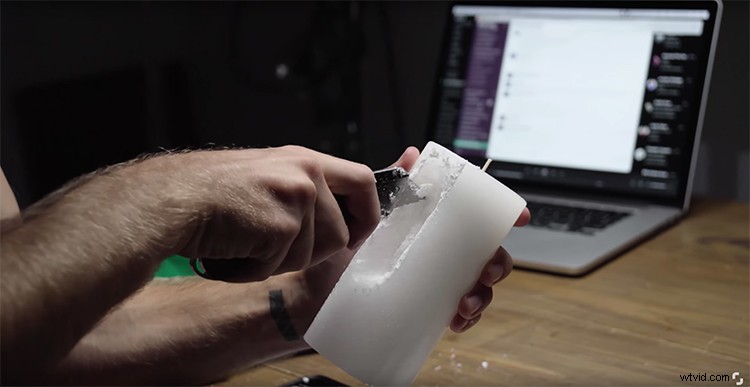
If you’ve ever tried shooting a scene with candles, you know how difficult it can be to pull enough light from the tiny flames to capture an interesting image. So, to still have the flames in the shot, you can carve out space in the back of the candle (whichever side isn’t facing the camera) and buy a small enough LED bulb to fit inside. The bulb will be bright enough to create a believable light on your subject’s face while giving the appearance of natural light from the flame. Make sure to tape the bulb to the back of candle, unlike me who . . . well, just watch the video.
3. Vanity Light
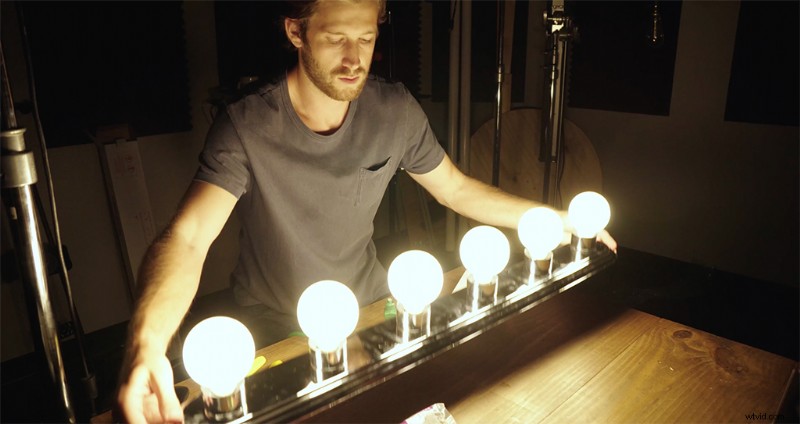
Building a vanity light requires a little bit more effort than I had previously thought. You can find the long strip-like fixture at most hardware stores, but you’ll need to pick out the bulbs (to pick color temperature and brightness) yourself. Now, you’ll also need to grab an extension cord while you’re at it because you’ll need to set up the light on a C-stand, and the rig will most likely be further away from the wall than you think.
To wire the light appropriately, cut the female end off the cord and strip away the protective layer an inch from the end. You’ll see a black, green, and tiny white cord. The black is hot, white is neutral, and the ground is either green or no covering at all. You’re just going to connect the black to black, green to green, and white to white. Then you’ll put a wire connecter on each wire duo, close the plate back up, then screw in each individual bulb.
If you want to put the light on a C-stand, just tape a baby plate onto the back of the light, then stick it in the C-stand. Another way to do it (the more secure way) is to drill into the plate of the light, but make sure you’re not going to hit anything electrical.
4. Building a Dimmer
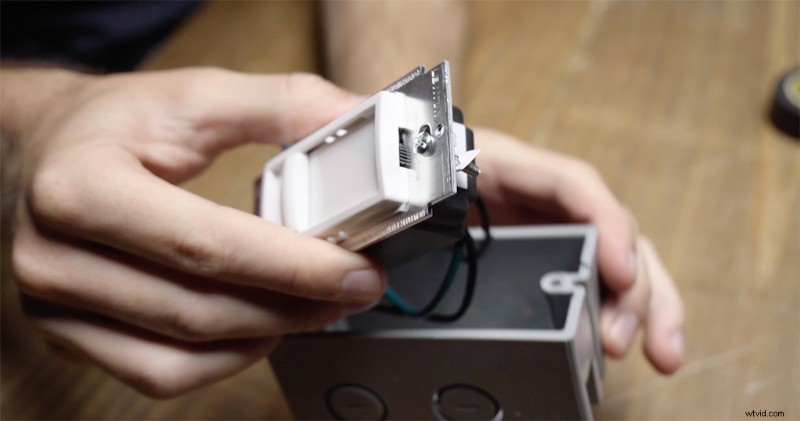
Now that you have three new ways to light your scene, let’s build a dimmer box so that you can control the brightness. You can buy the actual dimmer switch at a hardware store for cheap, as well as a small box to fit all the wiring into so that there’s nothing exposed. Once you have these two things, you’re going to get another extension cord. Cut the cord about six feet from the male end, strip an inch of each side of the cord, then run the cord through holes on opposite ends of your little box.
Next, you’ll strip back the hot, neutral, and ground wires on each side of the cord. There will be two hot wires and one ground wire connected to the dimmer. Connect one of the hot wires to a hot wire from the extension cord. Then do the other hot wire to the other cord. Finally, connect all three ground wires together. Cap these all off with some wire connecters, put the wires underneath the dimmer switch inside the box, close up the box and screw it shut. You have a dimmer!
5. Quacker Clamp
If you’ve ever been on a film set, or photo shoot, you’ve probably seen a quacker clamp — or have had to shell out 80 bucks for one at some point or another. Well, you no longer need to spend the unnecessary money; just use a quick-grip and stick it in the C-stand. It can perfectly hold a reflector, flag, or anything else a quacker clamp can hold. This is a perfect little if you’re shooting solo and need that beautiful reflection on your subject.
6. Articulating Arm Clamp
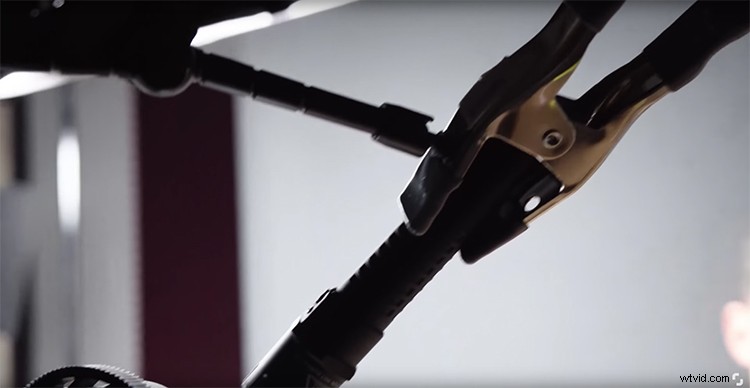
One of the most helpful devices a camera operator can own is an articulating arm clamp. But, if we just add one little clamp on the end of the arm, you can hold anything you want near your camera. In my video, I used the clamp to hold a flashlight and then pointed the light just to side of the lens, creating an in-camera lens flare without doing hardly anything. Feel free to get creative — like throwing up a prism on the side or some type of reflector as well. No rules!
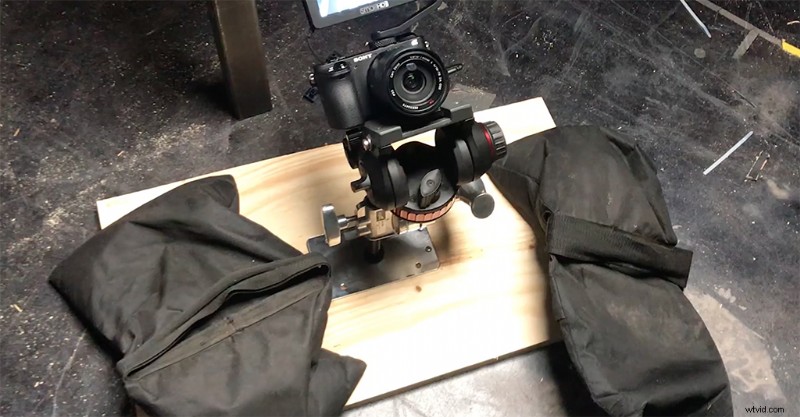
7. Building a Hi-Hat
Another helpful rig for your camera is your own hand-made hi-hat! Just like any tripod or heavy piece of gear, hi-hats can get pretty pricey. So, a solution to this problem is to build your own with a piece of wood. I used a 2′ x 2′ board and then cut it down to a 2′ x 1′ (ish), a baby plate, and a gear head from a C-stand. Just put your tripod head atop your gear head and you’ve got a sturdy hi-hat that you can take anywhere. Just to be safe though — you might want to put some sandbags on top of the plank . . . just to be extra careful.
For more tutorials on filmmaking and photography, check out our past work:
- How to Use Screen Replacements in After Effects and Premiere
- How to Easily Color-Match And Two Cameras in Post-Production
- 6 Cheap Ways to Light Your Next Portrait Photography Shoot
- How to Make a Roger Deakins Ring Light for Under $150
- How To Shoot Product Shots: 3 Cheap And Easy Setups