Do you have an idea for a location but can’t find the right look anywhere? Try building your own custom film or video set using studio flats.
If you’ve ever worked on a set before or been involved in theater, you’ve probably seen a studio flat. They are light, convenient walls that can transform into anything you need them to be: a living room, an elevator, an entire house — you name it. They are an incredibly versatile filmmaking tool, and they have created sets for everything from sitcoms to Hollywood blockbusters.
So . . . Why Build Your Own Flats?
So a question a lot of people ask is why spend the money and make flats when you can just shoot in a real location? Well, the answer to that is studio flats are incredibly customizable. With flats, you can design your set exactly as described in the script — and you can make changes in only a matter of minutes. And unlike location sets, you can pull out a wall to get a unique camera angle that would only be possible on location if you broke down the wall with a sledge hammer.
Building Materials
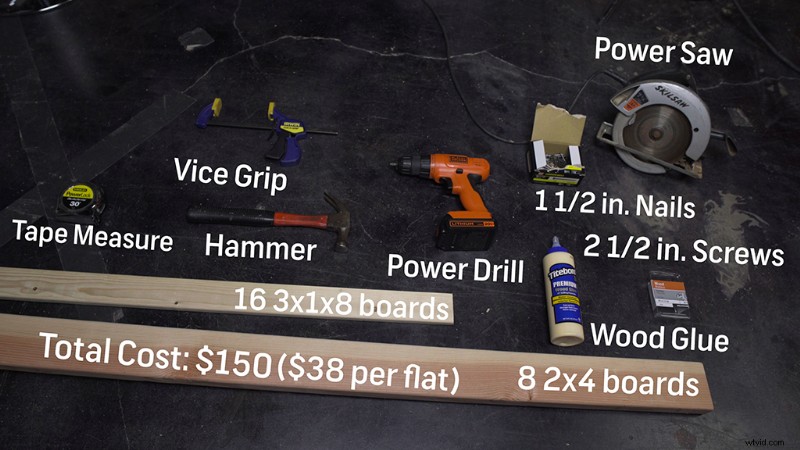
- 4 masonite boards
- 8 2x4s
- 16 1x3s
- Wood glue
- Tape measure
- Hammer
- Drill
- Vice grip
- Conventional wood nails (1 ½ inch)
- Wood screws (2 ½ inch)
- power drill
All in all, the supplies cost about $150 (not including tools) — about $38 per flat.
Assembling Your Flats

Once you’ve gathered your supplies, it’s time to start building out the frame: a 4×8 rectangle made of 1x3s with a support slat through the middle.
The masonite board is 4×8 feet, so the boards that run along the sides don’t have to be cut. The interior boards need to fit between the running boards, so just subtract the width of both boards from 4 feet, which combined is 1½ inches. That means you need to cut each slat at a measurement of 3 ft and 10 ½ inches. You can either cut all of your boards at once, or just cut as you go, but to start out, all you need is 3 slats.
Line up your slats to sit flush with your masonite board. Once you’ve got a rough estimate of the shape, hammer nails into the joints of the boards. Do this for every joint on the rectangle. If you can get something to support your frame while hammering, that would be preferable.
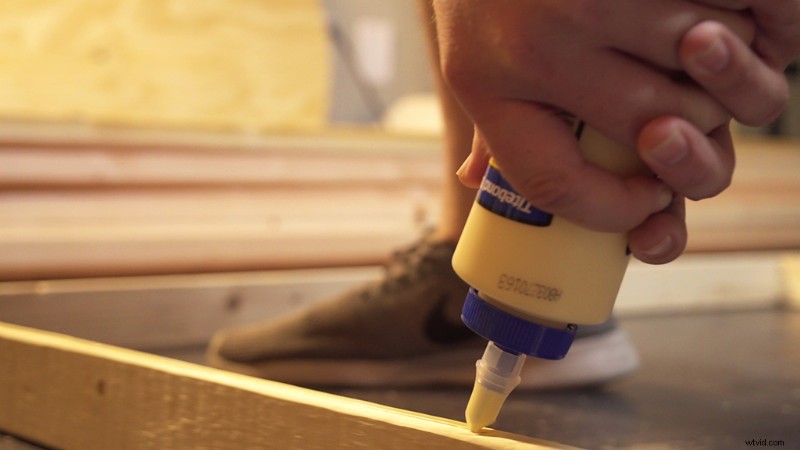
After you’ve built your frame, take the masonite board out from underneath it. Apply wood glue to the surfaces of the supports. Then, carefully lay your board along the frame. It’s okay if it’s not perfectly flush — just make sure that the bottom seam is flush so it doesn’t bear weight when you stand it up.
Once the glue has dried and you have a solid base, hammer in nails all along the seams. I’m not talking a few nails on the corners — make sure you have truly attached the surface to the frame. I recommend 10 nails along the vertical supports, and 6 nails across the top and bottom.
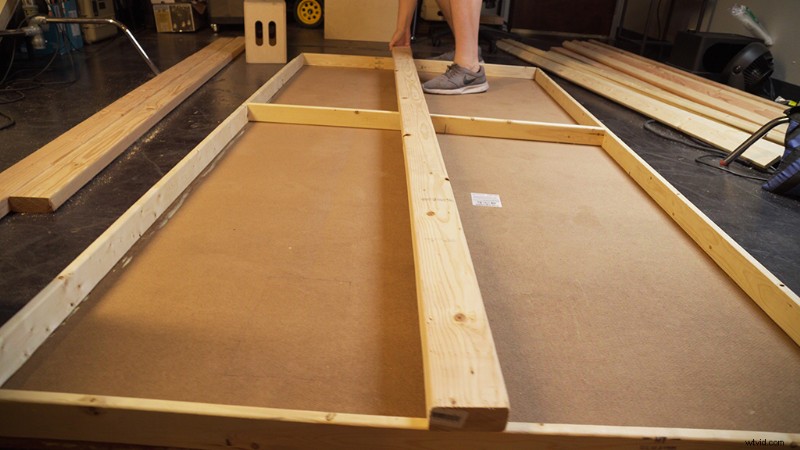
Now that the board is secure, flip the flat to the other side. It’s time to add the main support beam. Grab an uncut 2×4 and place it in the middle of the flat. It should sit flush with the 1×3 frame. Drill 2 pilot holes at every intersection of the wood, and then drill screws into each hole.
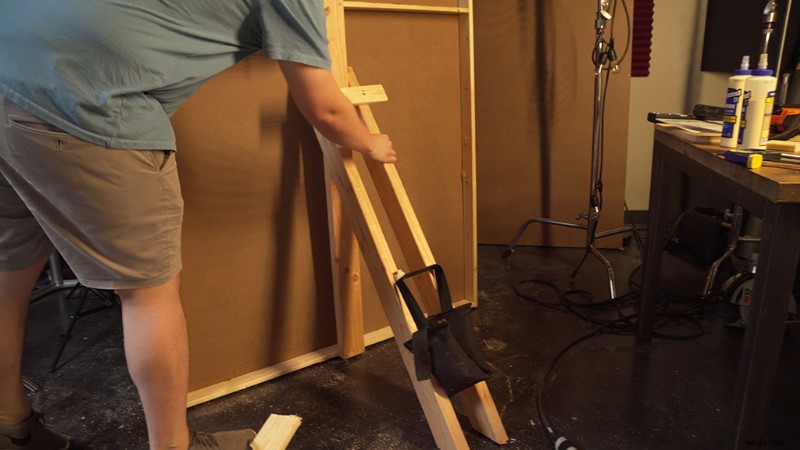
Now you have a completed flat. All you have to do now is get it upright with some stands. This is pretty simple — just saw a 2×4 in half, and then saw a 45-degree angle into the ends of both boards.
Place the cut pieces onto the back of the flat, and sit them so that their angled ends are flush with the ground. Once you have your desired angle, get your vice grip and secure the boards to the flat. Once in place, drill 2 holes through the 2x4s on each side and then use two screws to attach the boards to the flat.
To make the stand sturdier, you can attach a cross beam using a cut 1×3 plank so that the boards won’t move independently. (It’s also pretty handy as a handle to move these flats around.)
Designing Your Space
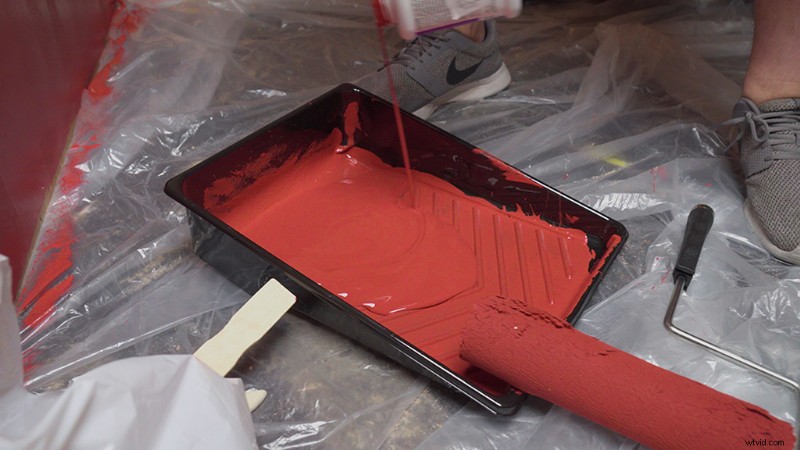
Now that the construction is complete, paint the flats with the color you want. We created a faux study, so I chose a light maroon.
Now that your flats are completely assembled, arrange them however you want your room to look. Dress up the flat with some paintings, lamps, and other accouterments to sell the room. Paintings and canvases on the wall will help cover seams, but if you are looking to build a larger-scale room, you can drape a muslin cloth over your entire wall and paint over that to make it look like one continuous piece.
With the correct lighting, you can use angles to your advantage to get some really quality shots that would be hard to get in a real location. Just don’t angle upwards. That’s where the ceiling ends!
Looking for more film and video production tutorials? Check these out.
- DIY Filmmaking: 7 New Hacks to Help Your Shots — and Sanity
- How to Easily Color Match Any Two Cameras in Post-Production
- How to Make a Roger Deakins Ring Light for Under $150
- 4 Iconic Music Video Effects You Need to Know
- Learn to Choreograph a Fight Scene with a Hollywood Stunt Coordinator