Give your footage a retro look with these 10 FREE vintage presets for Final Cut Pro.
Vintage color grades are a simply way to give your footage a distinct look: Go for a 1970s haze, a golden glow for Autumn, or a green-tinged cast that triggers warm and fuzzy nostalgia. In the following post we’ll take a look at how to use vintage color presets in Final Cut Pro and discuss how to install them onto your computer.
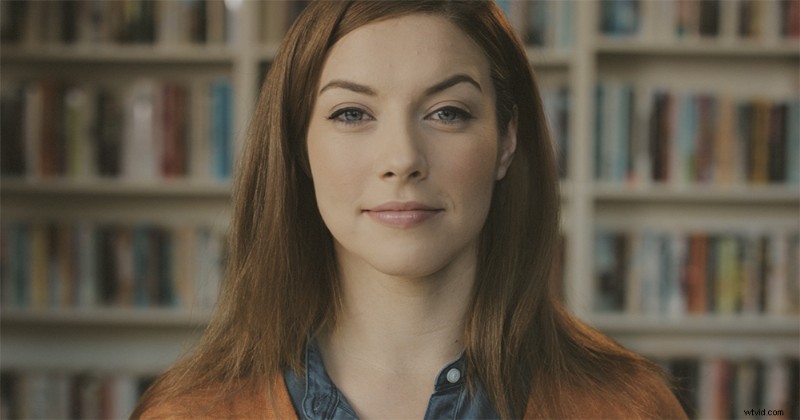
This video from Shutterstock used the ‘Vintage – Desaturated’ effect preset in Final Cut Pro.
The following video shows us how to install and use these 10 free vintage presets for Final Cut Pro. The presets were created to work in FCPX.
To download the presets listed in the above tutorial, download the file below.
Download Free Final Cut Pro Presets
Using the effects presets is incredibly easy. Just drag and drop the effect from the effects browser onto your clip. That’s all there is to it!
If you’ve never installed effects presets inside of Final Cut Pro, follow the steps below.
Installing the Presets
It’s next to impossible to find the Final Cut Pro preset folder on your own. While the Adobe software file structures are fairly easy to navigate, the Final Cut Pro file structure can get confusing. Here’s how to install presets in Final Cut Pro.
Step 1: Unzip the Preset Folder
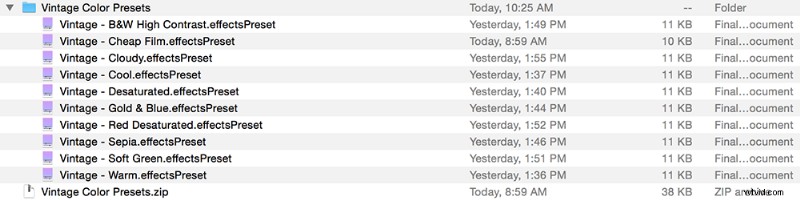
To unzip the ‘Vintage Presets’ double click on the zip folder in the finder. You will see a folder labeled ‘Vintage Color Presets.’
Step 2: Copy the Effects Presets
Select all of the effects presets and hit Command+C.
Step 3: Navigate the (Complex) Folder Structure
In the Finder hold down Option and navigate to Go>Library. It’s important that you hold down option while you do this or you won’t see the Library folder. Once inside you can release the option key. Navigate to:
Step 4: Copy Preset Files
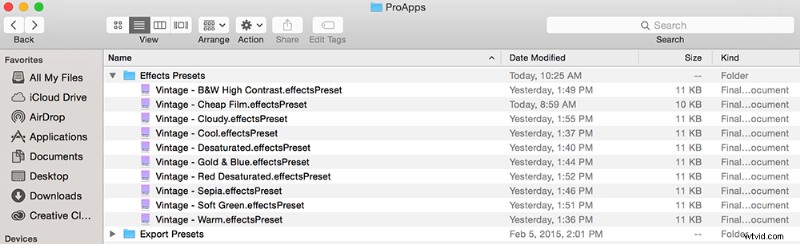
Now paste the preset files into the ‘Effects Presets’ folder (Command+V).
Step 5: Restart FCPX
In order to see the presets in Final Cut Pro you must restart Final Cut Pro.
Looking for more ways to take your FCPX footage to the next level? Check out our series of superhero tutorials, which cover fighter jet attack scenes, an X-Men-inspired eye replacement, and Star Trek Beyond-inspired titles.
Cover image by Annette Shaff.