Having trouble with blown-out footage in snowy conditions? Here are a few tricks for capturing the perfect shot in wintry conditions.
Cover image via Shutterstock.
It’s that time of year again: snow-covered hills and pillowy drifts of powder covering the landscape. Or, if you are like me in the southern part of the U.S., you get to put on your light jacket for the day. If you are lucky enough to live or work in a snow-covered part of the globe, then you have the amazing opportunity to shoot video in snow. Snow and ice can provide amazing backgrounds that are especially suited to making your primary subjects really stand out.
One big obstacle when shooting in snow, however, is correctly adjusting the light settings on your camera to get an ideal shot. Blown-out footage is a common problem with snow-covered landscapes. The sun’s reflection off the snow overwhelms the highlights in the camera, while the colors in the mid-ranges and lows lose a lot of their information. Here are a few tips on how to capture the best shot in these conditions.
Use an ND Filter or Polarizer
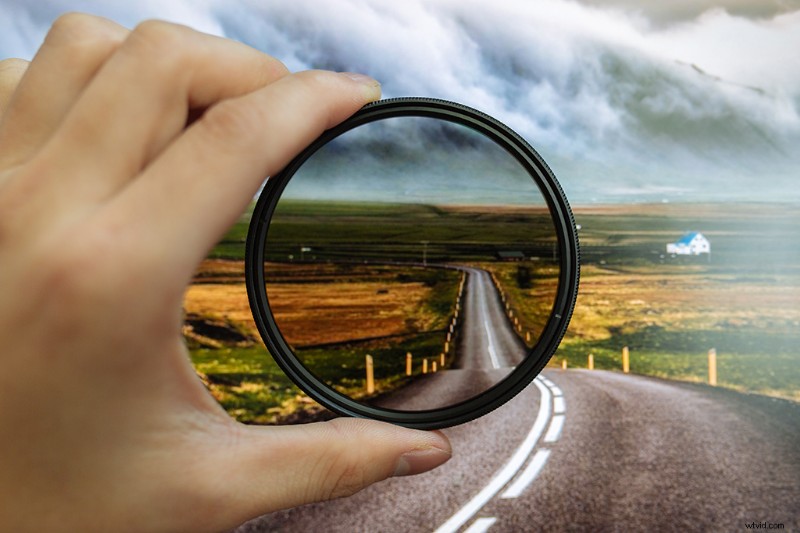
Image via Shutterstock.
The ND and polarizer filters are probably going to be the most important pieces of equipment you bring with you to a snowy shoot. The polarizer is going to reduce the amount of glare you get from the sun’s reflection off the snow. An ND filter also reduces the amount of light entering the lens. This will dramatically decrease the amount of glare and brightness from the snow and even out your image.
Keep an Eye on Your Histograms

Image via Shutterstock.
Trying to eyeball the light levels of your image through your viewfinder may not be the best option in snowy conditions. The picture you see may not represent the actual photo you take. The snow can trick the camera into believing it’s at the right exposure. If you can access your camera’s histogram feature while still looking at your image on the LCD display, even better.
Double-check to see if your highlights are blown out. When you adjust your exposure settings to lower the highlights, make sure you don’t lose the quality of your mid-tones. (If you need more on working with histograms, check out this article at PremiumBeat.com.)
Know What Detail You Want in Your Highlights

Image via Shutterstock.
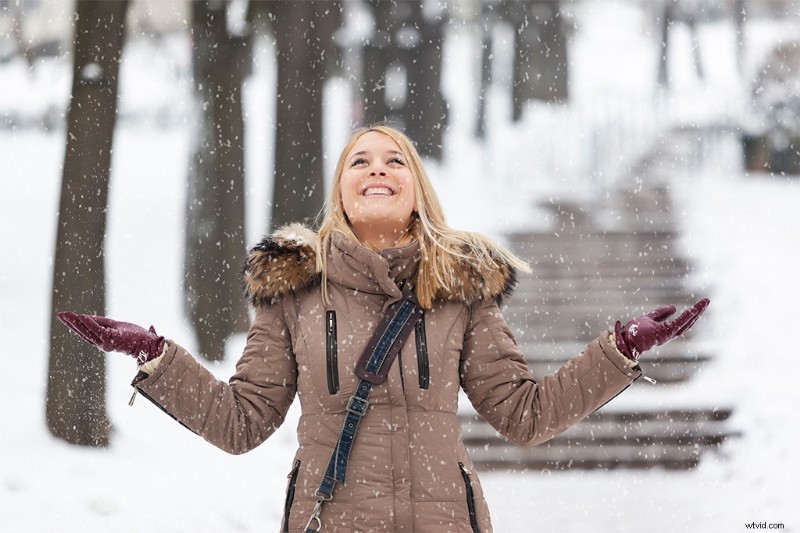
Image via Shutterstock.
Now we arrive at creativity. What do you want your image to showcase more, the snow or the subject? Do you want the snow just as a background or as an integral part of the photo? In the top image, the snow is the main focus of the image. The highlights have been exposed a bit more to showcase the detail of the powder surrounding the subject. In this type of photo, you unfortunately have to sacrifice a bit of color quality — her red jacket and skin tones are a little overexposed, but you still get a quality photo overall since the purpose here is to showcase the snow. You wouldn’t be able to see much detail in the powder if you lowered the exposure any more.
In the bottom image, the woman is the focus, and the snow is just a background element — along with the falling snow for a bit of texture. The colors in her skin tone and clothing pop against the snowy background, and they seem to maintain their original quality. To get colors this great in your primary subject, however, you have to sacrifice some detail in the surrounding powder.
Both images are similar in quality, but they highlight different elements of their shoots. It’s all about what you want to feature in your image — and how you want to direct your viewer’s eyes. (While these examples address still images, the same principles apply with footage.)
So grab your gear, head outside, and shoot in the snow while you still can.