Whether you’re working on a product demo or adding a screen to a narrative film, there are few video editing projects as fun as screen replacement. While it all depends on what you want your finished video to look like, screen replacement is very formulaic in a lot of ways . So, if you’re looking to replace your screens like a pro, just follow these tips.
1. If You Shoot the Footage Yourself
Shooting a simulated screen isn’t as easy as just shooting a device screen. You will need to consider a lot of things while on set in order to ensure that your simulated screen looks professional and realistic. Here are a few things to consider:
Decide on Your Look
There are three distinct looks that you can create when you’re working on screen replacements: realistic reflections, simulated reflections, and keyed out screens. Each different style will look different to the audience, so it’s important to choose a style that’s right for you. Let’s break down each style individually:
I. Realistic Reflections

A realistic reflection is perfect if the content on the phone screen is not important. There are a lot of different situations in which you may want to use a realistic screen. You will typically use a realistic reflection in narrative films, documentaries, or anytime you need a dummy screen. You don’t have to use a green screen app if you’re shooting with realistic reflections, just turn the phone off — but it may be more difficult to track your footage.
II. Simulated Reflections
A simulated reflection is a great way to create the illusion of realism while still giving your audience the ability to see the screen. Simulated reflections are best for lifestyle pieces in which you want your screen to look real, but you don’t want it to feel like a commercial. If you want to simulate a reflection, you will probably want to use a green screen plate and simulate the reflections in After Effects.
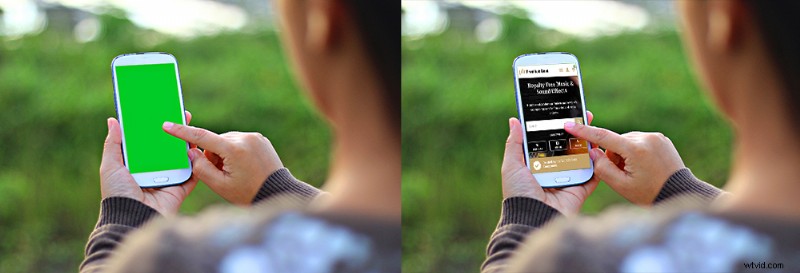
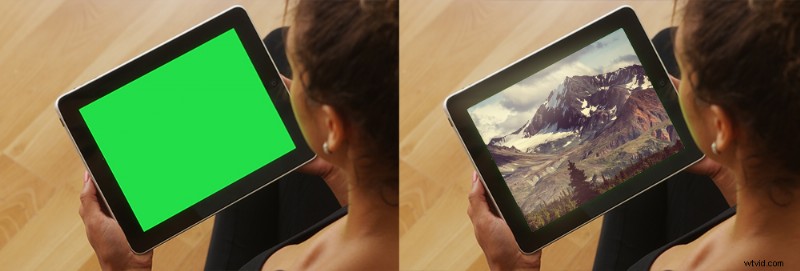
III. Keyed Out Screens
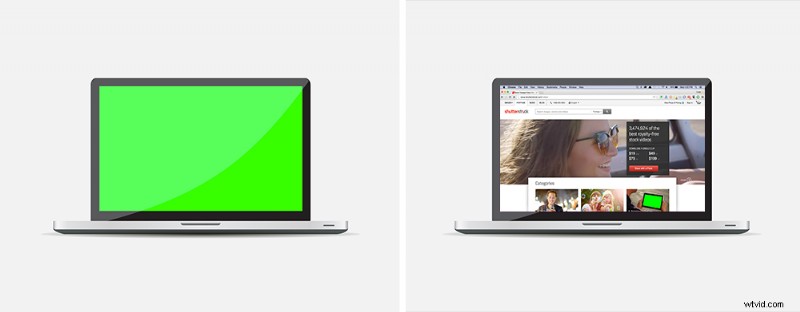
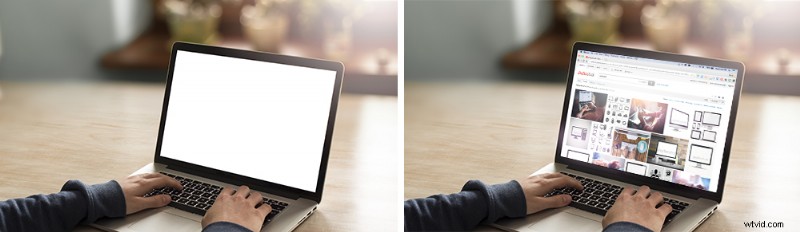
There’s no shame in simply keying out your footage with no reflections if your video project calls for it. If you’re working on an app demo or showcasing a website, you want your audience to be able to fully see the product without the fear of a reflection cutting off a portion of the frame. You can quickly and easily key out a screen using a green screen app that should cover either iPhone or laptop screen replacements, for example.
Minimize Fingers
If you’re shooting an app demo, you will absolutely need to have fingers crossing over the screen — but if your project doesn’t require fingers, keep them away from the screen. It will make your project much easier to edit once you begin the editing process.
Use an App
While a simple green image or reference photo will do just fine, there are actually apps out there specially designed for simulating phone and computer screens. One of my favorites is trackFinger, an app that can literally track your finger movements on a phone or tablet and create null objects for After Effects based on the finger movements.
trackFinger can be a little costly ($9.99), so if you just want a simple app for keying out screens, I recommend getting VFX screens. It’s a free app for iPhone that allows you to adjust tracking markers and green screen color.
2. Finding the Perfect Stock Shot
If your project doesn’t require a specific location or actor, then stock footage is the way to go. Stock footage will save you hours of time and a lot of stock shots have boosted green screens for easier keying.
Look for Simple Movements
When you’re replacing a screen, you’ll pretty much always have to motion track the shot. When you’re looking for the right shot, I recommend looking for simple shots that won’t be incredibly difficult to motion track. While footage with realistic camera shake can help sell your shot, you’ll regret it if you’re short on time.
Are There Tracking Points?
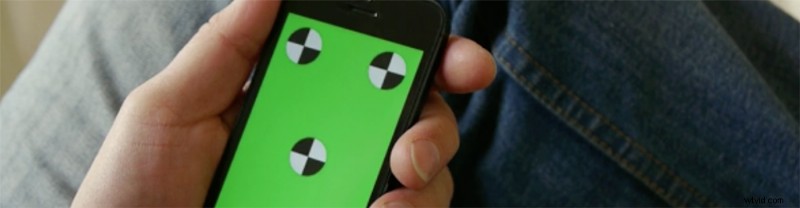
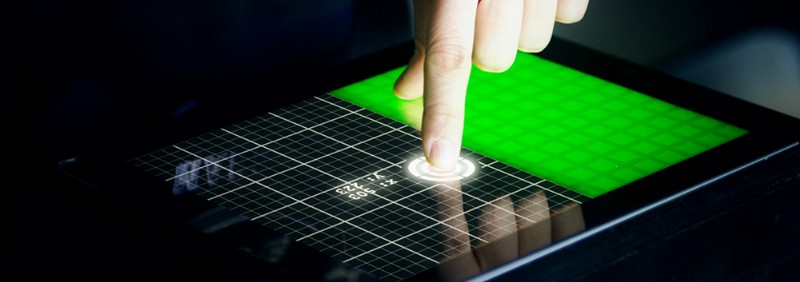
Tracking points are small icons with high contrast that have been designed to make it easier for your computer to track the screen. While in a lot of cases simply having a bright green screen will suffice, it’ll be easier to work with if you have tracking points.
Green Screen for Commercials/Demos
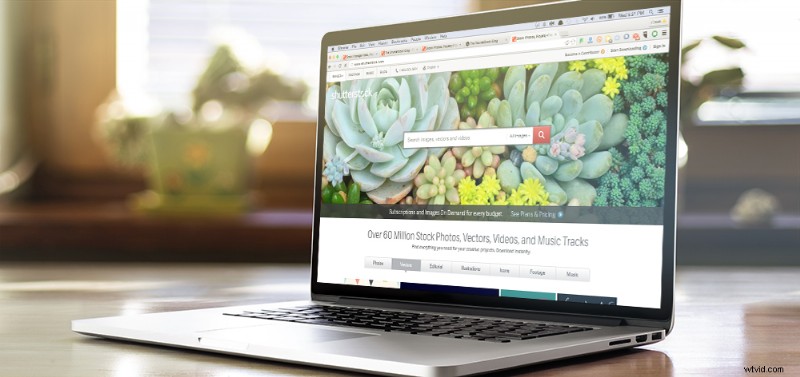
If you’re working on a commercial, then you’ll probably want to look for some stock footage that can be easily keyed out. Most of the digital screen clips here on Shutterstock have green screens that can easily be keyed out. If you decide you want reflections on your screen, you can always simulate them in After Effects.
Glare Isn’t (Always) a Bad Thing

While it’s almost always easier to work with green screen footage, sometimes reflections and glares can provide added realism to your scene. If you want your project to feel authentic, you might want to get a shot with a dark screen full of reflections. You can easily overlay these reflections onto your final video to create a realistic scene.
3. Tracking the Screen
If your shot is steady and your screen doesn’t move, you can simply skip this step — but 90% of the time, you’ll have to do at least some basic motion tracking in Adobe After Effects.
Tracking in mocha Pro for After Effects
If you just can’t get that motion track right using the built-in tracker in After Effects, it might be time to use mocha Pro, which is a professional motion tracking software that’s designed to tackle complex tracking shots. It’s free to all Creative Cloud members, and it’s especially good at screen tracking.
This free webinar created by mocha Pro is the only video you need to watch before you create realistic screen replacements. While the tutorial is a little long, it is an absolute must-watch if you’re serious about getting the best shot possible.
4. Reflections
One of the best ways to sell your shot to your audience is to add reflections to your footage. Reflections will give your footage an extra level of realism.
Adding Reflections to Green Screen Footage
If your footage is green-screen based, you will need to simulate the reflection by hand. This is no problem — but you may need to adjust the movement of the reflection, depending on how the device and camera move around the scene.
After you motion track the screen (using either one of the tracking techniques listed above), you can easily simulate the same reflections found on a screen. Just use a fractal noise layer, add in a fast blur, and give it a slight coloration.
Depending gone how complex your environment is, you may want to add more than one reflection layer. After you’ve created your reflection layer, set the transfer mode to screen or add and turn down the opacity until your scene looks right.
Adding Natural Reflections to Shots
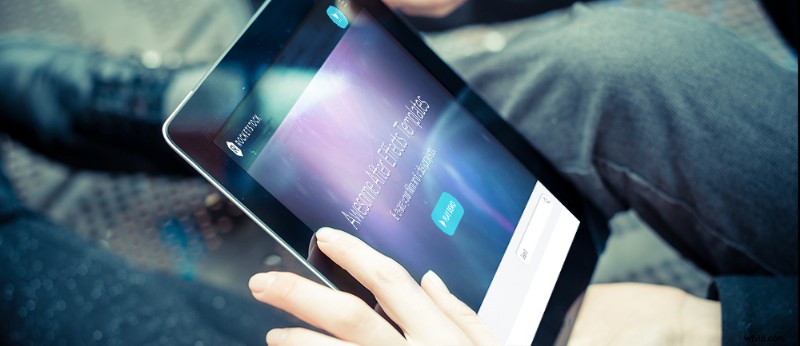
Adding a natural reflection is surprisingly easy. If you’ve already motion tracked your footage, the hard part is over. All you need to do now is duplicate both your tracked screen layer and the base footage. You’ll then need to turn your screen into an alpha matte.

This will create a simple screen overlay that should block out most of your footage. After you do this, you can set the transfer mode to screen or add and then adjust the opacity. In my experience, you may want to adjust the color levels of your reflection footage so you can adjust the flare intensity.
5. Tips for Better Screen Replacements
Depth of Field

While it all depends on the footage you’re working with, a lot of times (with macro shots) your screen or device will be out of focus in a portion of the frame. To simulate this naturally occurring optical phenomenon, you will probably want to simulate depth of field in your footage.
There are a lot of ways to do this. The easiest way is to simply duplicate your screen and add a fast blurry effect. You can then mask out the edges that need to be blurry and feather the edges.
Color Correct the Footage

One of the fastest ways to tell that a screen isn’t real is to look at the color. It’s a common mistake to simply drop in your screen and go, but if you want your screen to look as good as possible, you will need to match the color profile of your base footage. Using a Curves Effect is typically the way to go. While I would normally say use the RGB Pass technique, the best thing to do when compositing a screen is simply use your eyes until everything looks right.
Grade the Final Shot
Even if your shot is meant to look clean (meaning not very stylized), when you’re working with a screen replacement, it’s usually best to add just a little extra stylization to your scene. This can be as simple as darkening the blacks just a little bit. But anytime you can add a blanket grade to your footage, your shot is going to look just a little bit better.
Overlays Help Sell Your Work
One of the best ways to make a screen replacement look real is to add in an overlay to your footage. This can be anything, really; light leaks, soft shape layers, and lens flares are great tools for making a shot look realistic. Just use the effects in moderation.
If you have any questions about working with screen replacements (or need some quick recommendations for footage), feel free to ask in the comments below or reach out to us at @ShutterstockVid.