Today, we’ll talk about lighting in ratios, how it can change your cinematography, as well as the way you think about lighting a scene.
We often hear DPs talking about “lighting by eye.” It’s how most cinematographers working today — especially those who didn’t learn on film — compose and expose their images. They move lights around until the image “looks right” or looks close enough to what the director wants.
Armed with a general knowledge of key, back, and fill, you can almost always come up with something that looks good, given enough time.
This is great when it works, but what about when it doesn’t? There’s something more traditional to fall back on, that’ll work no matter how bad you monitor is or what look you’re going for.
I credit Patrick O’Sullivan for turning me on to this approach via his excellent Wandering DP website and podcast interviews, from DPs all over the world. And he’s overwhelmingly generous with his knowledge.
What Are Ratios?
They are brightness levels in relation to one another. Rather than absolute levels, like F stops or T stops, ratios are how much brighter or darker one element of the image is to another. They’re usually written as two numbers, such as 2:1 or 8:1.
The four commonly discussed and metered elements of an image are the key light, the fill light, the back light, and the background. Lighting in ratios simplifies cinematography radically because, once you decide on your ratios and the exposure of one of those elements, you can deduce how bright or dark the other elements of the image should be.
Concerning Genre
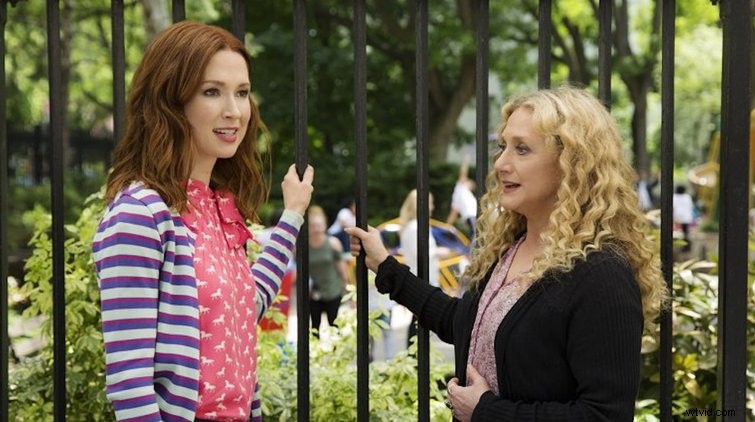
Ratios are very much tied up with genre. A high-key comedy (or TV cereal commercial) might have a key to fill ratio of 2:1, meaning that the key is twice as bright as the fill. To put it another way, the fill side of the actor’s face is half as bright as the key side.
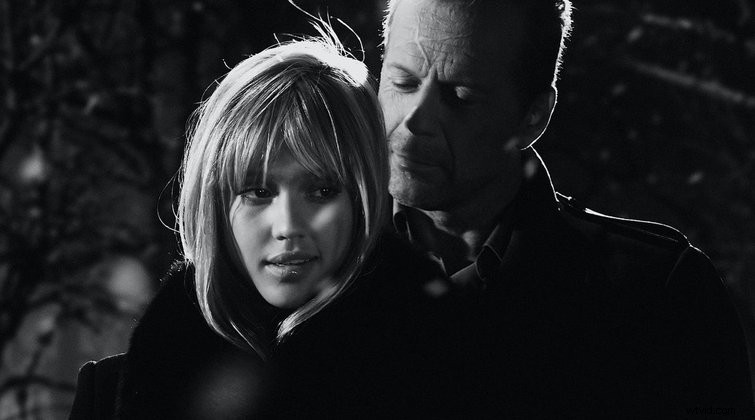
Other genres, like film noir, put ratios as high as 8:1, where one side of the face is dark and the other almost a pure white.
A typical cinematic drama might have the following ratios: Key light at exposure (the key light will be the setting of the lens, so if the meter on the brighter side of the actor’s face reads f/2.8, the lens will be a t/2.8). Fill side at 2-3 stops under key or between f/1 and f/1.4, and the background at 1-3 stops under or f/1 to f/2. If you haven’t yet memorized the f-stops, most light meters have them helpfully printed above the readout.
Once you and the director decide on a look, you can use ratios to consistently apply this across the whole shoot, so that shot, scenes, and sequences will convey a coherent aesthetic and mood.
Measuring Ratios
There are two main ways to measure ratios on set. The first is with a light meter. You walk around the set using either the stand-in or the real actors to get your readings. This is accurate but slow. The second is with false color and a color-accurate monitor. The advantage of false color is not only that it’s quicker, but that different objects reflect more or less light, so you get a more accurate reading of relative brightness. The downside is the cost. Color-accurate monitors — like the Flanders Scientific BM240 — run about $3800 before cables, cases, and accessories. My second hand Minolta light meter from eBay cost $32.
However you chose to use them, ratios are an invaluable tool that takes time to learn, but will speed up your workflow on set — ultimately enhancing the quality of your images.
Want to learn more about practical lighting? Check these out.
- A Cheap Trick for Lighting a Daylight Interior Car Scene
- 3 Lessons in Lighting from Cinematographer Robert Richardson
- Why Tungsten Lighting in Filmmaking Is Still Alive and Thriving
- Exploring the Emotion and Beauty Behind Uplighting
- Exciting New Prospects for Lighting Your Future Set