Audacity is a free, open‑source audio editor that runs on Windows, macOS, Linux and many other operating systems. Its wide adoption stems from its powerful, user‑friendly tools—especially the Amplify effect, which lets you increase or decrease the loudness of any audio clip with precision.
In this guide we’ll walk through how to boost or lower the volume of an entire file, target specific segments, batch‑process multiple tracks, and understand the difference between Amplify and Normalize. All steps keep distortion and clipping at bay, ensuring your audio stays clear and professional.
Part 1: Increase or Decrease Volume Without Distortion or Clipping
Clipping occurs when the signal level exceeds the maximum that Audacity can handle, producing unwanted distortion. To raise the volume safely, follow these steps:
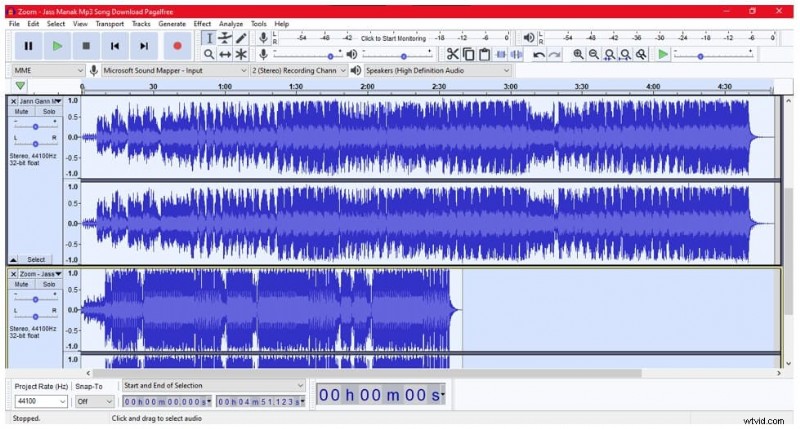
- Open Audacity. Download and install the latest version from the official website.
- Load your file. From the File menu, choose Open and select the audio file you wish to edit.
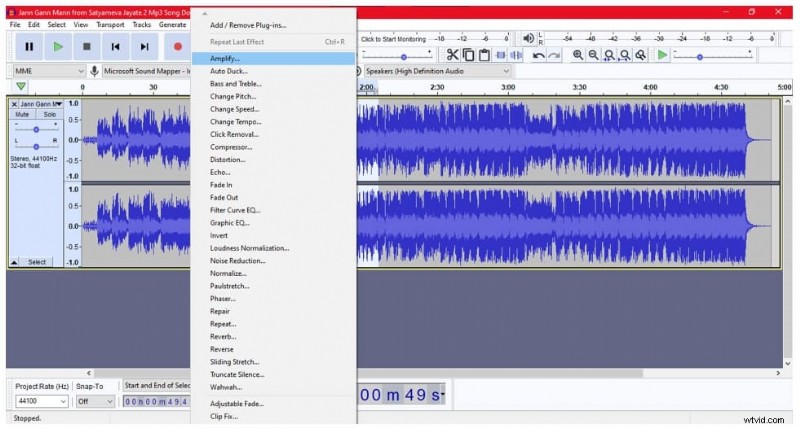
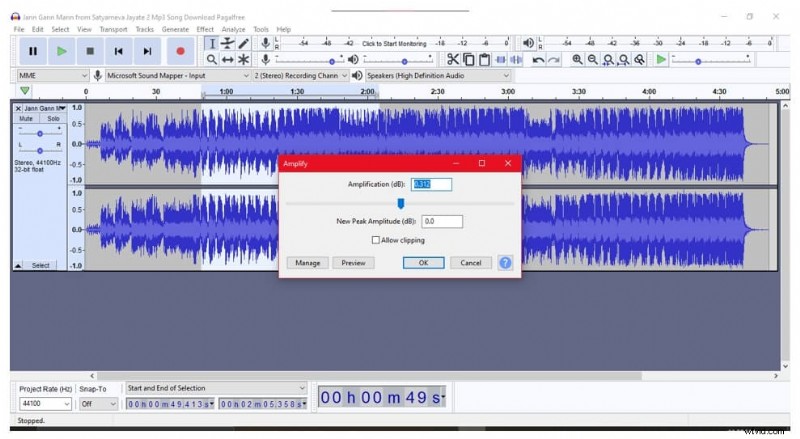
- Apply Amplify. Click the track to select it, then go to Effect > Amplify (or double‑click the track and adjust the Gain slider).
- Set the gain. In the Amplify dialog, move the slider or type the desired decibel value. Make sure the Allow Clipping checkbox is unchecked to prevent distortion.
- Preview & apply. Use the Preview button to hear the change, then click OK to commit.


Part 2: Increase Volume for Multiple Files at Once
Batch processing is a time‑saver when you need to apply the same gain change to many tracks.
- Import all files. In the File menu, select Import > Audio, then choose all the files you want to edit.
- Select everything. Press Ctrl + A (or Cmd + A on macOS) to highlight all imported tracks.
- Apply Amplify. From the Effect menu, choose Amplify and set the desired decibel value. Optionally check Allow Clipping if you’re sure the level won’t exceed the limit.
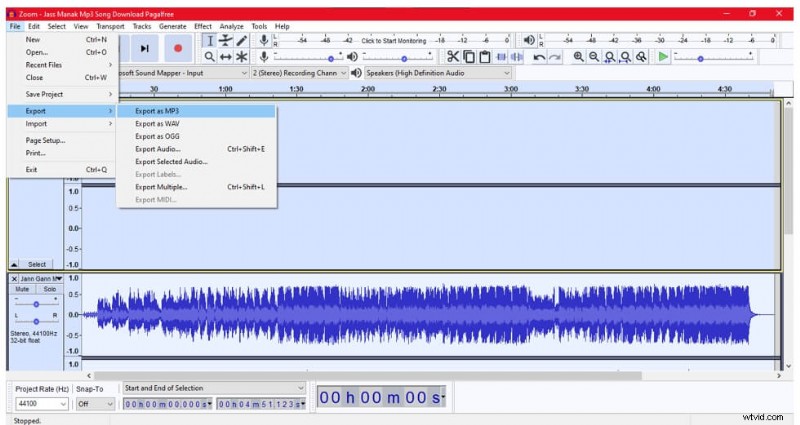
- Export the results. After amplification, go to File > Export to save each track separately.


Part 3: Targeted Amplification of Specific Track Sections
Sometimes only a portion of a track needs boosting. Use the Selection tool to isolate the region before amplifying.
- Open the file. From File > Open or drag the file into Audacity.
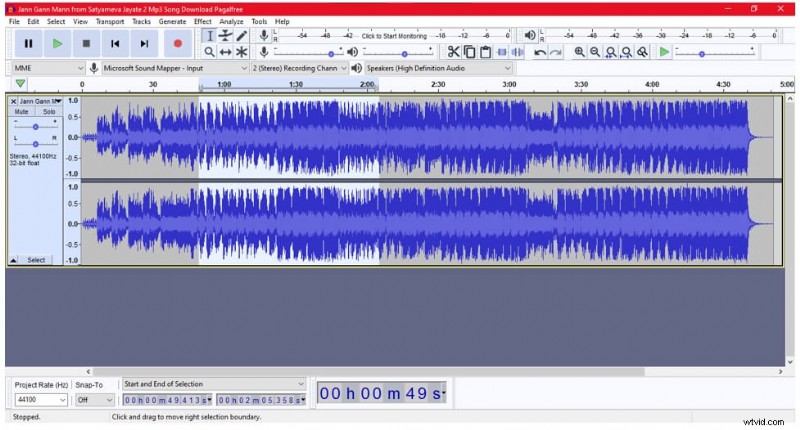
- Select the region. Activate the Selection tool, click and drag over the desired segment.
- Amplify the selection. Go to Effect > Amplify and adjust the gain for that section only.
- Apply. Click OK—only the highlighted portion will change.
Part 4: Amplify vs. Normalize – What’s the Difference?
Amplify
Amplify applies a uniform increase (or decrease) in decibels across the entire track. It simply raises the peak level, which can introduce background noise if you push the signal too high.
Normalize
Normalize automatically scales the track so that its loudest point reaches a target level (commonly –1 dBFS). This process preserves the relative dynamics of the audio while ensuring consistent volume across multiple files.
Key Differences
- Amplify affects every sample equally; Normalize adjusts based on the track’s peak.
- Amplify can increase noise if over‑boosted; Normalize maintains signal‑to‑noise ratio.
- Use Amplify for intentional dynamic changes; use Normalize for uniform loudness across a collection.
Conclusion
Audacity remains one of the most versatile free audio editors for volume manipulation. Whether you’re boosting a single clip, batch‑processing a library, or fine‑tuning specific sections, the Amplify effect—used with care—provides precise control. Pair it with Normalize for consistent loudness across projects, and you’ll achieve professional‑grade audio editing every time.