In this article
Part 1. Introduction to Nero WaveEditor
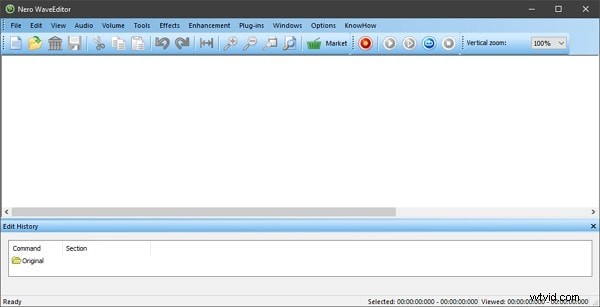
Nero WaveEditor is a straightforward yet powerful audio editor that caters to both novices and experienced users. Whether you’re polishing a pre‑recorded track or capturing new audio on the fly, this free tool supports the most common audio formats and offers a suite of editing features that keep your workflow smooth and non‑destructive.
With a lightweight download of just 170 MB, Nero WaveEditor is available in multiple languages—including German, Dutch, French, Danish, Greek, Czech, Spanish, and Russian—making it a versatile choice for global users.
Part 2. Key Features of Nero WaveEditor
Designed for quick and efficient audio manipulation, Nero WaveEditor offers an intuitive interface paired with powerful tools that support a variety of file types. Below are the standout features that set it apart.
• View Options
The editor’s view panel is one of its strongest points, providing access to Waveform, Spectrogram, and Wavelet displays directly from the top toolbar.
• Editing Tools
Under the ‘Tools’ tab you’ll find advanced processors such as Stereo Processor, Noise Gate, Equalizer, and Pitch Tuning, allowing precise control over your audio.
• Basic Editing Functions
Standard operations—Cut, Copy, Paste, Delete, Crop, Reverse—are readily available, along with additional utilities like Sample Format Conversion, Track Split, and more.
• Enhancement Features
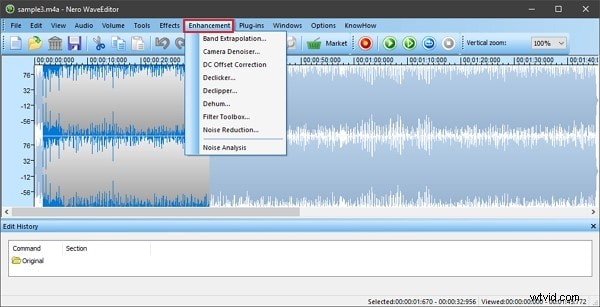
Transform your recordings with built‑in enhancement options, including Noise Analysis and Noise Reduction, to elevate sound quality before final export.
Part 3. Pros and Cons of Nero WaveEditor
While Nero WaveEditor shines in many areas, it also has a few limitations worth noting.
Benefits
- Multilingual support ensures accessibility across different regions.
- Plug‑in compatibility with VST and DirectX expands functionality.
- Built‑in recording capability lets you capture audio directly within the program.
- Non‑destructive editing with comprehensive preview and undo features safeguards your work.
Drawbacks
- The user interface feels dated compared to modern Windows applications, which may hinder first‑time users.
Part 4. How to Use Nero WaveEditor
Follow this step‑by‑step guide to get the most out of Nero WaveEditor, from opening files to final export.
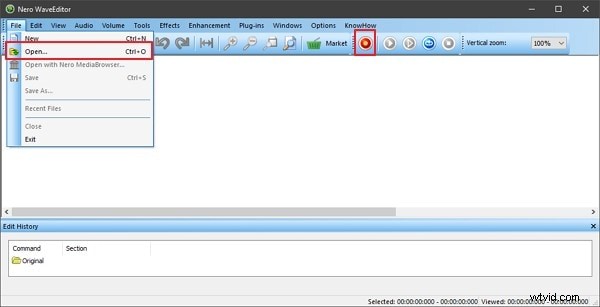
Step 1: Launch the editor and choose ‘File → Open’ to import audio, or use the ‘Record’ button to capture new material.
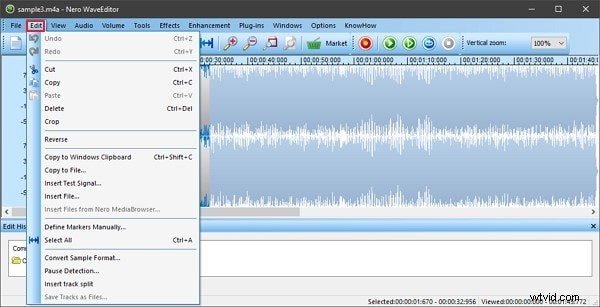
Step 2: Access the ‘Edit’ tab to perform Cut, Crop, Copy, Delete, or Reverse actions.
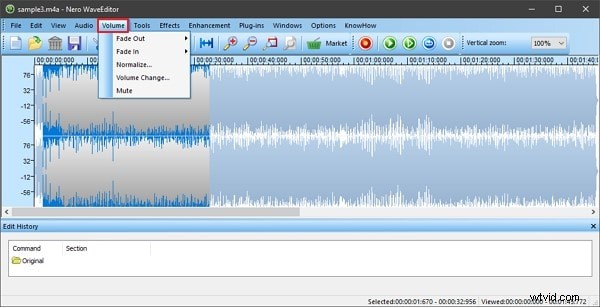
Step 3: For volume adjustments, navigate to the ‘Volume’ section. Options include Fade In/Out, Normalize, Volume Change, and Mute.
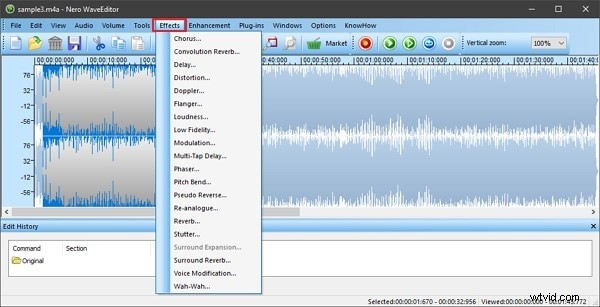
Step 4: Explore the ‘Effects’ tab to apply Distortion, Loudness, Reverb, Delay, and more.
Step 5: Enhance your track with the ‘Enhancements’ section—use Noise Reduction or Noise Analysis to clean up audio.
Step 6: When satisfied, select ‘File → Save As’ to export the edited file in your preferred format.

Part 5. Alternatives to Nero WaveEditor
Those who need a different workflow or interface may consider the following free editors.
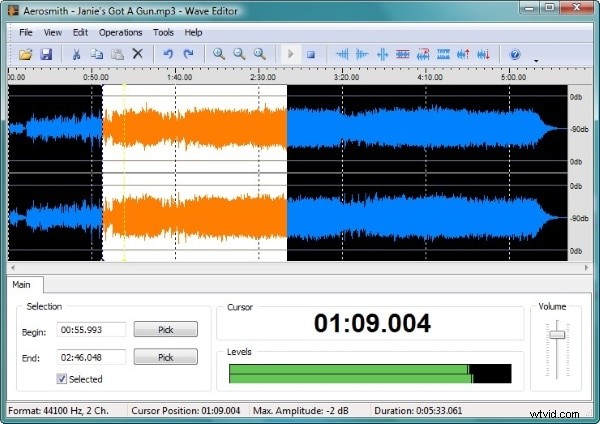
Wave Editor
Wave Editor is a lightweight, Windows‑only tool that supports up to 2 GB files and offers a clean UI for rapid edits. It handles MP3, WAV, WMA, and other formats, and includes basic amplification tools.
Audacity
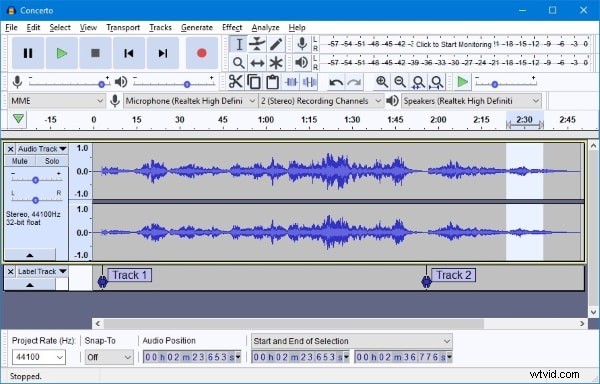
Audacity is a popular open‑source platform that combines recording and multi‑track editing. It runs on Windows, macOS, and Linux, and supports extensive plug‑in development for customized workflows.
Final Thoughts
Nero WaveEditor remains an excellent choice for anyone needing a free, feature‑rich audio editor that balances simplicity with power. If you’re looking for even more advanced options, consider Wondershare Filmora’s audio editing suite, which offers a user‑friendly interface and a range of effects suitable for both beginners and professionals.
Wondershare Filmora
Start with Filmora’s intuitive design and extensive library of audio effects—everything from equalizers to ducking and voice‑over tools.