Leveraging audio waveforms in Premiere Pro improves the accuracy and speed of your sound editing workflow. This guide explains how Premiere’s auto‑sync feature streamlines clip alignment—from the Project panel to multi‑camera setups—and how to embed waveforms directly onto your clips.
In this article
- How to Show Audio Waveform on Clips in Premiere Pro? (2 Ways)
- How to Add Audio Waveform Animation in Premiere Pro?
- How to Change the Incorrect Audio Waveform in Premiere Pro?
- The Simpler, More Creative Alternative: Filmora Audio Visualizer
Create Dynamic Audio Visuals with Ease!
- 25+ audio visualization effects to choose from.
- Automatic waveform generation from audio tracks.
- Sync waveforms with video beats and transitions.
- Export in a variety of formats.
- Available on Mac, Windows, iOS, and Android.


How to Show Audio Waveform on Clips in Premiere Pro? (2 Ways)
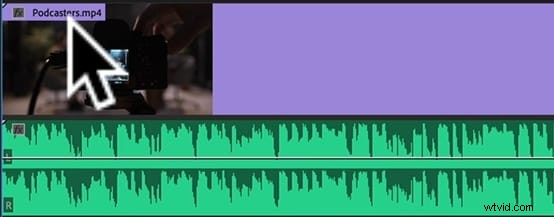
Many editors notice that audio waveforms can disappear unexpectedly, making precise editing difficult. Below are two reliable methods to ensure your waveforms remain visible.
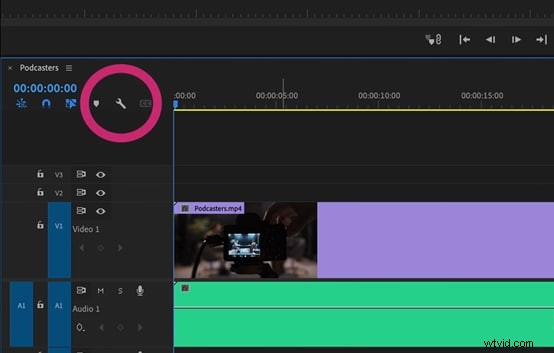
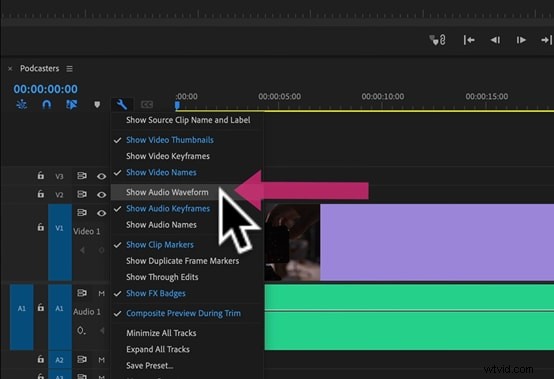
1. Enable Waveforms via the Preferences Icon
Drag an audio clip onto the timeline or into your sequence. Click the wrench icon in the clip’s settings panel and check the “Show Audio Waveform” option. A blue checkmark confirms the setting. Clicking the icon again will toggle the waveform display on or off.
2. Enable Automatic Waveform Generation
Navigate to Edit > Preferences > Audio and ensure “Automatic audio waveform creation” is checked. Future imports will automatically generate waveforms; existing clips will not be affected.
For clips lacking waveforms, select them in the Project panel and choose Clip > Generate Audio Waveform from the menu.
How to Add Audio Waveform Animation in Premiere Pro?
Animating waveforms can add a professional touch to music videos or podcasts. The process involves After Effects but stays fully integrated with Premiere.
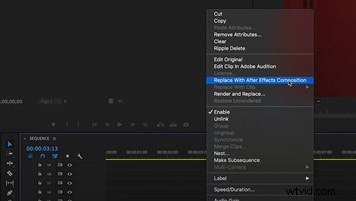
Step 1: Replace Clip with After Effects Composition
Right‑click the selected audio or video clip and choose Replace with After Effects Composition.
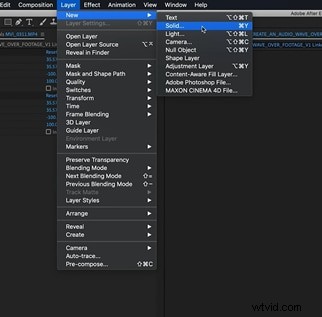
Step 2: Create a Solid Layer
In After Effects, add a new solid of any color to your composition.
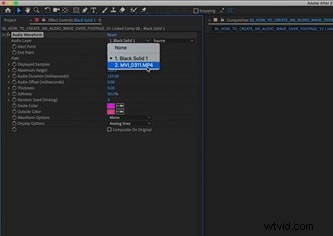
Step 3: Apply the Audio Waveform Effect
Search for “Audio Waveform” and drag the effect onto the solid. Connect the effect to your audio layer in the timeline to make the waveform react to sound.
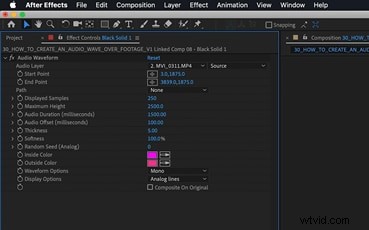
Step 4: Fine‑Tune the Effect
Adjust start and end points, colors, and display settings to match your aesthetic. Keep the final values consistent for a balanced look.
Step 5: Review and Export
Back in Premiere, you’ll see the animated waveform replace the original clip. Export your sequence normally; the animation will be embedded in the final file.

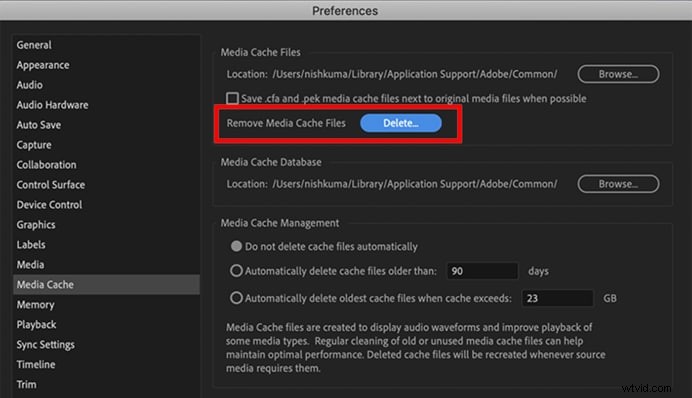
How to Change the Incorrect Audio Waveform in Premiere Pro?
Incorrect waveforms often result from corrupted cache or peak files. Clearing these can restore accurate displays.
Navigate to Preferences > Media Cache and manually delete the contents of the “Media Cache”, “Media Cache Files”, and “Peak Files” folders. Verify that the cache files are not needed before deletion.
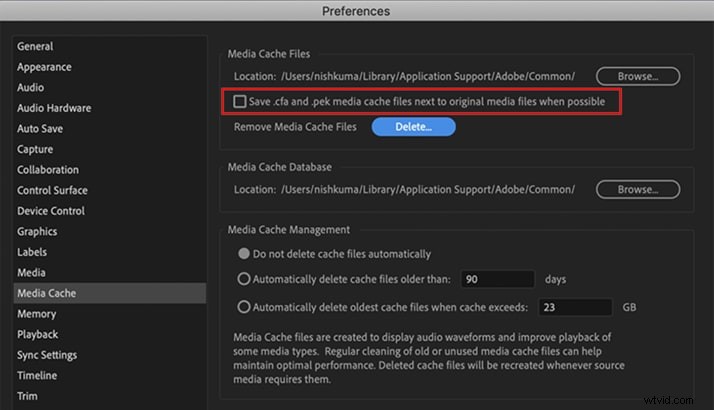
Ensure the option “Save .cfa and .pek cache files next to the original media files when possible” is unchecked to avoid manual removal later.
Clear audio previews via File > Project Settings > Scratch Disks > Audio Previews. Rebuilding the cache may take time but will resolve waveform inaccuracies.
A Faster, Creative Alternative: Filmora Audio Visualizer
While Premiere Pro offers robust waveform features, many editors find Filmora’s all‑in‑one workflow more efficient for quick projects. Filmora provides a large library of royalty‑free tracks and built‑in visualizer effects, eliminating the need to import external audio.
Below is a streamlined workflow for creating a polished audio visualizer in Filmora.
Step 1: Install Filmora
Download the latest version from the official Wondershare Filmora website and follow the installation prompts.
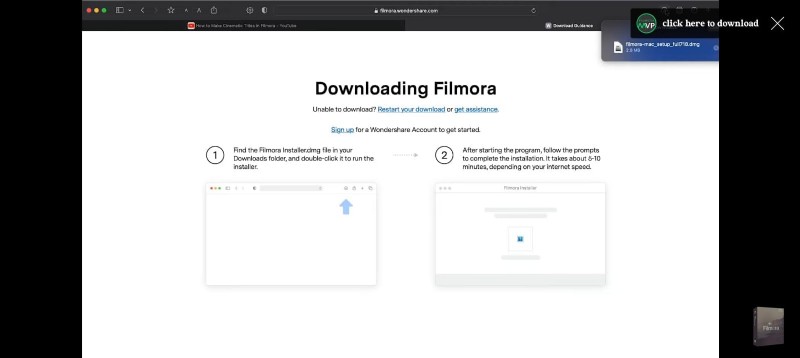
Once installed, launch the application and start a new project.
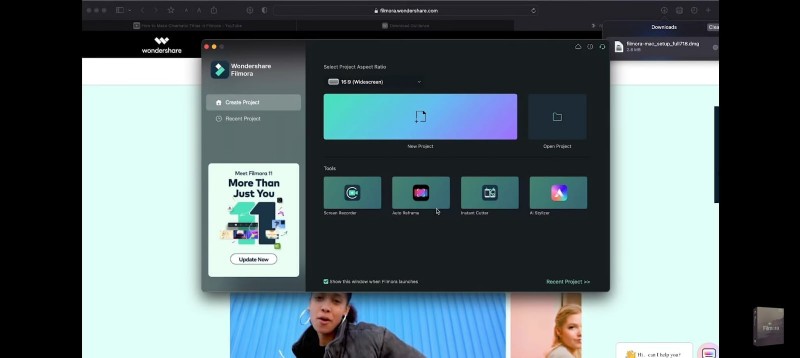
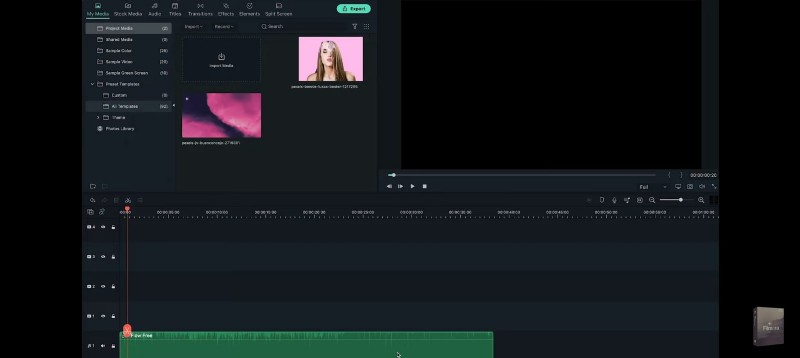
Step 2: Import Music
Click Create New Project, then Click here to import media to add your track. Drag the audio file to the timeline and overlay a stock image from the Stock Media library.
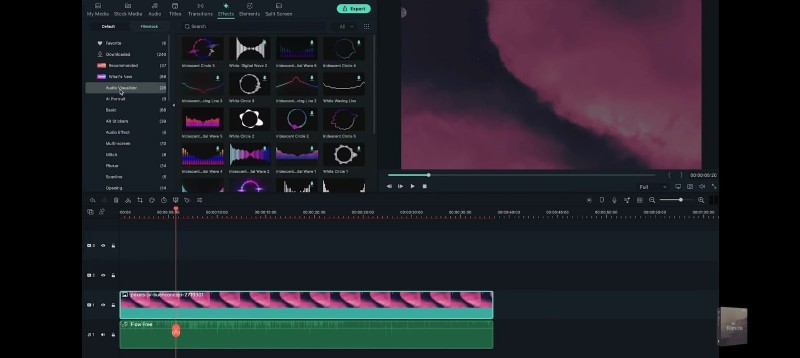
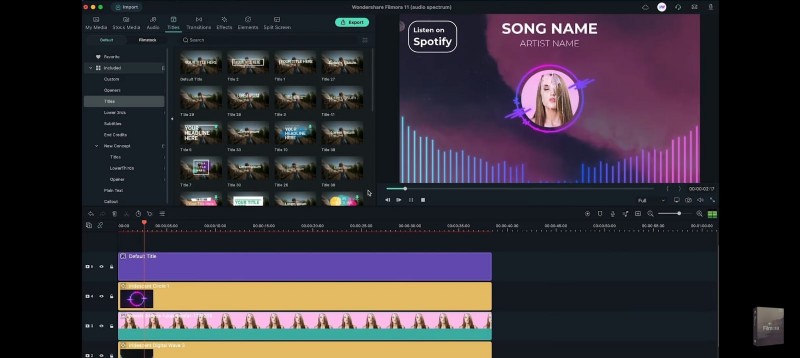
Step 3: Add a Visualizer Effect
Go to the Effects tab, select a visualizer, and drag it onto the timeline above the background image.
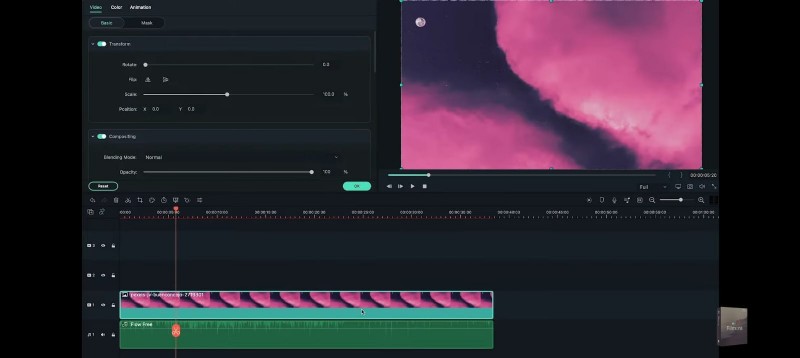
Step 4: Customize the Visualizer
Double‑click the visualizer clip to open its settings. Adjust position, scale, opacity, intensity, and color. Confirm changes by clicking OK.
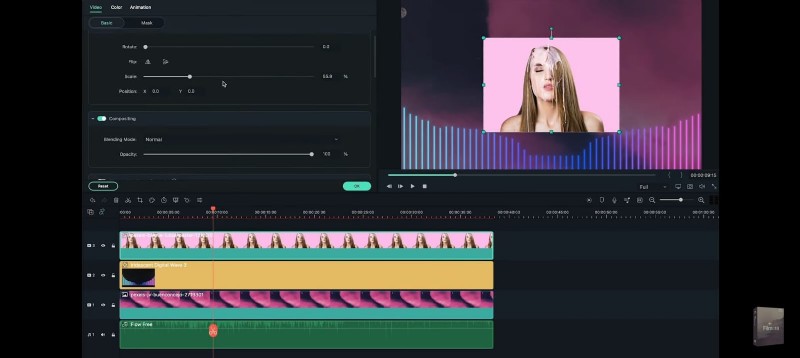
Step 5: Add a Portrait Image
Import a portrait photo and place it above the visualizer on the timeline. Resize and reposition it as needed.

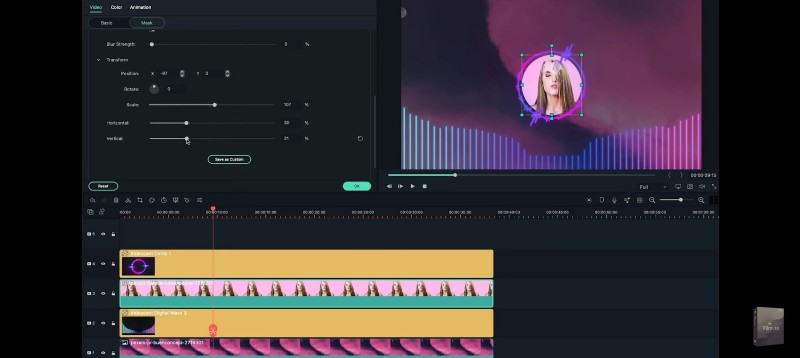
Step 6: Overlay a Second Visualizer (Optional)
Drag a second visualizer effect onto the timeline, align it with the portrait image, and use the Mask tool to create a circular frame.
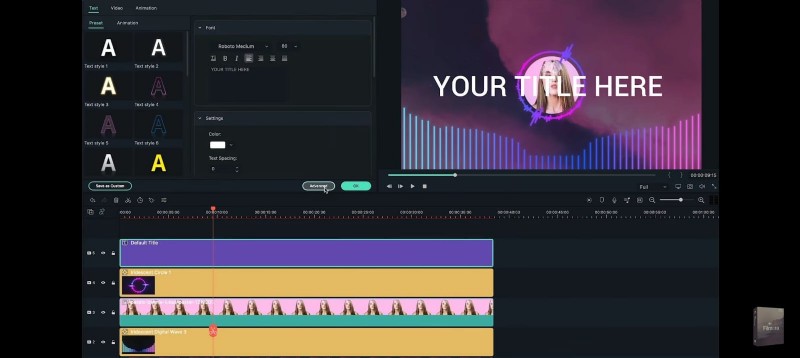
Step 7: Add a Title
Navigate to the Titles tab, drag a title onto the timeline, and customize it in the Advanced settings. Add song and artist names, and optionally include a shape for branding.

Step 8: Preview and Export
Play the project in the preview window to ensure everything aligns. When satisfied, click Export, choose the desired format, and render the file.
Conclusion
With these techniques, you can confidently display, animate, and troubleshoot audio waveforms in Premiere Pro. If you seek a quicker solution for music videos or podcasts, Filmora’s audio visualizer offers an intuitive, all‑in‑one workflow. Both tools empower editors to deliver polished, audio‑centric productions.