Whether you’re capturing a quick idea, a lecture, or system audio, the iPhone delivers powerful recording options. This 2026 guide walks you through built‑in methods, advanced techniques, and how to polish your files with Wondershare Filmora.
Start with Apple’s native tools, then explore smarter alternatives for internal sounds, calls, and social media. Finish with expert tips to elevate audio quality and professional editing.
Method 1: Voice Memos – The Fastest Built‑in Option
Apple’s Voice Memos app is pre‑installed, requires no downloads, and is ideal for clear voice recordings, interviews, or reminders.
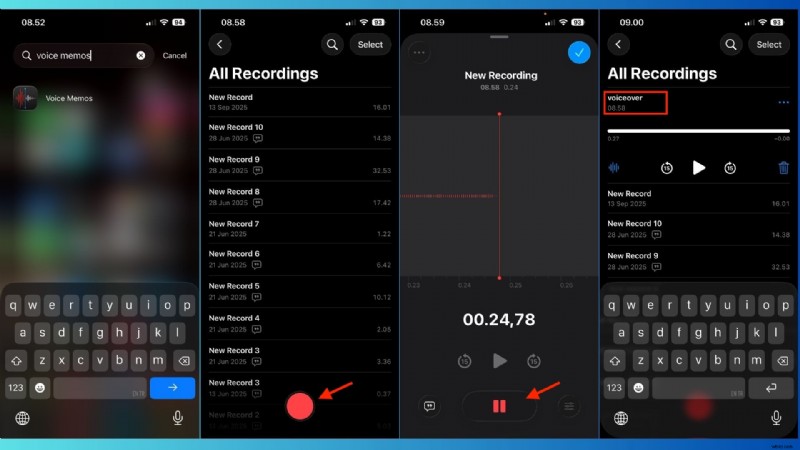
How to Record with Voice Memos
- Open Voice Memos. Locate the app on your iPhone.
- Tap the red button. Record starts immediately; speak toward the bottom microphone for best quality.
- Pause or stop. Tap again to pause; tap once more to stop.
- Rename the file. Default names use location or date; tap the title to give a clear label.
Why Voice Memos is Ideal
- Audio‑only, no video distractions
- Offline, instant saves
- Perfect for voiceovers, lectures, and content planning
Expert Tip: Switch to Lossless for Pro‑Level Sound
Upgrade to Lossless quality for richer detail. Settings: Settings > Voice Memos > Audio Quality > Lossless. Note larger file size.

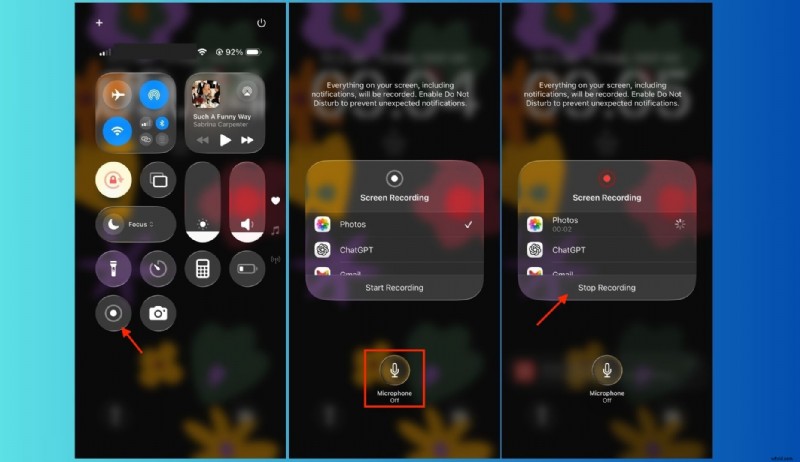
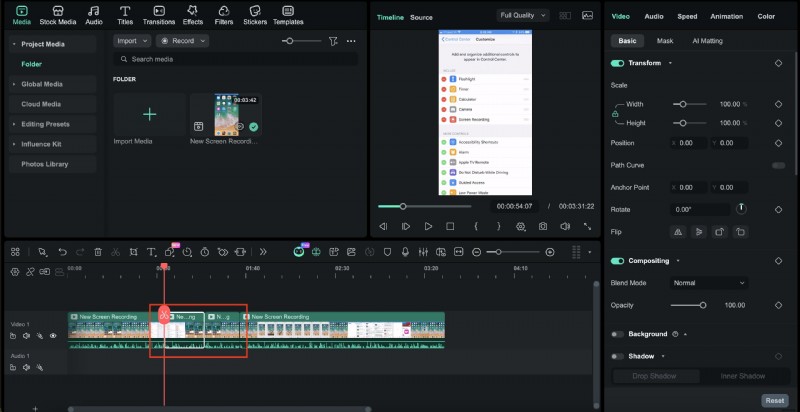
Method 2: Capture System Audio with Screen Recording
To record music, YouTube, or app sounds, use the Screen Recording feature. It captures both video and internal audio.
Steps to Record Internal Audio
- Open Control Center (swipe down from the top‑right).
- Press and hold the Screen Recording icon.
- Tap the microphone icon to enable voice capture, if desired.
- Tap Start Recording; a countdown appears.
- Play the audio you want to capture.
- Stop by tapping the red status bar or Control Center. The clip saves to Photos.
Recording YouTube Audio
- Use headphones to avoid feedback.
- Set playback to highest quality.
- Disable notifications that might interrupt.
Result is a video file containing the audio.
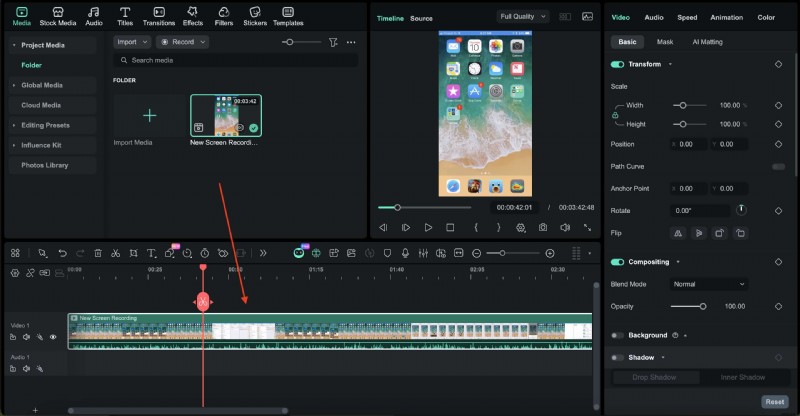
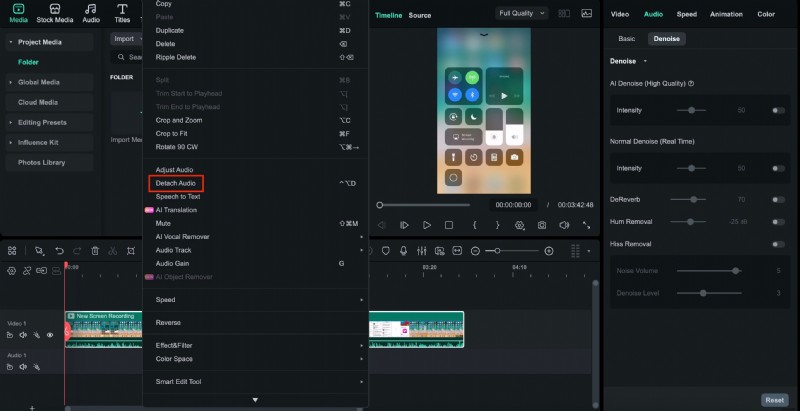
Convert Screen Recordings to Audio with Filmora
With Filmora you can:
1️⃣ Import the video into the timeline.
2️⃣ Right‑click → Extract Audio to separate the track.
3️⃣ Export as MP3 or AAC for sharing.

Method 3: Recording Calls and Social Media
iOS limits internal call recording for privacy. Use workarounds based on the app.
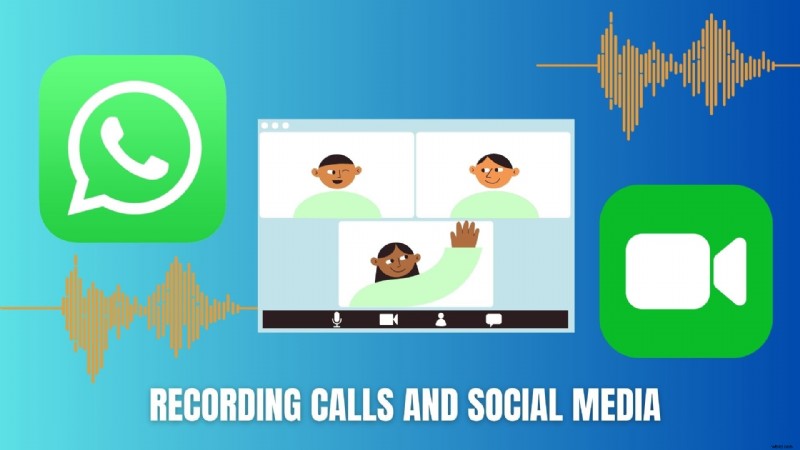
FaceTime Calls
- Use Screen Recording for video.
- Enable the microphone before starting.
- Place the call on speaker so both voices enter the mic.
Always notify participants; consent is required.
WhatsApp Video Calls
- Record externally with a second phone or recorder near the speaker.
- Some third‑party apps claim to capture WhatsApp audio, but results vary.
Zoom & Google Meet
- Screen Record the session.
- Activate Voice Isolation from Control Center.
- Use headphones to reduce echo.
Zoom offers built‑in recording; consider it for higher quality.
Key Takeaways
- Privacy drives recording limitations.
- Microphone capture is common; internal audio often blocked.
- Consent is mandatory for calls.
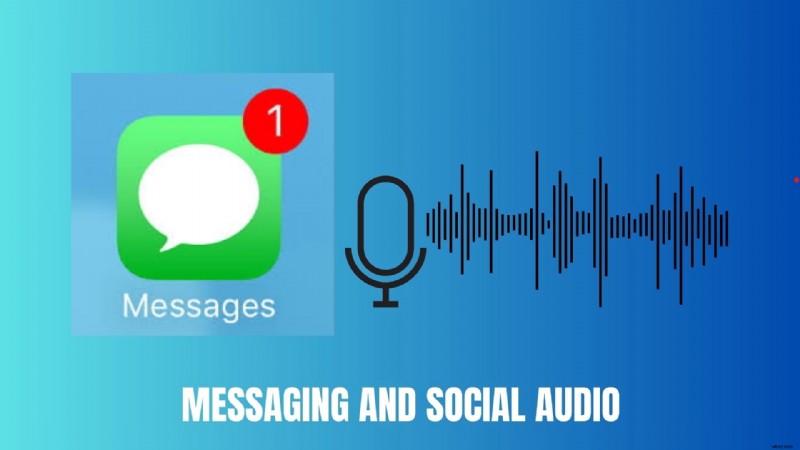
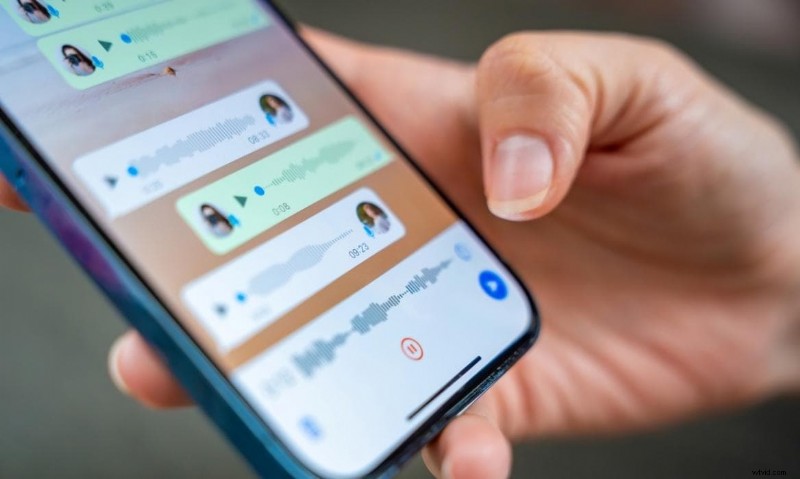
Method 4: Messaging and Voice Notes
Send quick audio directly in iMessage, WhatsApp, Instagram, or Telegram.
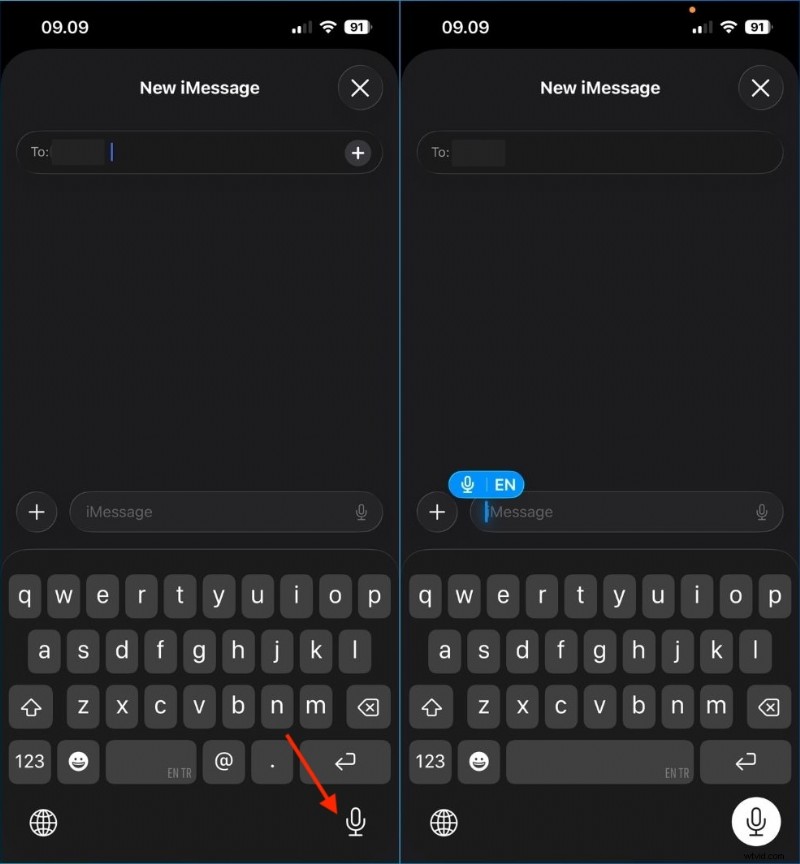
iMessage Voice Notes
- Open a conversation.
- Press and hold the audio icon.
- Speak; release to send or swipe up to lock for longer messages.
Audio plays inline in the chat.
Third‑Party Apps
- Press and hold the microphone icon.
- Speak clearly; release to send.
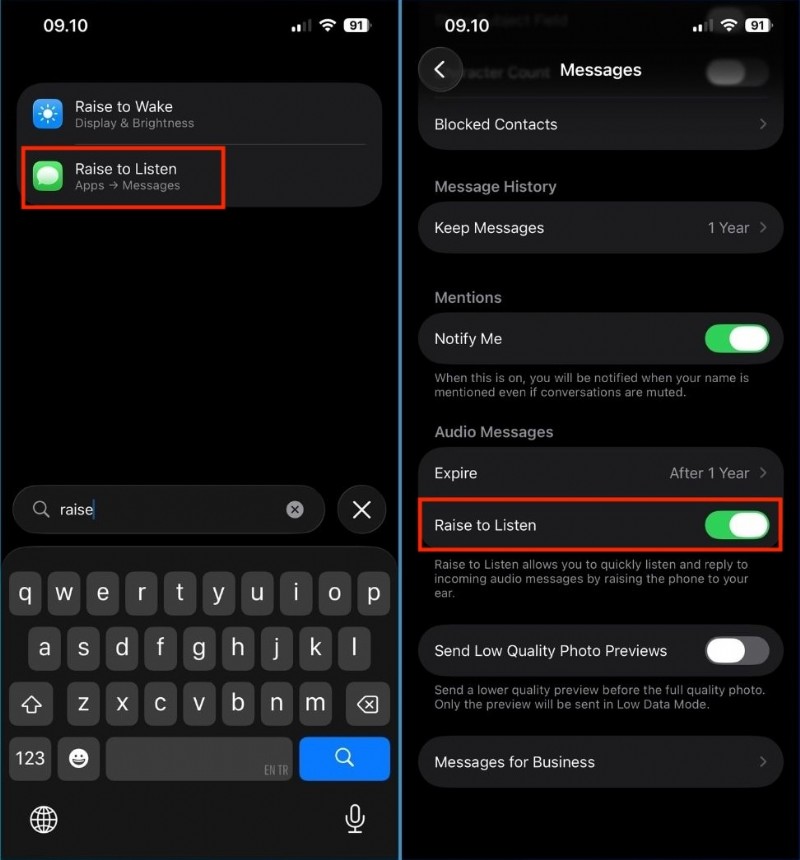
Raise to Listen & Record
Hands‑free voice replies are enabled by lifting the phone to your ear.
- Go to Settings > Messages > Raise to Listen; enable.
When to Use Each Method
- Voice messages for quick replies.
- Voice Memos or Screen Recording for editable, high‑quality files.
Advanced Tips for Crystal‑Clear Audio
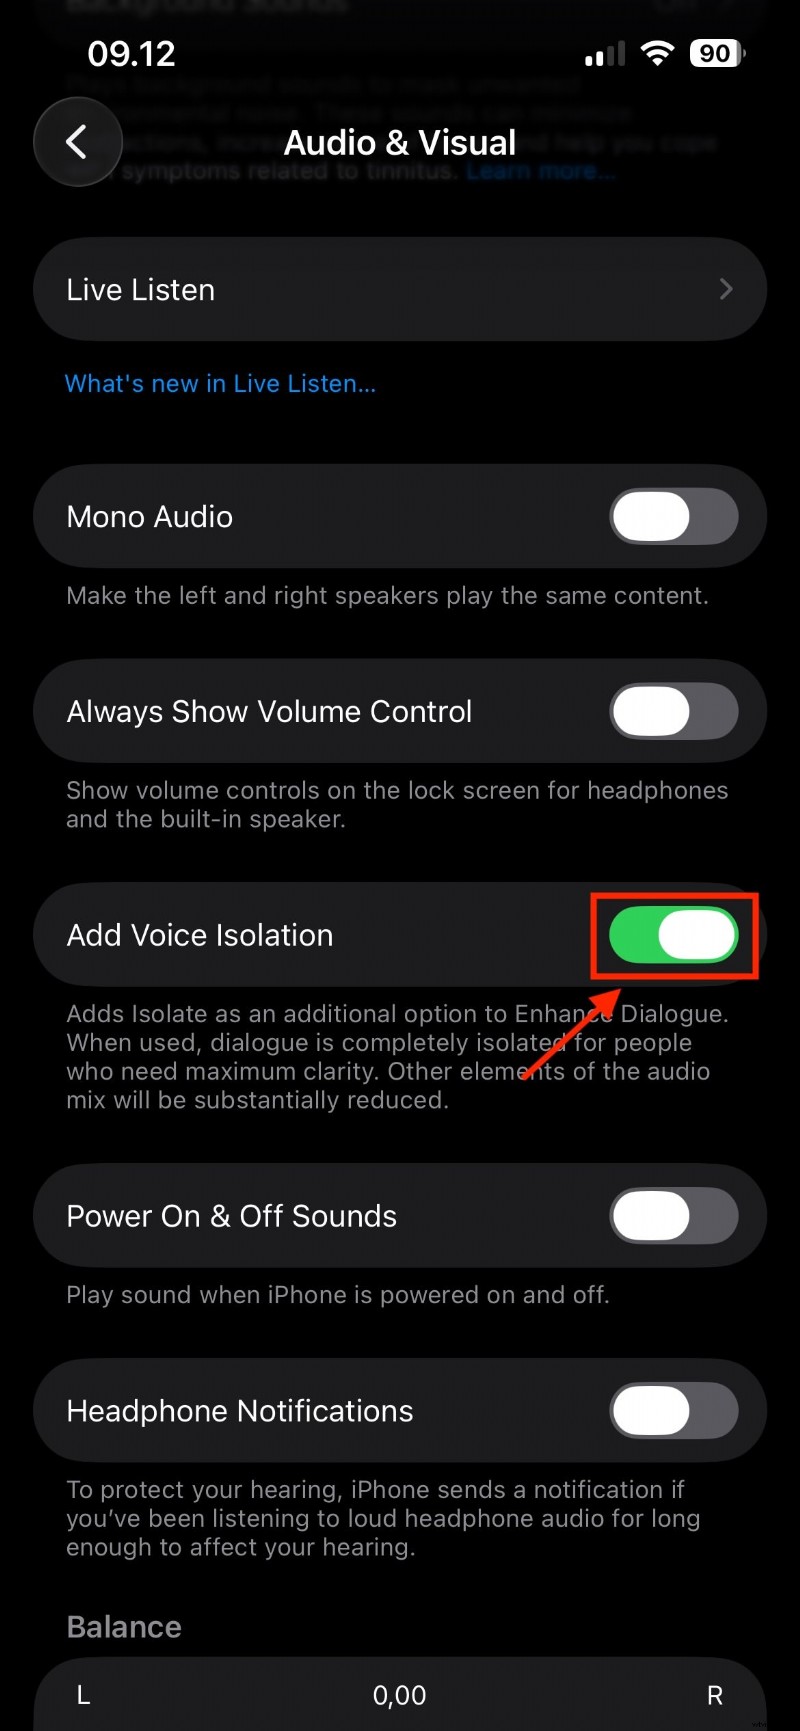
Voice Isolation
Turn it on during calls or recordings to filter ambient noise.
- Start the app or call.
- Open Control Center → Audio & Visual → Voice Isolation.
6‑Inch Rule
- Position the mic ~6 inches from your mouth.
- Avoid covering it with your hand.
- Speak slightly in front of the mic to reduce pops.
External Microphones
- Lavalier mics for voiceovers and interviews.
- Shotgun mics for directional recording.
- USB‑C or Lightning mics designed for iPhone.
External mics deliver cleaner audio and better noise handling.
💡 Final TipRecord in a quiet room, turn off fans, disable notifications, and test before you start.
Editing Your Recordings with Filmora
Filmora simplifies trimming, noise reduction, and audio enhancement, even for non‑experts.
Step 1: Import
Open Filmora on desktop or mobile, drag the file into the timeline.
Step 2: Trim & Cut
Remove silence, split mistakes, rearrange segments.
Step 3: Enhance
Use AI Denoise, volume normalization, and fades for a polished sound.

Step 4: Export
Export as MP3 or AAC for sharing.
Conclusion
With Voice Memos, Screen Recording, and smart workarounds for calls, your iPhone becomes a versatile studio. Combine these recordings with Filmora’s editing suite to produce professional‑grade audio for podcasts, social media, or personal projects.

Filmora – AI Video Editing App & Software
Best tool for making videos anywhere for all creators! Simplify every step of editing with Filmora AI.
FAQs
-
Why is there no sound when I record my screen?
iOS privacy settings may block internal audio. Enable the microphone in Screen Recording, or verify the app allows audio capture.
-
Can I record a phone call without an app?
No. iOS blocks internal call recording. Use an external device or third‑party app, and always obtain consent.