
July 14, 2025 • Proven solutions
Transferring photos and videos from smartphones or digital cameras to a Windows 10 PC is now a breeze. Follow these clear steps to move your media safely and efficiently.
- Part 1: Import from a Phone
- Part 2: Use the Photos App
- Part 3: Resolve Connection Issues
- Part 4: Import from a Camera
Part 1: Import Photos & Videos from a Phone
Step 1: Connect Your Phone
Plug your phone’s USB cable into the device and into a USB port on your PC. A stable connection is the first prerequisite for a successful transfer.
Step 2: Enable File Transfer
On your phone, select the USB mode that allows media transfer (often “File Transfer” or “MTP”). This grants Windows 10 permission to access your device’s storage.
Step 3: Initiate the Import
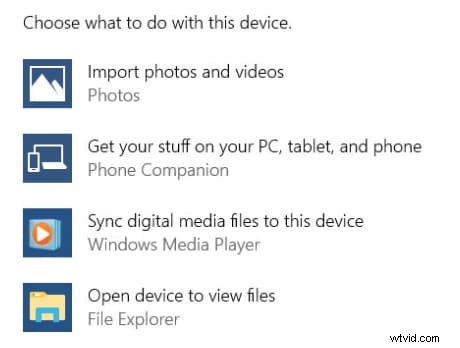
Once recognized, the phone will appear as a new drive in File Explorer. Right‑click the icon, choose Import Photos and Videos, and follow the on‑screen prompts.
Step 4: Review & Confirm
Windows will display the number of media items found. You can review, organize, and select specific files or simply import all new items at once. Naming folders during this step helps keep your library tidy.
Part 2: Use the Photos App
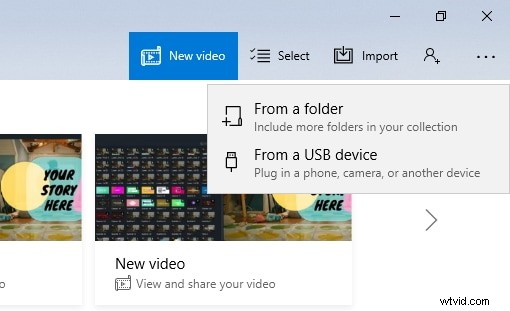
Open the built‑in Photos app from the Start menu. Ensure your phone or camera remains connected.
Click the Import button, pick the desired items, then click Continue followed by Import. Imported media will appear in the Photos library, sorted by date.
Part 3: Troubleshoot Phone‑to‑PC Connection
When the device isn’t detected, verify the USB port by plugging in another peripheral (e.g., a mouse). Test the cable by charging your phone; if it charges, the cable is fine.
Confirm that media transfer is enabled on your phone. For iPhones, unlock the device, accept the “Trust This Computer” prompt, and note that photos saved to iCloud need to be downloaded via iCloud.com or the iCloud desktop app.
Part 4: Import from a Camera
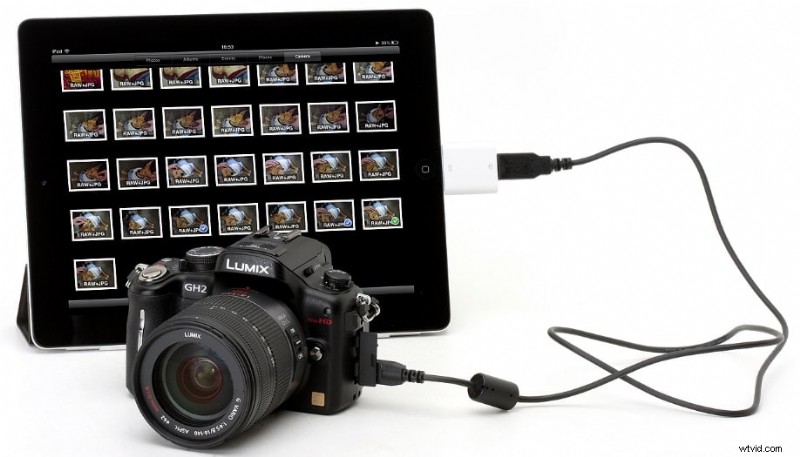
Connect your camera via USB and repeat the same steps outlined above. Both File Explorer and the Photos app recognize standard camera drives, making the process identical to phone imports.
Conclusion
Windows 10 provides reliable, built‑in tools for transferring photos and videos. Whether you use File Explorer or the Photos app, you can securely store, edit, and share your media on your PC.
Shanoon Cox
Shanoon Cox is a writer and a lover of all things video.
Follow @ShanoonCox