Since the first video cameras appeared, the way we capture motion has evolved dramatically. Today, most of us rely on smartphones for quick recordings, but the timelapse feature remains a powerful tool to compress hours of activity into a single, eye‑catching clip. If your timelapse ended up too fast and you need a realistic playback, the right video‑speed editor can restore the natural rhythm of the scene.
This guide covers the most reliable methods for converting a timelapse into a standard‑speed video across desktop, web, and mobile platforms. Whether you prefer a dedicated converter or a quick online tool, you’ll find step‑by‑step instructions that keep your footage smooth and professional.
Table of Contents
- Convert Timelapse Video to Normal on a Computer
- Use an Online Timelapse-to‑Normal Video Converter
- Convert Timelapse Video to Normal on Your Phone
Key Takeaways:
- Slow playback below 1× to return to real‑time speed.
- Wondershare Filmora offers precise control on Windows, macOS, iOS, and Android.
- Mobile users can rely on native tools such as iMovie or the Filmora app for instant conversion.
- Browser‑based solutions like Veed.io eliminate the need for installation.
Part 1. Convert Timelapse Video to Normal on a Computer
For desktop users, Filmora remains one of the most user‑friendly yet powerful editors available. While the premium license unlocks advanced features, the free trial is more than sufficient for speed adjustments.
Follow these steps to transform your timelapse into a smooth, normal‑speed video:
Step 1 – Create a New Project
Open Filmora, click “Get Started for Free” to download the trial, then launch the app. Select “Create Project” and choose “New Project.”

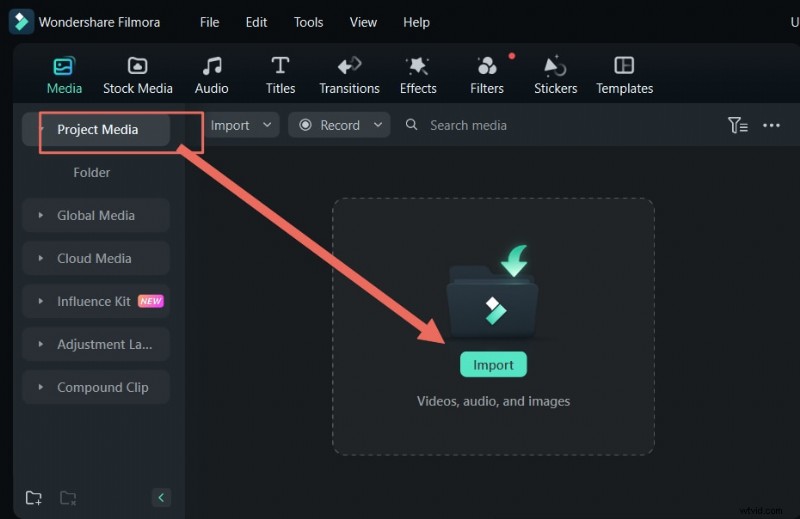
Step 2 – Import Your Timelapse File
Click “Import” and locate the timelapse file you wish to convert.
Step 3 – Adjust Speed Settings
Click the Speed button. To restore real‑time pacing, reduce the slider to around 0.1× (or 0.05× depending on your frame rate). This stretches the footage to a smooth playback.

Step 4 – Export Your Video
Once you’re satisfied with the preview, click Export and choose the highest resolution preset. The file will save to your device and be ready for sharing.
Why Filmora?
- Intuitive interface with AI‑powered tools for quick edits.
- Cross‑platform support (Mac, Windows, iOS, Android).
- Free trial available, no credit card required.
Part 2. Use an Online Timelapse‑to‑Normal Video Converter
If installing software isn’t ideal, Veed.io provides a browser‑based solution that works on any device with an internet connection.
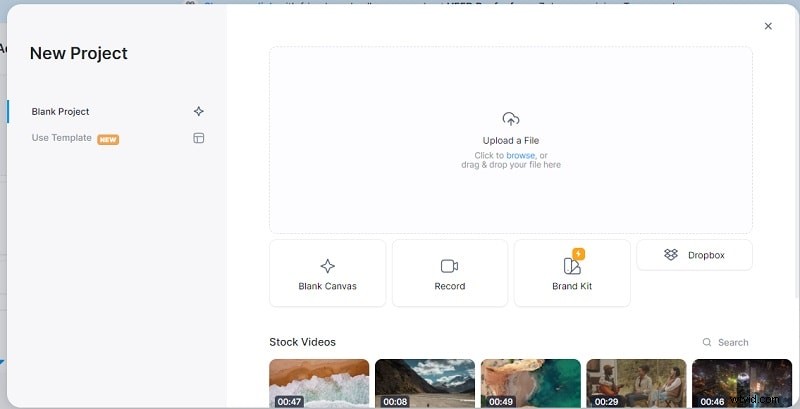
Step 1 – Access Veed.io
Navigate to veed.io and click Upload Your Video—no account needed for a quick conversion.

Step 2 – Upload Your Timelapse
Drag or select your timelapse file from your computer.
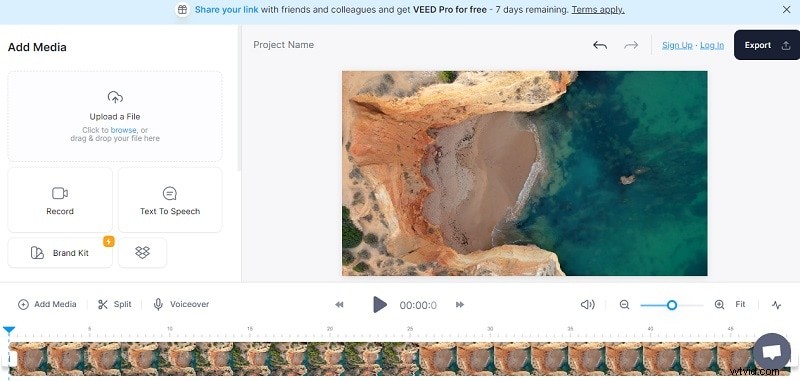
Step 3 – Adjust Playback Speed
On the timeline, click the speedometer icon and lower the speed below 1× until the preview shows a natural pace.
Step 4 – Export
Click Export at the top right, set your desired video quality, and download the finished file.

Pro Tip: To smooth out choppiness caused by low frame rates, enable Filmora’s AI Optical Flow before exporting. The tool generates intermediate frames, giving the video a natural flow.
Part 3. Convert Timelapse Video to Normal on Your Phone
Using the Filmora App on Android & iPhone
Mobile editing offers the flexibility of editing on the go. Filmora’s iOS and Android apps provide a dedicated speed‑adjustment tool that’s simple to use.
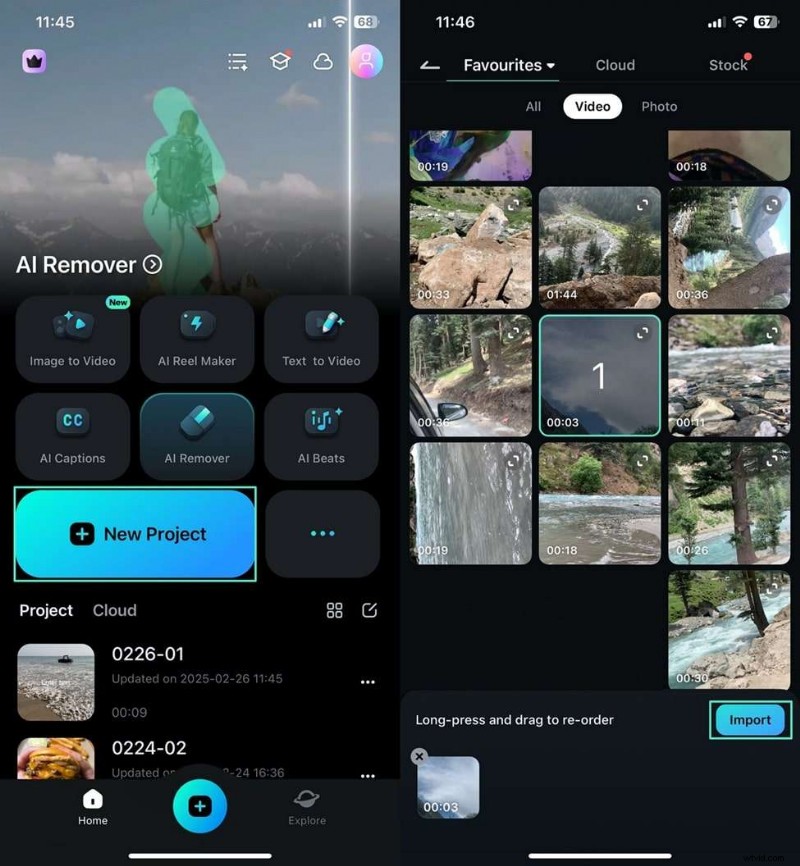
Step 1 – Start a New Project
Open the Filmora app, tap New Project, then import your timelapse file.
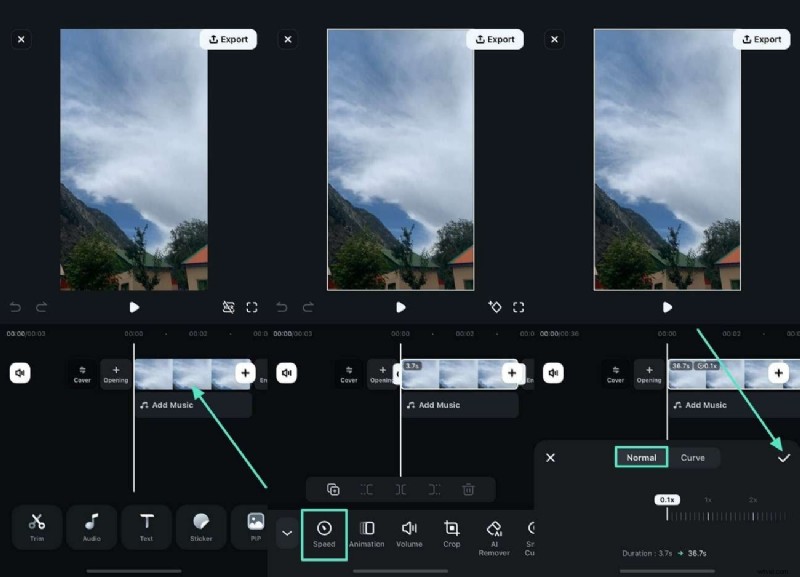
Step 2 – Set Normal Speed
Tap the timeline, select Speed, and drag the slider to Normal (below 1×). The preview will reflect the new pacing.
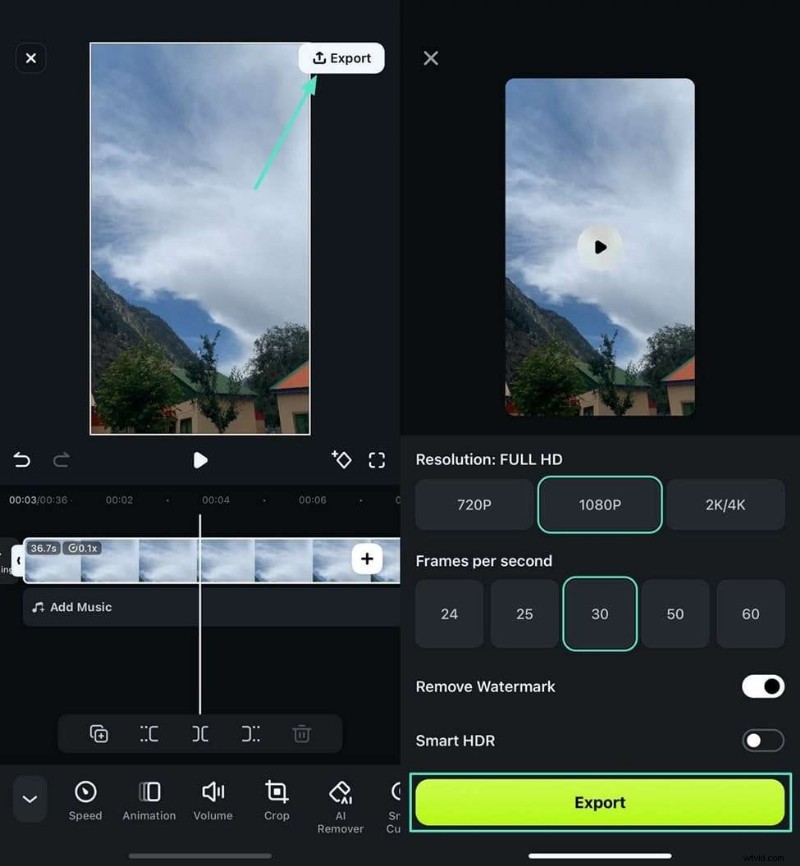
Step 3 – Export
Tap Export, choose your video settings, and save the file to your device.
Using iMovie on iPhone
Apple’s native iMovie app also allows simple speed changes:
- Install iMovie from the App Store and open it.
- Tap the + icon, choose New Project, and name it if desired.
- Select Import to add your timelapse clip.
- Tap the Speed icon (bottom‑left) and set the slider to less than 1×.
- Review the preview; trim or rearrange as needed.
- Tap Export to save or share the finished video.
- For multiple clips, import them all first, then adjust each clip’s speed individually.
Conclusion
Timelapse videos are an excellent way to condense long periods into captivating visuals. When the footage is too fast for your needs, converting it to normal playback is straightforward with the right tools. Whether you choose Filmora, Veed.io, or your device’s native editor, the process is quick, reliable, and produces professional results.