Adjusting a video’s speed is no longer the preserve of high‑budget studios. Modern editing software lets anyone accelerate or decelerate footage with precision and ease.
In this guide we’ll walk you through the fundamentals of fast‑motion and slow‑motion, the creative reasons to use them, and a step‑by‑step tutorial on how to achieve these effects in Wondershare Filmora.
In this article
- What Are Fast and Slow Motion Videos?
- Why Should You Change the Speed of Your Videos?
- What You’ll Need to Adjust Video Speed
- How to Change Video Speed
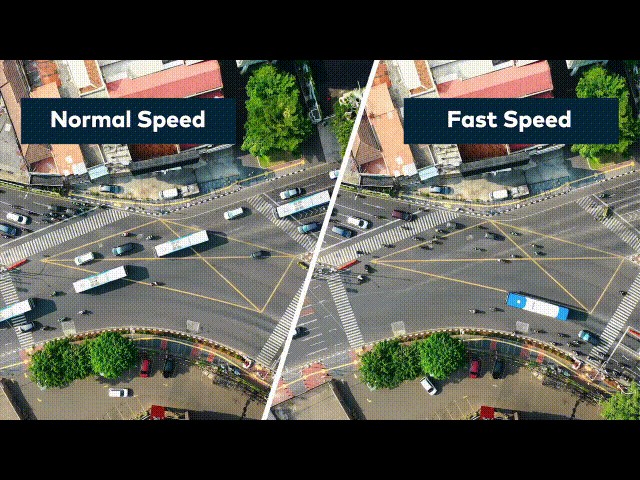
Part 1. What Are Fast and Slow Motion Videos?
Fast‑motion videos run at a higher frame rate than their natural pace, creating a sped‑up effect that can compress long sequences into a short clip.
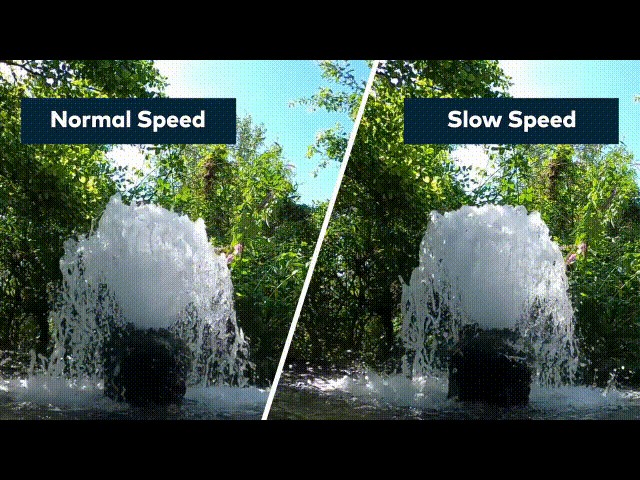
Conversely, slow‑motion videos are slowed down from their original speed, revealing details that would otherwise blur. The slow‑mo effect has become a staple in modern cinema, from dramatic action scenes to intimate character moments.
Understanding these techniques will help you decide how best to use them in your own projects.
Part 2. Why Should You Change the Speed of Your Videos?
Speed adjustments are a creative decision that can make a video more engaging, informative, or emotionally resonant.
Fast Motion Videos
Fast‑motion is ideal for:
- Condensing lengthy processes (e.g., cooking tutorials) into digestible segments.
- Adding humor or dynamic energy to everyday footage.
- Keeping a video concise while still covering all essential actions.
Slow Motion Videos
Slow‑motion shines when you need to:
- Highlight subtle movements or details that are otherwise too quick to see.
- Create a dramatic or surreal atmosphere.
- Analyze performance or choreography in sports and dance.
The iconic bullet‑dodging scene in the first Matrix film is a prime example of slow‑motion’s impact.

Part 3. What You’ll Need to Adjust Video Speed
To get started, gather the following essentials:
1. Wondershare Filmora
Filmora offers an intuitive interface, robust stock media library, and reliable speed‑control tools. Its Speed Adjustment panel and Duration panel let you tweak playback speed in seconds.
2. Video Clips
Any clip you wish to edit can be used. For high‑quality slow‑motion, a higher frame rate (e.g., 120 fps) yields smoother results. Speed‑ups do not require a specific frame rate.

Part 4. How to Change Video Speed
Filmora provides two primary methods: the Speed Adjustment Panel and the Duration Panel. Both are straightforward, but the panel you choose depends on your workflow preference.
1. Using the Speed Adjustment Panel
This panel features a drag‑bar that lets you increase or decrease speed instantly.
Step 1: Download and Install Filmora
Begin by downloading Filmora from the official website and installing it on your computer.
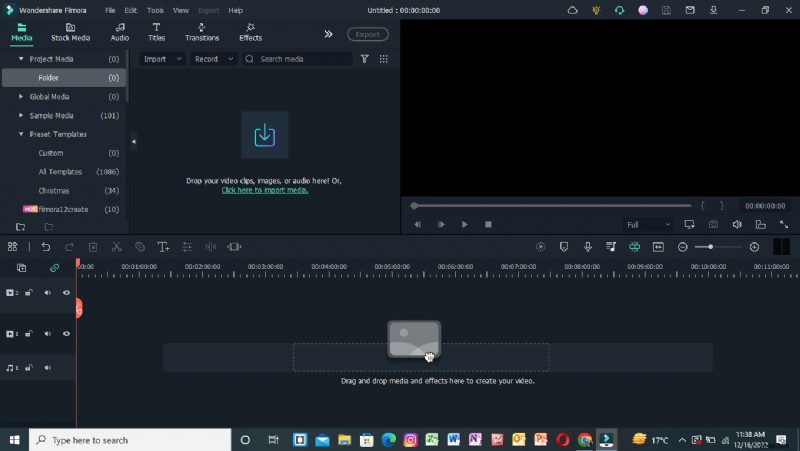
Step 2: Import Your Video Files
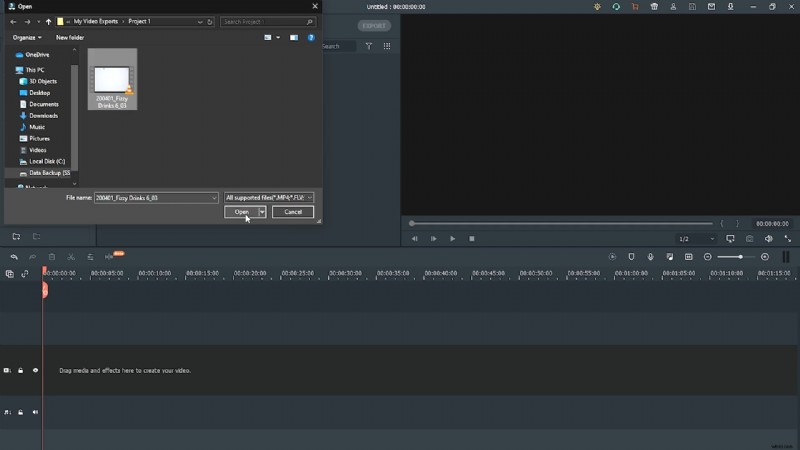
Click the Import icon (top‑left) to browse your library. Select the clips you want to edit and hit OK.
Alternatively, drag and drop files directly into the import window.
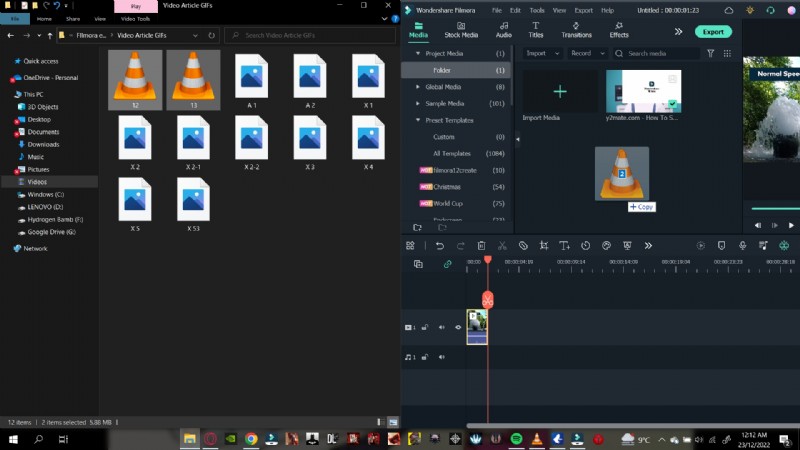
Supported formats include MP4, AVI, MOV, GIF, and more.
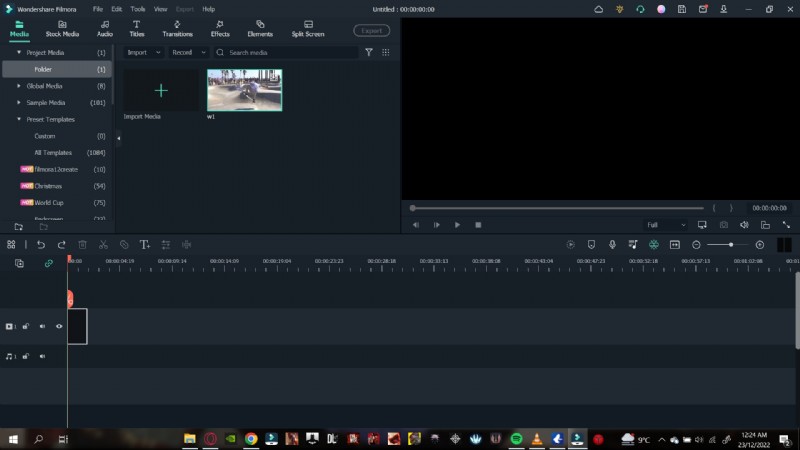
Step 3: Add Clips to the Timeline
Drag your imported clips onto the timeline to prepare them for editing.
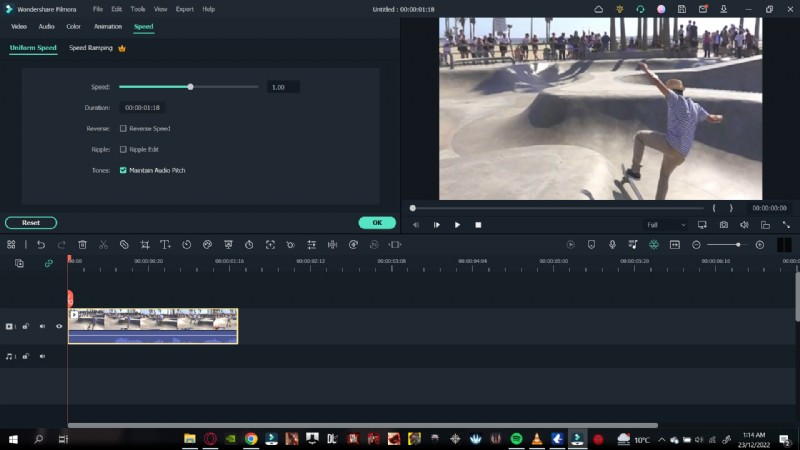
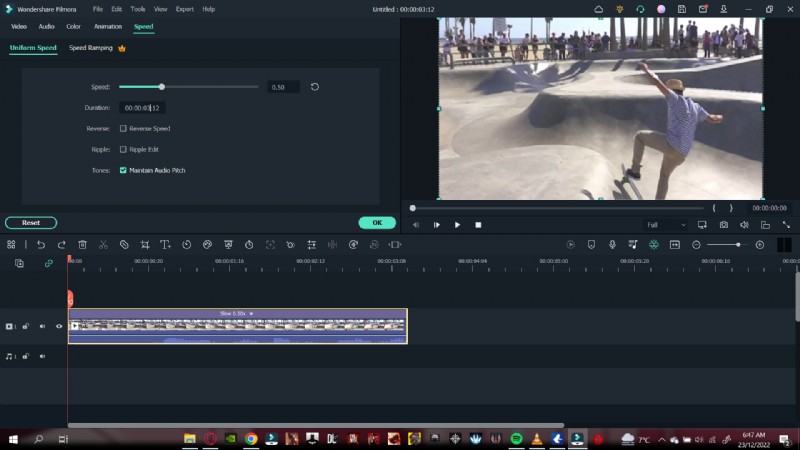
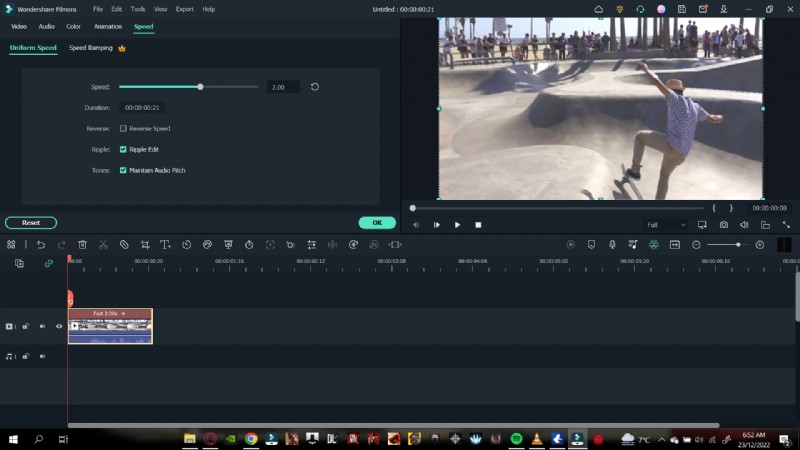
Step 4: Open the Speed Adjustment Panel
Double‑click a clip to open the Uniform Speed panel. Here you’ll find a slider and numeric field.
The default speed is 1.00 (normal). 0.5 halves the speed, while 2.00 doubles it.
- To accelerate, enter a value greater than 1.00 or slide right.
- To decelerate, enter a value below 1.00 or slide left.
After adjusting, preview the clip to confirm the effect.
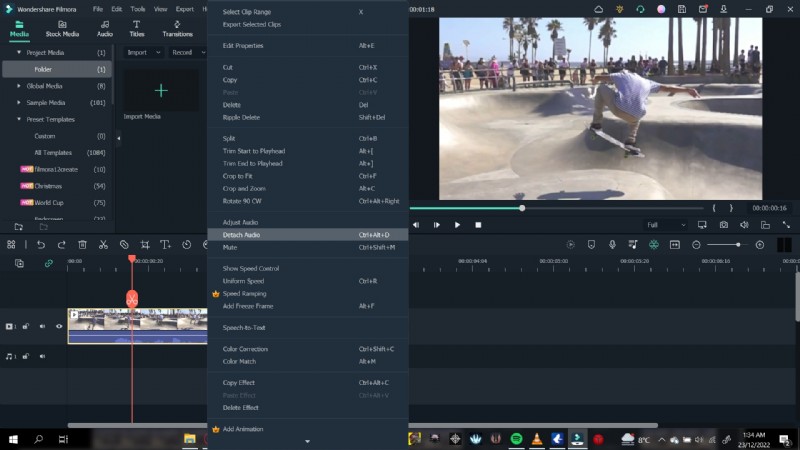
Step 5: Detach Audio (Optional)
Speed changes affect audio pitch. Right‑click the clip, choose Detach Audio, and adjust the separate audio track as needed.
You can fade audio, remove background noise, or replace it entirely.
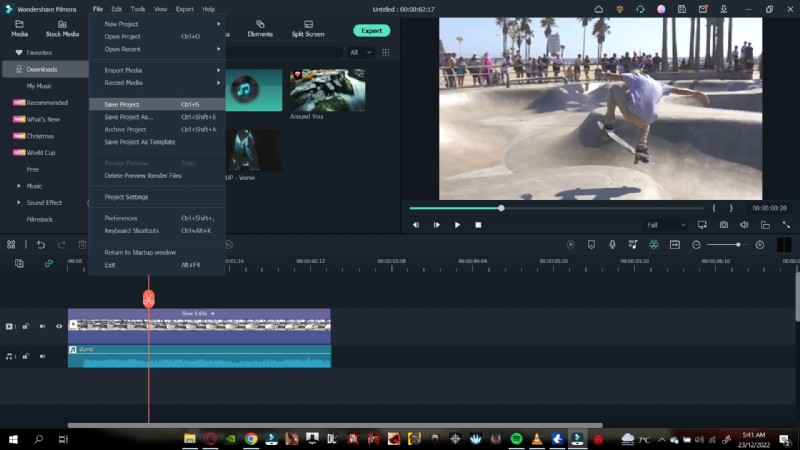
Step 6: Save Your Project
Go to File > Save Project, choose a destination folder, name your file, and click Save.
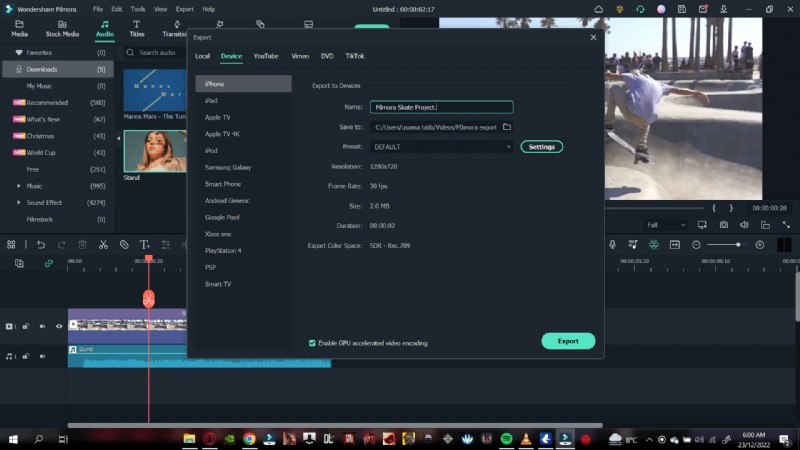
Step 7: Export Your Video
Once satisfied, click Export, set your file name, destination, format, and resolution, then hit Export again. You can also publish directly to YouTube or Vimeo if logged in.
2. Using the Duration Panel
The Duration Panel offers precise control by adjusting the clip’s total time.
Step 1: Import and Place Clips
Follow the same import steps as above, then add clips to the timeline.
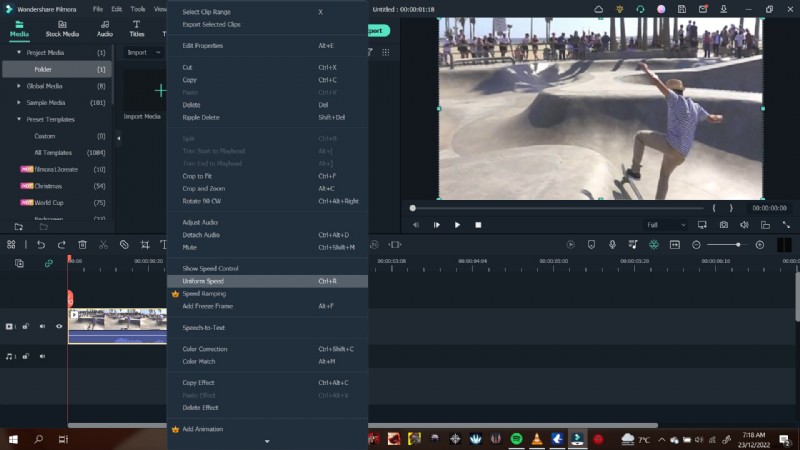
Step 2: Access the Duration Panel
Right‑click a clip, navigate to Uniform Speed, and the Duration field will appear below the speed slider.
Step 3: Modify Speed via Duration
- To slow down, increase the duration value (e.g., from 00:01:00:00 to 00:02:00:00).
- To speed up, decrease the duration (e.g., from 00:01:00:00 to 00:00:30:00).
Both methods deliver the same result—choose the one that fits your editing style.
Conclusion
Speed editing is now accessible to everyone, thanks to tools like Filmora. Whether you’re creating a quick montage or a cinematic slow‑motion sequence, the steps above empower you to craft compelling videos with confidence.