Adobe Illustrator is a leading vector‑based design tool that lets you generate realistic 3D text, animations, and graphics. Whether you’re branding a logo or creating eye‑catching video titles, mastering 3D text in Illustrator can elevate your projects.
In this guide, you’ll discover four proven techniques to create 3D text, learn which fonts work best, and compare Illustrator with an affordable alternative, Wondershare Filmora.
Benefits of 3D Text in Illustrator

- Customizable 3D typography you can reuse across projects.
- Animate text directly within Illustrator for dynamic presentations.
- Map images, patterns, or textures onto 3D letters for unique visual effects.
Choosing the Right Fonts for 3D Text
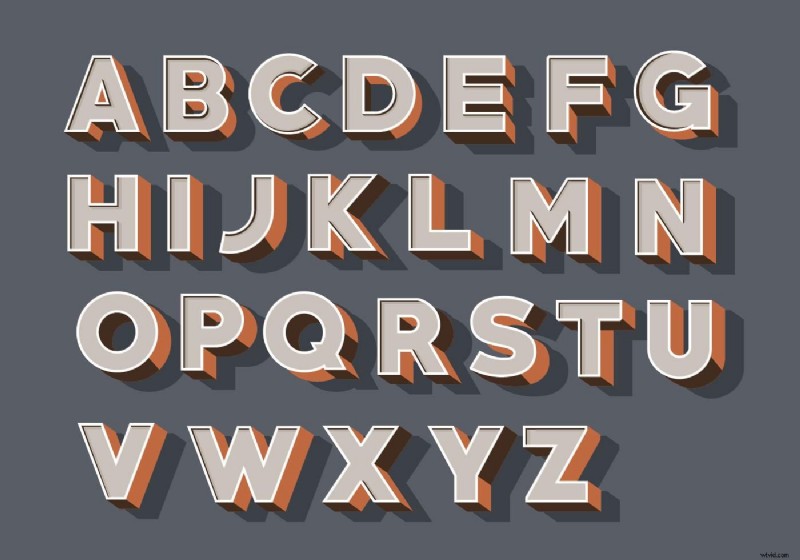
Select typefaces with ample letter spacing and clean, bold strokes. The following fonts perform consistently in 3D mode:
- Arial Black
- Avenir
- Roboto
- Impact
- Futura
- Gotham
- Bebas Neue
- Montserrat
- Helvetica Neue
- Cooper Black
Method 1: 3D Extrude & Bevel
1. Open Illustrator and create a new document. 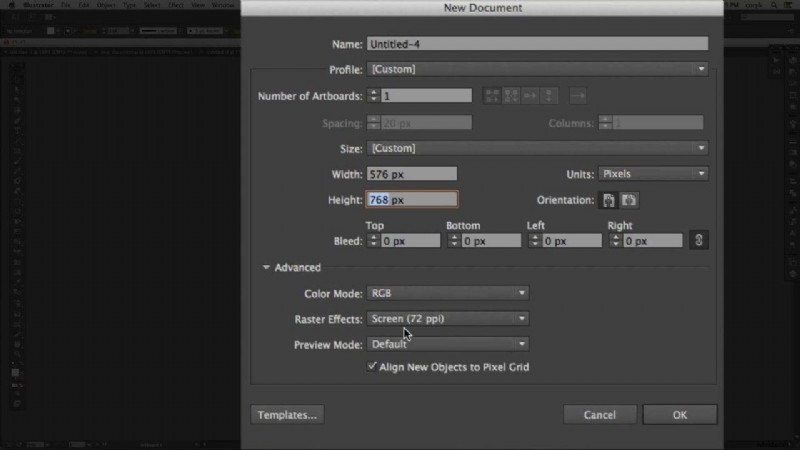
2. Use the Type Tool to enter your desired text. 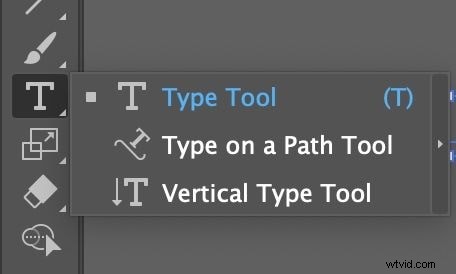
3. Select the text, then navigate to Effect > 3D > Extrude & Bevel. 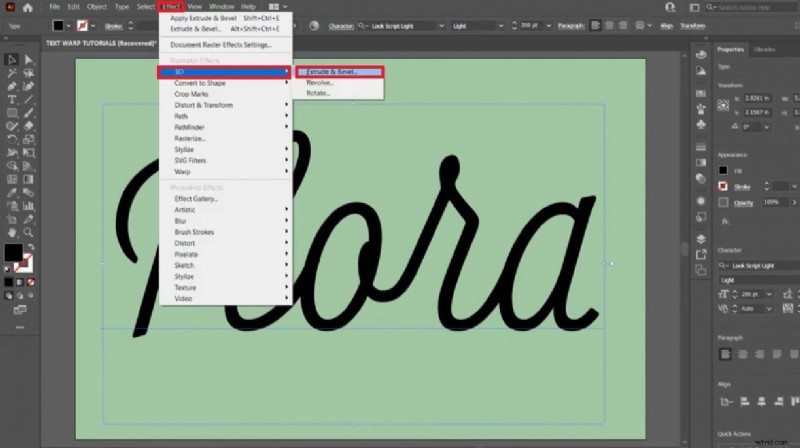
4. Adjust the extrusion depth, bevel style, and rotation angles using the interactive cube. Confirm with OK to render the 3D effect. 
Method 2: Blend Tool for 3D‑Like Depth
1. Create a new document and type your text. 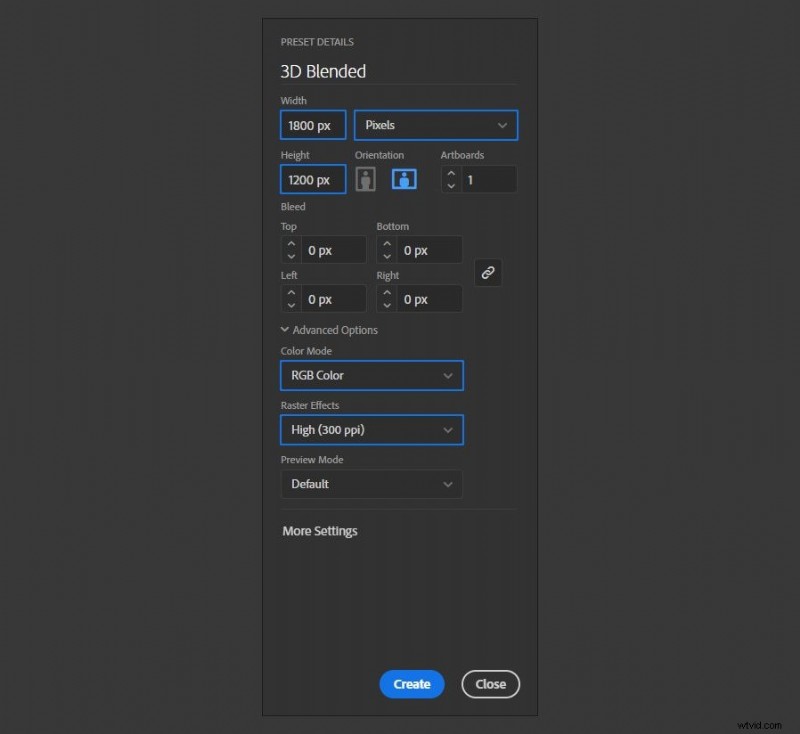
2. Duplicate the text: Edit > Copy > Edit > Paste in Place. Change its color and position slightly. Send it to back via Object > Arrange > Send to Back. 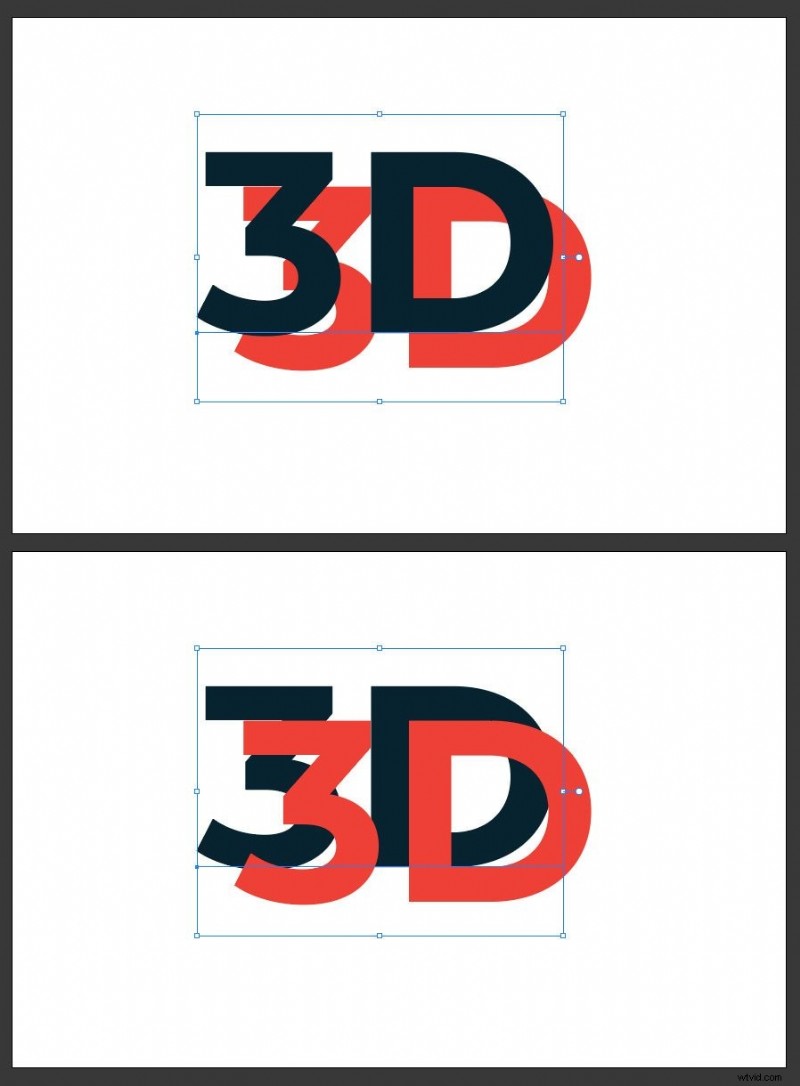
3. Select both layers, then click the Blend Tool and click each text once to create a blend. Double‑click the tool, set Specified Steps, and confirm. 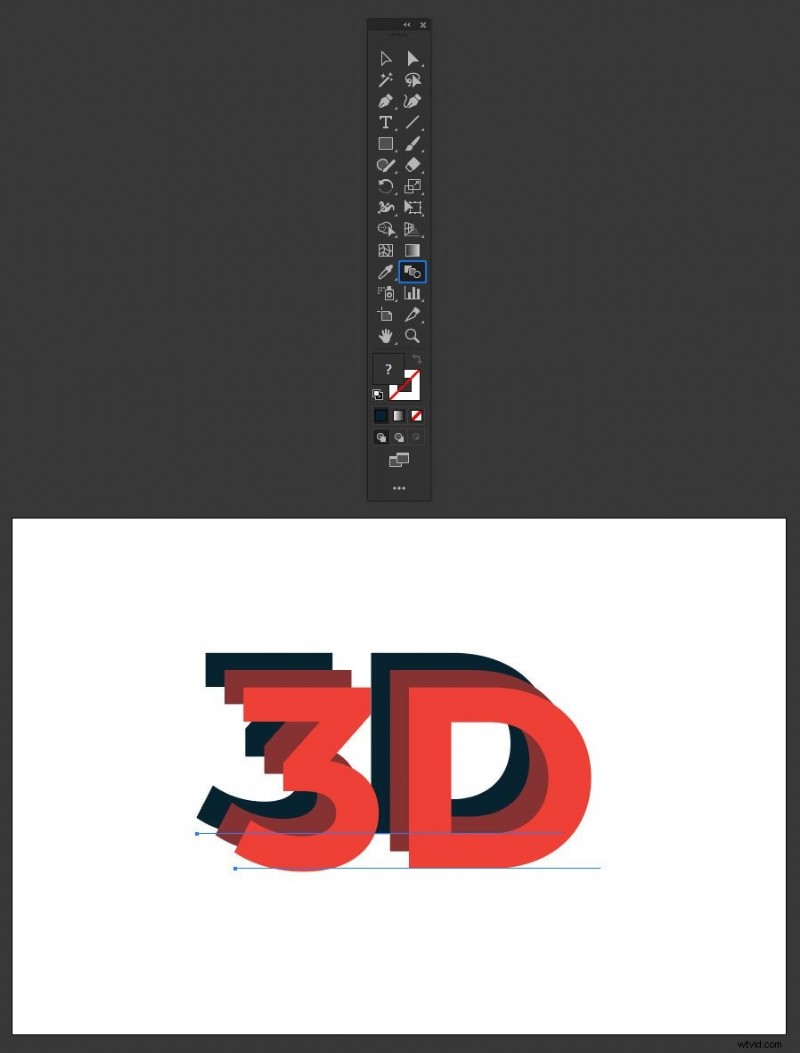
4. Apply a 3D rotation: Effect > 3D > Rotate, adjust the angle, and hit OK. 
Method 3: Perspective Grid Tool
1. Activate the Perspective Grid Tool and adjust the grid to your desired vanishing point. 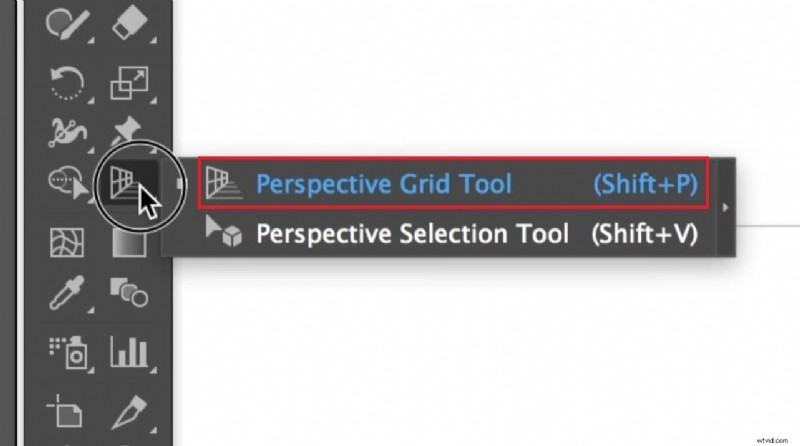
2. Type your text on the grid. 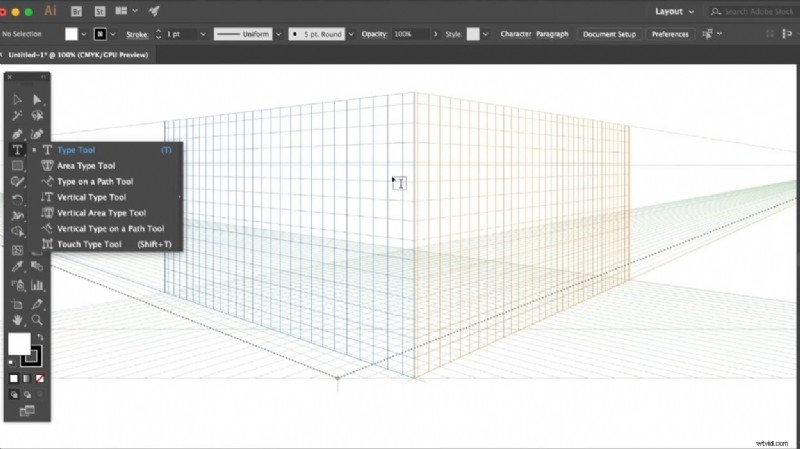
3. Drag the text onto the grid and hide the grid view via View > Perspective Grid > Hide Grid. 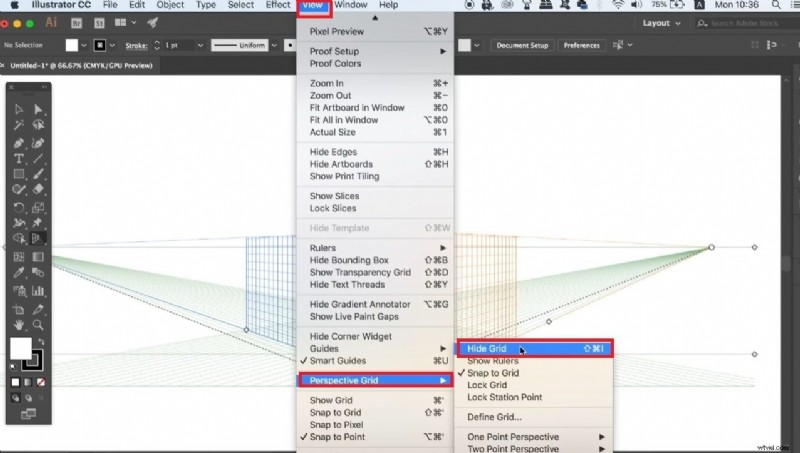
Method 4: Type on a Path (Circular 3D Text)
1. Draw a perfect circle with the Ellipse Tool (hold Shift). 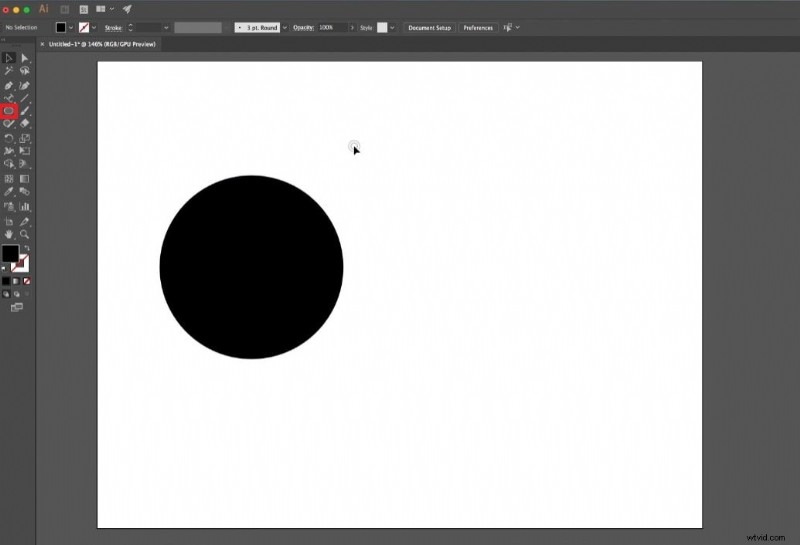
2. Select Type on a Path Tool and click the circle’s outline to enter text. 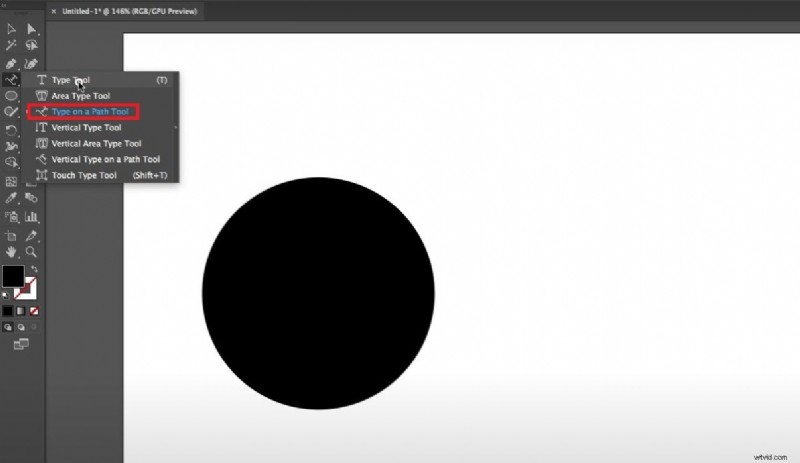
3. Apply Effect > 3D > Extrude & Bevel and adjust rotation to achieve a 3D circular effect. 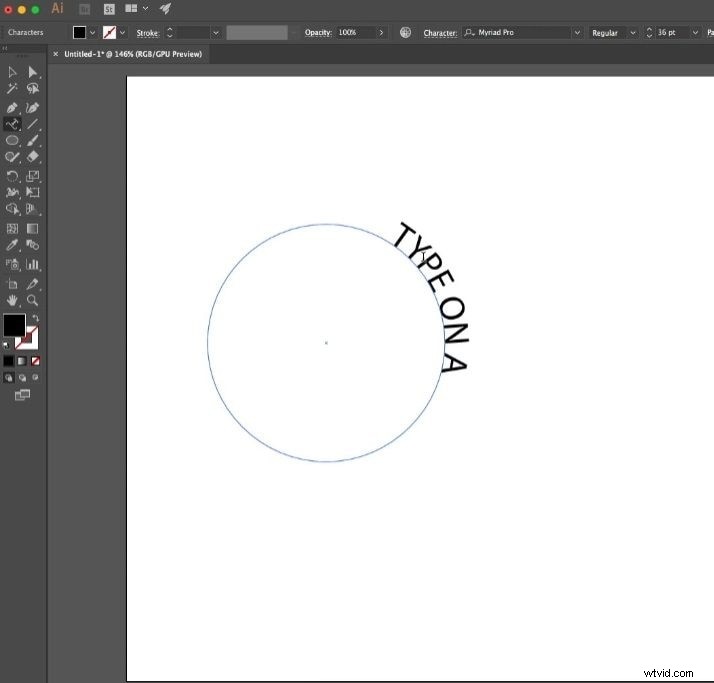
Potential Drawbacks of Illustrator for 3D Text
While Illustrator offers powerful tools, it can be intimidating for newcomers and is priced at $59.99/month. Users without extensive vector‑design experience may find the interface and workflow challenging.
Wondershare Filmora – A Budget‑Friendly Alternative
Filmora is a user‑friendly video editor that delivers comparable 3D text capabilities at a fraction of the cost. Its AI‑powered presets and drag‑and‑drop interface make it ideal for beginners and semi‑professionals.
Creating 3D Text in Filmora with Presets
1. Install Filmora and open a new project. 
2. Navigate to Titles > 3D Titles, select a template, and drag it to the timeline. 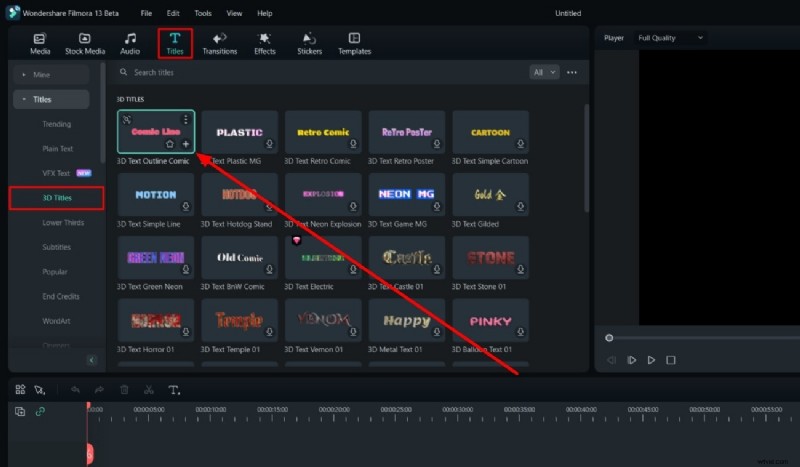
3. Customize the text, choose animation style, and tweak “In”/“Out” timing. 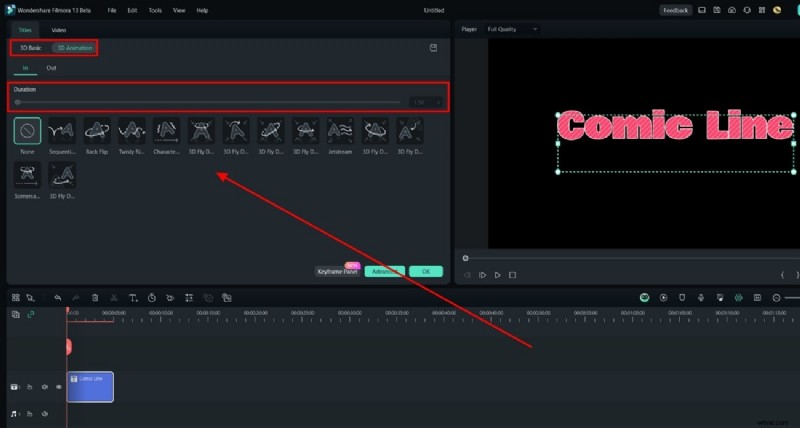
Adding Custom 3D Text in Filmora
1. Add a title layer, double‑click to open the editor, and adjust font, size, color, and alignment. 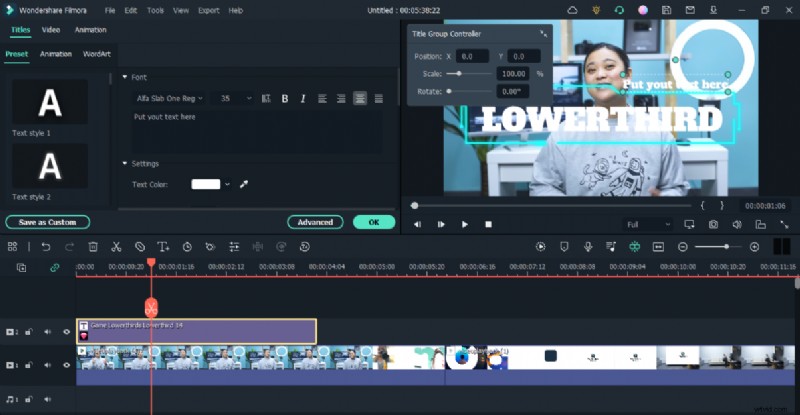
2. Access advanced options for animation, opacity, shadow, and borders. 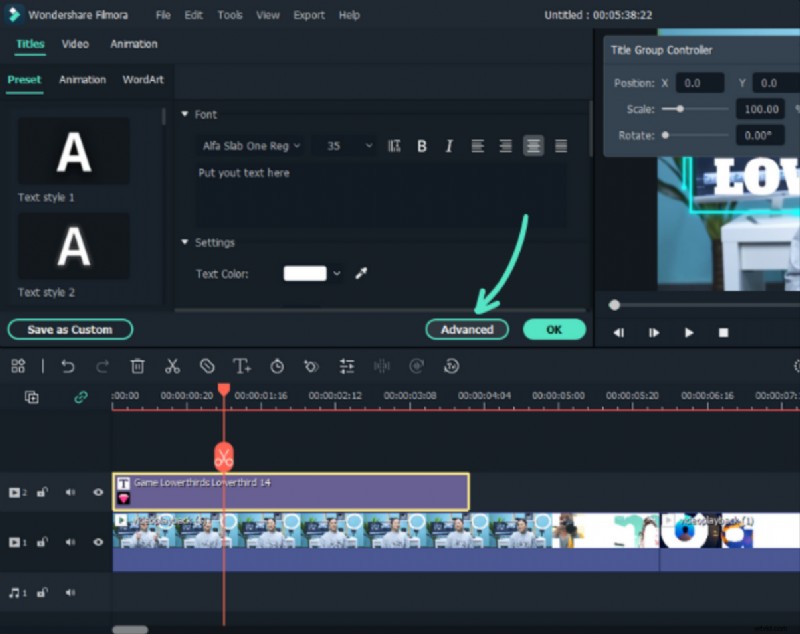
3. Enable Shape Options under Basic to fine‑tune intensity and form. 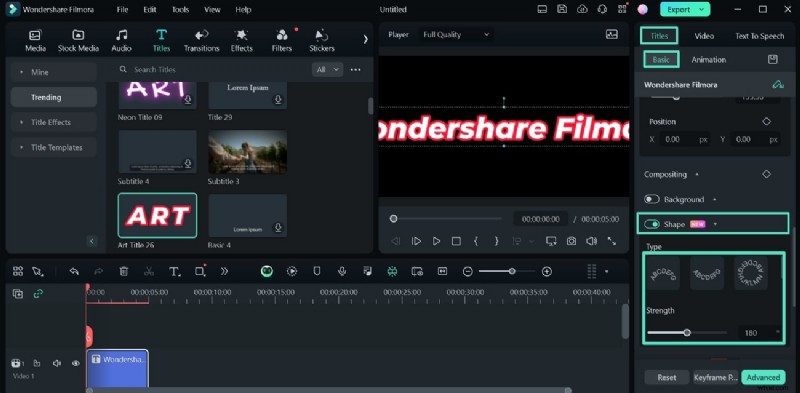
Filmora’s Text Feature Set
Filmora hosts 5,000+ text templates, 80+ animations, and even text‑to‑speech capabilities. Its intuitive interface allows rapid iteration, making it a practical choice for quick video production.
Conclusion
Follow the steps above to create striking 3D text in Illustrator or Filmora, depending on your skill level and budget. Experiment with settings, mix fonts, and let your creativity guide you. If Illustrator feels overwhelming, Filmora offers a streamlined workflow without compromising quality.