
Freeze frames let you capture the exact moment that defines a scene—whether it's a triumphant slam dunk, a dancer’s mid‑air pose, or a quiet smile. In this guide we’ll walk you through the easiest way to create, refine, and highlight still moments in DaVinci Resolve, and we’ll compare the process with Wondershare Filmora for those who need a lighter workflow.
In this article
- What Is a Freeze Frame in DaVinci Resolve?
- How to Add a Freeze Frame in DaVinci Resolve
- Enhancing Freeze Frames for Greater Impact
- Wondershare Filmora: A Quick Alternative
- Why Filmora Often Outperforms DaVinci Resolve for Freeze Frames
What Is a Freeze Frame in DaVinci Resolve?
In DaVinci Resolve, a freeze frame is simply a still image extracted from a single video frame. Think of it as a high‑resolution screenshot that you can insert, extend, and style just like any other clip.
Because the feature is built into the editor, you don’t need any plugins or external tools. Once you create a freeze frame, you can add transitions, motion graphics, color grading, or sound layers to make it a centerpiece of your story.
How to Add a Freeze Frame in DaVinci Resolve
Follow these steps to capture a perfect still in just a few clicks:
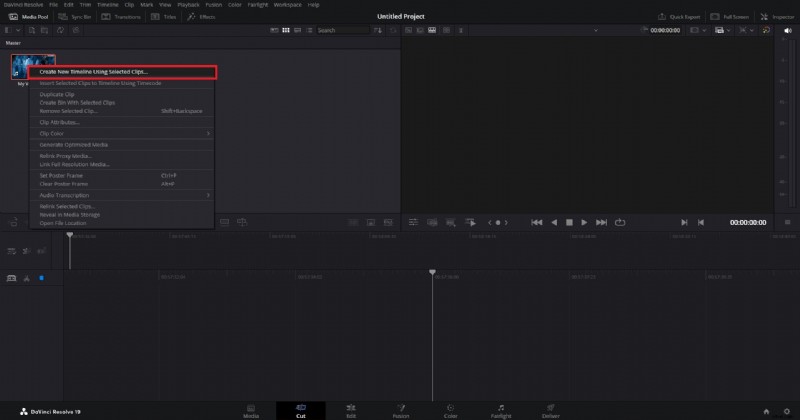
Step 1: Open DaVinci Resolve and start a new project. Import your footage, right‑click it, and choose Create New Timeline Using Selected Clips.
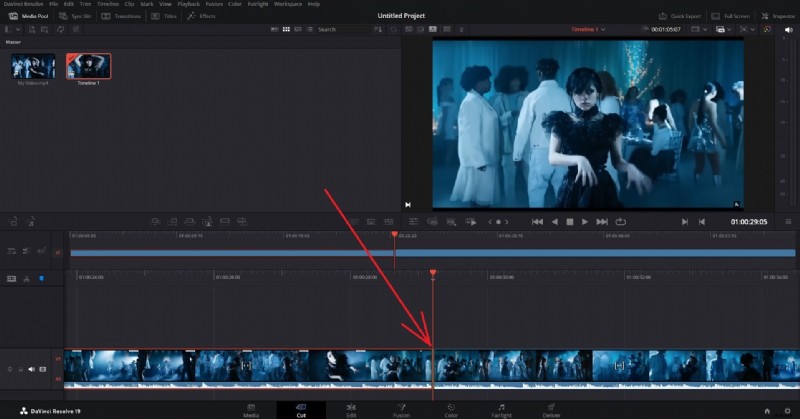
Step 2: Move the playhead to the exact frame you want to freeze. Right‑click the clip, then press Ctrl + B (Windows) or Cmd + B (Mac) to split the clip, leaving the desired frame at the start of the second segment.
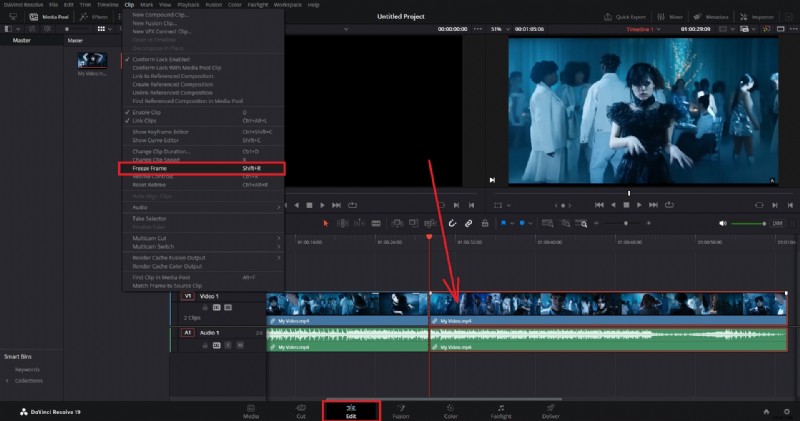
Step 3: Switch to the Edit page, select the second clip, open the Clip menu, and choose Freeze Frame. Resolve will generate a still image from the first frame of that segment.
Enhancing Freeze Frames for Greater Impact
Once you have your still, you can elevate it with the following techniques:
- Add a soundtrack or ambient sound to amplify the emotional tone.
- Insert a transition before or after the freeze frame for smoother storytelling.
- Apply a subtle motion effect (e.g., a zoom or pan) to give the still a dynamic feel.
- Match the color grade of the freeze frame to the surrounding footage for visual consistency.
- Overlay creative effects or titles to provide context.
- Use masking or compositing to blend the still with other visual elements.
- Layer multiple freeze frames or images to build a richer narrative sequence.
If these options feel overwhelming, the next section offers a more lightweight alternative.
Wondershare Filmora: A Quick Alternative

DaVinci Resolve’s powerful feature set can be resource‑intensive. If your hardware struggles or you prefer a faster workflow, Wondershare Filmora provides a straightforward, AI‑enhanced editing environment that is beginner‑friendly yet robust.
Filmora supports AI‑driven tools such as AI Text‑Based Editing, AI Thumbnail Maker, AI Video Interpolation, and AI Smart Cutout—all of which streamline the creation of polished videos.
For freeze framing, Filmora places the feature under the Speed menu, making the process almost instantaneous. Below are the simplified steps.
How to Add Freeze Frames in Filmora
Follow these quick steps to capture still moments:
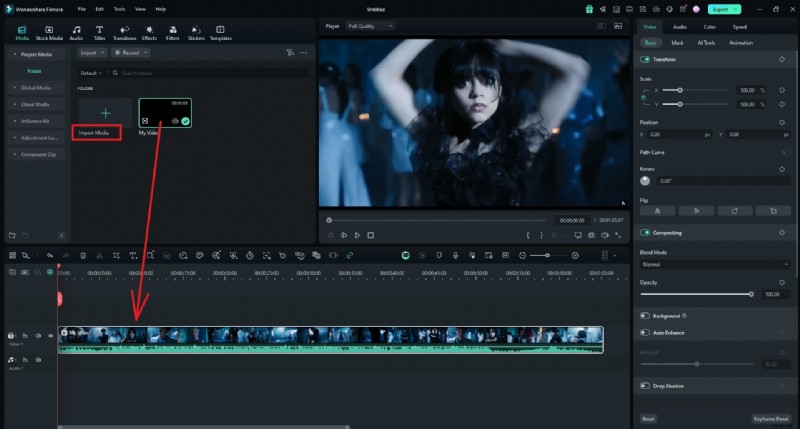
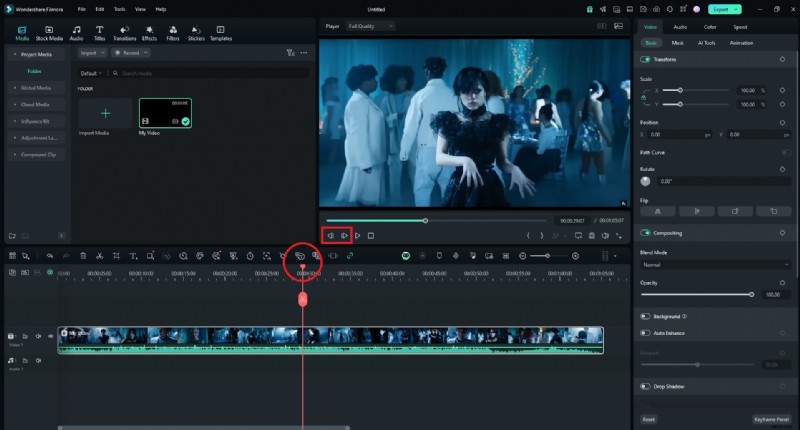
Step 1: Install Filmora, launch it, and start a New Project. Import your clip and drop it onto the timeline.
Step 2: Position the playhead on the desired frame. Right‑click the clip in the timeline and use the Backward / Forward buttons in the preview window to fine‑tune the frame selection.
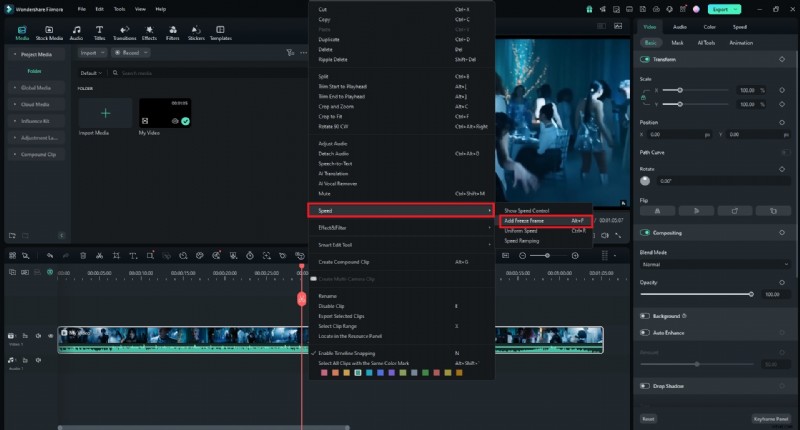
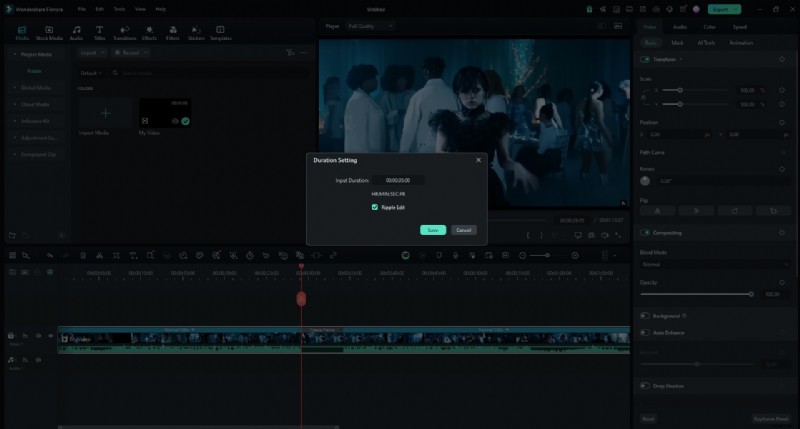
Step 3: Right‑click the clip, navigate to Speed, and select Add Freeze Frame. The editor will insert a separate freeze‑frame clip you can adjust in duration or edit further.
Why Filmora Often Outperforms DaVinci Resolve for Freeze Frames
After testing both platforms, the differences become clear:
| Feature | Filmora | DaVinci Resolve |
| User Interface | Intuitive, all‑skill levels | Complex, steep learning curve |
| Resource Intensity | Lightweight, runs on modest systems | High, may lag on weaker hardware |
| Freeze Frame Process | One‑click, no crashes | Multi‑step, occasional instability |
| AI Features | Smart editing tools | Limited, requires technical knowledge |
| Community Support | Extensive tutorials, active forum | Limited, complex for beginners |
| Learning Curve | Quick to master | Steep, suited for advanced users |
| Editing Tools | User‑friendly with smart functions | Advanced but complex |
| Technical Support | Accessible help resources | Less accessible for novices |
Conclusion
DaVinci Resolve offers a robust, feature‑rich environment for freeze framing, but it can be daunting for newcomers or systems with limited resources. Filmora provides a lightweight, AI‑powered alternative that delivers the same creative results with a significantly gentler learning curve.
Whether you choose Resolve for its advanced capabilities or Filmora for its ease of use, both tools let you turn ordinary footage into memorable visual moments.

