Canva is a dynamic editing platform popular for its numerous features and templates that simplify the design process. This platform makes it easy to edit both graphics and videos to your taste using templates and flexible features.
Among its features are text options, which range from fun and playful text to more serious professional text fonts. This article will tell you how to use the curve text Canva feature to satisfy your personalized needs.
In this article
-
- How to Create Curved Texts in Filmora Using Presets
- How to Create Curved Text in Filmora Manually
- Canva vs Filmora: Best Curved Text Feature
Part 1.Guide to Adding Curved Text in Canva
Creating an eye-catching design goes beyond using colors and images. In a world where text is becoming increasingly important to attracting and keeping your audience engaged, curved text has never been more important.
Below, we will explore how to use Canva, one of the top platforms for curving text, to step up your design. So, without further ado, here is how to bend text in canva from your computer:
Step 1: Go to the official Canva website and sign up by selecting Start Designing. Once you've filled in your email and password, you can create your account and access all of Canva's Free features.

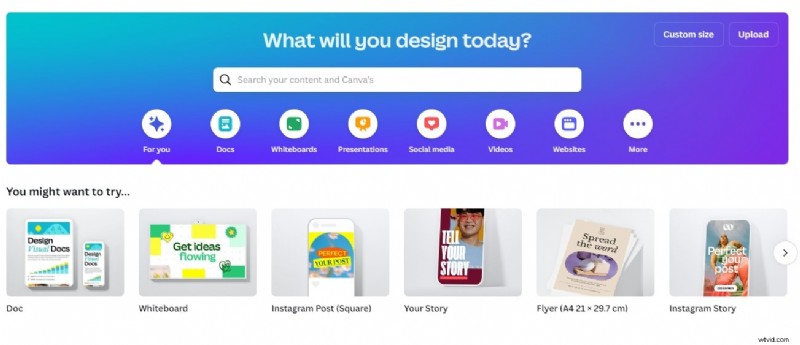
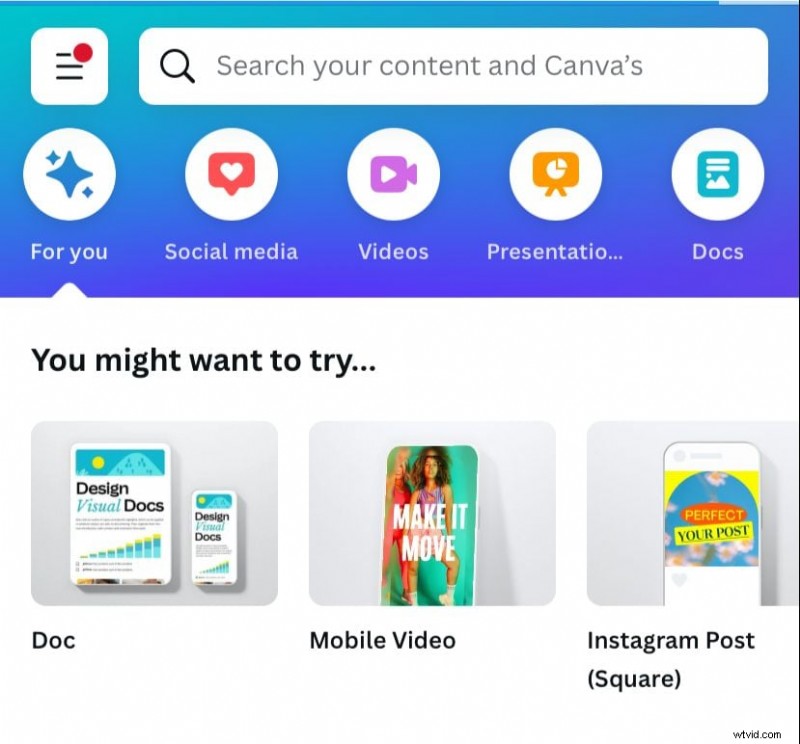
Step 2: At this point, you will see various templates for different types of design, from Instagram posts to presentations. Select Video or create a custom design size to begin.
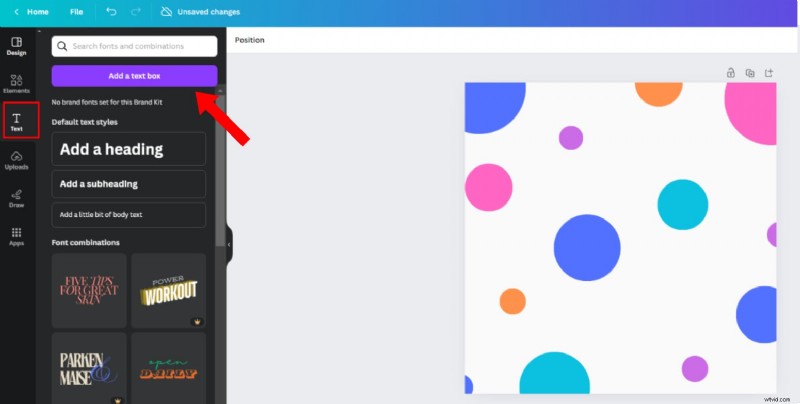
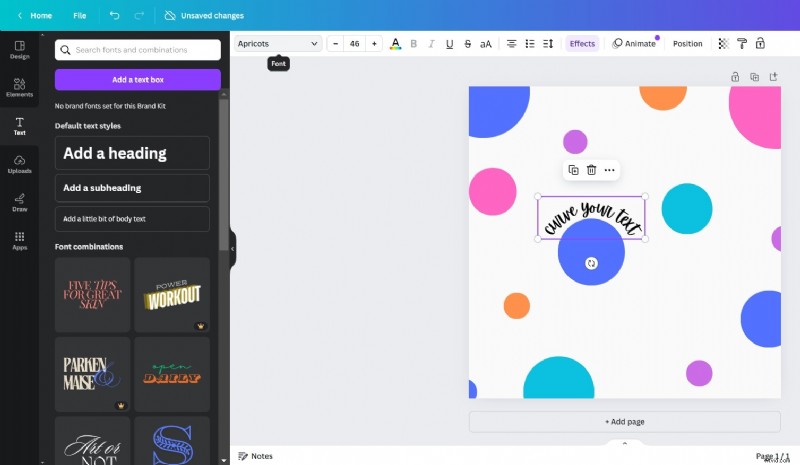
Step 3: After creating your design, click on Text on the side menu and select Add a Text Box. Then, click on the new text box in your design and enter your text.
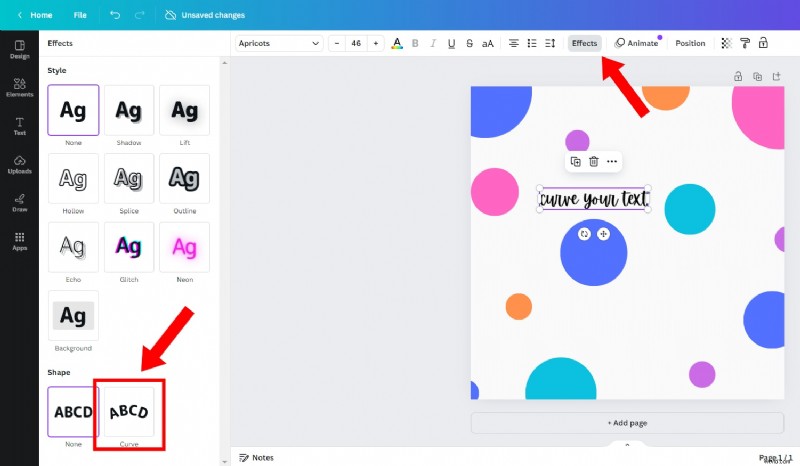
Step 4: With the text selected, go to Effects on the top panel. A menu containing all of Canva's text effects would pop up on the left. At the bottom of this menu, under Shape, select Curve. Then, adjust the shape of the circle with the glider button below the curve effect.
Step 5: In this stage, you can increase the size of the text or change the font. You can also change the color, add other effects, or edit the text. Once you're done, save the design to your device. And that's it!
Part 2. How to Curve Text in Canva for Smartphone
You can access Canva from both Android and iOS smartphones. Here's how to make circle text in canva
from your mobile device:
Step 1: To access Canva on your mobile phone, you can either download it from your app store or go to the website. Next, sign up or log in and create a new video design.
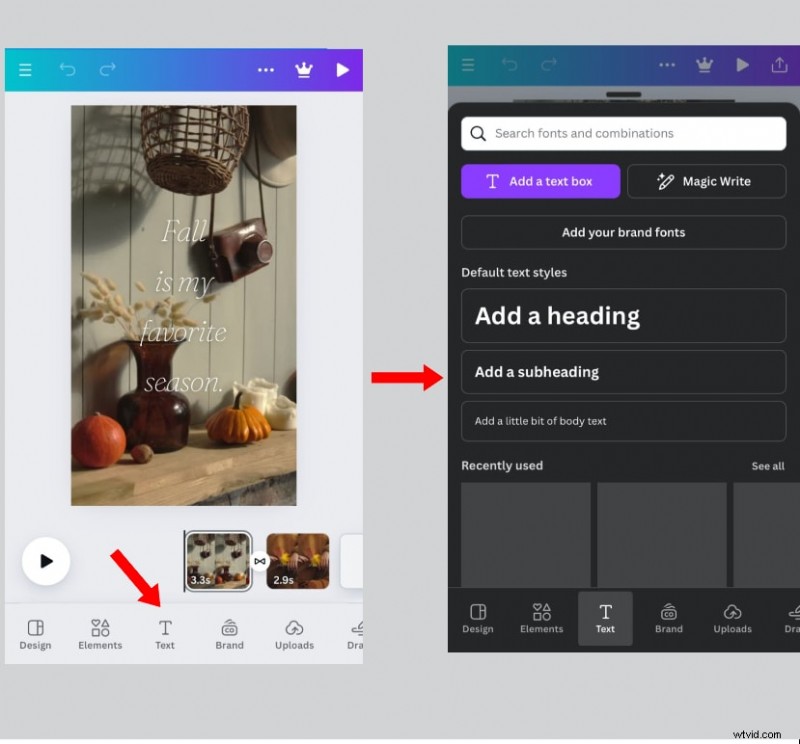
Step 2: From the editing suite, click on the Text button at the base of your screen. Choose the type of text you want, either a heading, subheading, or a small body of text.
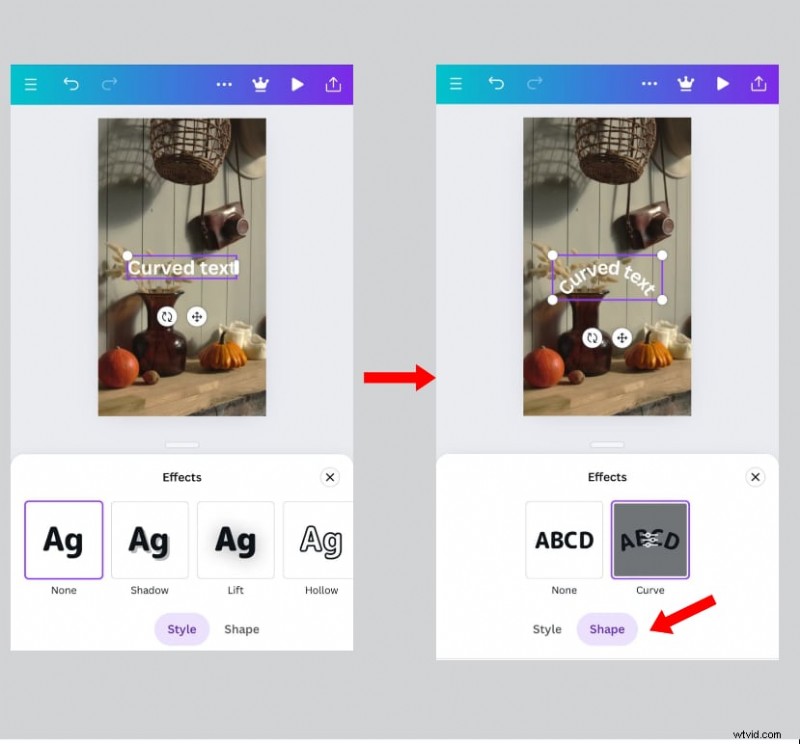
Step 3: Edit your text to your preference. Next, swipe left on the lower menu when you click on your text. Select Effects from the options.
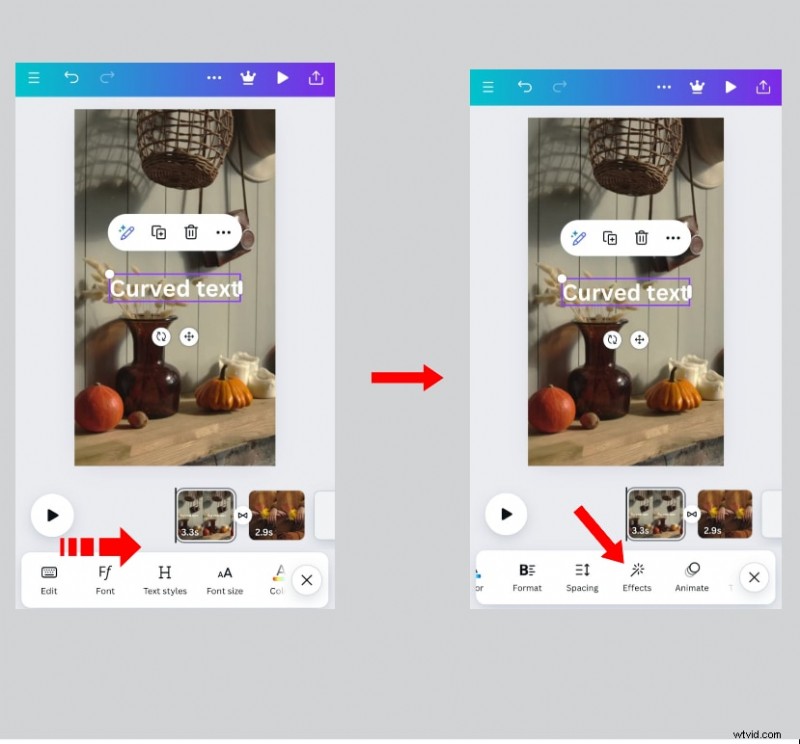
Step 4: From the menu that pops up, go to the Shape tab and click Curve to create Canva circular text.
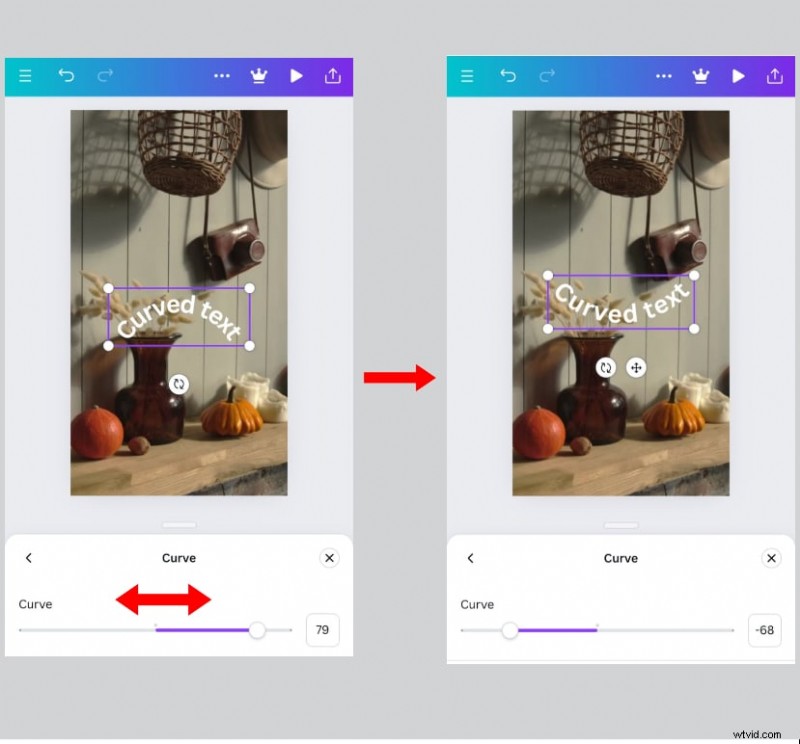
Step 5: To adjust the curve, click on the Curve button again and use the glider. Once you've adjusted it to your taste, download it to your device.
Part 3. Different Ways to Use Canva Curved Text as Elements
Canva's round text feature allows you to add text elements that can attract your audience with a single glance. However, the effectiveness of this tool depends on how you use it. In this section, we will give different examples of ways you can use canva curved text as design elements:
- As arched text: This works for short text for designs, posters, or presentations.

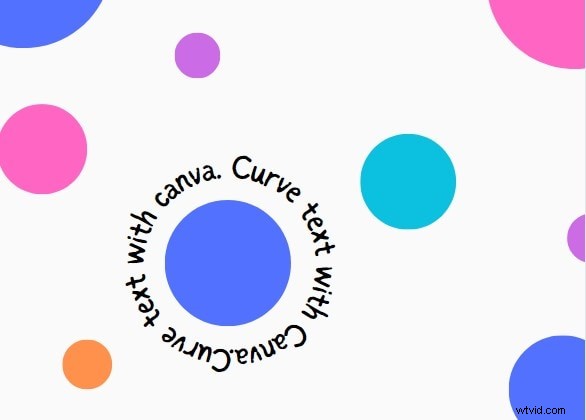
- As a full circle: To achieve a full circle, you can either place two arches together or keep typing until the circle is complete.
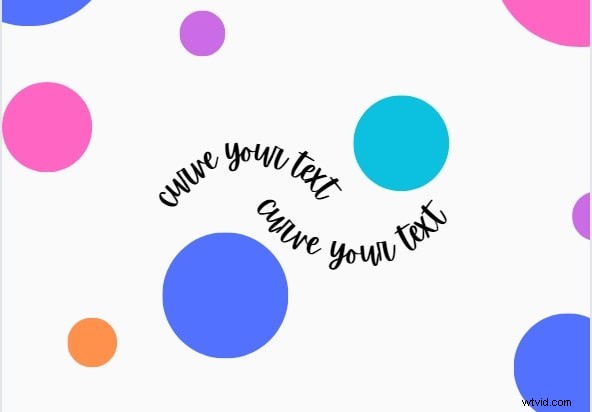
- As wavy text designs: To do this, simply place two arched text boxes after each other. Then, invert the curve by moving the glider button all the way to the left, depending on your preference.

- Combined with other curved or arched texts: You can play with the text in your designs as much as you see fit. All you need to do is move the curved text to whichever location you want. Remember to ensure that you align it with other text in aesthetically pleasing ways.
Part 4. Alternative for Creating Curved Text for Beginners and Experts
While you can create curved text in Canva on photos and videos, it might not always meet your needs. For one thing, it doesn't offer many options for curving text. So, although it's great for beginners, it might not be the best choice for more advanced curved text designs. As such, you should use a more versatile video editor that caters to both basic and advanced text curving.
Wondershare Filmora is a video editor that can help you achieve this and more. With its curved text feature, you can quickly bend text in your video while maintaining its appeal. Plus, it is well-suited for both beginners and expert video editors. Here are two ways to create curved texts in Filmora:
How To Create Curved Texts in Filmora Using Presets
Filmora gives you access to numerous preset styles for editing and animating your text. Here's how to use these presets to curve your text:
Step 1: Download Filmora from the official website and launch it on your device. Then, click on New Project to begin.
Step 2: Upload your media to the platform and click on Titles on the top panel.

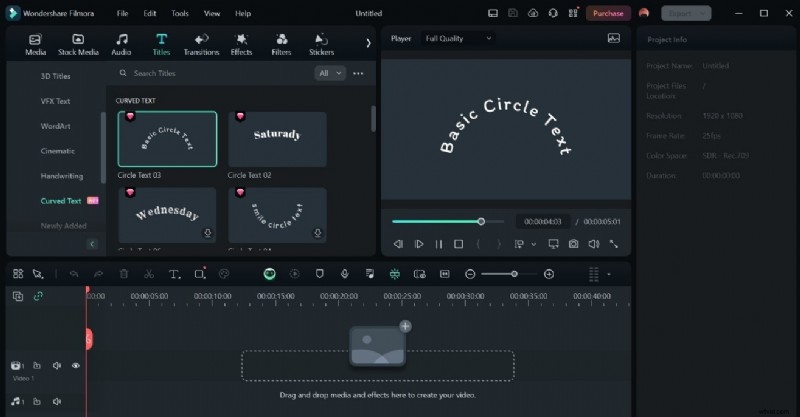
Step 3: Scroll to the bottom of the left panel, and from Title Effects, click on Curve Text.

Step 4: Select the type of curve you want to create by choosing from the preset options. After it downloads, add the text to your media and edit it to your preference. Then, save the final media.
How to Create Curved Text in Filmora Manually
While Filmora allows you to create curved texts within seconds with its presets, you can also do it manually. Applying this method gives you more control over each letter and how you want it to be arranged. Let's go over the steps to curve your text in Filmora manually:
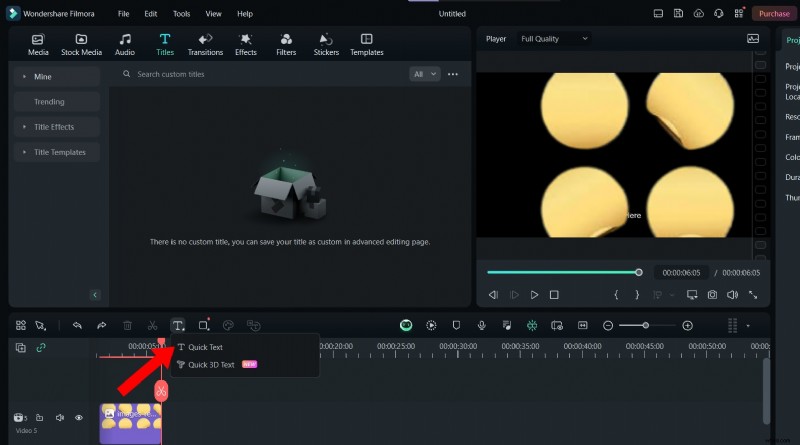
Step 1: After downloading Filmora from the official website and launching it on your device, upload your media. Click on Text, then Quick Text. This adds a text box to your media.
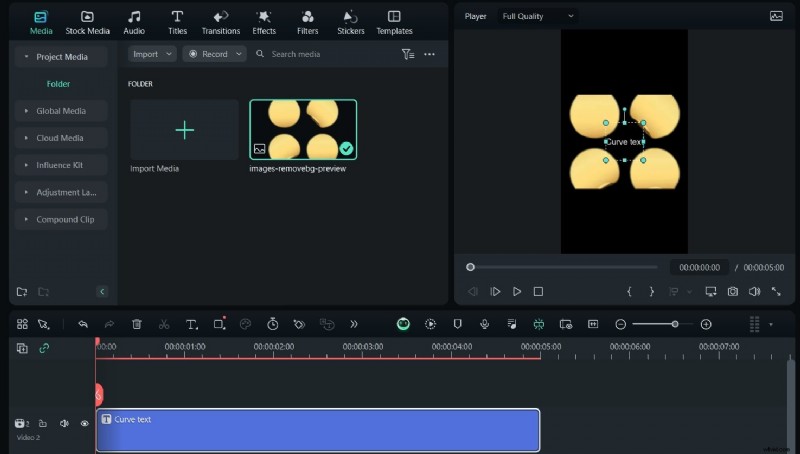
Step 2: Edit the text box with your preferred text. Then, move it to align it.
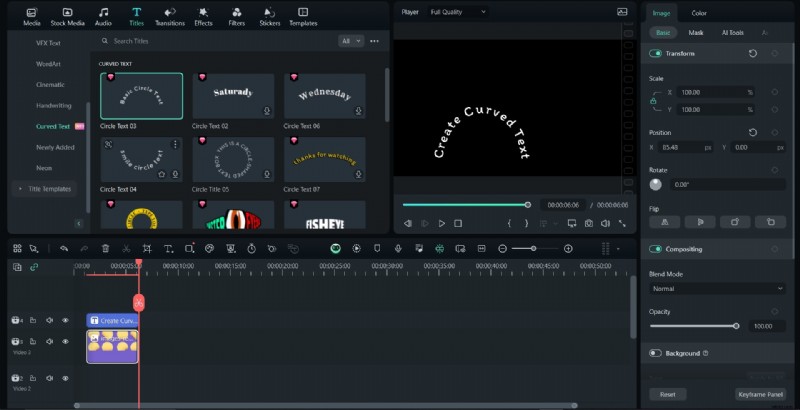
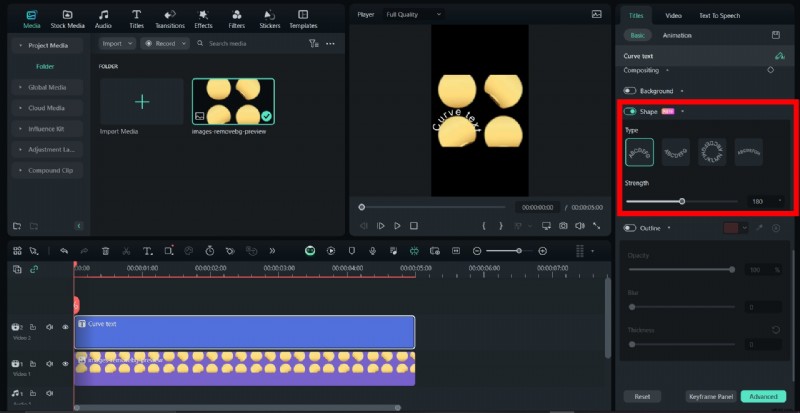
Step 3: From the right-hand panel, under Basic, you can edit the properties of your custom text. To create your curve, go to Shape and select any curve that best fits your design and preference. You can also adjust the strength of the curve.
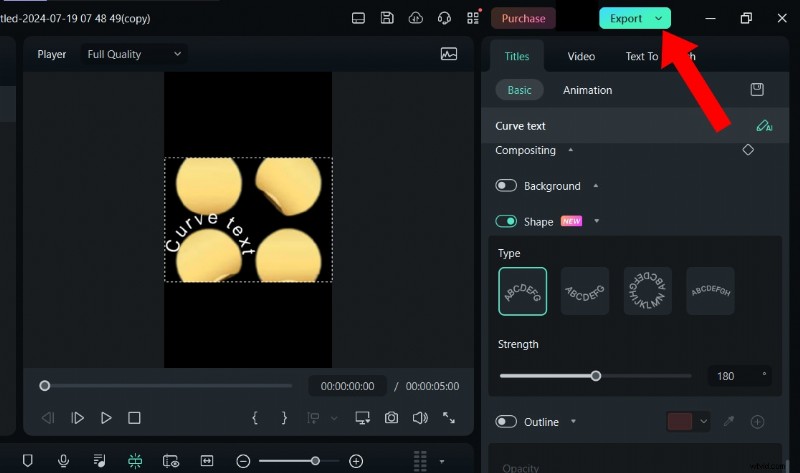
Step 4: Filmora for Mac also lets you save your customized text effects to use later from the Title Inspector and Text Editing Panel. Once you’ve done this, edit your video and click on Export to save it.
Canva vs Filmora: Who Has the Best Curved Text Feature
Here's a comparison of Canva and Filmora's curved text function for photos and videos:
Conclusion
Creating curved text in Canva is a smooth, straightforward process, especially for beginner-level designers. However, if you're a more advanced designer and want to create more intricate and unique curved texts, Filmora is best for you.
It has various presets with different text-curving styles to make your designs unique and attractive. This feature is also easy to use and readily accessible. To get started, download Filmora from our website.