If you are a social media content creator, you might want to know how to reverse videos to spice up your content. For example, you might want to reverse a jump, ball kick, paper fold, a swimming video, or any other clip for that matter.
Well, this is one of these nice effects that can help grab your viewer's attention. The beauty is that you can use editors like CapCut to reverse video, especially for social media needs. Here is a detailed guide on what the Capcut reverse video feature is all about and how to use it.
In this article
-
- How to Reverse Video in CapCut Desktop?
-
- Steps to Reverse Video in CapCut Mobile App
-
- Steps to Reverse Video in CapCut Online
-
- Reverse Video with Filmora on PC
- Reverse Video with Filmora Mobile
If you would like to use your PC, then you can use the Capcut Desktop, which lets you reverse your favorite video with just a few clicks. With this tool, you can reverse various types of video formats and add some video effects, such as motion blur, to make them more attractive to viewers. You can also do precise trimming, smooth keyframe animations, freeze, mirror, rotate, or add filters based on your needs. However, you can only export the output file in MOV or MP4 formats.
How to Reverse Video in CapCut Desktop?
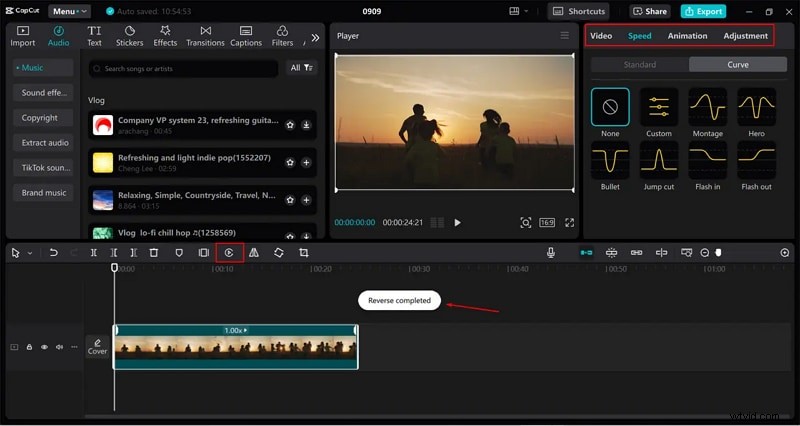
Step 1. Once you have downloaded and installed Capcut Desktop on your computer, launch it to open the main interface. Here, click the "Create Project" tab and head to the "Import" section. Upload the video clip you wanted to reverse. Additionally, you can drag the video onto the workspace.

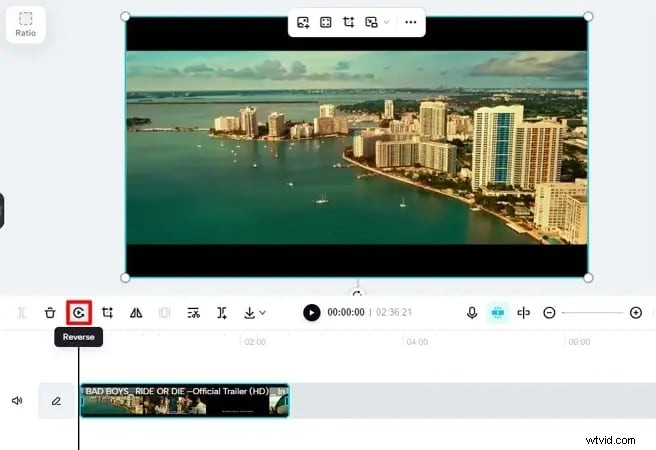
Step 2. Select the video > click the "Reverse" icon on the timeline toolbar. The program will start processing the video reversal, and the reversed video should be ready after a short time.
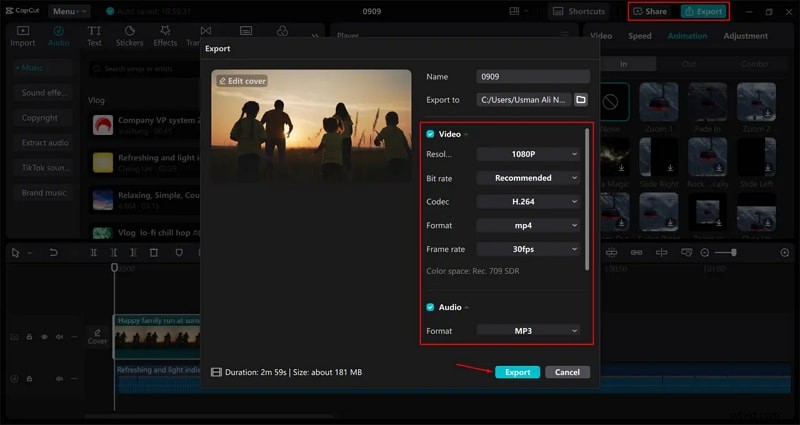
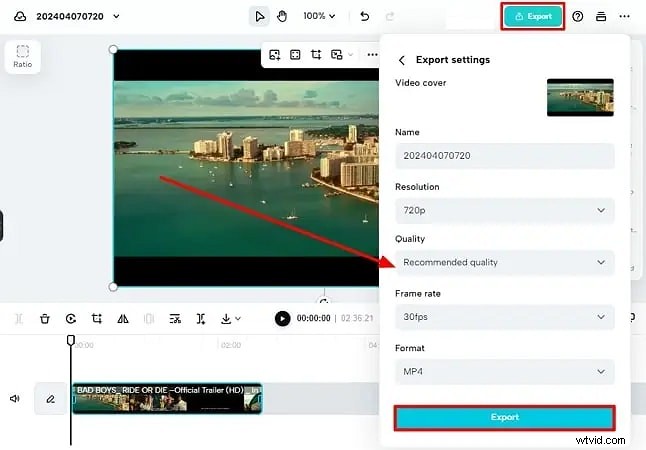
Step 3. Now that the video is reversed, you can enhance it with some effects and other features like text overlays and animations, depending on your needs. When you are done, click the "Export" button at the window's top-right to enter the output window.
How to Reverse Video in the CapCut Mobile App?
CapCut is also available as a mobile app, and you can use it directly on your mobile device to conveniently reverse your videos. You can download it for Android or iOS from the Google Play Store or the App Store.
Steps to Reverse Video in CapCut Mobile App
Once you have installed the CapCut mobile app on your Android or iOS device, you can proceed to reverse the video as illustrated below.
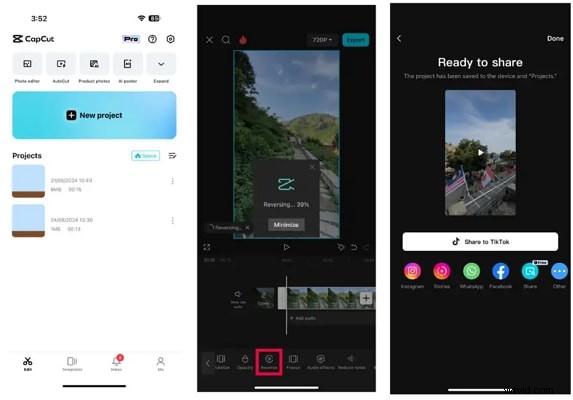
Step 1. Run the CapCut mobile app on your mobile device and tap the "New Project" tab once it opens. Now, choose the video you want to reverse from your gallery, then add it to the timeline for editing.
Step 2. Select the video > click the "Reverse" option.
Step 3. When you are satisfied, hit the "Export" icon at the top-right of the screen. Now, choose how you want to share or save your reversed video. You can share it directly on various social media platforms like Instagram and WhatsApp or save it on your device.
How to Reverse Video in CapCut Online?
If you don't want to install Capcut on your desktop or mobile device, you can use it directly on the web. CapCut online lets you edit your videos from the web with ease. As long as you have internet connectivity, you can visit CapCut online and reverse your videos without hiring a professional. You can upload videos from your local device or cloud services like DropBox and Google Drive.
Steps to Reverse Video in CapCut Online
- Using your browser, navigate to CapCut online and click the "Sign Up" button to sign up for a CapCut account. Proceed and click the "+" button to add the video clip you want to reverse.
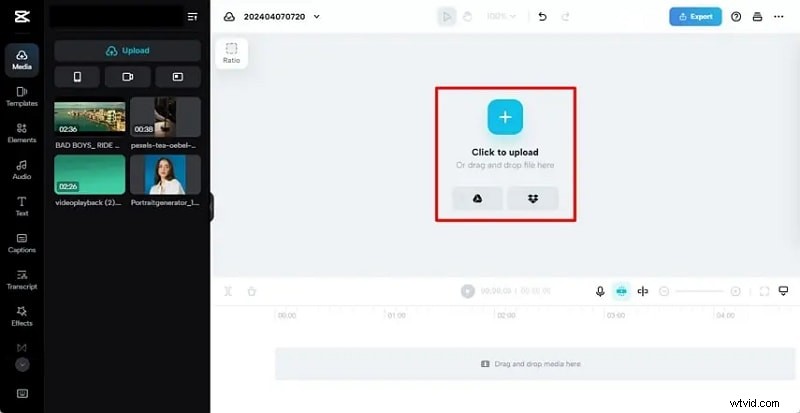
- When the video is uploaded, drag it to the timeline for editing. To reverse your video clip, select the video and click the "Reverse" icon just above the timeline. The video should be reversed within a short time.
- With the video now reversed, you can edit it with the available video editing features such as mirror, split, and crop, among others. Once satisfied with your choices, click the "Export" button and select your preferred output settings. Finally, click the "Export" button to save your newly reversed video.
Reversing Video with Wondershare Filmora: Best Capcut Reverse Video Alternative
If you want to reverse video and then combine some cool effects when reversing videos, you can try one of the CapCut alternatives: Wondershare Filmora. It not only allows you to reverse your video but also provides a variety of video effects that you can use to create amazing visuals.
In addition, it provides many customizing options for adjusting the video speed, such as speed ramping or simply making the video faster between 2 to 100 times or slower between 0.5 to 0.01 times.
Learn the full comparison of features between CapCut and Filmora.
Reverse Video with Filmora on PC
- Download and install Filmora on your computer.
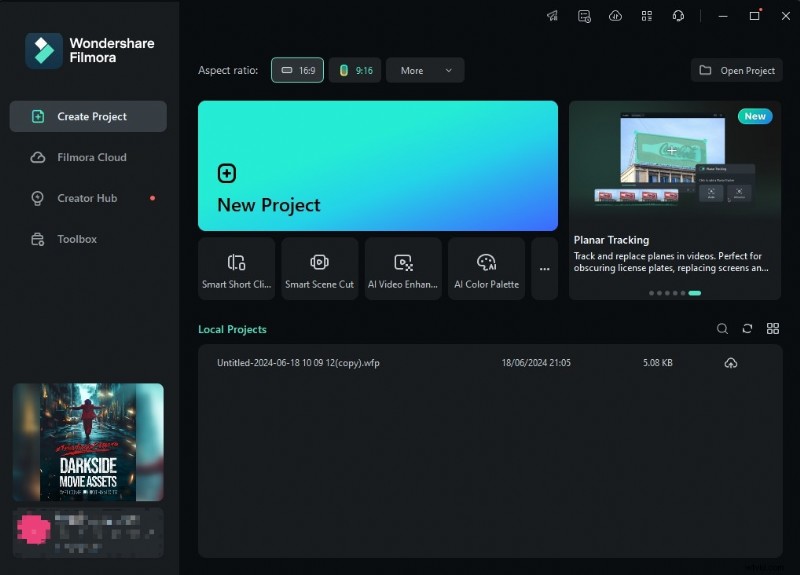
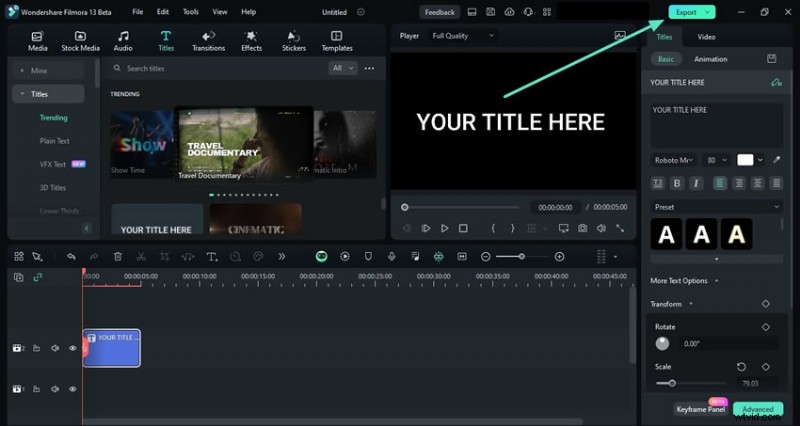
- Launch Wondershare Filmora on your desktop to access the primary interface. Now, click the "New Project" > Import Media. Now, select the video clip you want to reverse.
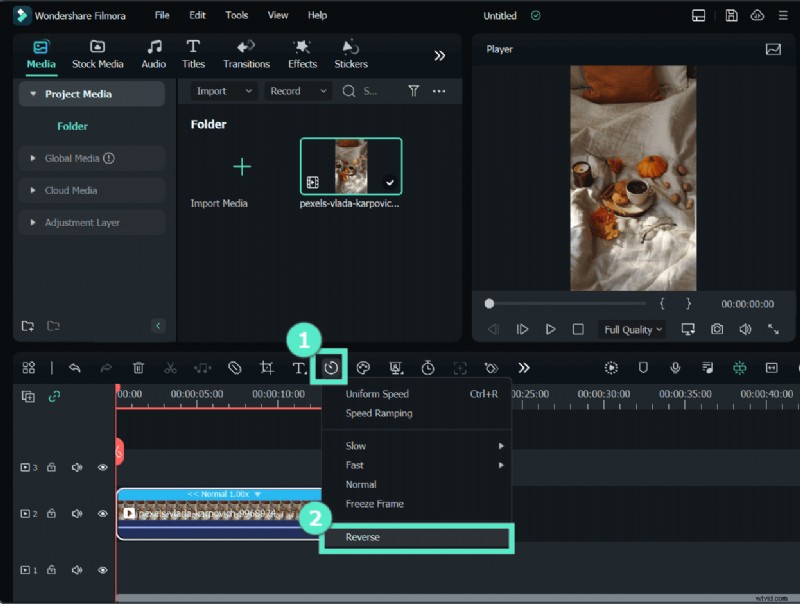
- Drag it to the timeline and the bottom to ready it for editing. On the timeline toolbar, click the "Speed" icon > click the "Reverse" option. Your video should now be reversed.
- After reversing the video, if you need to make it faster, select fast > choose the video speed according to your preference.

- Export the video if you are satisfied.
Reverse Video with Filmora Mobile
Just like the desktop version, you can also reverse video with the mobile version of Filmora on your phone.
- Download and install the Filmora app on your phone.
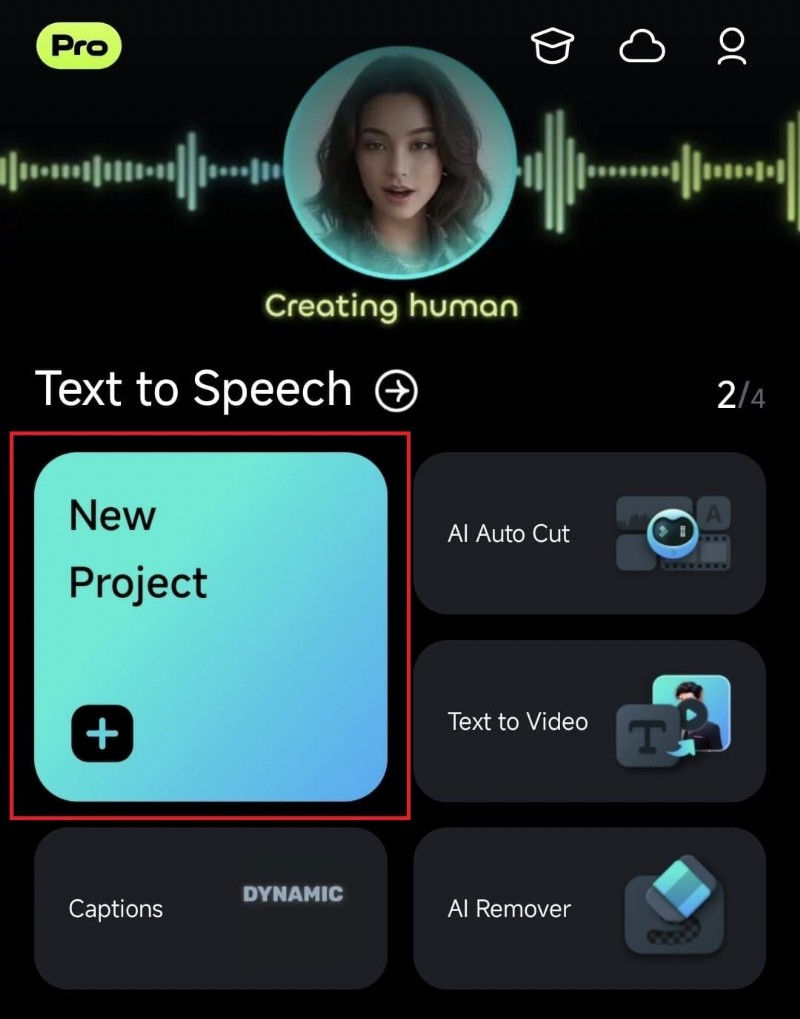
- Once installed, run it to open the main interface. Tap the "New Project" tab on the homepage to import a new video.
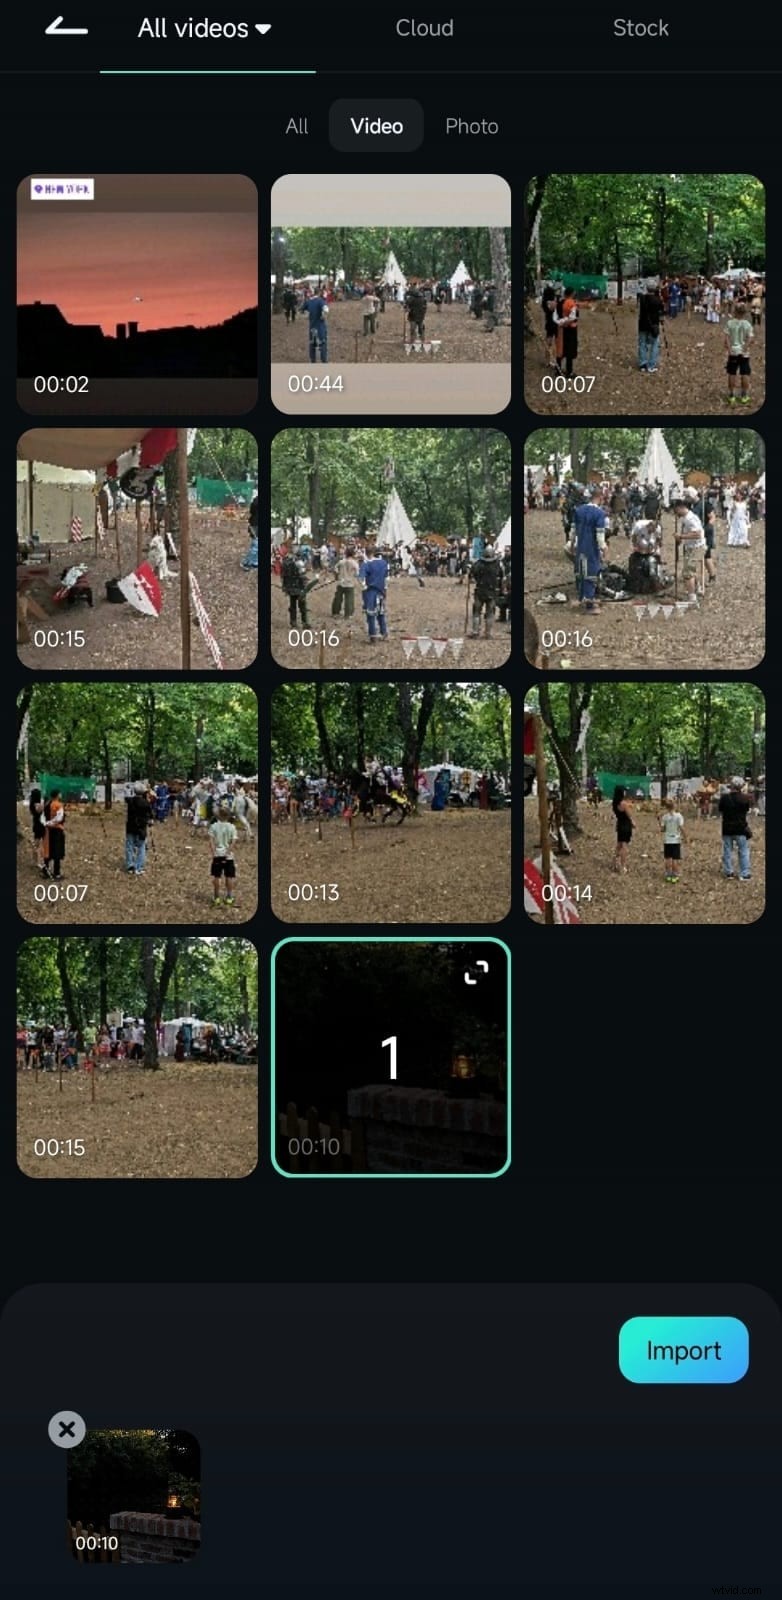
- On the next screen, select the video you want to reverse, then hit the "Import" button to import it to the interface.
- Just tap this video on the timeline to select it, and then hit the "Trim" icon at the bottom of this timeline.
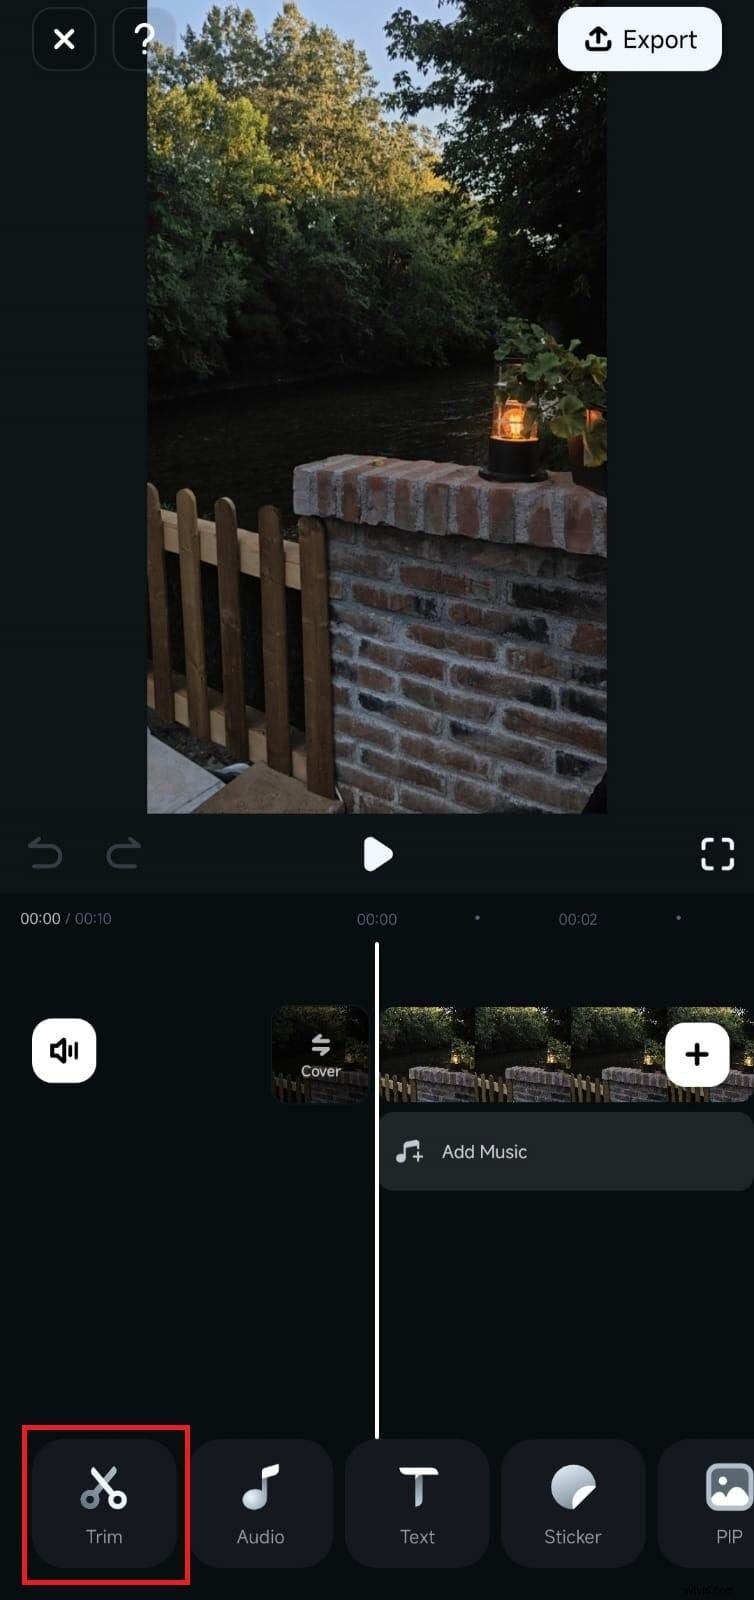
- Scroll down and tap the "Reverse" icon. The video will be automatically reversed. You can play to preview the reversed video. If you are satisfied, hit the "Export" button to save or share your newly reversed video clip.

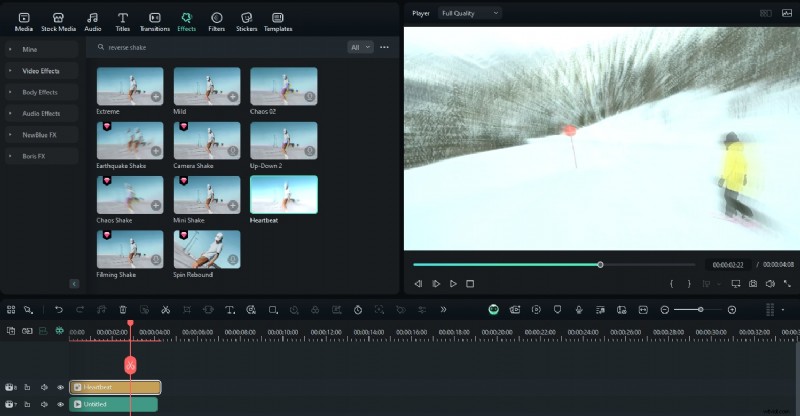
Bonus: Enhance Your Reversed Videos with Cool Video Effects
Once you have reversed your videos, you need to enhance them to make them more attractive and appealing to your viewers. Fortunately, you can always enhance your videos with cool video effects using a pro editing tool like Wondershare Filmora. There are actually tons of attractive video effects that suit different needs, including reverse shake effects such as earthquake, spin rebound, up-down, camera shake, heartbeat, and more. Here are the steps:
- Go to effects > find the video effect you love and drag it above the reversed video.
- Adjust the duration of the effect and preview the video.
- Export it if you are satisfied.
You can also add cool filters, titles, transitions, body effects, audio effects, and stickers to enhance your videos further and attract more viewers. Wondershare Filmora offers endless video effects and features to enhance your reversed video for various needs.
Conclusion
In this article, we've discussed how to reverse video in CapCut on different devices. Generally speaking, CapCut does quite a decent job if you're looking to create engaging reverse videos. You can also spice your videos further with an advanced editing tool like Wondershare Filmora. It offers immense capabilities to seamlessly reverse videos and fine-tune them to meet your target user needs and viewer preferences. Download and install Wondershare Filmora and tap into advanced editing capabilities and professional-level audio tools for your projects.
FAQs
-
Why is reverse not available on my CapCut?
This could probably be a glitch or a bug. You can try some fixes, like restarting your device or clearing the CapCut cache.
-
Can I reverse the video in CapCut on PC?
Yes. You can try to use the online version of CapCut or use its desktop version. The steps are quite simple.
-
Why does the reversed video look choppy in CapCut?
A reversed video looking choppy in CapCut happens when the app experiences lag while processing the video. This lag can be triggered by a number of factors, including network issues, low system resources, and internal system issues such as malware attacks.