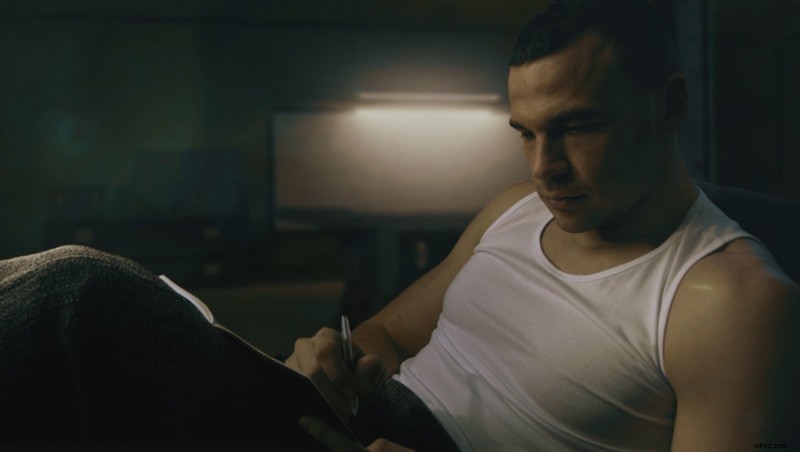
Your footage is already shot with lighting that makes it look "cinematic" and it's time for color grading. You apply a teal-and-orange LUT preset, but although it is in the right direction, your video still lacks something that prevents it from having that blockbuster look.
What's a LUT?
LUT stands for "look up table" and is a fancy term for a filter that changes the color of every pixel of your still photograph or your video. Basically, think of a LUT as an adjustment layer you apply, for example, in Photoshop, where you change the brightness, saturation, contrast, and the values of each individual color channel. That transformation is stored into a file that you can readily use on multiple places.
Prerequisites for Cinematic Color Grading
There's no formal definition for "cinematic," but it is usually referred to the look you see in the theatrical films. The image has a good amount of contrast and lighting is not flat. Sometimes there are deliberate color inaccuracies that we call "color grading" or "creative color grading." Before going into the creative color play you need to have an image that already looks "cinematic," otherwise applying a LUT won't make it any better.

A rule of thumb is to start with a naturally looking image. If you have people in the frame, make sure skin color is correct or what you think might look correct. If you're working on a video project, use the Vector Scope to help you identify if there are any unwanted color shifts in the skin tones.
The Usual LUT Experience
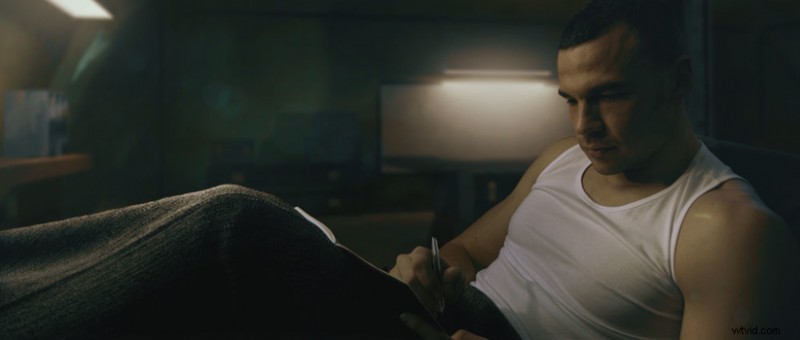
You want that "teal and orange" look and you apply an appropriate LUT. The final result has the color nuances, but something's not quite right. I remember trying to mimic the look of Annie Leibovitz' photographs and despite my lighting was similar, my color graded result was very different. You probably have the same experience when color grading photos and videos. You apply an adjustment layer or a LUT and while there are areas where the color shift looks good, others look quite ugly. You usually end up decreasing the strength of the filter. Here's an example of applying a LUT over the frame from above.
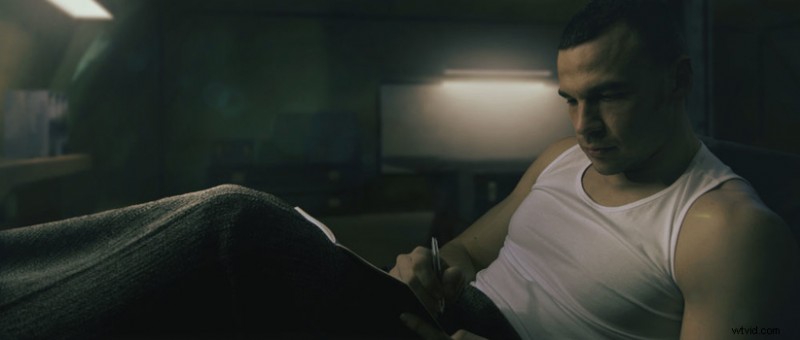
At first you may think it's kind of cool and the shadows are indeed looking good, but the midtones, especially the skin colors, are quite unnatural.
What Do Professional Colorists Do Differently?
They apply changes selectively based on the actual content of the image or the video frame. If they happen to have people in the composition, they tend to preserve the skin color, or color-shift it differently than the color transformation they apply to the rest of the frame. With LUTs applied over the whole frame, all pixels are changed. This is why you don't always end up with a "cinematic look." This is also the reason why using a colorist costs more, because they take the time to apply transformations selectively.
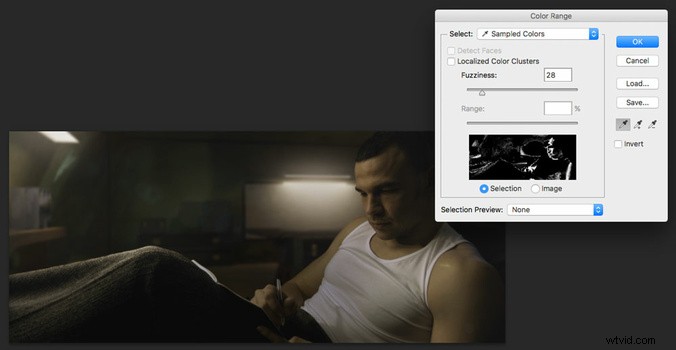
Each software has its own tools for masking out areas of the image. In Photoshop you can use Select > Color Range. In DaVinci Resolve you have Qualifiers. In After Effects you can use some of the Keying effects like the Color Range. The goal is to create a mask for the areas you want to change the colors of. These masks have to be feathered enough that the transition looks seamless. Let's use Photoshop as an example and select the skin colors with Select > Color Range.
After that I created a Curves adjustment layer for that selection. I duplicated the adjustment layer and inverted the mask. Now I can alter both areas of the image separately.
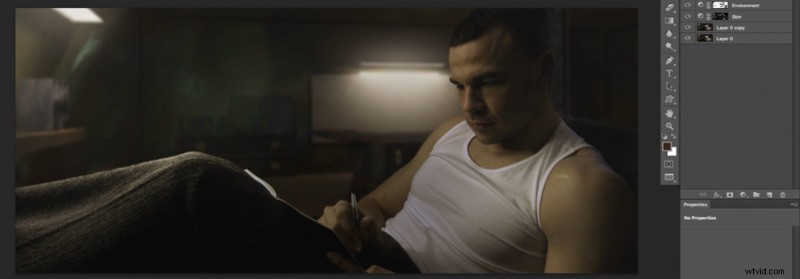 Now I'm ready to get to the fun part of color grading without messing up skin tones. In the "Environment" Curves layer I added more cyan, green, and blue hues:
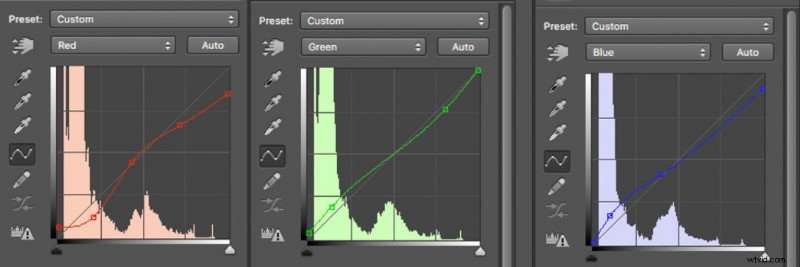
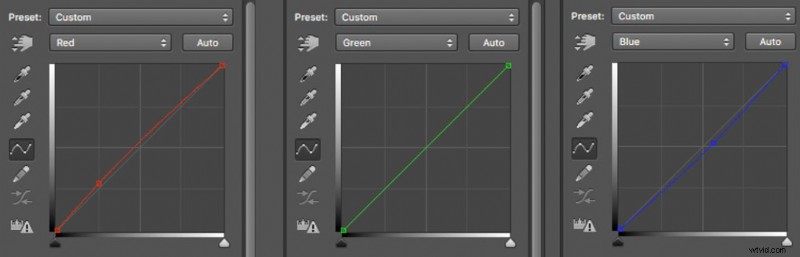
In the "Skin" Curves layer I added more reds and yellows:
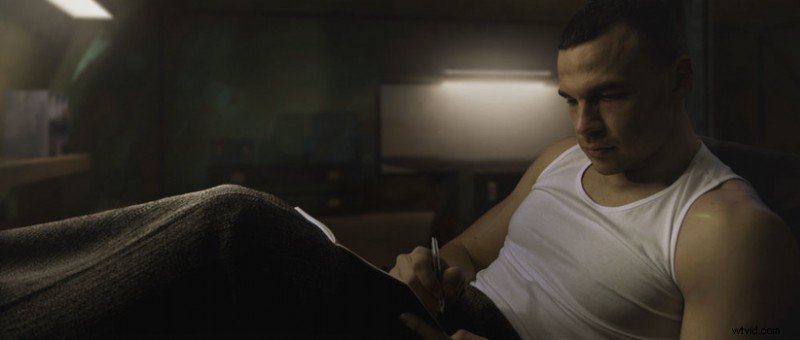
The result from selectively applying those two Curves adjustment layers is the following:
LUTs Are Not to Be Thrown Away
If you want to alter an image as a whole, LUTs are a great way to save you time. LUTs are commonly used when previewing footage on professional video monitors, so that people on set can get an idea how the final result will feel like. If you already have separated your composition into masked areas you can surely use readily-available look-up tables.
Conclusion
There's a lot more to color grading than what you've currently learned, but following these steps with the tools in your software of choice, will get you 95% of the look you've always wanted. You can apply the same technique for other areas of the image to fine tune their colors and contrast.