In usage by artists and film editors for more than 100 years, the split screen technique is the older style that still creates evolution at present. The history of the 1890s was the “Life of an American Fireman” film by Edwin S. Porter in 1903 that reflected two characters on the same screen.

When creating split screen videos, like the ones used in the film industry or by filmmakers, you never need a professional video editing team or studio but just a specialized video maker/editor tool with outstanding editing abilities. Yes, one such platform is the Final Cut Pro from Apple. Enriched with advanced features like color grading, Jump Cuts, keyframing, and so on, Final Cut Pro is a perfect tool for all your video-related tasks. In addition, the split screen feature in Final Cut Pro displays two or more videos on the same screen. If you haven’t used this feature still now, then it’s time today. Yes, explore through our article to find out how to apply split screen in Final Cut Pro.
Part 1: How to Create a Split Screen Video with Final Cut Pro?
The session you were eagerly waiting for is here. Yes, to use the split screen feature of Final Cut Pro is easy, and here is a step-by-step guide on how it is done.
Step 1: Add video tracks
Launch or open the Final Cut Pro app, and execute “Right-click Timeline > Add Video Tracks”. Now, choose the video clips, and drag them to the video track of the timeline window.
Note: Make sure you have detached the audio of the video clips with the “Detach Audio” option by right-clicking the video clip.
Step 2: Place your videos in order
Once video clips add to the timeline, please place them in order or one over another as the clips treated from top to bottom.
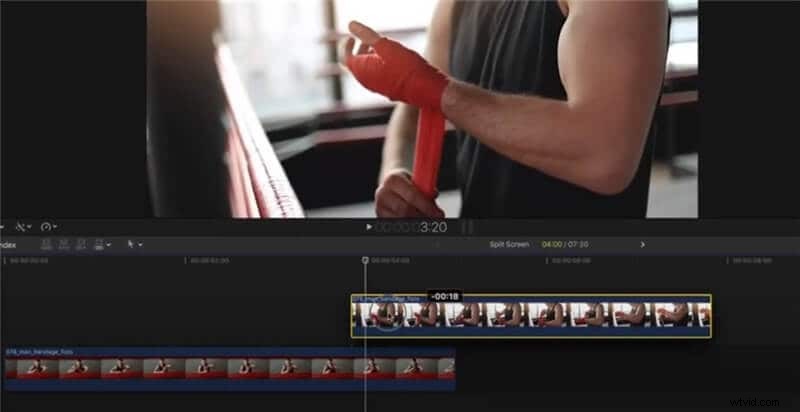
Step 3: Size the clips
To resize or equalize each video, click on the video on timeline, tap “Sequence Window” from drop-down followed with the “Image and Wireframe.” Then, you can resize the video as per the screen, hold the cursor and drag it to the desired location on the timeline.

Make sure you execute the video clips resizing, as it is the process by which each clip maneuver easier that is used to implement the split-screen effect.
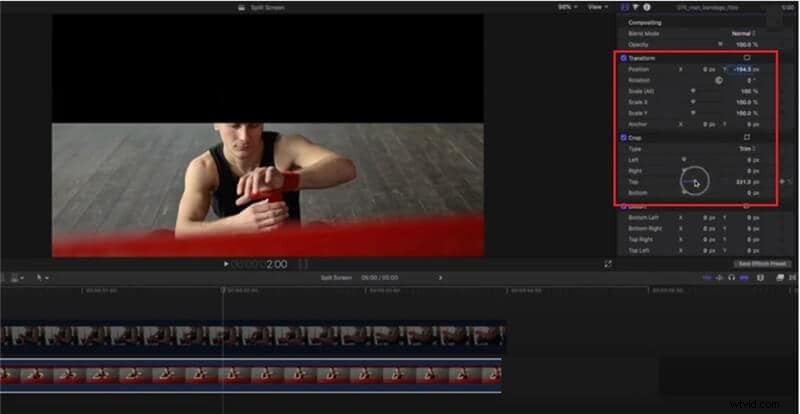
Step 4: Transform and crop
It is the phase where the actual task of split-screen begins. To make the background and overlay video clip appear on the same screen, first, click on the background video clip, and adjust the “Transform” and “Crop” Parameter from the right panel “Video Inspector.”
With Transform, the position is adjusted, whereas, with the crop slider, you can change the cropping behavior of the background video clip.
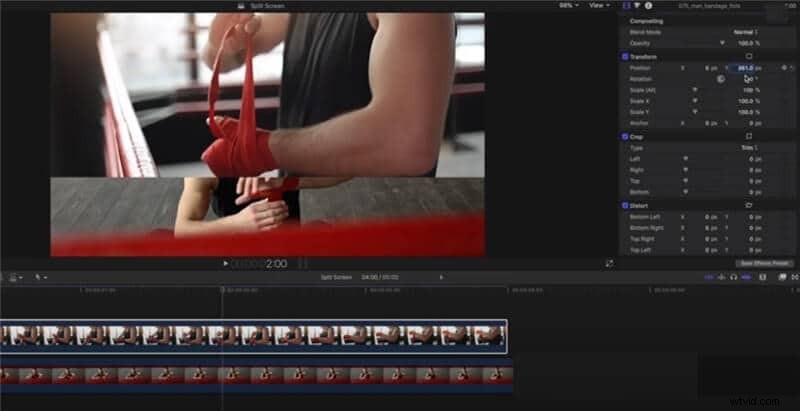
Now, you can place the overlay video on the screen by making changes in the Transform and Crop factors under the video inspector.
There you go! The split-screen video is now ready, and you can add other editing features like color grading and so on.
You can also add a color separation between the two split-screen video clips in Final Cut Pro, and here is an example of the final interface.
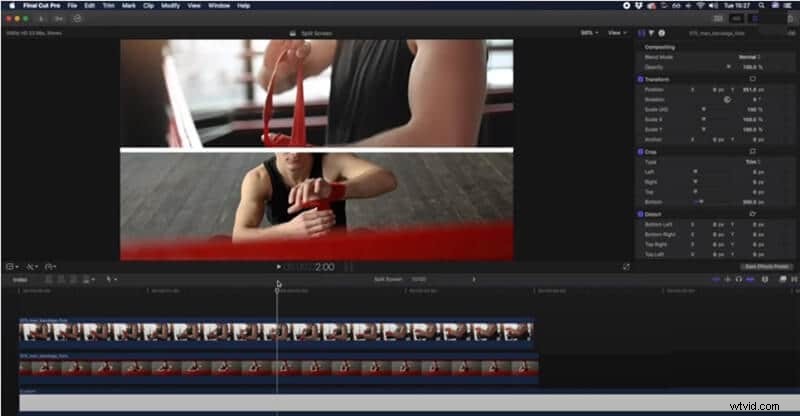
Once done, you can save the video and export it to the desired location.
Part 2: Alternate Method: Make a Split Screen Video with Wondershare Filmora for Mac
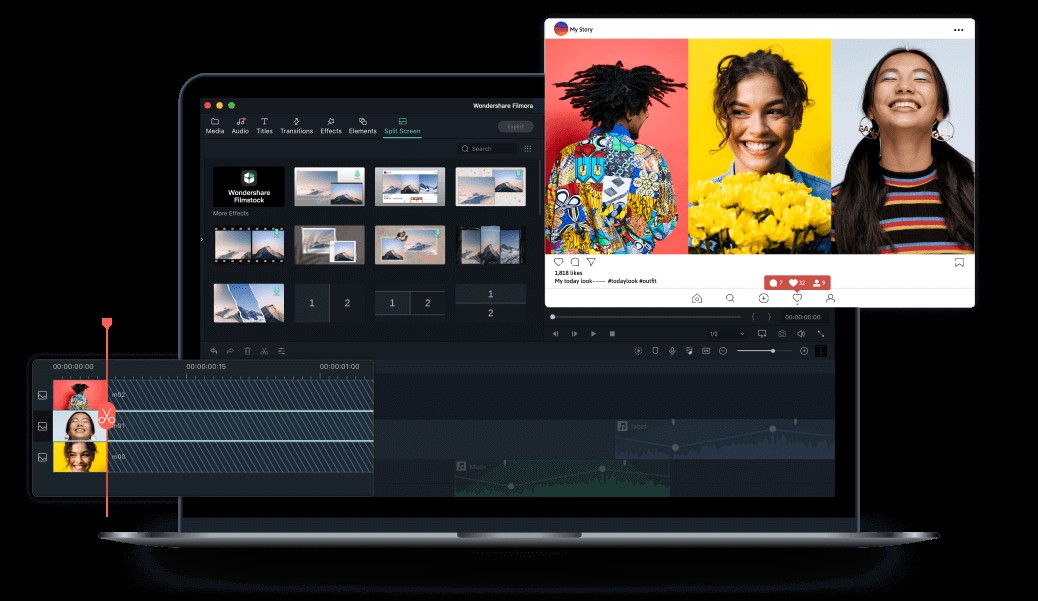
Want an easy way or an excellent alternative to Final Cut Pro? Then Wondershare Filmora for Mac is the best choice that is highly recommended for beginners. Yes, it is a smarter way to make split-screen videos. The process, however, is quite easy in the brand-new Wondershare Filmora for Mac V10.2 as it has come up with stunning split screen templates that make videos efficiently with less effort.
With the ability to make split-screen videos with pre-made layouts, every template is crafted with different proportions to deal with social media platforms like YouTube, Facebook, and Instagram. As a result, you can reveal the story in a unique and fun manner.
So, why wait? Follow the given manual below to know how to use these beautifully crafted split screen templates at ease.
Step 1: Add video clips
Launch the Wondershare Filmora for Mac application and import the media files by clicking the “Import” button or use the File Menu to add video files.
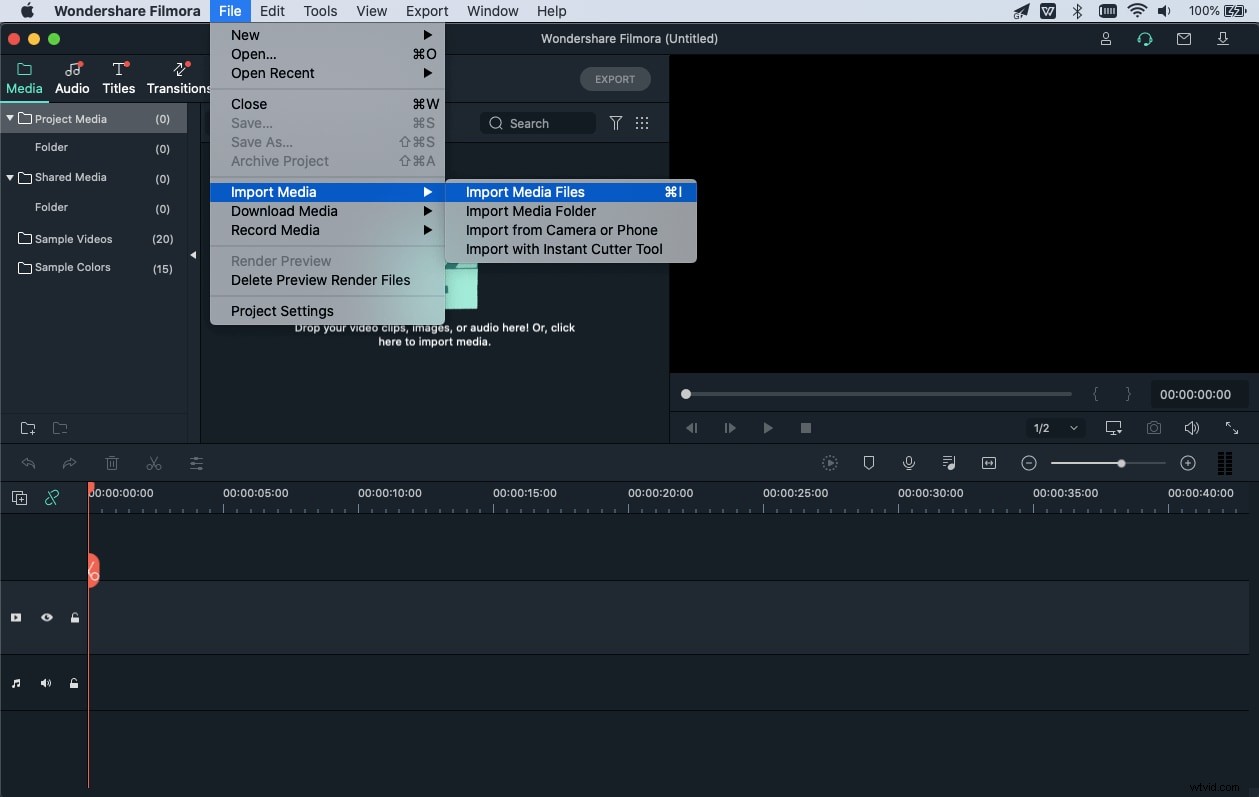
Drag the selected video clips to the timeline.
Step 2: Choose a split-screen template
Tap the “Split Screen” option on the top to lead you to the list of templates to pick from. From 30+ layouts, select the desired template based on the number of video clips you have added to the timeline.
You can preview the layout on the viewer window and place the desired template on the timeline on the required location.
Now, arrange the video clips on the layout using the inverted drop icon and adjust the video clip respectively once placed.
Step 3: Export the split-screen video
That’s it! You have now successfully created the split-screen video in Wondershare Filmora for Mac. You can edit it further, preview and export the video to the desired format.
Part 3: Tips for Creating a Split Screen Video
So, how to create a split-screen video like a pro or a filmmaker? Let’s discuss a few tips in this session for further assistance.
1. Try out different layouts or templates: Why stop with just a single structure or split screen template? Offered with 30+ layout designs facilitating two to six videos on a single screen, play with video clips to make an outstanding video for your YouTube channel or Facebook.
2. Merge VFX and split-screen: Apart from ordinary video clips, the VFX split-screen films or television ad is a better choice. Introduced in the mid of 2000 such combination or merging is the best bet for audience carving.
3. Prefer Kinetic Typography: Along with the split-screen technique, you can also include Kinetic Typography often. Widely used in intricate sequences, the one from “Stranger Than Fiction” is a famous example.
4. Avoid overloading layouts: Sometimes, the use of multiple video clips on a single design can also create a mess or collapse the scene. Hence, choose the layout and pick the video clip wisely.
5. Pay attention to audio: Another essential point or trick to be noted is creating a split-screen video to pay attention to the audio parameter. Different videos can have different audio levels, making sure they don’t interfere or interrupt the others on the line.
Conclusion
Thus, if you are a newbie into the video editor field, then, without a doubt, the split-screen feature of Final Cut Pro is a possible way to create a fascinating and stunning video clip. You can master by experimenting with different layouts in Final Cut Pro and providing all other advanced effects along with an easy-to-use UI. While Final Cut Pro isn’t the single choice in making a split-screen video, we have also provided a suitable alternative, Wondershare Filmora for Mac, which has recently introduced surplus split screen templates. So now, bring out your creativity and cool ideas into life with a bit of practice in this video editing journey!