Is your computer having a hard time handling high-res video files? Let’s take a look at how you can work with proxies in Premiere Pro.
You may have heard about editors working with a “Proxy Workflow.” This is something that editors do to downgrade their footage if they’re working with extremely heavy file sizes (such as RAW and 6K footage) so it’s easier to edit. If you have a computer — such as an older laptop or an aging desktop — proxies could save you loads of render time and get your project out to market faster. As confusing as a proxy workflow may sound, Premiere has recently made it extremely simple to use with their proxy ingesting settings through Media Encoder.
Let’s take a look.
What Are Proxies?
In short, proxies are low-resolution video files that can take the place of larger-resolution video files in your timeline. This is important because low-res files render faster in your video editing app — which is especially useful for RAW and uncompressed video. Editors use proxy workflows when working on large-scale feature projects, just so the computer they’re working on can handle the load.
In the past, creating proxies was kind of a nightmare. You had to take all of your footage and downgrade it through Media Encoder. Then, once imported and edited in Premiere, you had to go through this whole “offline” process to get the full-res files to replace the proxies. Now, thanks to some updates in recent Premiere redesigns, it’s just a few simple clicks, and you’ve got an entire proxy workflow ready to go.
1. Open Media Browser Within Premiere
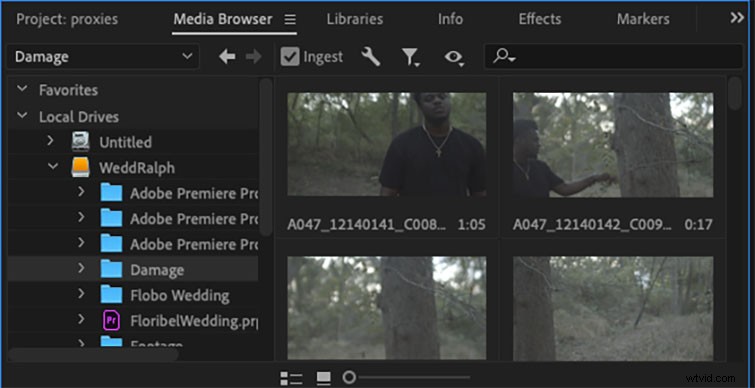
Open Premiere, go to the bottom-right window, and select the Media Browser Panel. Go into your local drives, and select the folder containing your high-res videos. Right above the video previews will be a check-box labeled Ingest that you’re going to click.
2. Adjust the Settings and Importing
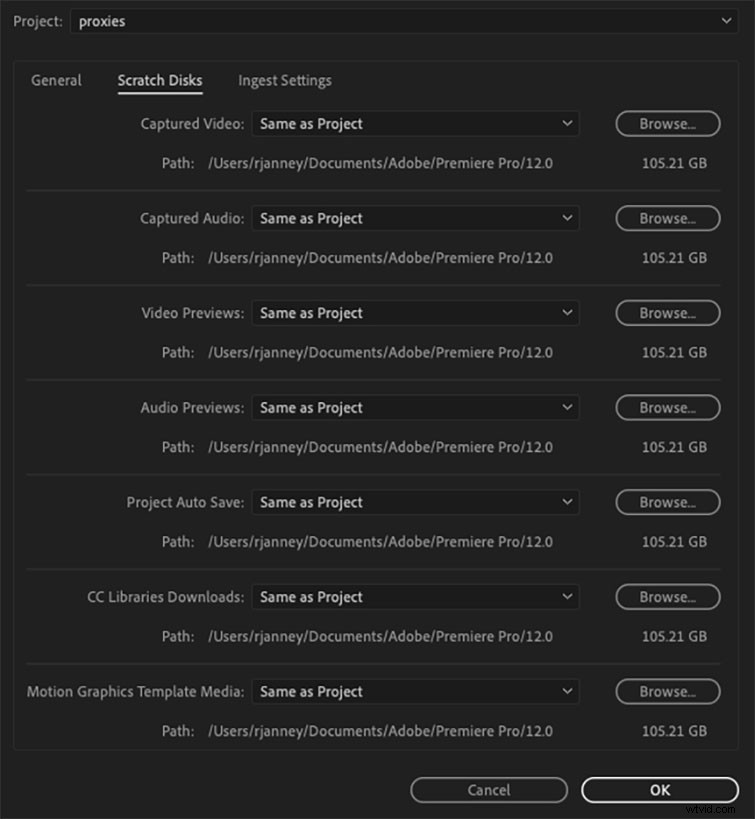
Click the Open Ingest Settings wrench tool to the right of the Ingest check-box. Before you start creating the proxies, go to the Scratch Disks tab and select where you want to export your proxies after they go through Media Encoder.
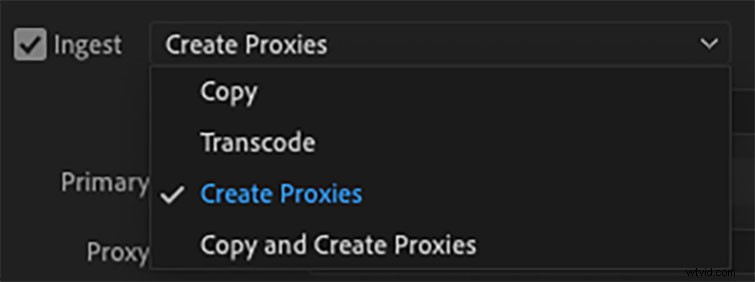
From the dropdown menu, select Create Proxies. Below that, you’ll have a long list of presets to choose from.
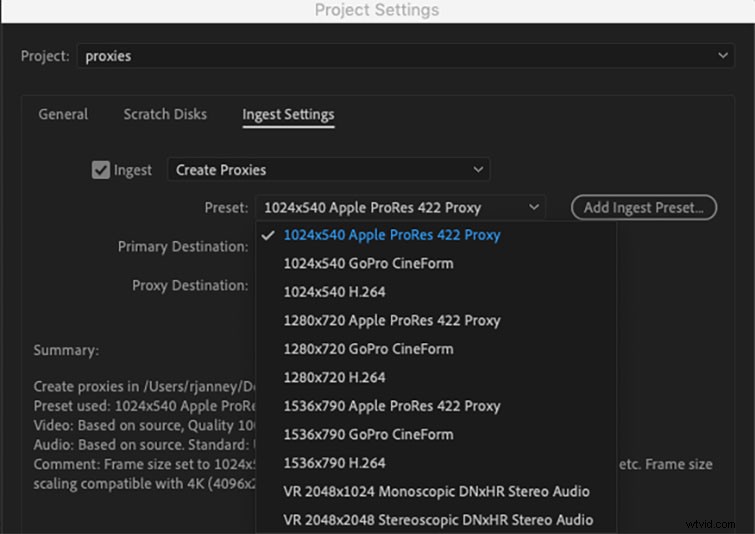
The preset totally depends on your workflow. If you’re working with Pro Res files, you may want to select Pro Res proxies to use as your chosen format. My go-to when working on my laptop is either the 1024×540 Apple Pro Res 422 Proxy or the 1024×540 H.264.
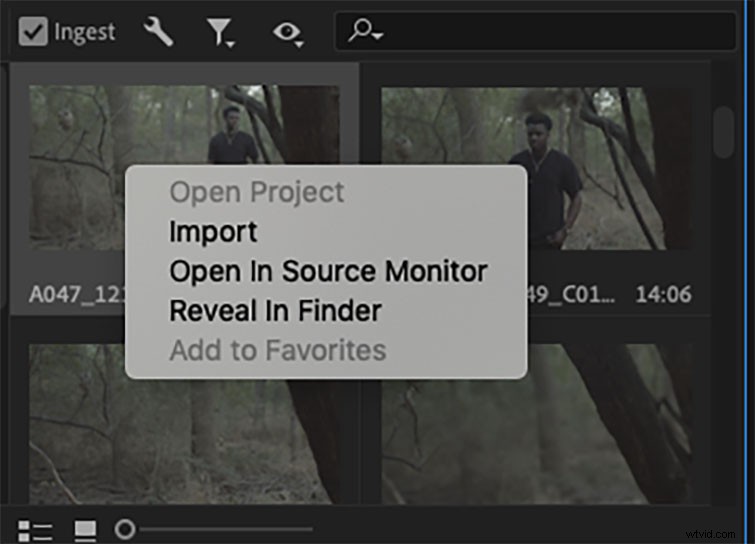
After inputting your desired settings, it’s time to import. Select all of the clips you want to ingest, and right-click on them. Select Import from the dropdown menu.
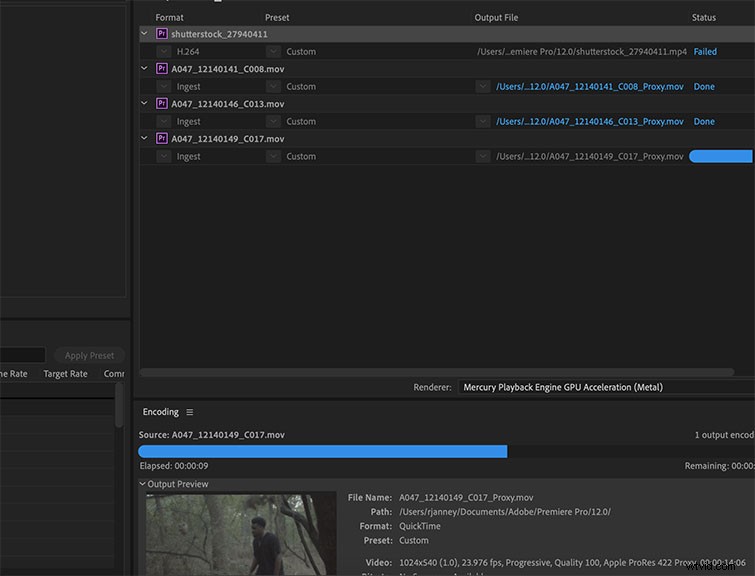
Premiere will automatically send your clips to Media Encoder and create proxies that’ll automatically attach to the clips inside your project window.
3. Editing with the Proxies

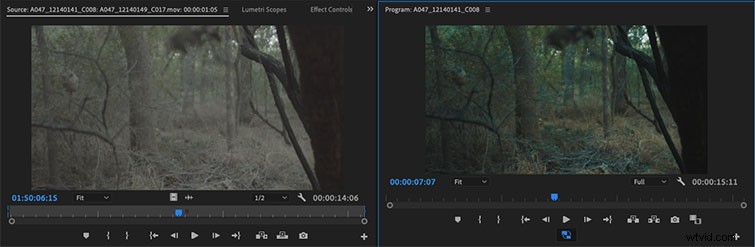
To access the proxy files, simply go to your project window and drag your clip into your timeline. In the program window, select the plus button in the bottom right of the window. You’re going to drag a button called Toggle Proxies that looks like two windows with arrows concurrent with each other.
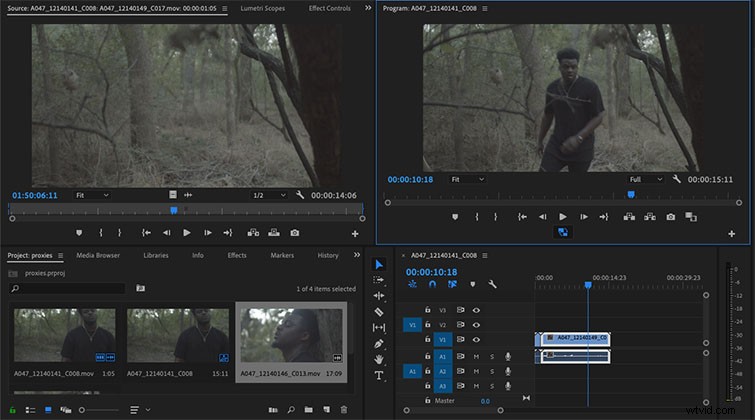
This button will allow you to access your proxy clips when selected, and will dramatically speed up your playback time, if you’re having trouble with rendering or frame skipping. If you want to see your original-sized clip, simply de-select the Toggle Proxy button. Now, just edit like you’d normally edit.
This post was originally published in October 2014. It has been updated to reflect changes in the software.