Helpful tips on how to transfer your DaVinci Resolve Database to a different computer with just a few clicks.
I, like many others, have been trying to obtain an RTX for quite some time. NVIDIA’s latest line of GPUs have long been sold out. And, when the stock is replenished, you either have to be extremely lucky and fast to score one, or scalpers purchase them. However, the RTX line is often more available in pre-builds. And, I must admit, my rig is starting to act sluggish when working with the continuing increase of higher resolutions and data rates. I thought to myself, “Why not just get an entirely new system?”
For the past few days, I’ve been running through the process of moving my video files, software, plug-ins, and everything else over to the new PC. And thankfully, unlike the process of transferring everything in the early 2010s, the cloud takes care of most processes. I don’t even have to deactivate the licenses on most of my software, it’s all automatically sorted. Even Adobe bringing over my custom fonts installed into Photoshop is a neat touch. Then, we have DaVinci Resolve.
Resolve, I love you, but you can also be a pain sometimes. Resolve works with a database system and, as a result, it’s not as simple as asking a cloud service to upload your project file and settings. Additionally, you also can’t go into a folder and pick your project files as you could with Premiere Pro, because of the database format.
Yes, you can export a single project as a .drp file, then move that to wherever necessary. However, unlike Premiere or similar software, the exported .drp files don’t auto-update and act as a new save. It’s the database that continually houses the new saves. Conversely, the database format can take every single project over to another system with just a few clicks.
This feels confusing, but when visually displayed, you can see how simple it is to transfer all of your projects in one fell swoop. So, let’s look at how you can do that.
From Old to New
The unofficial way—and quickest—would be to go to your database folder location to copy and transfer the database somewhere.
You can do this by going to C:\Users\YOUR NAME\AppData\Roaming\Blackmagic Design\DaVinci Resolve\Support\Resolve Disk Database (of course, replace YOUR NAME with the user title of the computer).
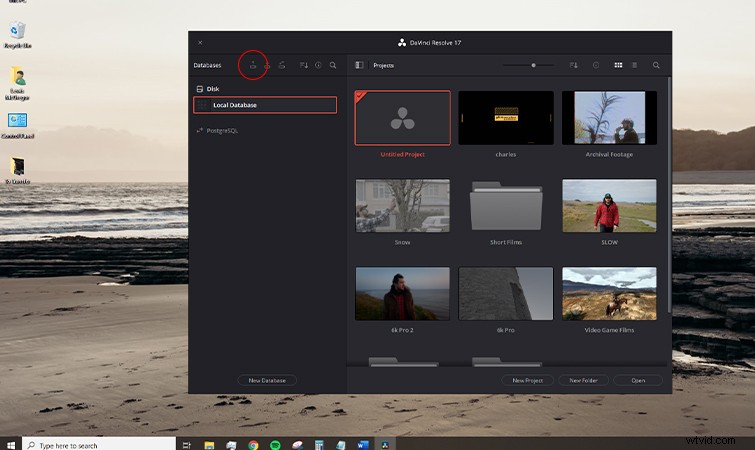
You can then grab the database file and transfer it to the new PC. However, if you previously stored the database somewhere else, or preferably would like a more recognized method, you can run through the secondary option. Open up your Resolve home dashboard, and open up the Database tab.
Here, you can select Local Database, then hit the backup button. Depending on how many projects are currently in your database, this could take a while.
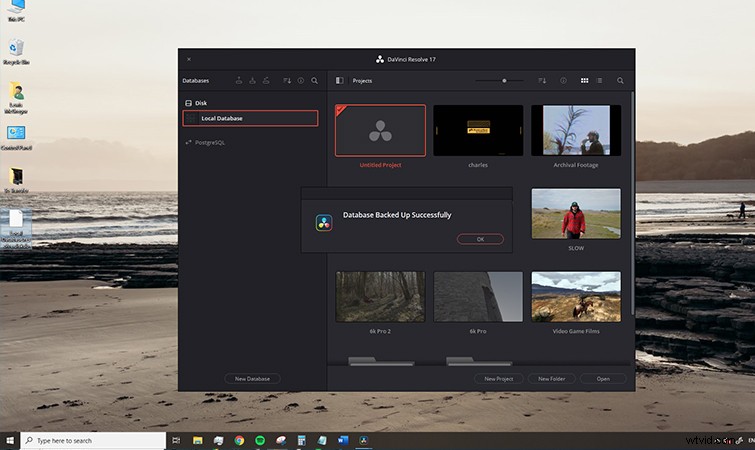
When the database has been backed up, place that onto a USB, SD, or the cloud, and download the database to the new system.
New PC
It’s then going to be as easy as opening Resolve, again opening the Database panel, and selecting Restore database.
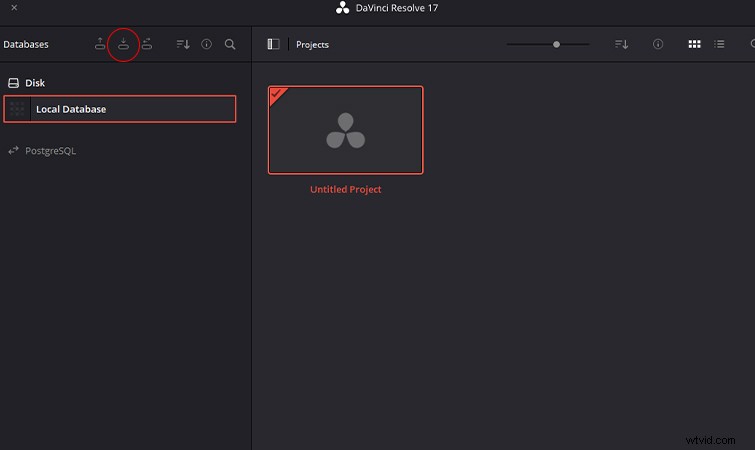
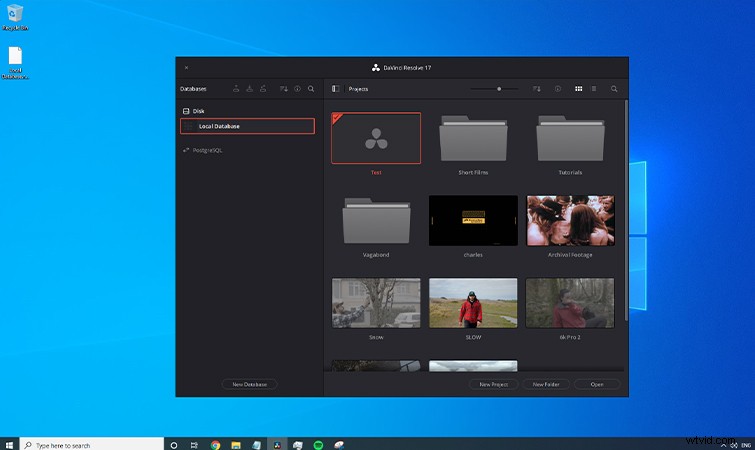
You’ll see all of your projects and folders restored onto your new PC.
However, here’s one issue. While everything looks fine on the surface, you’ll see a sea of red files upon opening a project.
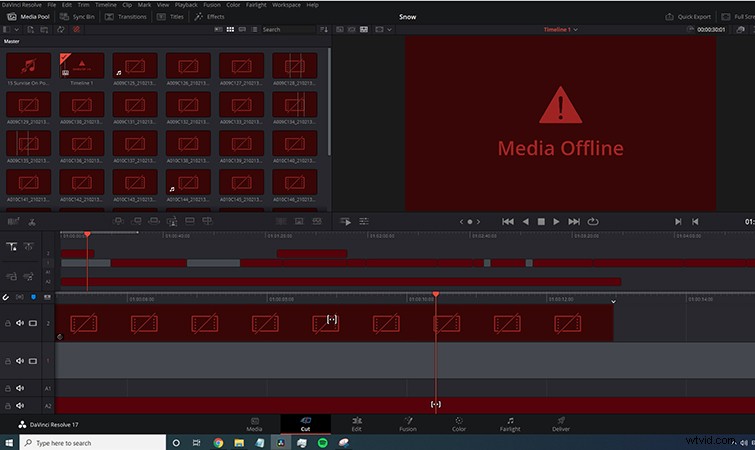
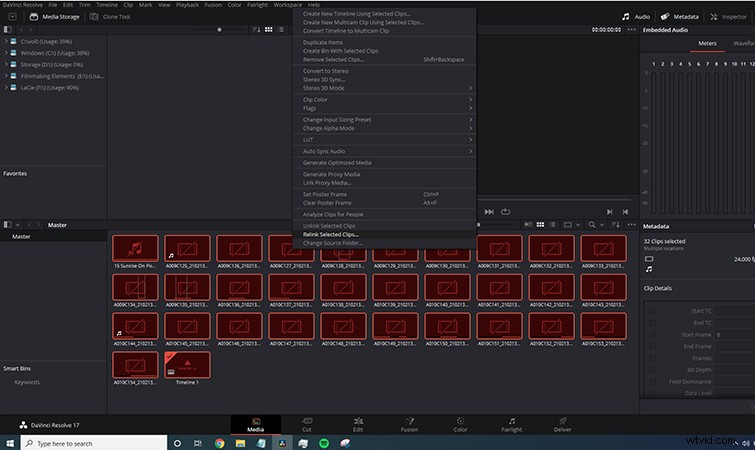
This is because the link from the original database to the new location has severed, and it’s most likely your files will now sit in a new location. Fortunately, it’s easy enough to fix this. Simply mass select all files within the project, select Relink Media, and navigate to the folder where the files are located.
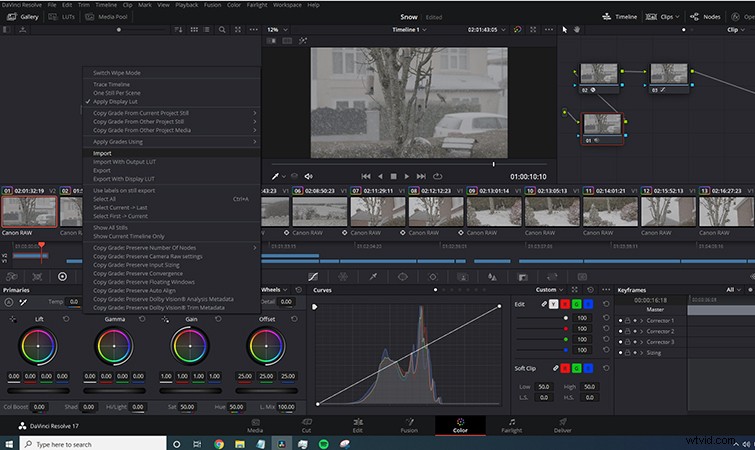
Upon relinking, you should be able to playback and edit the files as if you were on your old machine.
Remember, you’ll still have to reinstall any OFX plugins and bring over your power grade and LUTS.