Vertical phone footage is a cardinal filmmaking sin. However, sooner or later, you’ll probably have to work with it. Here’s how.
While filmmakers generally don’t want to work with a phone’s 9:16 aspect ratio, there may come a time when you have to incorporate this footage into a project. Perhaps a documentary calls for a video file from a witness who filmed an incident. Or maybe you’re compiling a set of videos from attendees at a wedding wishing the new bride and groom a happy future. The general public does not always adhere to filmmaking’s best practices, so here are a few ways you can work with vertical video.
Background Zoom
An initial idea I had was to duplicate the phone footage, scale the bottom layer so it fills the 1080p composition, and then blur the background. I was almost sure that I had seen this done before in news broadcasts and viral video roundups on the internet. However, it just didn’t look right.

It could work in some circumstances, but not most. Instead, let’s look at disproportionately increasing the scale, so we are only scaling the video horizontally.
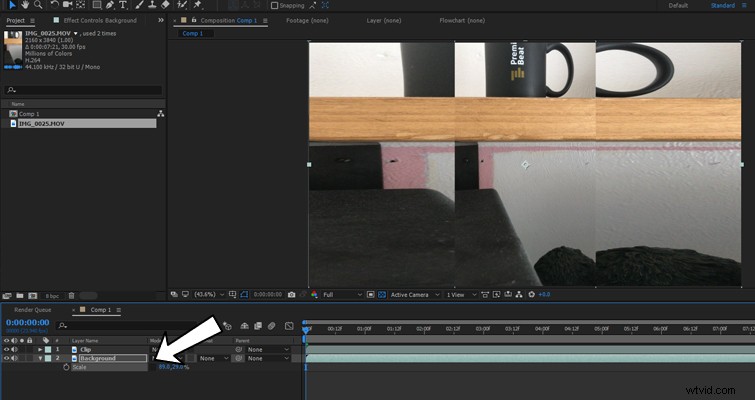
Import your phone footage into your NLE or compositor, duplicate the footage, and name the bottom layer background and the top layer phone clip.

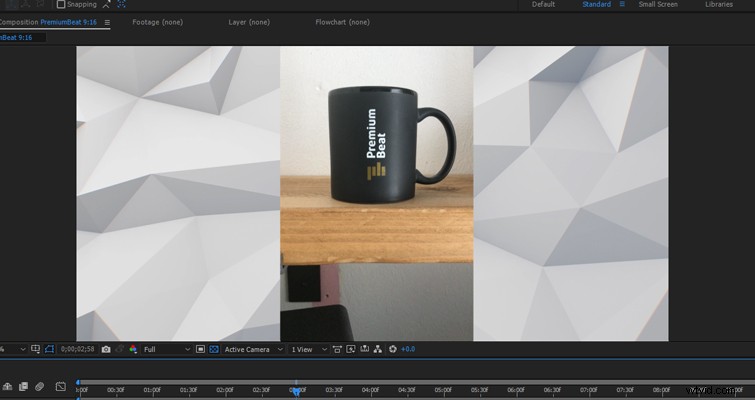
Open the scale settings of the lower layer, and unlink the scale proportions. In the photo example, you can see that my scale is already at 29%, that’s simply because I was working with a 4k vertical video that was descaled to fit the composition. With the link broken, scale the background layer vertically until it fills the composition.
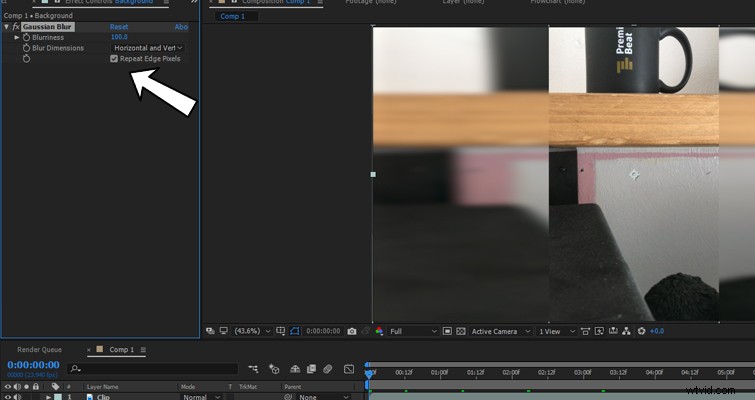
We then want to add a Gaussian blur to the background layer. Increase the blurriness to 100, and select repeat edge pixels.
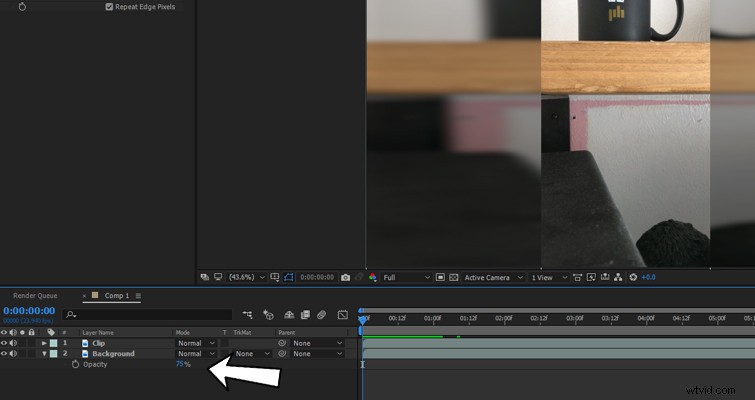
This may seem fine, but we want to separate the background from the foreground to avoid distracting the viewer from the actual vertical video. Therefore, lower the opacity to 50-75%
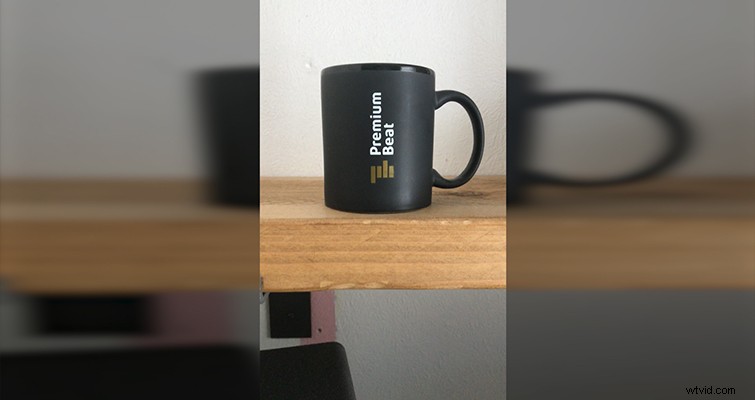
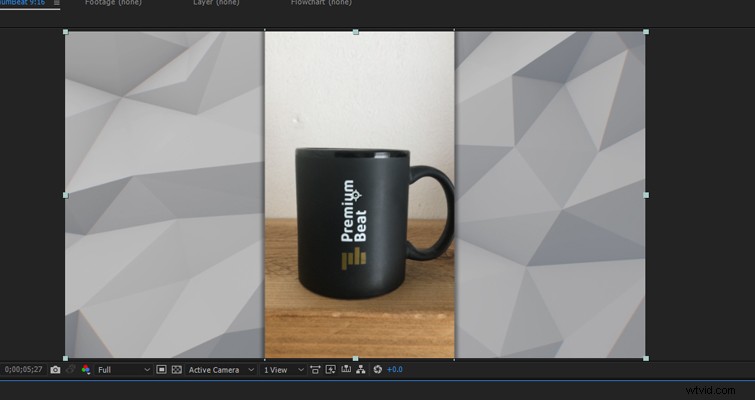
The final result will be something like this.
Phone In Hand
For a more fun application, you can look at incorporating an actual phone graphic into the image.

To create this, first, source an image of someone holding a smartphone. You could create one yourself, but if you’d prefer, you can always get a picture from Shutterstock. With the phone image I’m using, you could fit the whole phone into the composition.
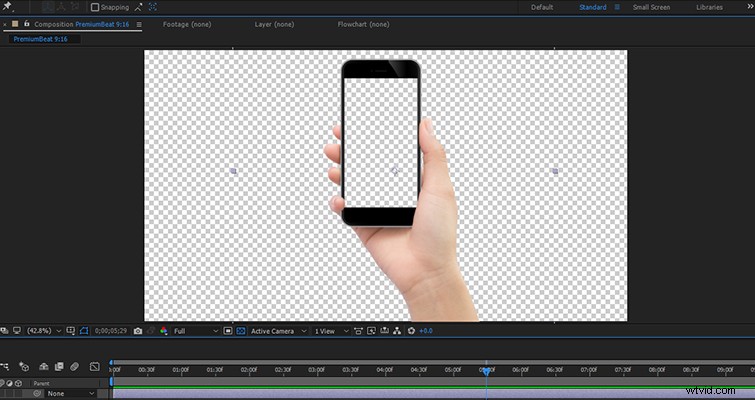
However, the problem here is the actual phone video footage is going to be too small. Therefore you’re going to want to scale the phone layer so the screen touches the top and bottom of the composition.
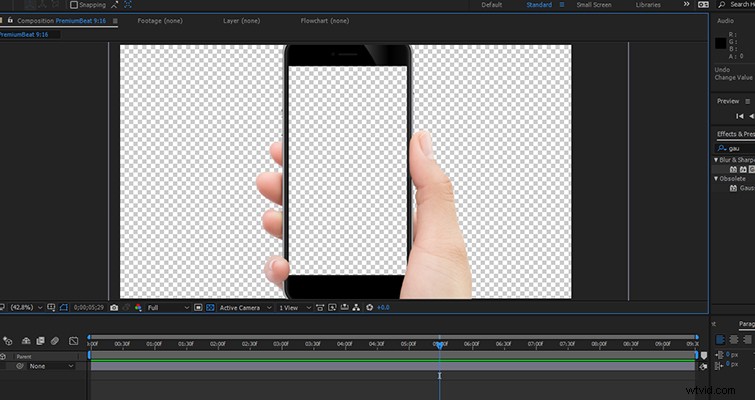
If your phone image has fingers that overlap a portion of your screen, you might want to first remove the screen area in Photoshop, and save the file as a PNG. This will save time masking the image in After Effects, and it will also help sell the effect.
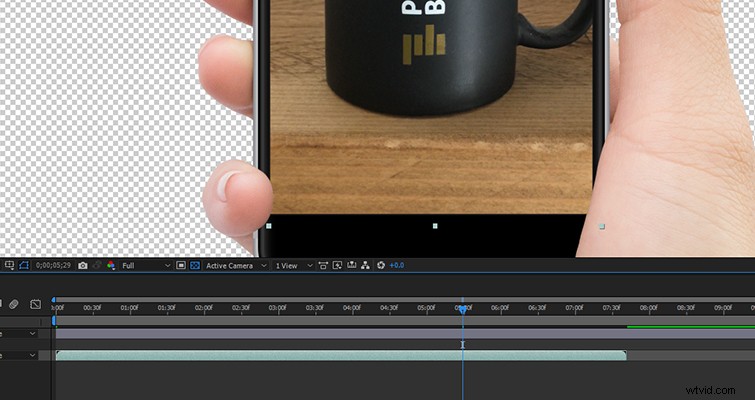
If the entire screen is free from obstruction, simply scale the vertical footage onto the screen.
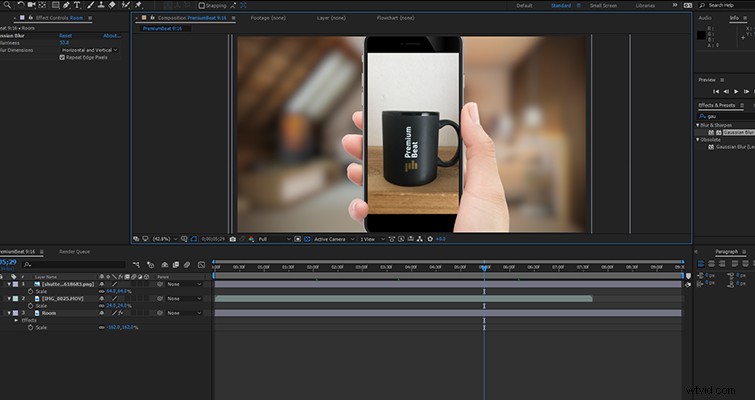
To further the effect, we’re also going to add a background layer that somewhat resembles the location of the footage. In this case, we’re going to add a photograph of a bedroom and add a blur set around 50-75.
The result will look like this. This is my favorite way to work with vertical footage, but it tends to work best when the clip is relatively short.
Background Element
Of course, the simplest approach would be to just drag a loopable background element behind your phone footage. However, you’re going to want to separate the vertical video from the background ever so slightly, and you can easily do this by introducing a drop shadow for the vertical video.
Head into the effects panel and drag the drop shadow effect to the smartphone clip. You can keep it as standard, but to avoid the impression of an effect from Microsoft Word, I like to increase the spread, lower the opacity, and duplicate the effect to make the shadow appear on both sides of the vertical video.
There we have it. Three ways that you can make better use of the dreaded vertical video.