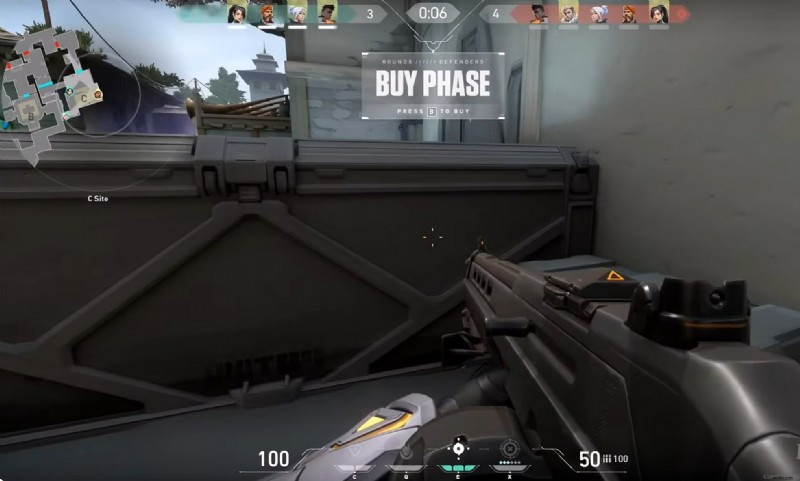
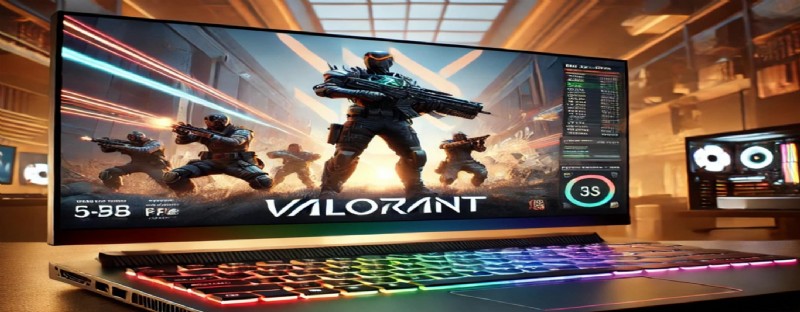
Valorant is more than a game—it’s a skill set you want to showcase. Whether you’re a seasoned pro or an aspiring streamer, capturing high‑quality gameplay is essential for analysis, sharing highlights, and growing your audience. This guide reviews the best recording tools and walks you through setting them up for flawless, low‑fps‑drop footage.
In this article
- Where Can You Play Valorant? Supported Devices
- Top 5 Best Apps to Record Valorant Gameplay
- How to Record Valorant Gameplay
- Bonus: Record Valorant Without FPS Drop
Part 1: Where Can You Play Valorant? Supported Devices
Valorant, developed by Riot Games, remains a flagship tactical shooter. While it launched exclusively for Windows, the title has since expanded to consoles, though not yet to macOS or mobile.
PC (Windows)
Valorant runs natively on Windows 10 (Build 19041+) or Windows 11 64‑bit. The following specs will help you achieve a smooth experience:
- Minimum: Intel Core 2 Duo E8400 or AMD Athlon 200GE, 4 GB RAM, Intel HD 4000 or AMD Radeon R5 200, 1 GB VRAM.
- Recommended: Intel i3‑4150 or AMD Ryzen 3 1200, NVIDIA GT 730 or AMD Radeon R7 240, 1 GB VRAM.
Mac

Valorant is not officially supported on macOS. Mac users must run Windows via Boot Camp, which can lead to performance inconsistencies and is not endorsed by Riot.
Consoles
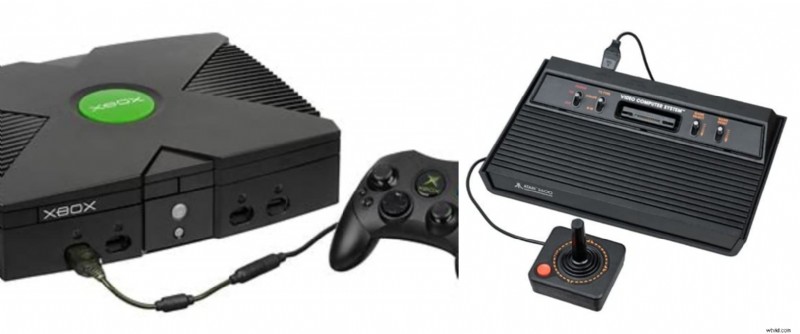
As of August 2024, Valorant is available on PlayStation 5 and Xbox Series X/S. These versions do not cross‑play with PC and are tailored for console controls.
- Console: PlayStation 5 or Xbox Series X/S.
- Recommended display: 60 Hz or higher refresh rate.
Mobile
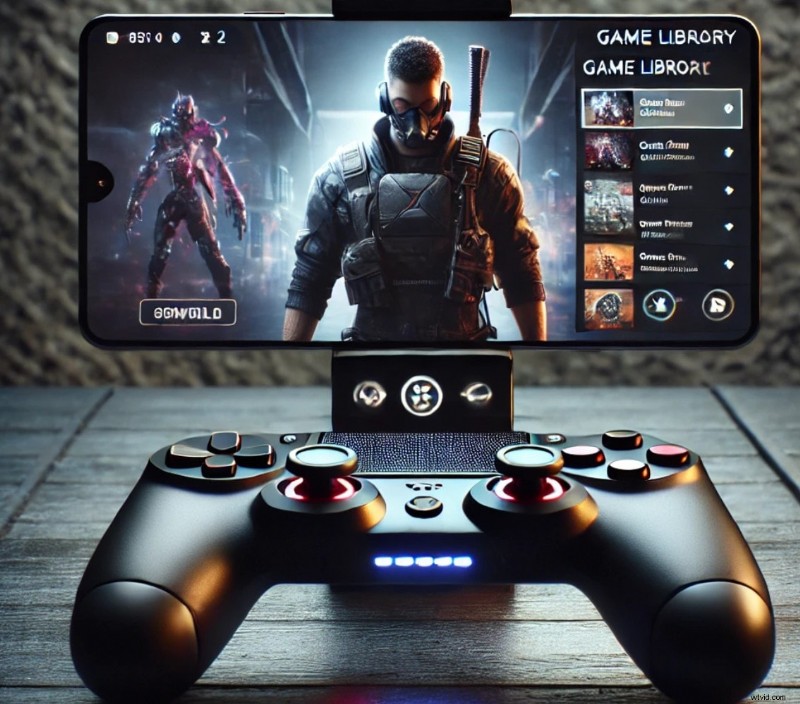
Valorant is not yet on mobile. Riot announced plans on June 2, 2021, but no official release date is available.
Part 2: Top 5 Best Apps to Record Valorant Gameplay
Choosing a reliable recorder hinges on quality, performance impact, and feature set. Below are five top‑rated options, each with distinct strengths.
1. Filmora Screen Recorder

Filmora is praised for its ease of use and high‑resolution output. It records entire screens or game windows while preserving smooth FPS.
- Customizable recording area
- HD or 4K output with minimal frame loss
- Real‑time audio and webcam overlay
- Hotkey controls for on‑the‑fly recording
- Instant replay and live commentary features
- Zero FPS drop on compatible hardware
Filmora’s editor offers AI‑powered effects, a library of creative assets, and cross‑platform support (Windows, macOS, iOS, Android).
2. NVIDIA ShadowPlay
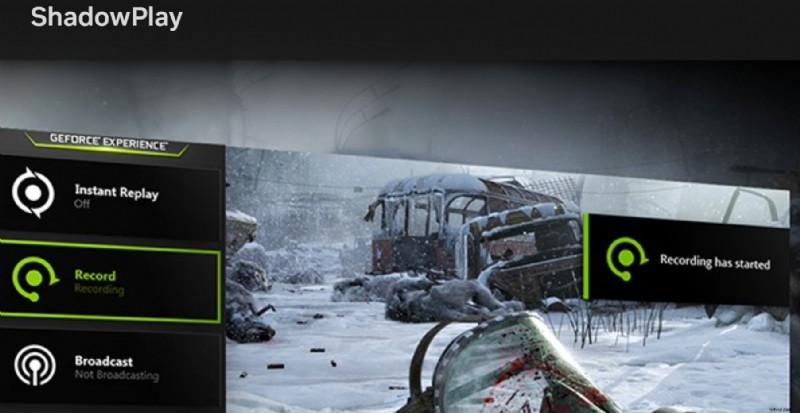
Built into GeForce Experience, ShadowPlay leverages GPU acceleration for near‑zero performance impact. It supports instant replays, manual recording, and live streaming up to 4K at 60 FPS.
- GPU‑based encoding (NVENC, VCE, Quick Sync)
- Hotkey activation and microphone capture
- Customizable overlay and instant replay
- Live streaming to Twitch, YouTube, and more
3. Medal.tv
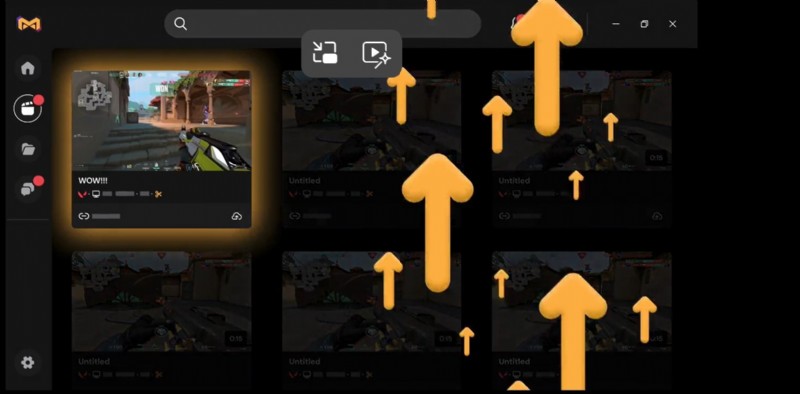
Medal.tv excels at quick, high‑quality clips with automatic recording triggers. Cloud storage, built‑in editing, and community sharing streamline the workflow.
- Auto‑capture and manual recording via hotkeys
- Cloud‑based storage and instant clip sharing
- Basic in‑app editing tools
- Community features and clip integration
4. OBS Studio

OBS is a free, open‑source solution favored by streamers and content creators. It supports multiple sources, scene transitions, and plugin extensions.
- Hotkey controls and real‑time audio mixing
- Scene transitions and customizable layouts
- Plugin ecosystem for extended functionality
- Fully free and open source
5. Action!
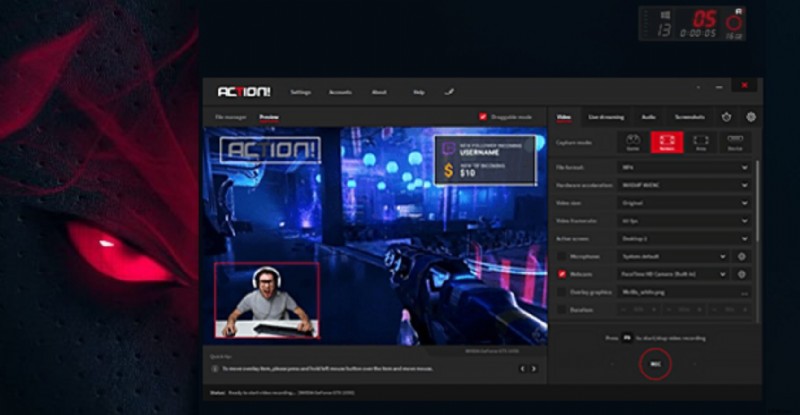
Action! delivers high‑performance recording with minimal CPU usage. It offers real‑time FPS display, hardware acceleration, and a time‑shift mode.
- Real‑time recording with adjustable FPS/bitrate
- On‑screen FPS counter for monitoring
- Hardware‑accelerated encoding
- Webcam overlay and audio commentary support
- Time‑shift mode for editing after gameplay
Part 3: How to Record Valorant Gameplay
Below is a step‑by‑step guide using Filmora, though the principles apply to any of the mentioned tools.
Step‑by‑Step: Filmora Screen Recorder
- Download & Install: Visit Filmora’s official site and install the software on your PC.
- Launch and Select: Open Filmora, click Record and choose Record PC screen to activate screen‑recording mode.
- Configure Settings: Define the recording area, set frame rate (30 fps or 60 fps), enable audio, and apply any desired overlays.
- Start Recording: Press the red REC button or hit F9. A short countdown will precede capture.
- Play Valorant: Launch the game; Filmora will capture all on‑screen activity.
- Stop & Edit: Press F9 again or click the stop button. Your footage appears in Filmora’s media library—drag it to the timeline for editing, then export.
Part 4: Bonus – Record Valorant Without FPS Drop
Maintaining smooth gameplay while recording is crucial. Follow these best practices to keep frame rates high:
Optimize Filmora’s Recording Settings
- Capture Mode: Choose Full Screen or Custom to limit the recording area.
- Frame Rate: 30 fps balances quality and CPU load; 60 fps for smoother video if your system can handle it.
- Quality: Set to Good or Better—higher settings increase CPU usage.
- Microphone: Enable only if needed to reduce extra load.
Enable GPU Acceleration
Hardware encoding (NVENC, VCE, Quick Sync) offloads work from the CPU, enabling 1080p or 4K recording at 60+ FPS with minimal performance hit. This is essential for low‑end CPUs or when multitasking.
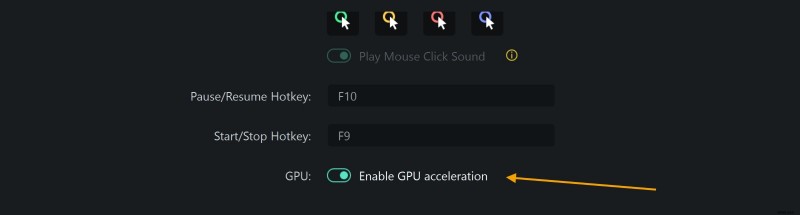
Use software that supports GPU encoding—Filmora, ShadowPlay, and Action! all do. This reduces lag, lowers power consumption, and ensures clean, high‑quality footage.
Conclusion
Recording Valorant is a powerful way to refine your play and showcase your skill. The right recorder—whether Filmora, ShadowPlay, OBS, Medal.tv, or Action!—offers the flexibility to capture, edit, and share your moments without sacrificing performance.
Filmora stands out for its blend of user‑friendly controls, professional editing tools, and hardware‑accelerated recording. Get started today, record confidently, and elevate your Valorant content to the next level!