Educators have to build learning environments that work best for their learners. Environments can be fully in-person, online courses only, or a combination of the best of both options. That’s where education shines.
A hybrid or blended learning model focuses on video and supports flexibility, accessibility, and student engagement compared to in-person or remote-only learning. By combining the positive effects of these two learning environments, educators can create a highly effective learning experience with a hybrid model.
This guide focuses on how educators can build effective hybrid learning environments by using the right tools and tactics.
Key elements of hybrid teaching that video supports
Hybrid teaching has five key categories that should be taken into consideration before any work is started:
- Teaching model
- Student location
- Content delivery
- Interaction type
- Video role
TechSmith’s Value of Visuals research shows that learners retain visual information more effectively than text alone, making video a central connector in hybrid learning models. This means that educators need to consider visual content from the start and build their coursework with video front of mind.
The following table outlines how the five categories of teaching fall into in-person, online, and hybrid instruction models.
| Teaching Model | Student Location | Content Delivery | Interaction Type | Video Role |
| Traditional | In-person teaching only | Face-to-face, usually in a classroom | Real-time interactions between the instructor and the learner | Supplementary and rare |
| Online learning | Remote learning only | Digital platforms, such as your organization’s LMS and Zoom meetings | Can be async or sync | Primary medium to deliver content |
| Hybrid (with video) | Blend of in-person and remote instruction | Both face-to-face and digital delivery | Real-time conversations with async connections | Central connector between in-person instruction and async connections |
Synchronous delivery
Videos don’t have to be for remote-only instruction. When teaching an in-person class, educators can record themselves and the class so remote learners can join in on the conversation without having to physically be there.
Video enables real-time instruction no matter where learners are located, expanding an educator’s reach.
Asynchronous access
Once educators record their class time, they can upload the recordings to their institution’s learning management system (LMS). From there, students who were unable to attend class for one reason or another can access the material and stay up-to-date on all content.
This resource is also beneficial for students who simply want to review material covered in class. Complicated concepts can be looked over again and again to clear up any confusion before the start of the next class.
Interactive components
One downside of plain video instruction is that it is hard for educators to gauge how much students interact with their videos. To counteract this, educators can look into features like quizzes, real-time comments, and break rooms.
Participation and understanding can be measured by educators by reviewing quiz answers from students and looking over comments on their video. Specifically in Camtasia’s Screencast integration, students can leave time-stamped questions and answer each other’s concerns, which fosters constructive conversation.
Crystal-clear screen recording
Why settle for blurry screen content? Camtasia Editor’s screen recorder captures everything at up to 4K!
Free Download
Flexible participation
One of the greatest advantages of video-based education is that anyone can learn from anywhere at any time. The flexibility is unmatched. Instead of meeting in one place at a certain time, students can watch and learn from recorded lectures whenever it is convenient for their schedule.
Video content uploaded to an LMS can also be accessed from any device, which allows students to have almost unlimited access to learning materials, even if their laptop runs out of battery. Just use a friend’s computer or a smartphone!
How to create a hybrid classroom structure
Hybrid courses can be quite complex to structure, especially when starting. Successful hybrid teaching with video requires intentional design and recordings, not just adding a camera to traditional classrooms (though that can still be beneficial at times!)
Educators will need to create a plan and stick to what works while slowly working through kinks along the way. There are three main pillars of a hybrid class structure.
Physical classrooms are essential for dual delivery. Students should gather in a common space with their educator for face-to-face instruction. Unless it is not possible at all, it would be considered beneficial for educators to record these sessions for students to review later on if needed.
Virtual environments need to be configured for easy navigation. Students should be able to look up and find the videos they need without much additional work on their end. Keep it simple.
Content design should be mirrored in both modalities. Of course, in-person instruction will look different than videos recorded in an office, but both should be similar in how they deliver the educational content to students.
Hybrid classroom setup checklist
To ensure educators don’t forget a crucial part of their hybrid setup, we’ve compiled a checklist for them to refer back to. Educators should make sure they do the following:
- Camera positioning: A wide-angle camera should be used for board visibility and a secondary camera for focused demonstrations. Use your computer webcam to show close-up documents or other items.
- Audio equipment: Omnidirectional microphones capture all classroom conversations instead of only instructors or students.
- Display screens: Educators should monitor their screens to see remote students and their questions. For example, Zoom meetings should have the chat function open so no questions are missed from students not in person.
- Lighting considerations: Ensure clear visibility for video recording and avoid glare on the whiteboard or dark classrooms.
- Screen share presentations: Instead of pulling up a presentation and a meeting room individually, screen share presentations so remote students have full access to content.
Even with all of these considerations, something can still go wrong. A microphone dies halfway through the class, the computer lags on screen sharing, etc.
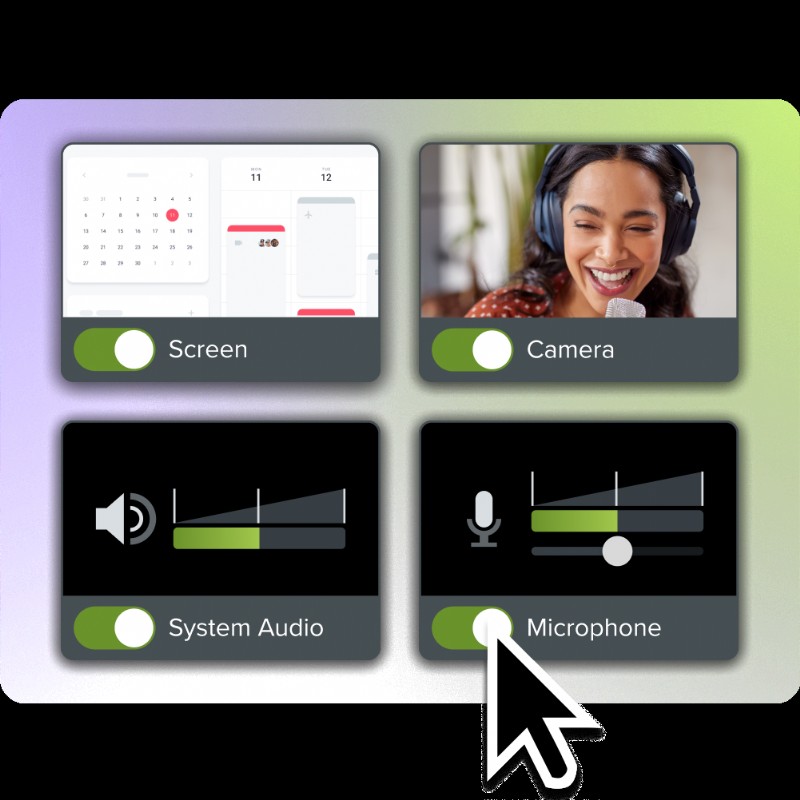
When recording for a hybrid environment, educators should use a multi-track screen recorder and video editor like Camtasia. Multi-track video editors capture the screen, microphone, and camera content on separate tracks, so any one of them can be adjusted later on without affecting the others.
Go from screen recording to polished video
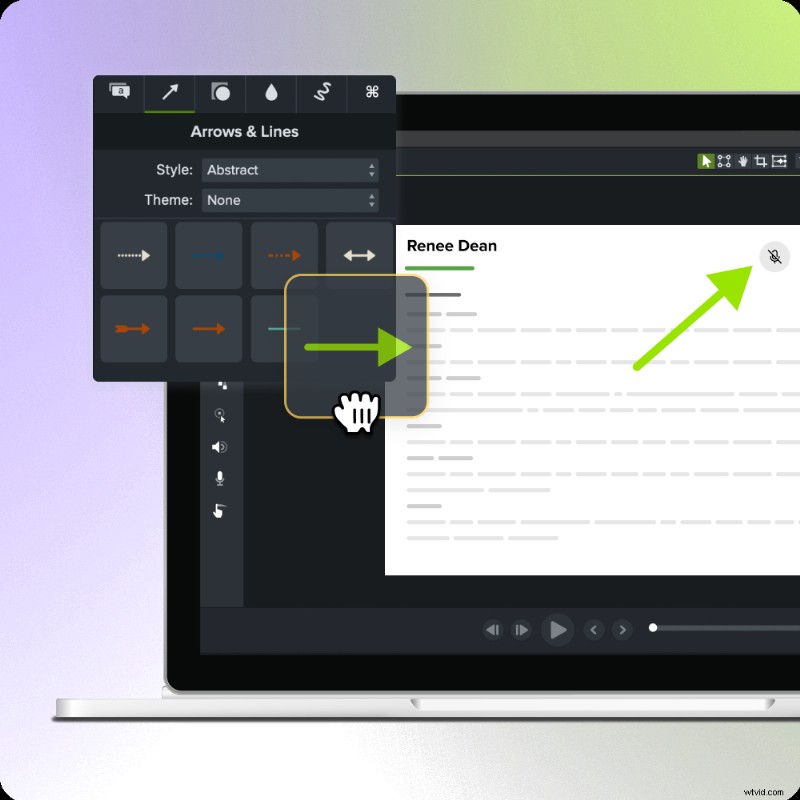
A screen recording is just the start. Camtasia’s editor helps you add the callouts, animations, and edits you need to create a truly professional video.
Free Download
If your microphone cuts out for part of the presentation, you can easily add in a quick voiceover that details what material was covered and keep the remote students in the loop. It’s an added safety net all educators can benefit from.
Steps to start hybrid teaching with video
If you’re feeling overwhelmed at this point, that’s okay! Transitioning to a hybrid teaching model can feel overwhelming, but we promise it’s much easier to execute.
We’ve developed a framework that will make it easy for anyone to follow and execute in no time.
1. Define your learning objectives
Clear objectives become even more critical in hybrid environments. Not only are you trying to teach a class to the people in front of you, but also to people who could be continents apart. It can be daunting to think about. There’s a new type of challenge in ensuring equal learning outcomes for both groups of learners.
The objective-setting process should go as follows:
- Start with your existing course goals
- Identify which require physical presence
- Determine which can be enhanced through video
- Create measurable outcomes for both modalities
Hybrid objectives need to be detailed. The more detail, the better you’re setting yourself up. A poor objective would be something like:
“Students will understand Edgar Allen Poe’s The Raven.”
That’s way too vague! What should they understand? Instead try:
“Students will demonstrate their understanding of Edgar Allen Poe’s The Raven by completing daily reading check-in quizzes and writing a 10-page essay with a video presentation of said essay.”
This objective is much clearer and actionable down the line.
2. Map the in-person and virtual elements
Try to visualize your course as a series of learning experiences rather than just content delivery. Strategic mapping is a great resource for exactly this and helps ensure remote students don’t feel forgotten about.
| Activity Type | In-Person Approach | Remote Adaptation | Video Solution |
| Lectures | Traditional delivery | Live stream + recording | Pre-recorded segments with live Q&A |
| Group work | Physical breakouts | Virtual rooms | Shared screen collaboration |
| Labs/Demos | Hands-on practice | Video demonstration | Clase-up camera work with narration |
| Office Hours | Face-to-face meetings | Video conferencing | Recorded FAQ videos + live sessions |
3. Choose software and video recording tools
The tool you choose directly affects your teaching goals. The right tools should feel like a natural extension of your teaching, allowing you to focus on teaching rather than technology.
Prioritize the following features:
- One-click recording: Start capturing lessons without a complex setup.
- Automatic processing: Videos are ready to share with no manual editing
- Built-in annotations: Highlight key concepts during recordings
- Multi-format export: Compatible with various LMS
BONUS: Use AI-assisted tools like Camtasia to aid with script generation and voice narration.
4. Coordinate assignments and assessments
Properly designed hybrid assessments can provide more accurate measures of student learning than traditional methods. There is simply more flexibility than an in-person, paper-on-the-desk exam.
Use the following design strategies that work for both modalities:
- Create equivalent but not identical assessments for students. This will minimize cheating (and make it obvious!) while assessing multiple aspects of learning.
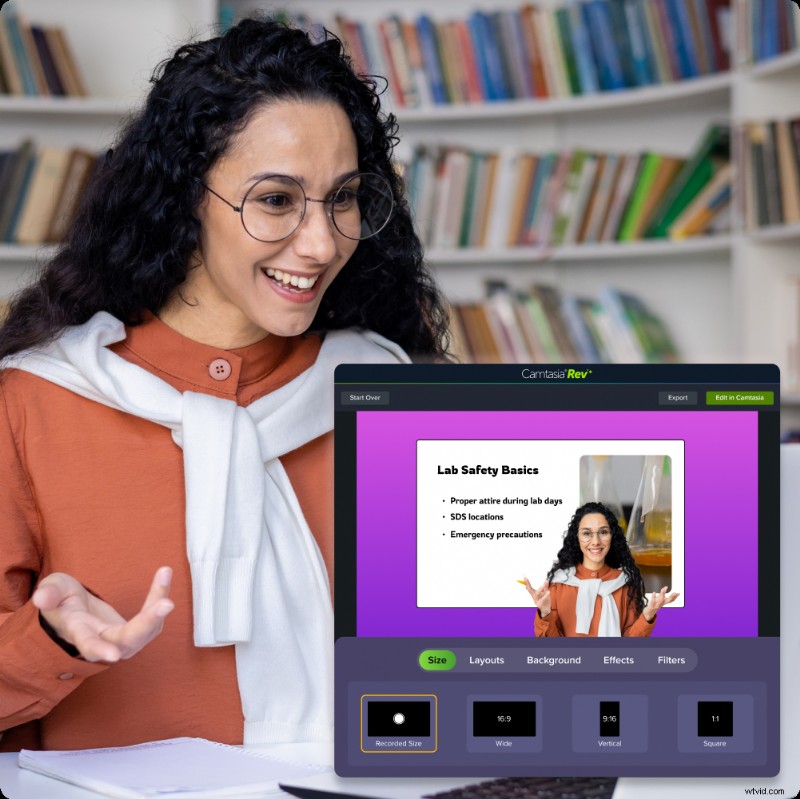
- Use video submissions for students to demonstrate their understanding of the material. Camtasia online is a free, online tool that is perfect for students to create polished presentations with no editing required.
- Implement peer review across attendance modes.
- Build in flexibility in case of technical difficulties.
5. Test and gather feedback
Although it would be magical to get it all right the first time around, that’s not how life works. Testing is an investment in long-term success, and early testing prevents great disasters that derail learning down the line.
Collect honest and anonymous feedback from students through polls and surveys along the way, and emphasize the need for true honesty.
Essential tips for engaging hybrid learners
Hybrid teams can feel disconnected if there isn’t an intentional design for human interaction. The tips outlined below help bridge the gap between physical and digital classrooms by using video to foster presence, participation, and equity.
Prompt interactive discussions
Oftentimes, in-person voices lead the conversation, which risks remote students not being heard. To minimize this issue, try to rotate who speaks first, use chat-based participation, and assign discussion leaders in both in-person and remote groups. That way, everyone will get a chance to speak.
Use accessible video formats
Video accessibility is non-negotiable and helps all learners, especially non-native speakers and students with disabilities. Add captions, transcripts, and visual descriptions whenever someone speaks.
Video editing tools, like Camtasia, usually have built-in caption generation capabilities, which makes accessibility much easier to integrate into your workflow.
Make great educational videos
Create engaging videos that drive student success with Camtasia’s easy drag-and-drop editing.
Free Download
Encourage collaboration among the students
Collaboration across working environments is possible and keeps teaching dynamic. When working on group projects, instead of assigning in-person students to work among themselves and remote learners to work among themselves, try to create a shared virtual workplace where students can build video content together.
Recorded videos add value that persists beyond a single session for better group alignment over time.
Create a more connected hybrid classroom with TechSmith
Hybrid teaching does much more than just accommodate multiple learning locations; it also creates flexible and inclusive learning experiences. Video is a core tool to make it all happen. It bridges communication gaps, reduces repetition, and supports long-term learning goals.
Camtasia is a stand-out tool for educators that is built with flexibility in mind. The multi-track editing timeline, caption generation, and annotations tools alone make it easy for teachers to create high-quality videos with no hassle. And, many more features take recordings to the next level.
Screencast is a Camtasia-integrated hosting platform. That means you can record and edit with Camtasia, then directly share your videos to Screencast’s collections for organized, safe keeping. You can also copy a unique link that leads to your video and paste it into your messaging platform or LMS, like Google Classroom. This is where students can leave time-stamped comments, reactions, and questions along the way.
Lastly, Snagit comes in handy for fast, no-friction screen capture. If your video is missing an image of a document, you can easily capture it and insert it into a section of your video.
Together, TechSmith’s products are a must-have for educators who want to create polished content without learning how to be a video editor. They’re beginner-friendly and intuitive.