
Grab Your Flash and Head Outside – A Pro’s Guide to Fill Flash
Even on the brightest days, shadows can ruin a portrait. Fill flash subtly illuminates those shadows, balancing ambient light and ensuring your subject looks vibrant and well‑exposed. This guide walks you through the technique, common pitfalls, and practical solutions for outdoor shoots.
What Exactly Is Fill Flash?
Fill flash is a lighting technique that uses a secondary light source to complement the scene’s natural illumination. The flash isn’t the main light; it merely “fills” shadows or dark areas, creating a more even exposure without washing out highlights.
When Should You Use Fill Flash Outdoors?
- Backlit subjects where the background is brighter than the face.
- Softening shadows caused by hats, hair, or nearby people.
- Adding subtle catchlights in the eyes.
- Maintaining color and texture in the sky while properly exposing the subject.
- Creating visual separation between subject and background.
- Indoor or mixed‑light situations – the technique works everywhere.
Whether you’re shooting a wedding, a portrait session, or macro work, fill flash can elevate your images.
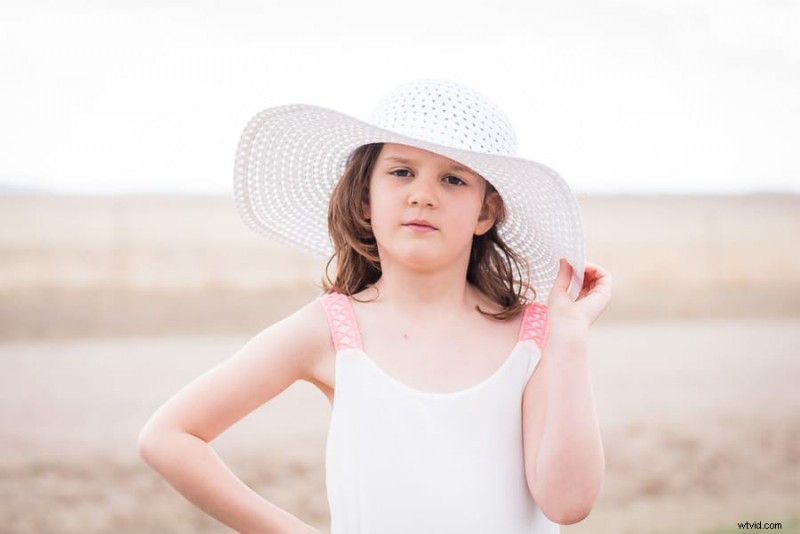
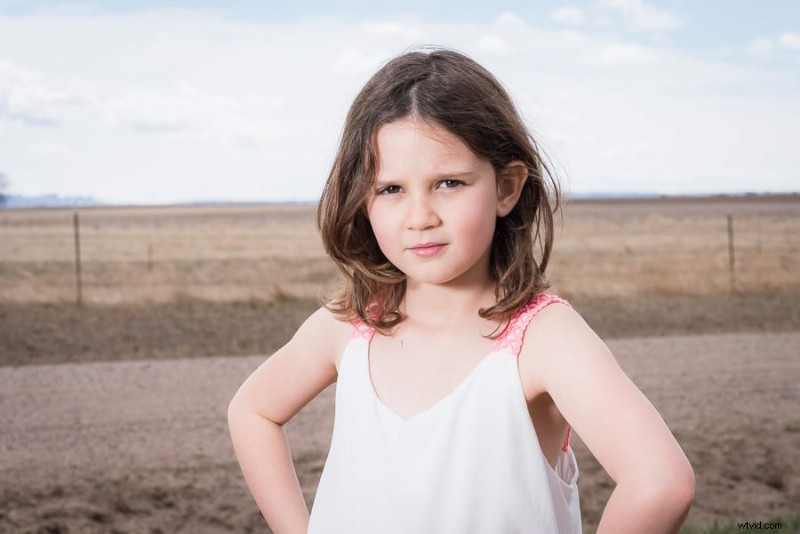
Below are two shots of my daughter taken minutes apart. The sun was overhead with a few clouds for shade.
First image: natural light only. The lighting is even, no blown highlights, and whites look true. However, her eyes appear slightly sunken and the overall exposure feels a bit washed out.

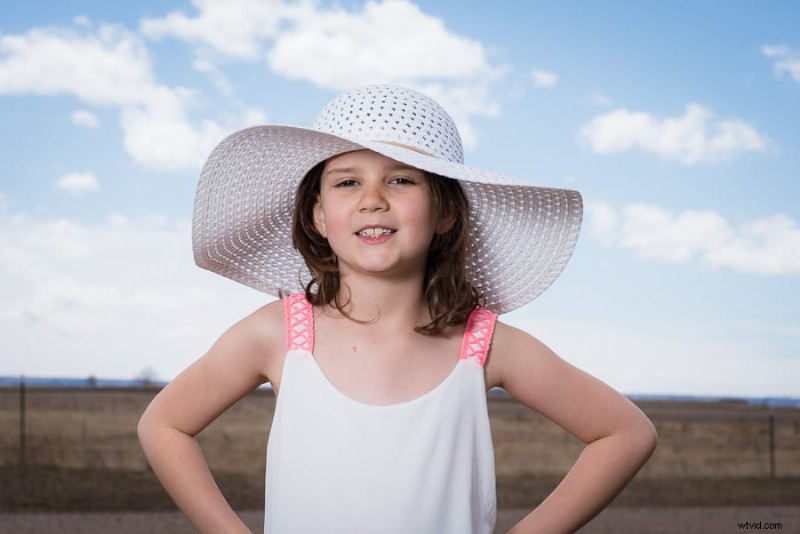
Second image: a touch of fill flash. Notice the sparkle in her eyes and the subtle highlights that bring depth.

NOTE: Mastering flash is essential for every photographer. Click here for our Flash Photography 101 Course and master flash in just 2 hours!
What Flash Equipment Works for Fill Flash?
Any flash can serve as fill flash – speedlights, strobes, or even your camera’s pop‑up flash. The key is understanding how to control its output and position.
Both on‑camera and off‑camera flash setups are viable. For those interested in off‑camera techniques, check out our dedicated tutorial.
Step‑by‑Step: Using Fill Flash Outdoors
- Set your aperture, shutter speed, and ISO to expose the background to your liking. Keep the shutter speed below your camera’s maximum sync speed.
- Activate the flash once the background exposure feels right.
- Take a test shot with the flash aimed at the subject. Start at 1/8 power; adjust as needed.
- Review the image on the LCD and tweak flash power to fine‑tune the subject’s exposure.
Example: Natural light only vs. fill flash under a high sun with minimal shade.
Natural light shot: Face correctly exposed, but dress becomes whitewashed and background loses color. Settings: f/5, 1/250 s, ISO 100.
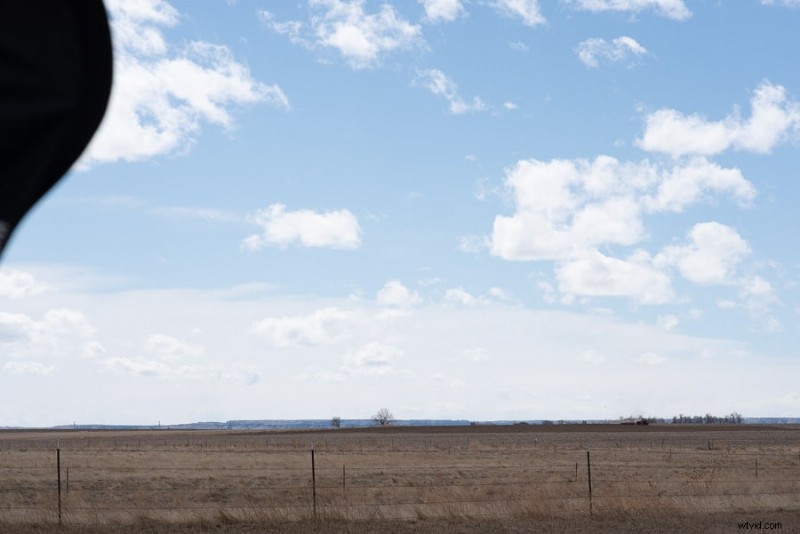
Background reference: black blob was a softbox.
With fill flash: color returns to the sky, dress texture appears, and catchlights illuminate the eyes. Settings: f/16, 1/200 s, ISO 100, Godox AD200 in a 24″ softbox at 45° and 4 ft from the subject, 1/2 power.
Troubleshooting Common Fill Flash Issues
Black bar at the bottom of the image
This occurs when the shutter speed exceeds the camera’s sync speed, causing part of the frame to be underexposed. Reduce the shutter speed to 1/200 s (or 1/160 s on many DSLRs) and the bar will disappear.
Flash too bright even at low power
Move the flash further from the subject or add a modifier such as a softbox to diffuse the light.
Flash too weak even at full power
On very bright days, a single speedlight may not match the sun. Solutions:
- Bring the flash closer to the subject.
- Use a more powerful light or add a second light.
- Increase ambient exposure (wider aperture, higher ISO) to brighten the background, then reduce flash power accordingly.
- Employ high‑speed sync (HSS) to combine a faster shutter with flash.
How to Avoid a “Flashy” Look
Images can feel over‑flashy when overall exposure or subject–background exposure mismatch. Adjust camera settings or flash power to balance the two. Lower flash power or brighten the background to reduce contrast. If you adjust background exposure, always reduce flash power in tandem.
Example of an over‑exposed, flashy image vs. a balanced result after power adjustment.

Can the Camera’s Pop‑Up Flash Work as Fill?
Yes, but with limitations. Pop‑up flashes typically have a range of 2–12 ft, produce hard light, and sit at eye level, increasing red‑eye risk.
Mitigating Pop‑Up Drawbacks
- Use flash compensation in manual or priority modes to adjust power.
- Diffuse the light with a DIY tissue wrap, a snap‑on diffuser, or bounce onto a white card.
- Keep the flash close to the subject to avoid washout.
While the pop‑up can work in a pinch, external on‑camera or off‑camera flash offers greater control and softer light.
Using Fill Flash at Night Outdoors
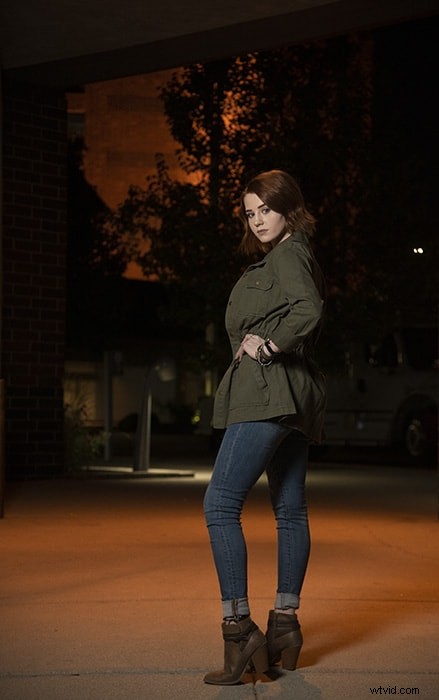
The principles remain the same, but over‑exposure becomes a bigger risk. Set ambient exposure first, then add flash at the lowest power or diffuse the light. Example: flash 25 ft away at lowest power to prevent subject over‑exposure while still illuminating the background.
Why Every Photographer Should Master Outdoor Fill Flash
Knowing how to light any scene—whether natural or assisted—gives you flexibility in events, weddings, and unpredictable lighting conditions. Fill flash is a powerful tool that can turn a good shot into a great one.
IMPORTANT: Understanding flash is not optional—it’s a must‑have skill. Click here for our Flash Photography 101 Course and master flash in just 2 hours!