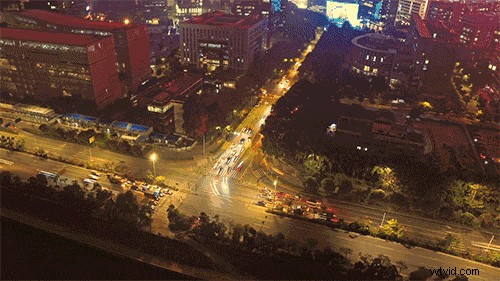
 Captured with the Phantom 3 Standard
The great thing about time-lapses is that you don’t need a top-of-line drone to make them. You can make a good-looking time-lapse with any Phantom 3, Phantom 4, Inspire or Mavic Pro.
Captured with the Phantom 3 Standard
The great thing about time-lapses is that you don’t need a top-of-line drone to make them. You can make a good-looking time-lapse with any Phantom 3, Phantom 4, Inspire or Mavic Pro.
Making a Time-Lapse
First, choose a location where you want to shoot. Make sure the environment and weather conditions are suitable for flight, go through your preflight checklist, and take off. Fly around a bit and frame your shot just how you want it. Using the Timed Shot feature in DJI GO is the most effective way to make time-lapses. From the image transmission screen, tap the Camera Settings Button, tap “Photo”, and tap “Timed Shot”, then choose a time interval. To choose the lowest time interval possible, set your format to JPEG. For the Phantom 3 Standard, the lowest time interval when shooting JPEGs is 2s.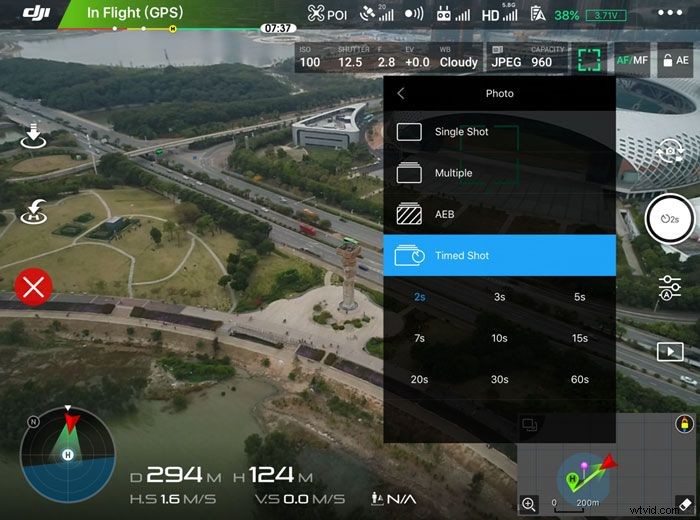 Shooting time-lapses in manual mode will ensure that you have consistent exposure across your photos. If you want to shoot in Auto, make sure to lock your exposure before you get started. Tap the “AE” button in the upper right corner and lock the lock icon. To get the best image quality possible image quality, ISO shouldn’t be larger than 200. Then set the shutter speed and exposure. Also, if you’re shooting at night, turn off your front arm LEDs.
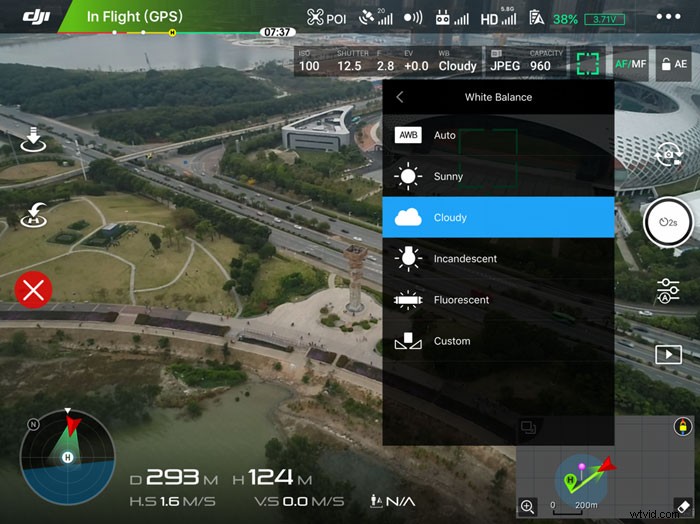
Additionally, it’s best to choose a white balance setting other than Auto, otherwise the some of your photos may end up with an inconsistant color cast due to the white balance shifting automatically.
Shooting time-lapses in manual mode will ensure that you have consistent exposure across your photos. If you want to shoot in Auto, make sure to lock your exposure before you get started. Tap the “AE” button in the upper right corner and lock the lock icon. To get the best image quality possible image quality, ISO shouldn’t be larger than 200. Then set the shutter speed and exposure. Also, if you’re shooting at night, turn off your front arm LEDs.
Additionally, it’s best to choose a white balance setting other than Auto, otherwise the some of your photos may end up with an inconsistant color cast due to the white balance shifting automatically.
Start Shooting
Tap the Shutter Button on your controller or in the app and the aircraft will start capturing photos at the pre-set time interval. Keep a close eye on your aircraft during shooting, and don’t move the aircraft or change the gimbal’s angle unless there’s an emergency. One photo will be used as one frame in a time-lapse. The minimum number of frames needed to make a video play smoothly is either 24 or 25 frames per second, depending on whether you’re shooting in NTSC or PAL, respectively. If you want to make a 5-second video, you will need to capture either 120 or 125 photos. With a Timed Shot interval of 5 seconds, this takes around ten minutes.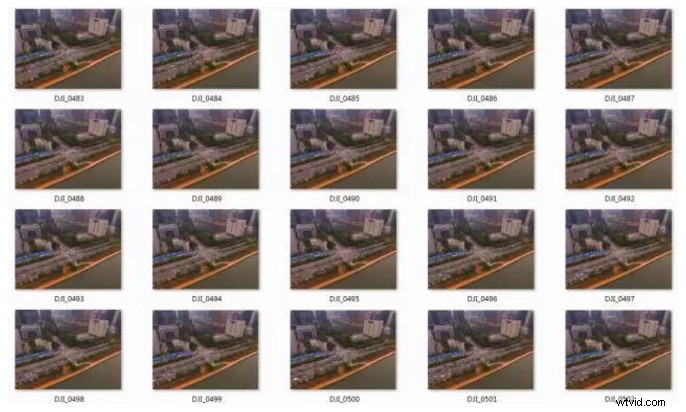 After shooting is complete, land your aircraft.
Post-Production
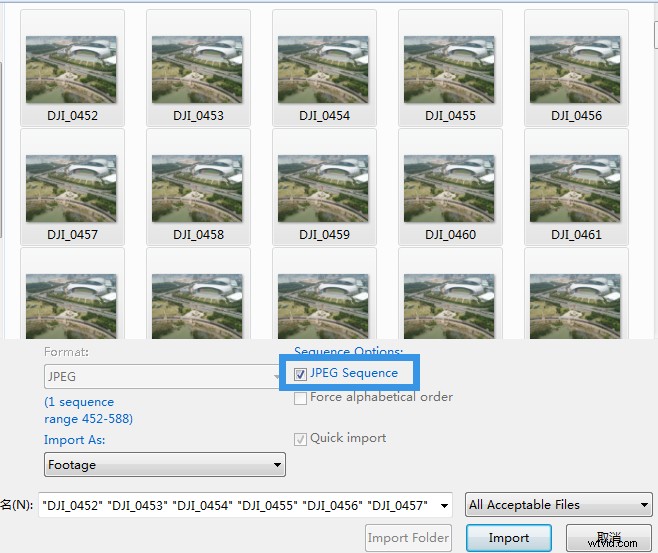
Next, let’s create a time-lapse video from the pictures you’ve captured. We’ll use Adobe After Effects CC 2016 in this tutorial, but you can also use Photoshop CS6 or later. Open Adobe After Effects CC 2016, create a composition, and click “File” > “Import” > “File” to select your photos.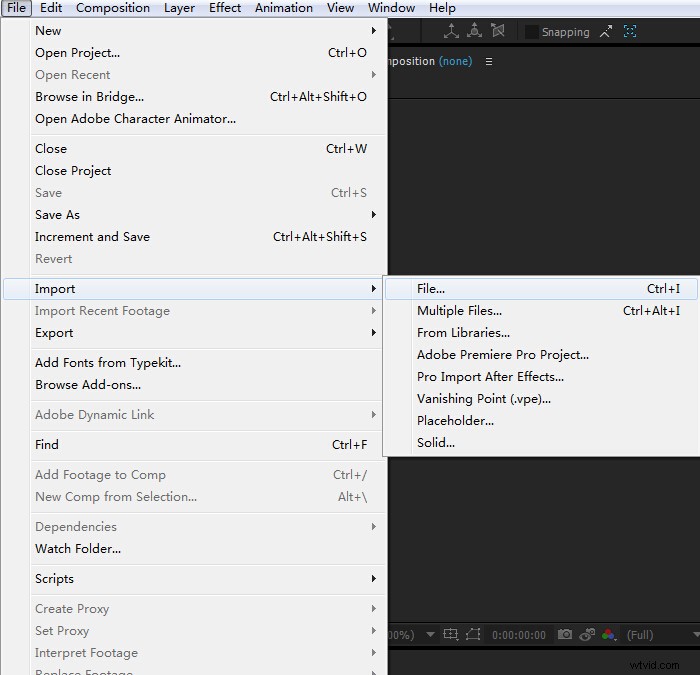 Select all the photos, select “JPEG Sequence”, and click “Import”. Then you can find your photos under “Project”. Drag the photos into the composition that you created.
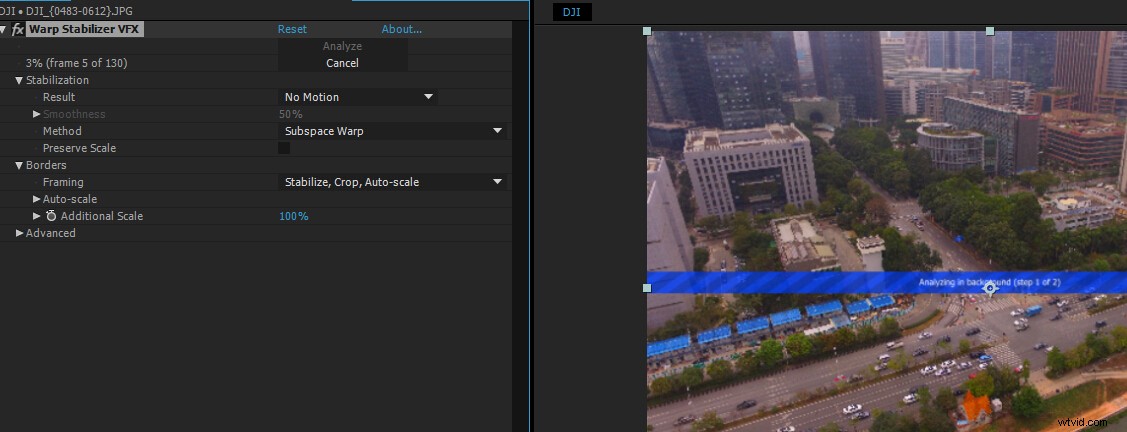
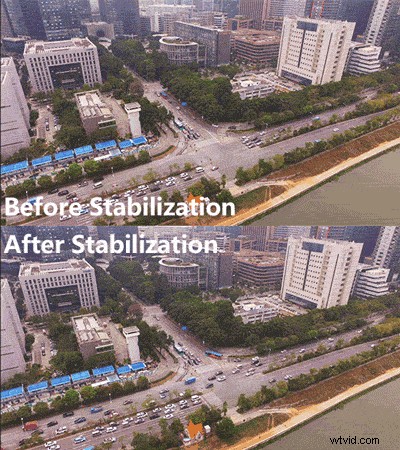
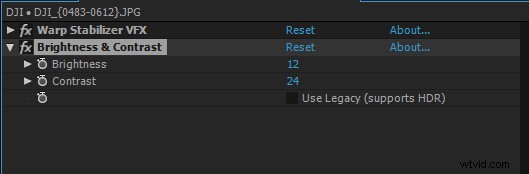
 DJI aircraft don’t hover perfectly, so some photos will be framed differently than others. Though such movement is relatively small, jittering in the resulting time-lapse may be noticeable. To stabilize the video, you can go to “Effect” > “Warp” > “Warp Stabilizer” and employ the Warp Stabilizer effect.
 If you want to do some color correction, adjust your color settings, render and output. Your video is now ready to share!
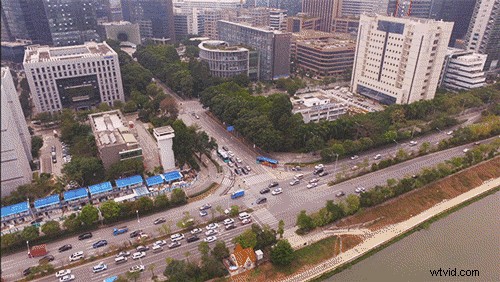
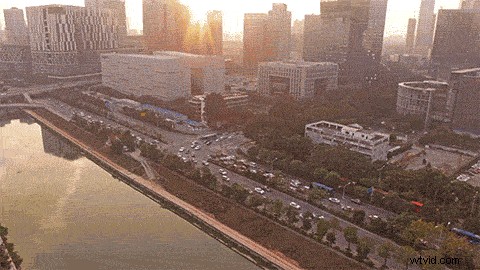
 Below are two time-lapses we captured with the Phantom 3 Standard. The second one is a motion time-lapse, which we’ll be discussing in a future tutorial. Enjoy!
 Thanks for reading everyone!
Now go make some time-lapses of your own and share them with other DJI creators!
Considering buying a camera drone? Check out our buying guide:
Best Camera Drones Buying Guide
Want to learn more about aerial photography? Check out these articles:
Thanks for reading everyone!
Now go make some time-lapses of your own and share them with other DJI creators!
Considering buying a camera drone? Check out our buying guide:
Best Camera Drones Buying Guide
Want to learn more about aerial photography? Check out these articles:
Creative! How to Light Paint with Your Drone
Top 10 Aerial Photography Tips
DJI Drone Cinematic Shooting Tips Like DJI Support on Facebook! Follow DJI Support on Twitter! Subscribe to DJI Support on YouTube!