Just got a DJI Neo? This guide walks you through every step to get it flying from the moment you unbox it.
In this article and video tutorial we cover:
- What’s in the various combos
- The Intelligent Flight Modes
- Charging all of the batteries
- Downloading and installing the DJI Fly Software
- Performing the first Firmware Update
The Neo is unique in the DJI ecosystem: you can fly it without a controller—just your phone—or with a DJI RC‑N3 and Goggles 3. This guide focuses on getting the drone out of the box and up in the air. We’ll dive into flight modes and controls in future videos.
Combos/Packages
Drone‑only Kit
- DJI Neo
- Intelligent Flight Battery x 1 – installed
- Spare propeller x 2
- Screwdriver
- USB‑C charging and data cable
DJI Neo Drone 4K UHD Mini Quadcopter – 135g, self‑flying, palm takeoff, AI subject tracking, QuickShots, controller‑free bundle with Deco Gear accessories.
We earn a commission if you make a purchase, at no additional cost to you.
04/15/2025 02:48 am GMT

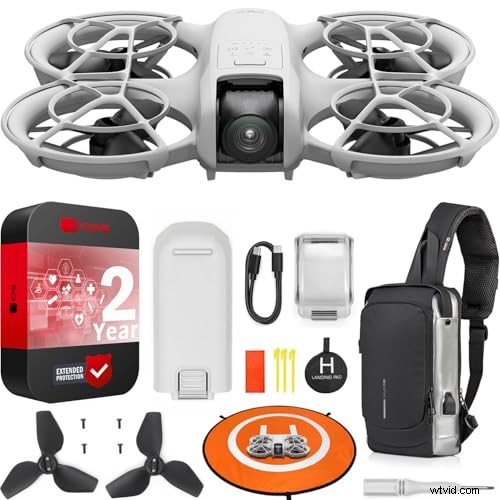
Combo Package
- DJI Neo
- Intelligent Flight Battery x 3
- Charging Hub
- Spare propeller x 2
- Screwdriver
- USB‑C charging and data cable
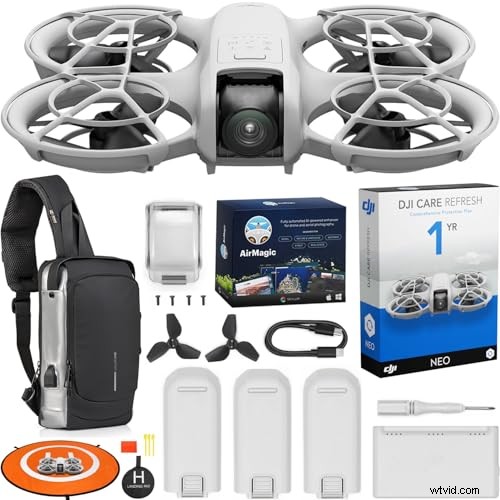
DJI RC‑N3 Combo Package
- DJI Neo
- DJI RC‑N3 Remote Controller
- Intelligent Flight Battery x 3
- Charging Hub
- Spare propeller x 2
- Screwdriver
- USB‑C charging and data cable
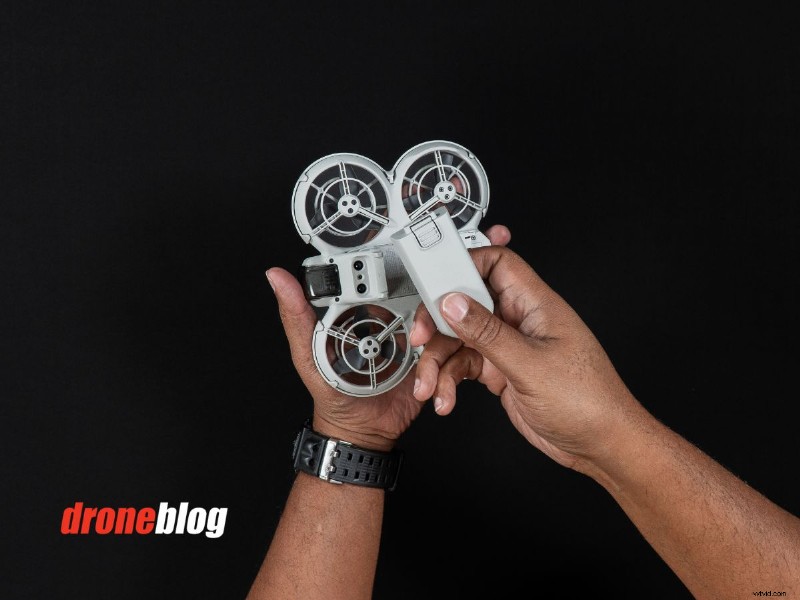
The DJI Neo
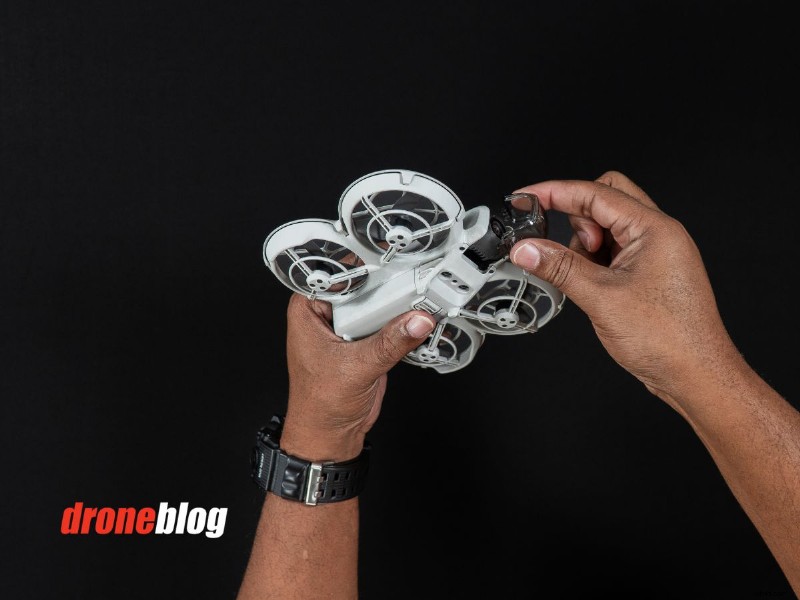
With its compact size and lightweight design, the Neo is easy to handle. The front features a small gimbal guard that protects the single‑axis gimbal, which is electronically stabilized using DJI’s proprietary EIS technology.
To remove the gimbal cover, press down on the cover with two fingers and pull it off.
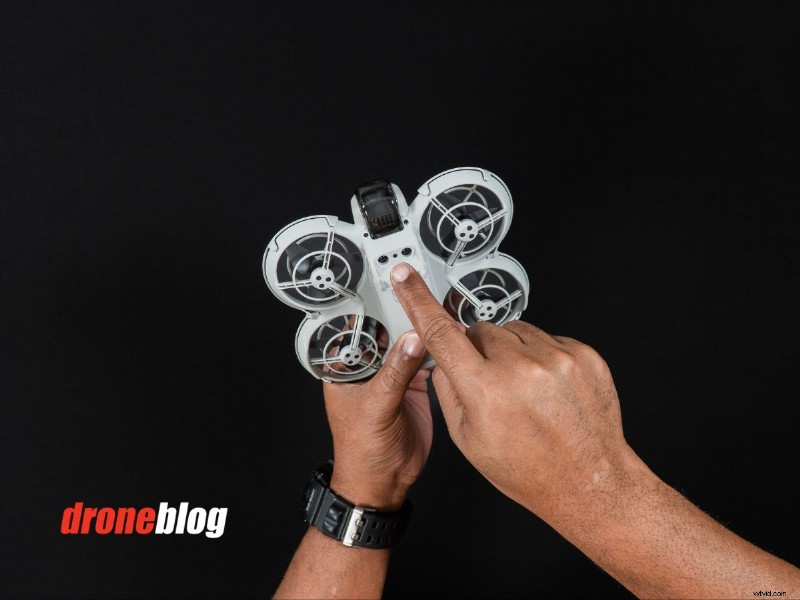
On the rear and front of the drone are two buttons. The front button selects autonomous flight modes, while the rear button powers the Neo on/off and pairs it with a physical remote.
The Neo’s Intelligent Flight Modes include:
- Follow Me
- Dronie
- Circle
- Rocket
- Spotlight
- Custom (user‑defined flight patterns)
Press the front button until the desired mode appears.
The rear button is a dual‑purpose power switch. Press once and hold to power on (you’ll hear a tone and see the LED light up). Press once and hold again to turn off.
Below the power button is a USB‑C port that can:
- charge the installed battery
- update firmware via the supplied cable
- transfer footage to a computer or mobile device
The Neo stores all footage on 22 GB of internal memory; it does not use a microSD slot. Footage can be accessed via a PC/Mac or wirelessly transferred using DJI’s QuickTransfer feature.
Sensors
Infrared vision sensors on the bottom keep the Neo stable and maintain a steady hover. The drone lacks obstacle‑avoidance sensors, so avoid flying too close to obstacles.
Intelligent Flight Batteries
Each battery provides up to 17 minutes of flight time with prop guards installed, or 18 minutes without them. Flight time varies with conditions.
To remove a battery, press the tab and slide it out. To insert, align grooves and slide in until you hear a click.
Charging the Batteries
DJI recommends a 65‑watt charger, but any 65‑ or 100‑watt PD charger works.
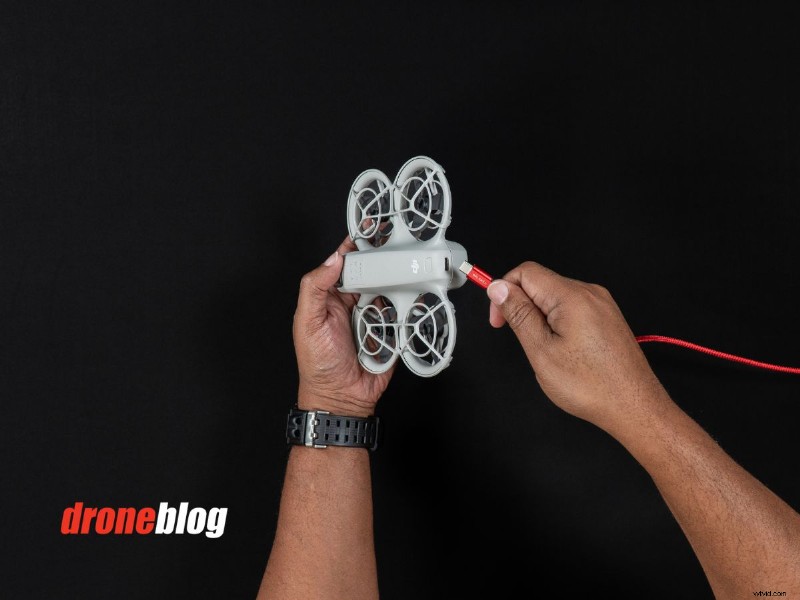
If you have the Drone‑only kit, charge the battery while it’s installed in the Neo via the USB‑C port.
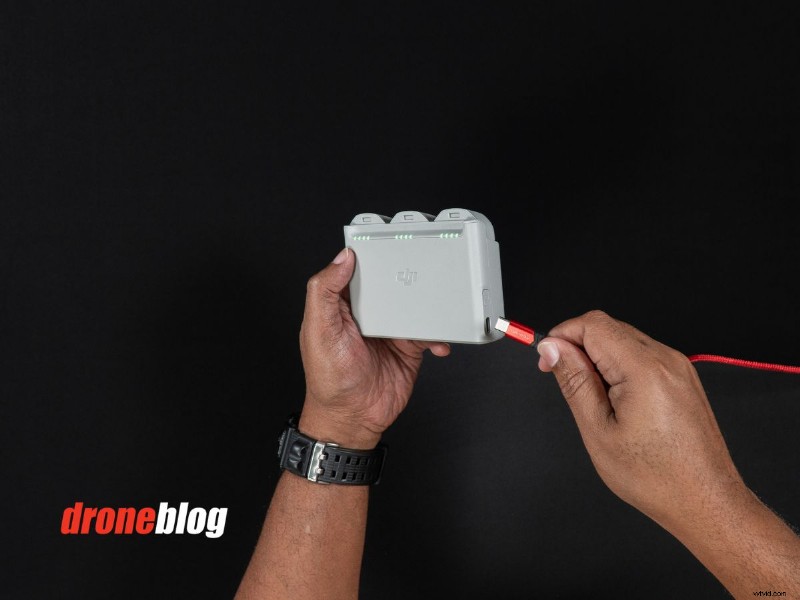
Combo packages with a battery hub allow simultaneous charging of three batteries using a charger rated 45 W or higher. Place batteries fully seated in the hub, plug in the charger, and the LEDs will light up.
If you purchased the RC‑N3 combo, also charge the controller by plugging its USB‑C port on the bottom. The front LEDs will blink during charging.
DJI Fly Software
With batteries charged, the next step is to activate and update the Neo using the DJI Fly app on your phone.
Downloading DJI Fly
Download the DJI Fly app from your mobile device:
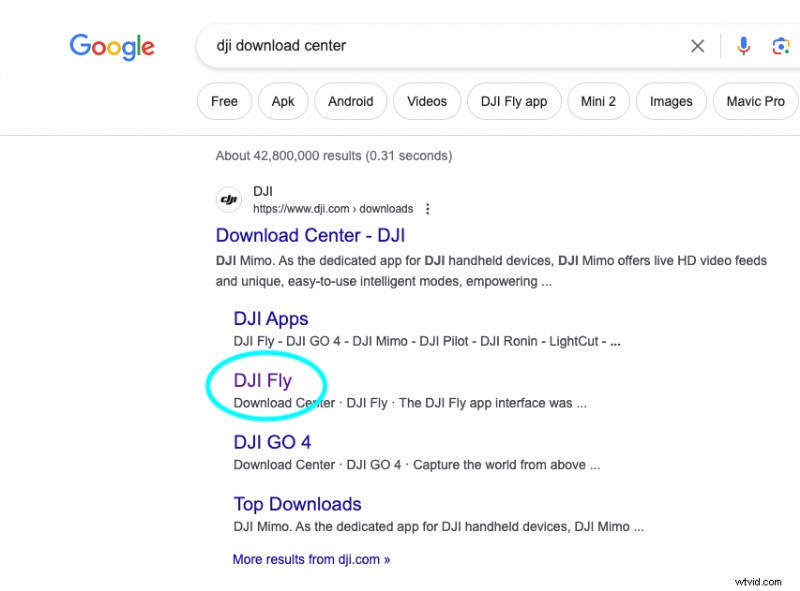
Alternatively, search “DJI Download Center” on Google to find the official download page.
Activating the DJI Neo
1. Open DJI Fly and power on the Neo (press the power button once, then hold).
2. On the left of the home screen, tap the highlighted box that says “QuickTransfer – New DJI‑NEO‑xxxx detected”.
3. Press and hold the Neo’s power button for 3 seconds to join its Wi‑Fi network; tap JOIN.
4. On the Activate DJI Device screen, tap ACTIVATE and sign in with your DJI account or create a new one. You can choose to bind the activation code or skip.
Updating the Neo Firmware
On the home screen, tap INSTALL (right side) and then DOWNLOAD to start the firmware update. The process may take a few minutes; once complete, the Neo will reboot automatically.
After updating, tap CONNECT on the home screen if the Neo does not restart automatically. You’ll then access the Neo section of DJI Fly, where you can watch introductory tutorials or adjust intelligent flight parameters.