Highly requested
Every single week we start by going through the trending page on YouTube and our comments to choose a topic for that weeks video. And since the new series Loki came out you guys have done nothing but request those effect. Initially we chose not to do it because Film Riot already did a great one about the portal effect. And on top of that ProductionCrate did the transformation effect both in After Effects.
But you guys still wanted us to do this so we decided to do it Cinecom style and recreated this complex effect in Adobe Premiere Pro.
Greenscreen Tips and Tricks
For this effect we needed to key out Jordy instead of relying on rotoscoping which is only available in After Effects. To be able to perform a good key there are a few things you need to pay attention to.
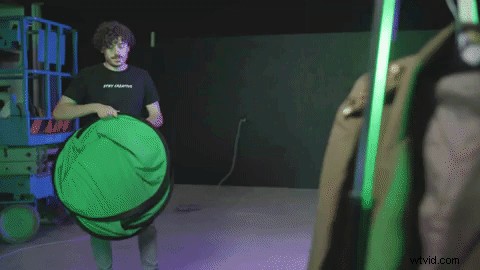
First of all you should try to have your greenscreen as tight as possible. The creases will otherwise make keying a whole lot harder because you’ll be working with multiple shades of green. Which is exactly what you don’t want. If you have a foldable greenscreen you don’t have to pay attention to this since it will be always without any folds. But if you use a cloth like we did you can always use several clamps to pull it tight.
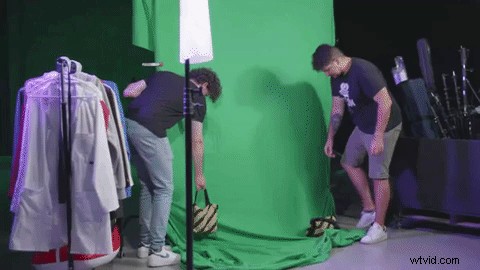
The second tip is to work in layers. Never use the same light for your talent as for the greenscreen. To get the best result you need to light out the greenscreen first. Take a few steps away from it and place the talent there with another set of lights. Now your talent doesn’t cast any shadows on the greenscreen and the greenscreen itself is still evenly lit.
Stepping away from it also creates enough space between the talent and the greenscreen so that you don’t have any green spill light on the talent.
And last but not least is your light colors. When working with a greenscreen try to avoid green or any other color that lies really close to that on your talent. Mixing green light on your talent will make the keying harder since it has to increase its range to detect this color and when that range is too big it will start eating away from your talent itself. This is also why we take a few steps from the greenscreen like said before to avoid green spill.
Now if you pay attention to those 3 steps you should 100% be able to do a key without a ton of work adjusting sliders to get a good result.
Skillshare
Learn a new creative craft at Skillshare from a choice over thousands of online classes. The first 1000 to sign up can enjoy a 1 month free trail of Skillshare!