
What’s the easiest way to batch resize in Photoshop?
In this article, I’m going to take you through a simple, step-by-step process for resizing your images. It’ll take seconds – and when you’re done, you’ll be able to resize dozens (or hundreds!) of photos at once.
Let’s get started.
Batch resizing in Photoshop: step by step
Batch resizing isn’t hard, and it takes very little knowledge.
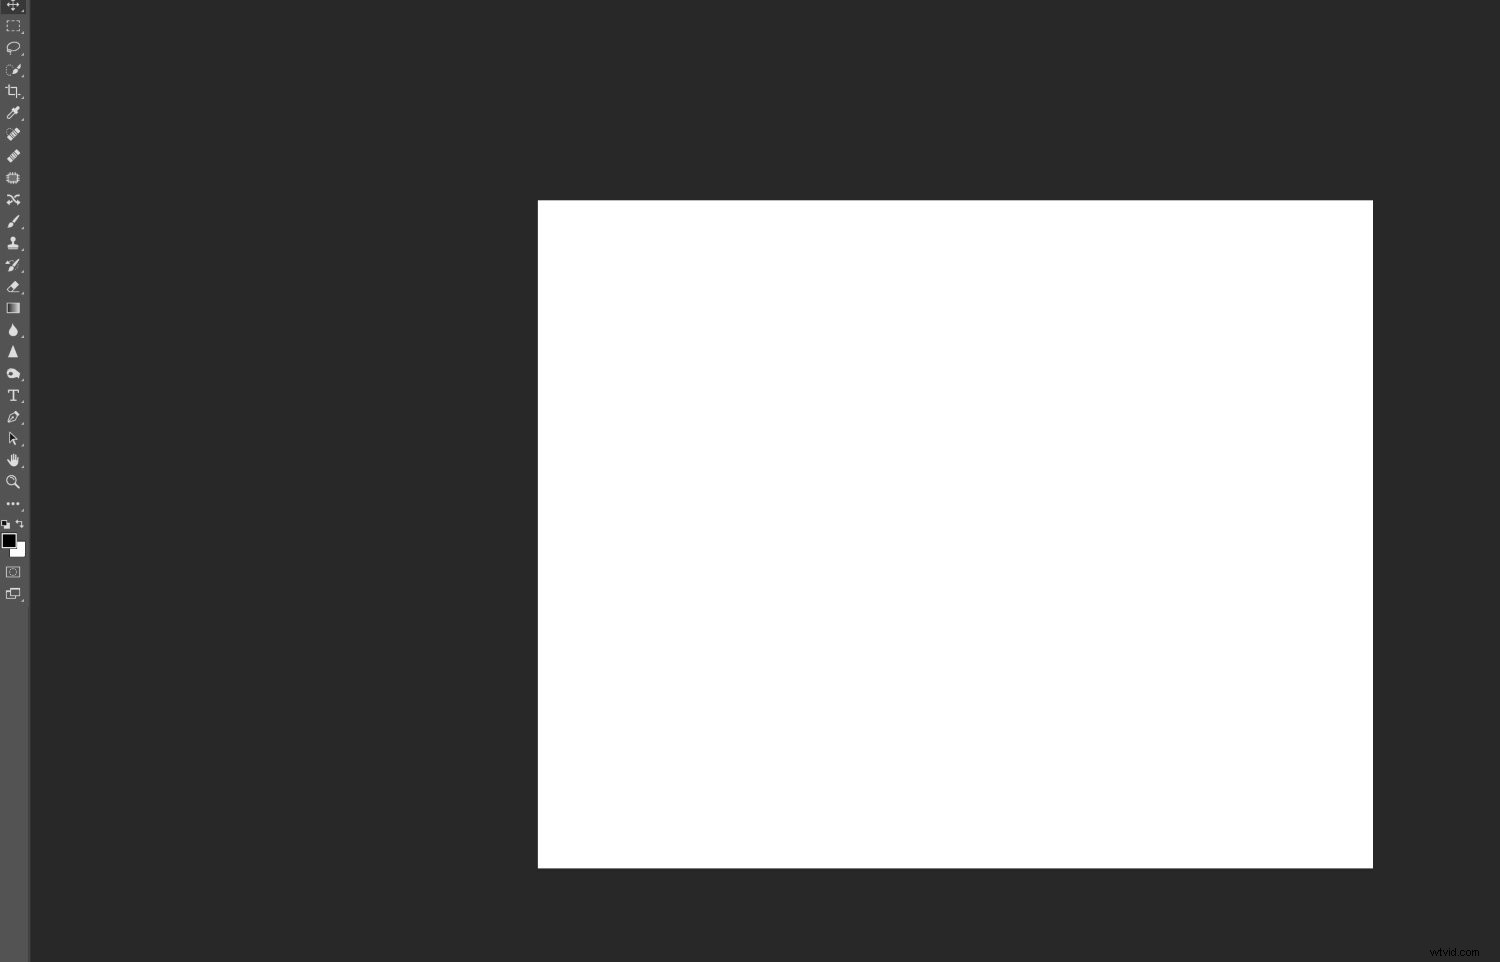
To start, make sure you open some files in Photoshop (though note that you don’t need to open all the files you’re aiming to resize; a random file or an empty canvas will do just fine). As you can see below, I’ve opened a blank document:
I’m going to cover the Image Processor method of batch resizing. Pretty much anyone can do it, and it generally works well. However, if you have more complex batch resizing requirements, consider writing an action; that way, you can tailor the resizing to your particular needs.
Now let’s take a closer look at the batch resizing process, starting with:
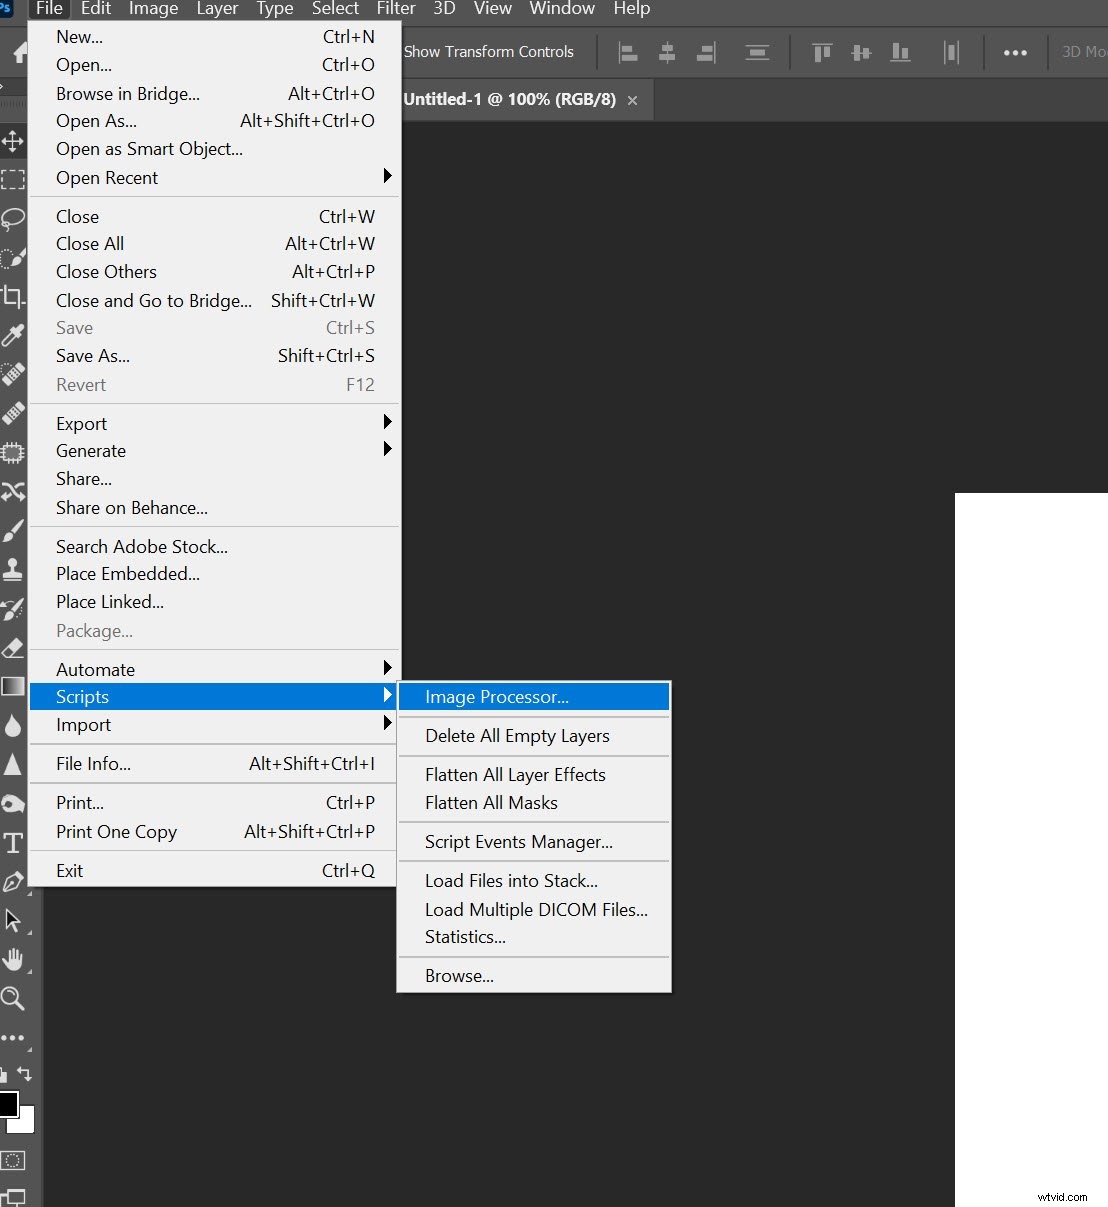
Step 1: Open the Image Processor
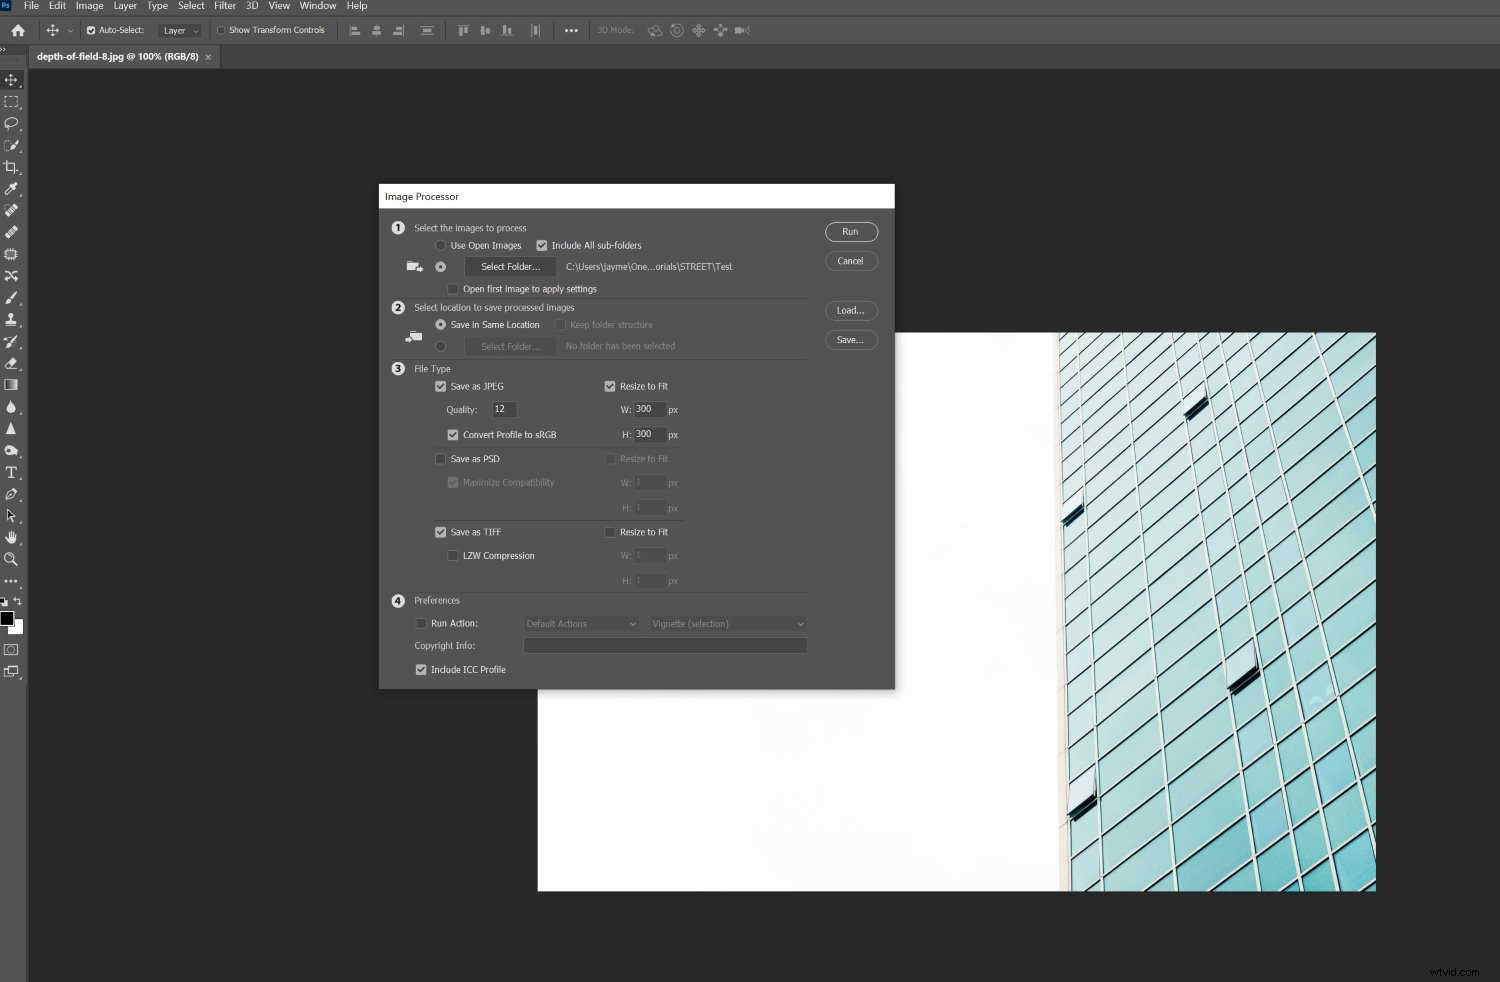
Choose File>Scripts>Image Processor.
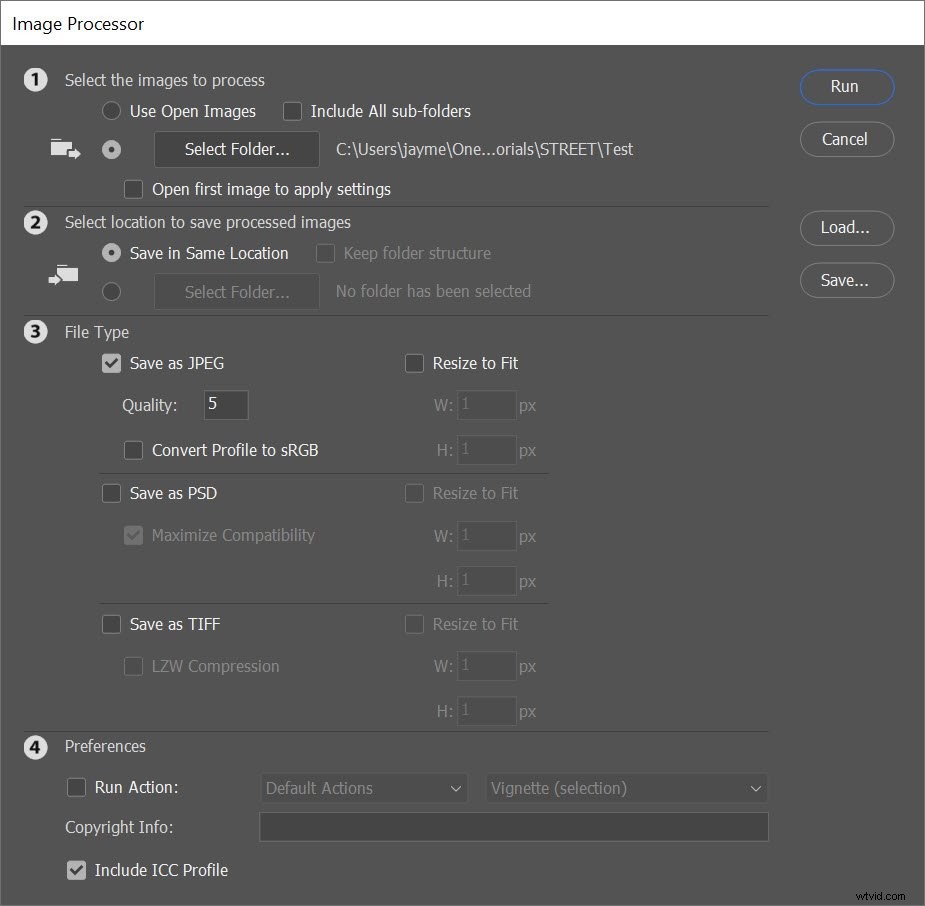
The Image Processor dialog box will open, where you’ll see a simple, four-step process for resizing your images:
Step 2: Select your images for batch resizing
In the first section of the Image Processor dialog box, you’ll need to identify the images you want to batch resize.
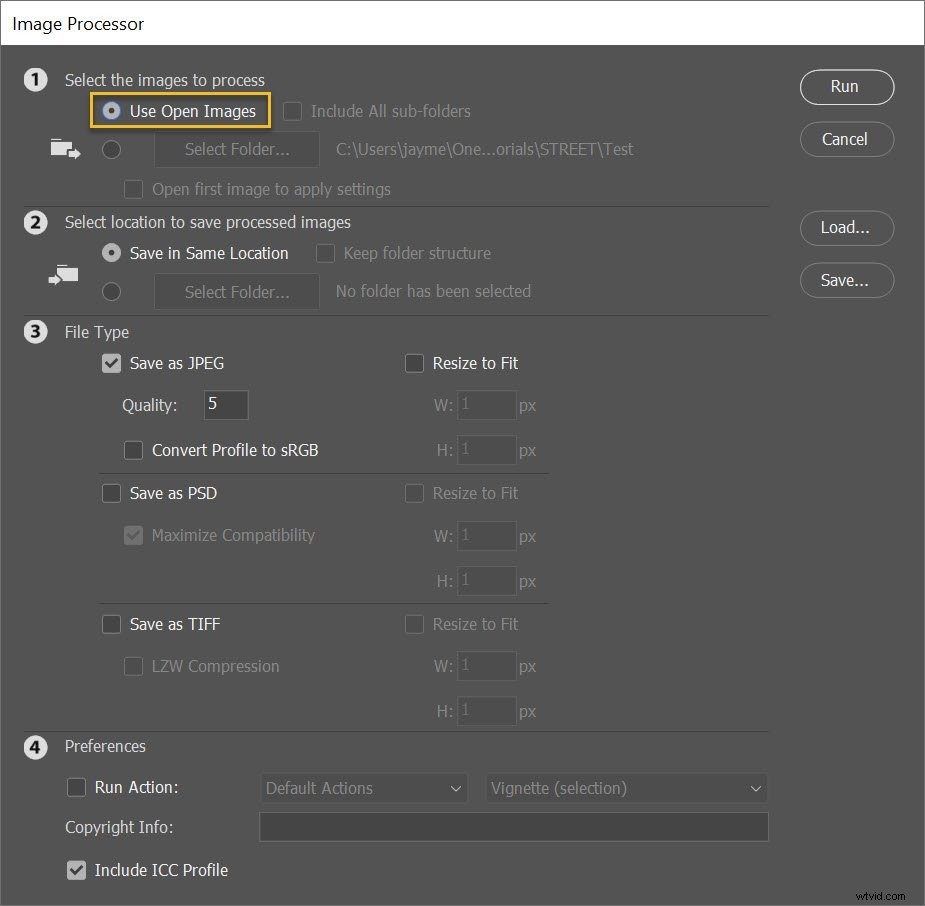
You can choose to resize all open images by selecting Use Open Images:
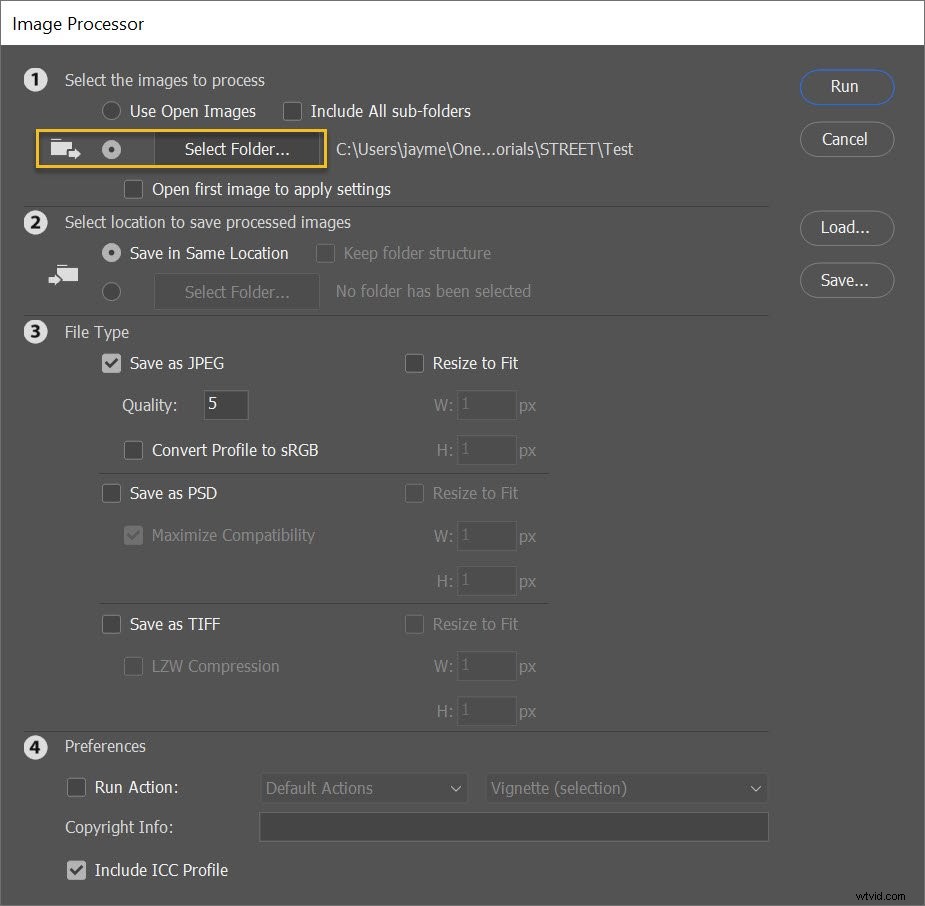
Or you can pick a folder from your hard drive via the Select Folder button:
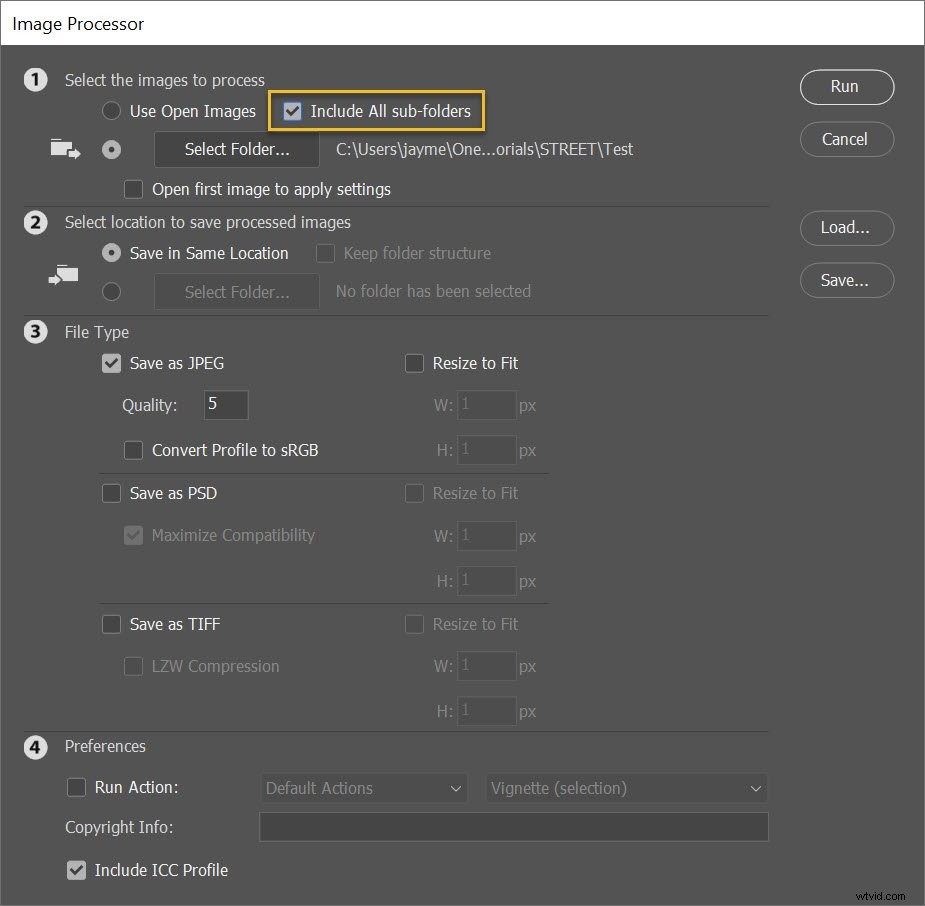
If you do select a folder, you can tell Photoshop to resize images in all subfolders as well; just hit the Include All sub-folders checkbox:
Step 3: Determine your export location
Now it’s time to determine where you want your resized images to go.
To save the resized versions alongside the originals, simply select Save in Same Location:
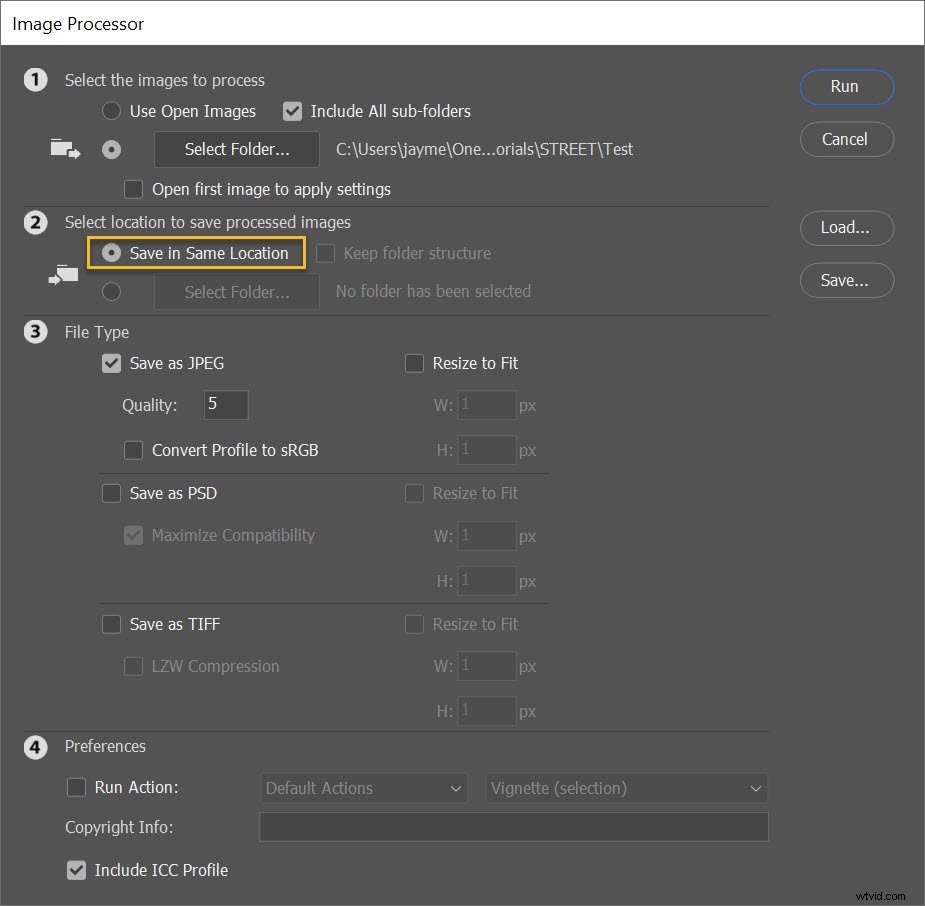
Then, when the resizing begins, Photoshop will create a subfolder next to the original files. (Because your resized versions will retain the names of the original files, creating a subfolder – rather than simply saving the images in the original folder – prevents any overwriting.)
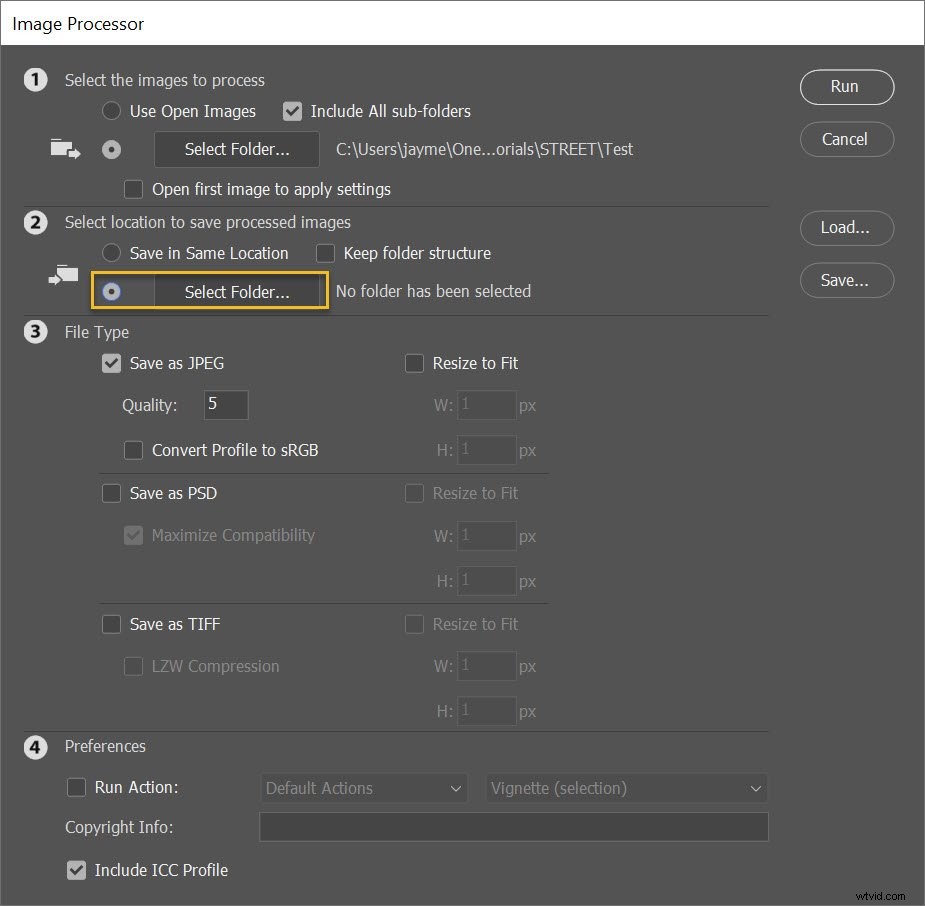
Alternatively, you can select a different folder for the resized files:
Step 4: Input your preferred image sizes
This is the most important step of the entire process:
The moment where you dial in resize settings for your files.
First, determine your output file type. You can choose from JPEG, PSD, and TIFF (JPEG is the default and generally works well, but if you’re working with layered files, then PSD is a good choice).
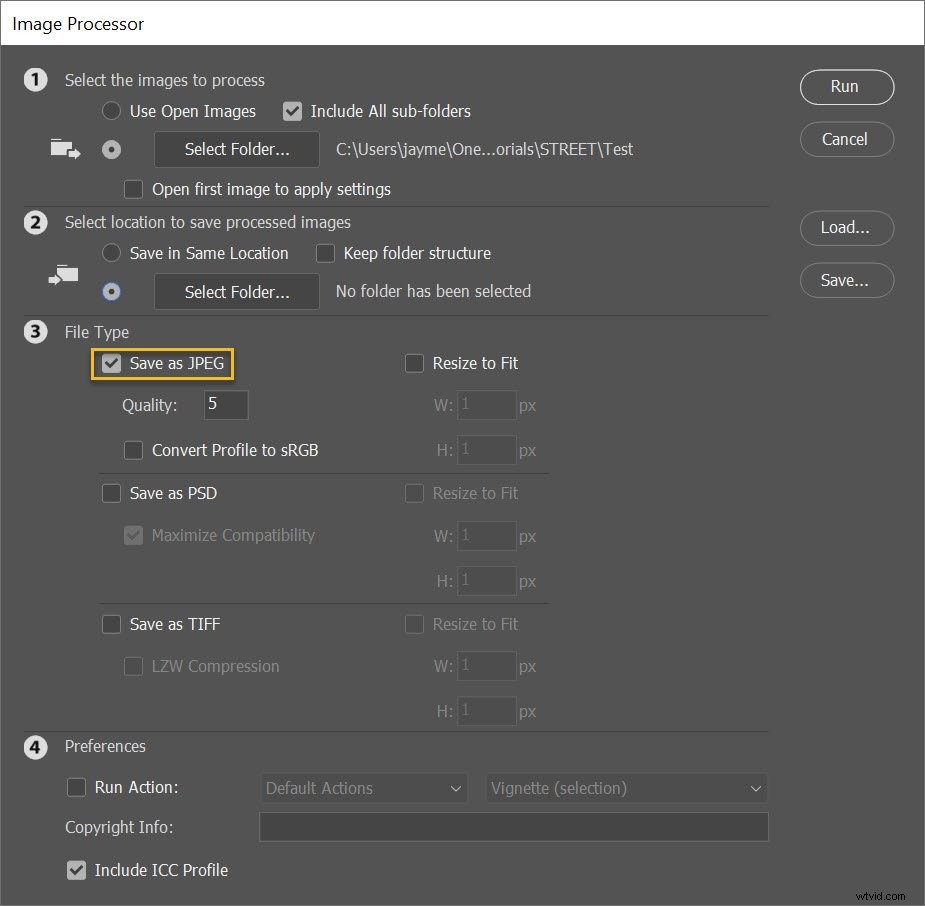
If you do decide to save JPEGs, you can adjust the output quality; 12 will give you large, great-looking photos, whereas 1 will give you tiny, low-quality results.
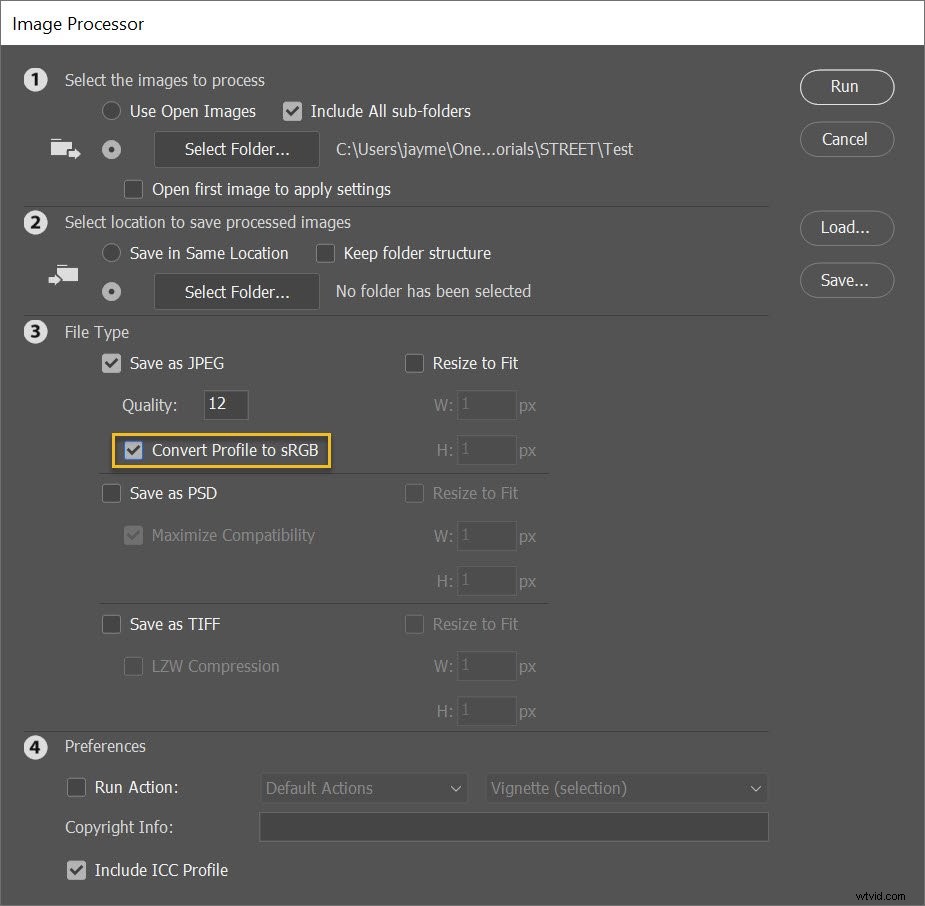
For better color when displaying your photos on the web, select Convert Profile to sRGB:
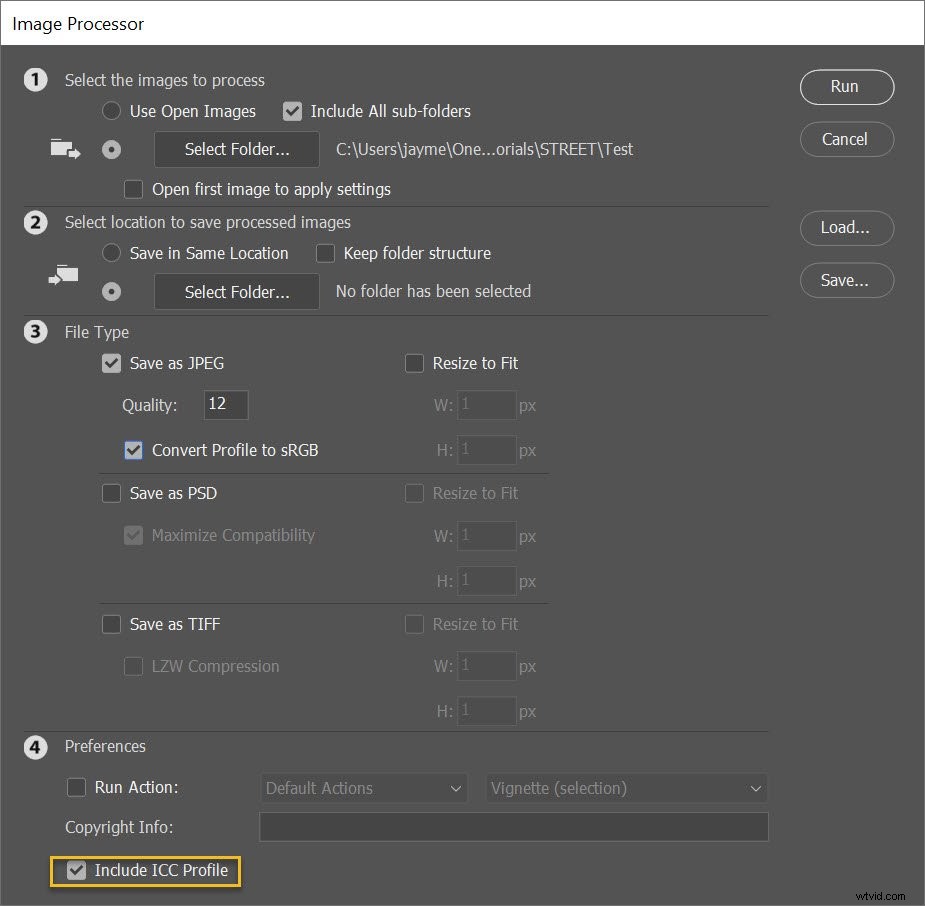
I also recommend checking the Include ICC Profile box at the bottom:
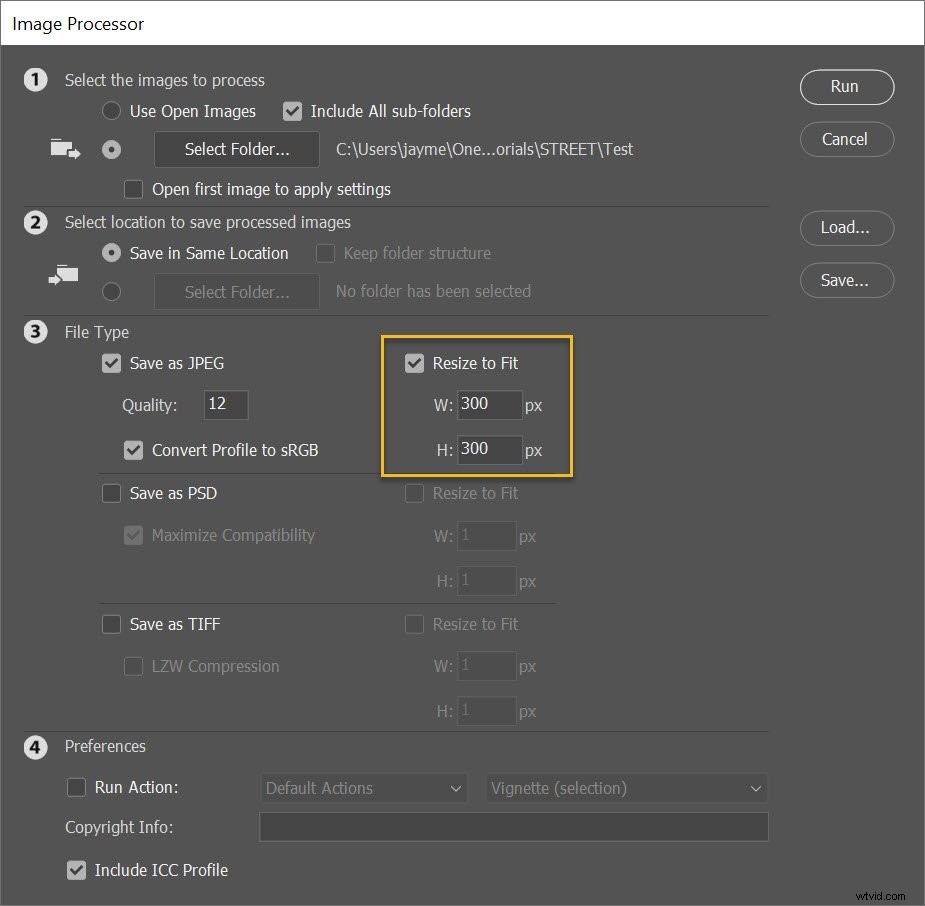
Finally, select Resize to Fit, and type in your preferred file size!
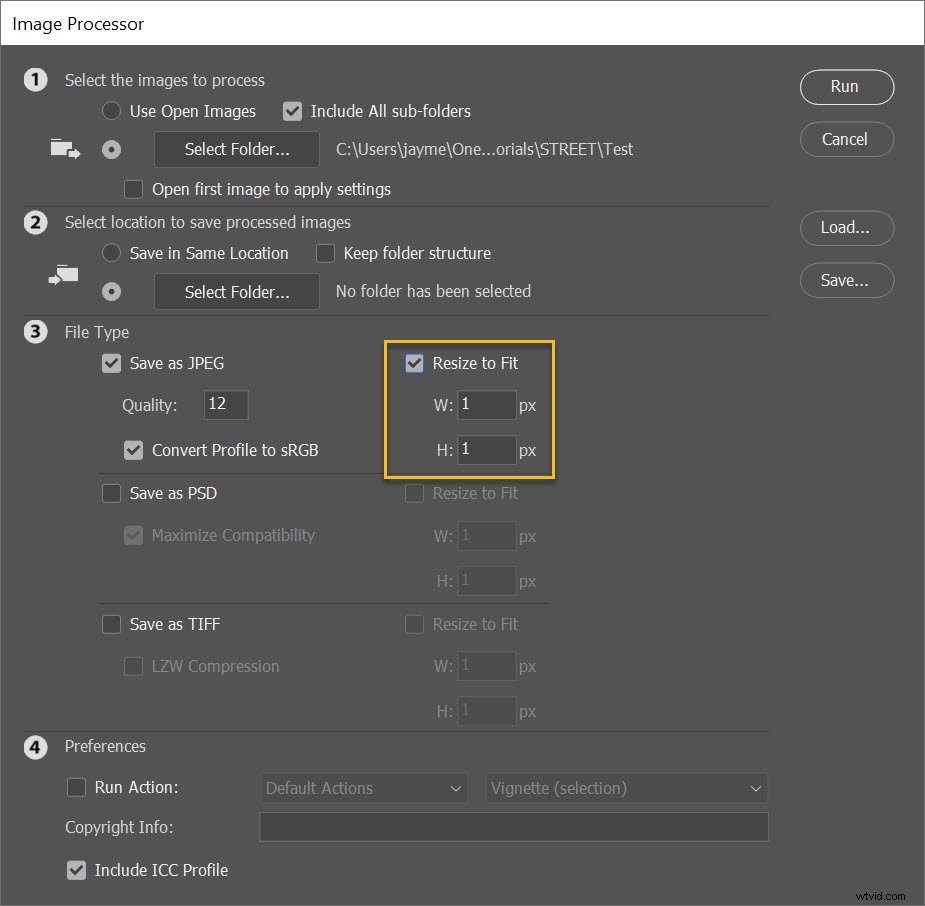
Note that the dimensions you dial in are maximums. So if you type in 300 for the width and 300 for the height, the files will be resized so that the longest side of every image is 300 pixels.
(In other words, the images won’t be cropped or skewed to fit your preferred dimensions; they’ll be scaled up or down for the most natural-looking results.)
Also note that the width and height measurements don’t have to be the same. You could specify a width of 400 and a height of 300 – then all images would be constrained to a width of 400 or a height of 300, whichever comes first.
By the way, you do have the option to save your images in a second (or third) format, as well. Just select the Save as PSD or Save as TIFF checkboxes, and PSD and/or TIFF folders will be created alongside your JPEG folder!
Step 5: Run the script
When you’re ready, click Run.
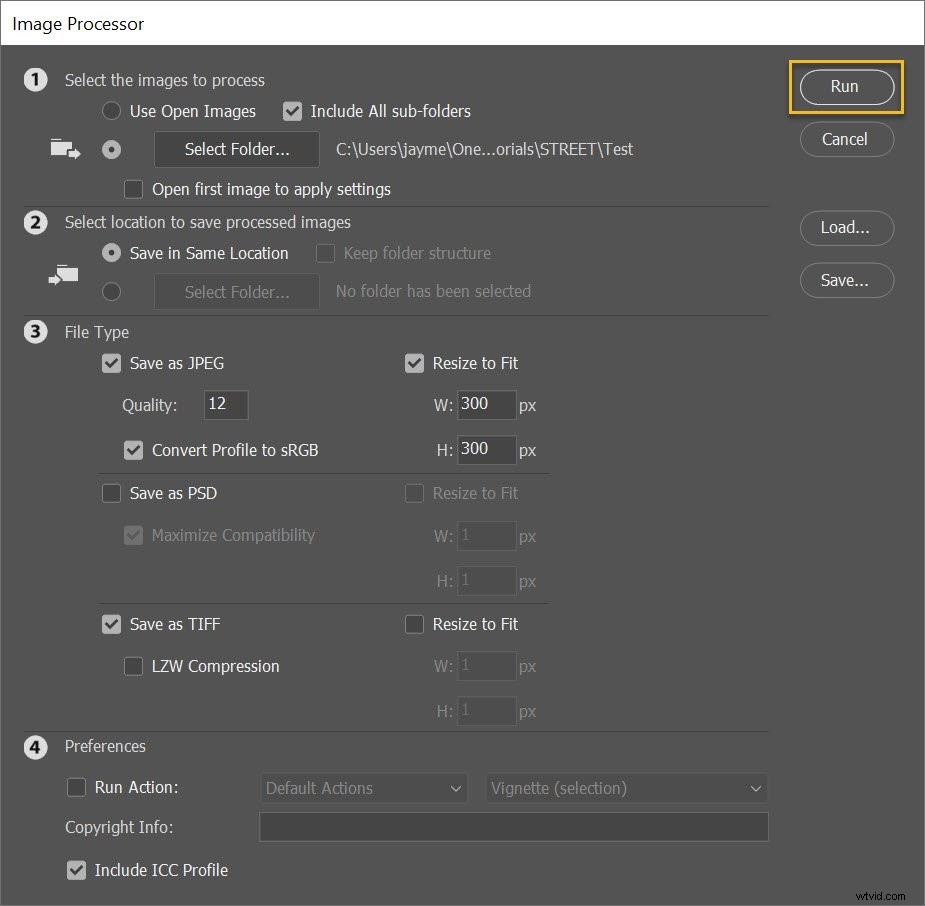
The images will be automatically opened (if they’re not open already), resized, saved, and closed again.
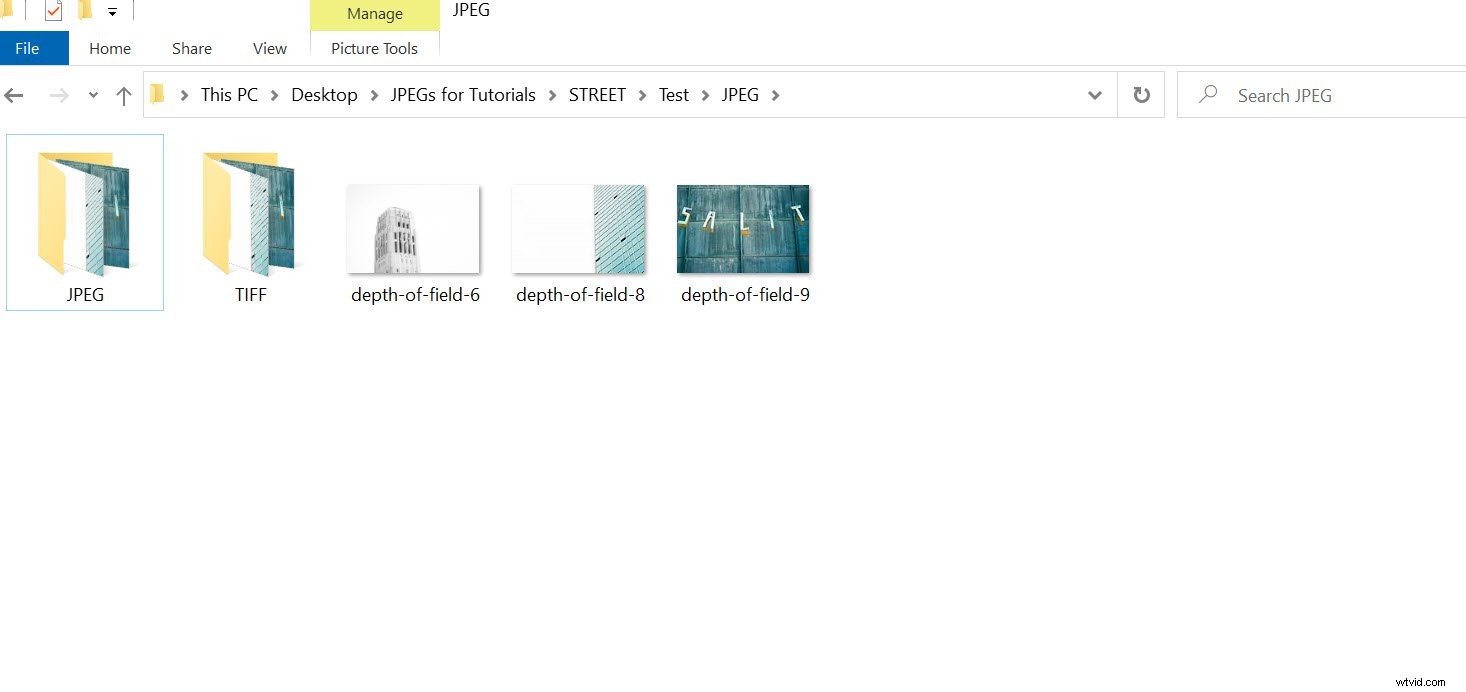
To find your resized images, simply head to the folder you specified in Step 3 (above). If you chose to save JPEGs, the images will be in a subfolder called JPEG; if you chose to save TIFFs, the images will be in a subfolder called TIFF, etc.
Like this:
How to batch resize in Photoshop: final words
Well, there you have it:
The easiest way to batch resize your images in Photoshop.
So whenever you need to resize a lot of images for uploading on the web, use the Photoshop Image Processor.
It makes the job quick and painless!
Now over to you:
Do you have a favorite method of batch resizing images in Photoshop? If so, share it in the comments below!