Looking to make a collage in Photoshop? You’ve come to the right place.
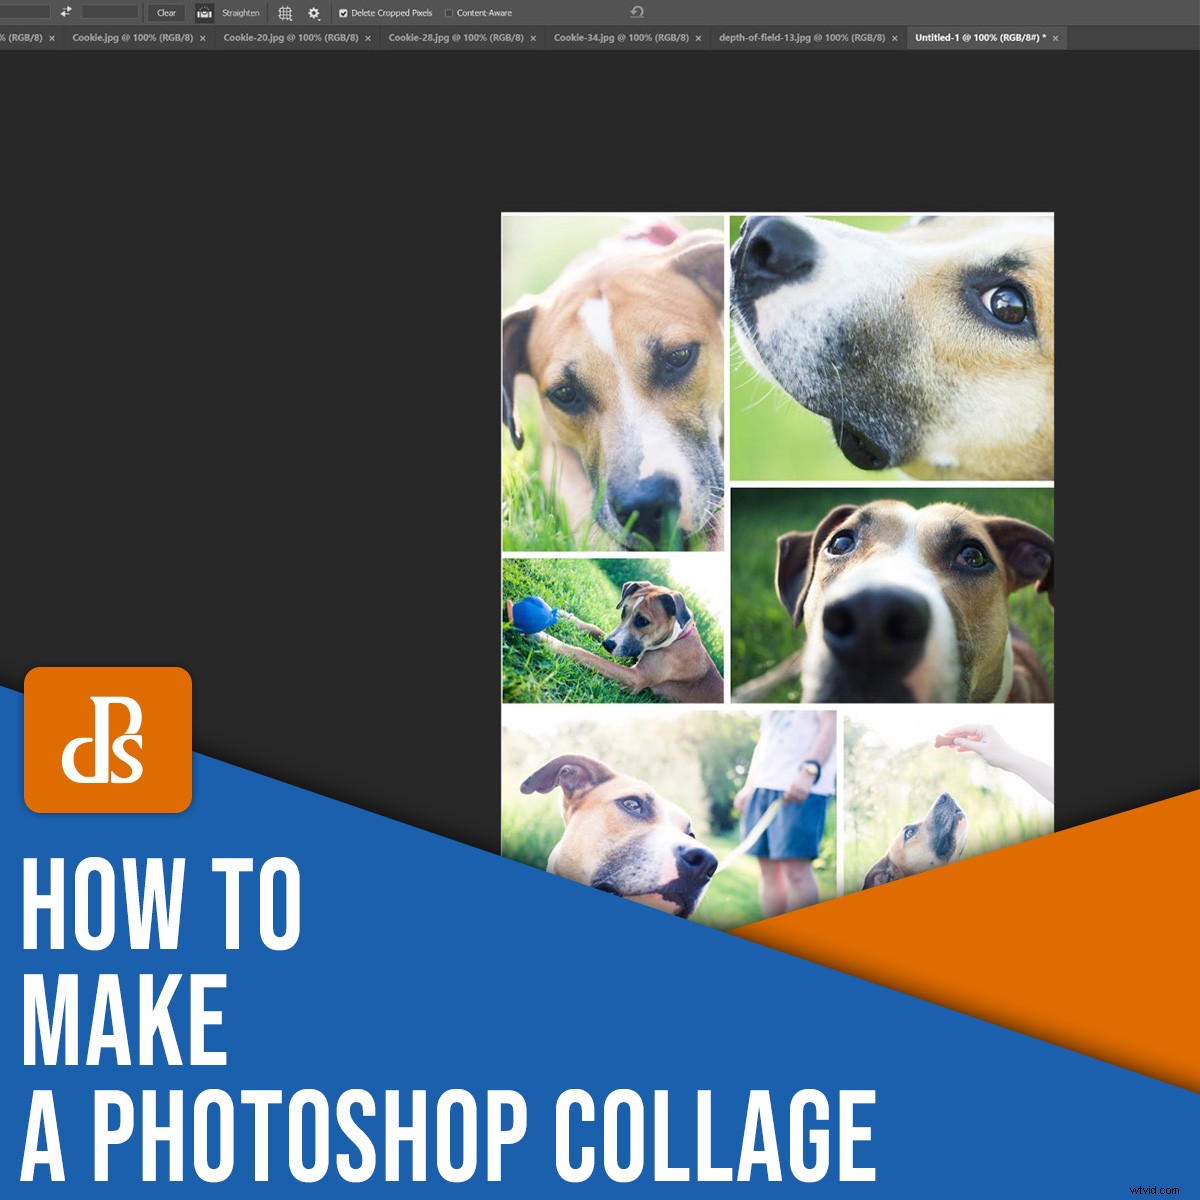
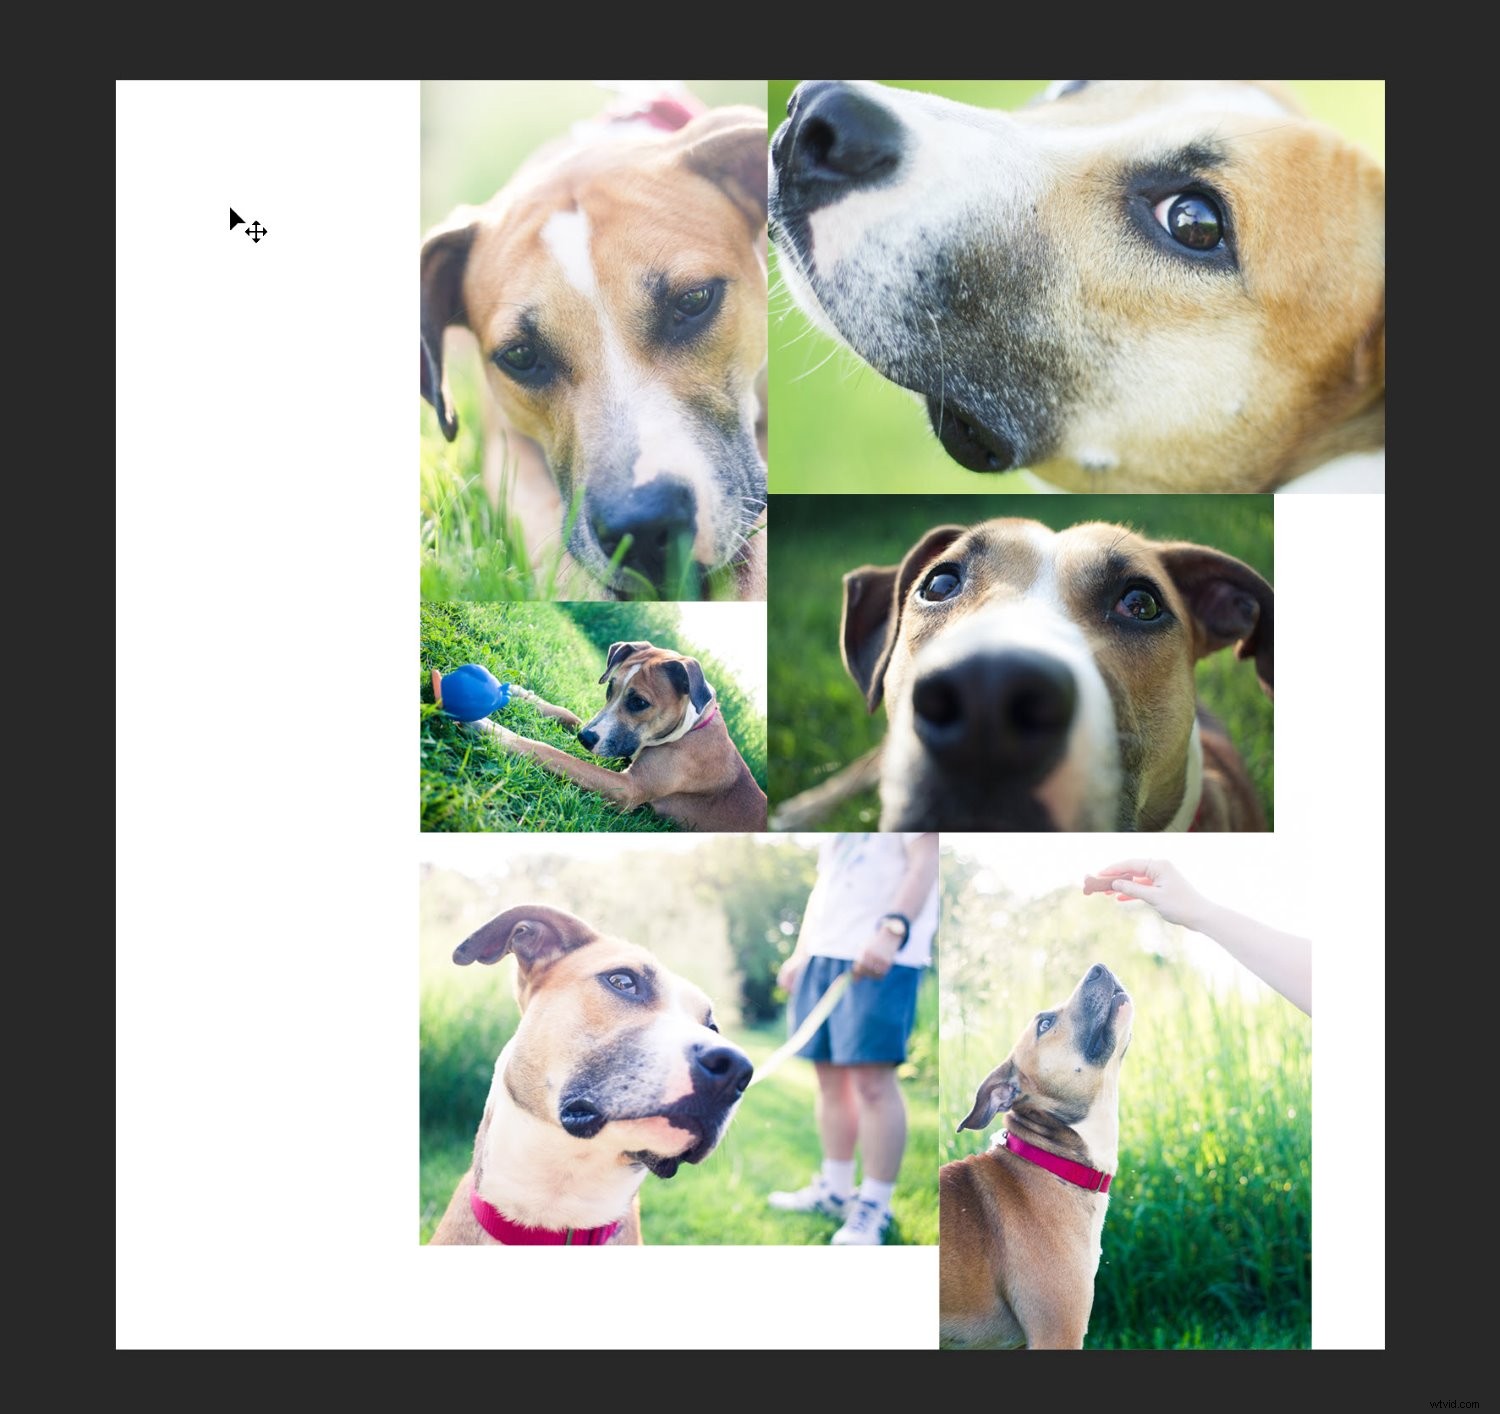
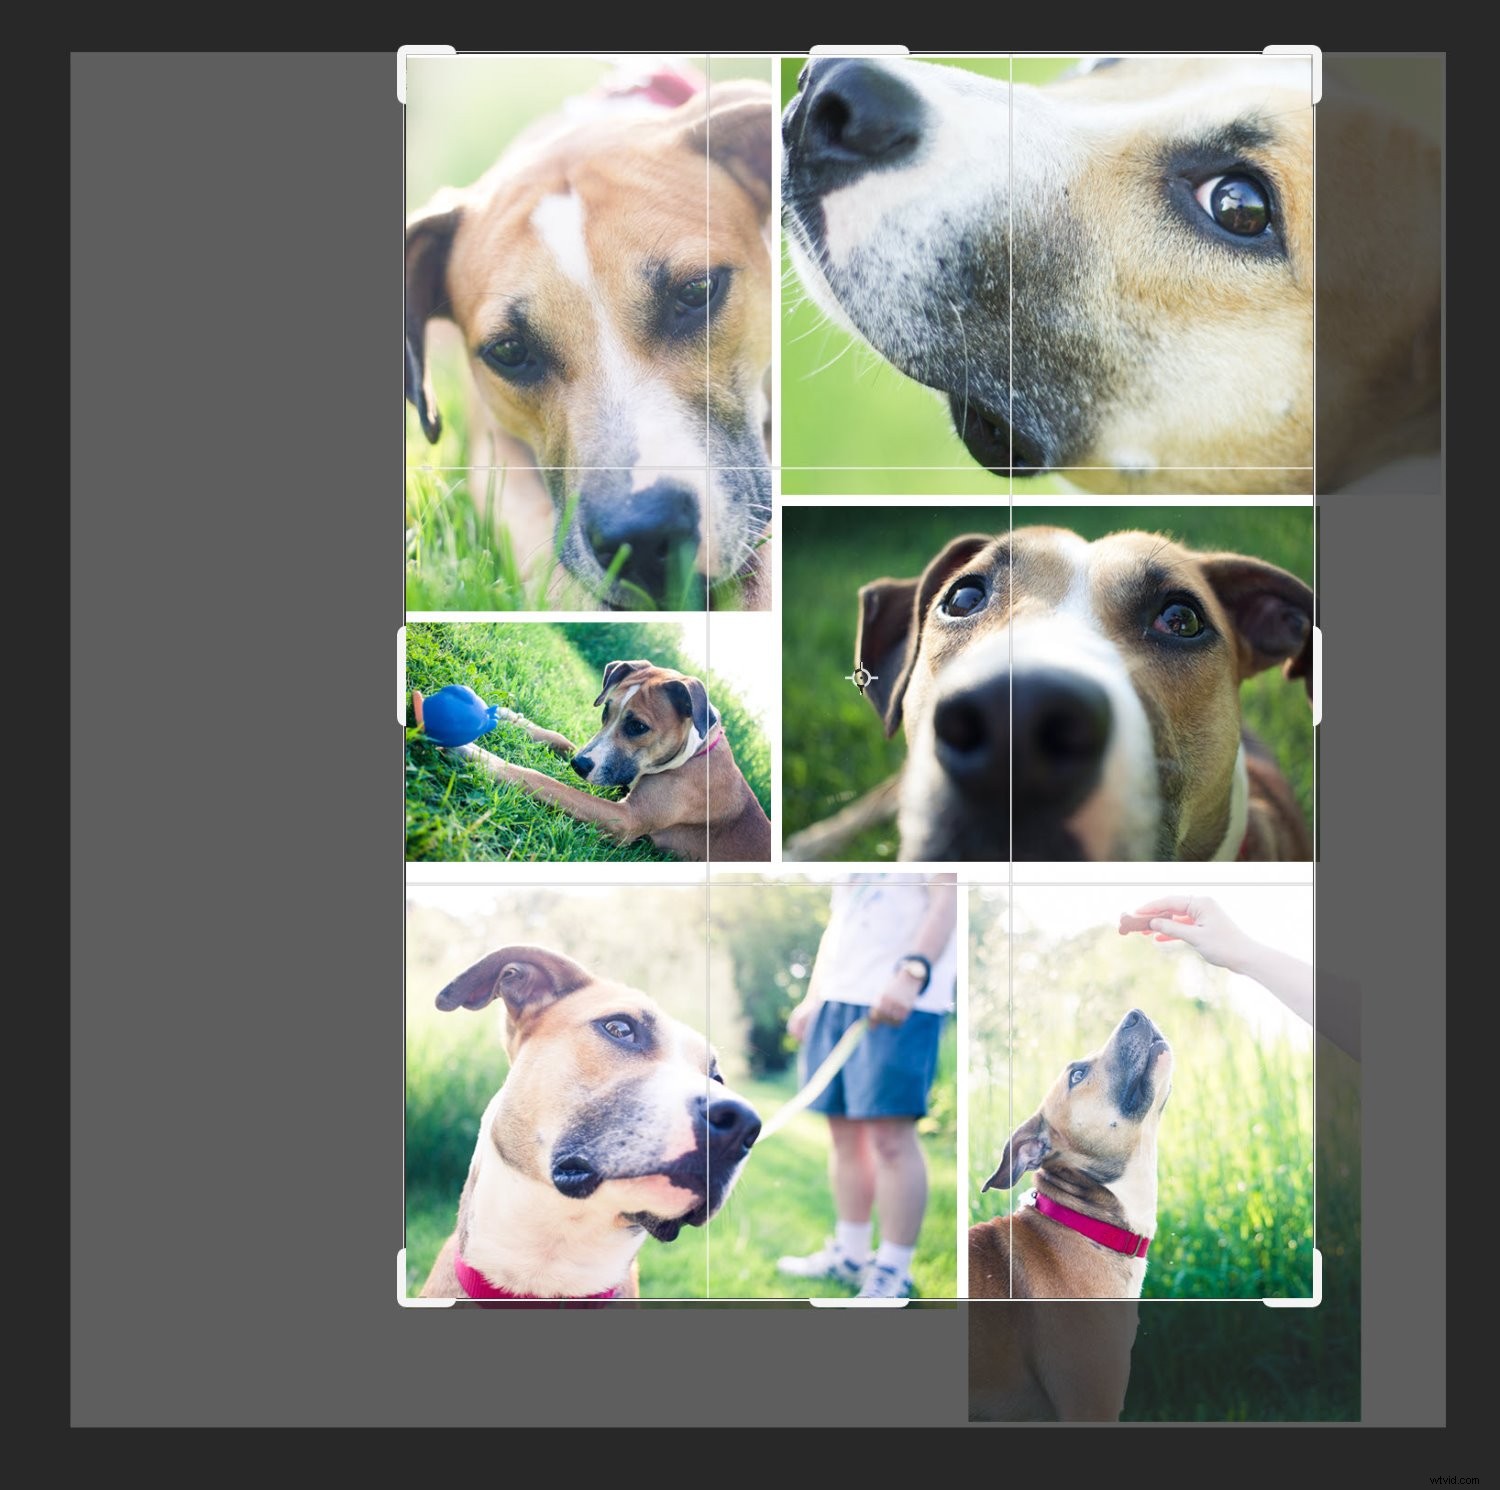
In this article, I’m going to give you an easy, step-by-step process for creating a stunning collage – one that looks like this:

(It’s a perfect way to share photos from an event, a real-estate shoot, or even a family photo session!)
Let’s get started.
Step 1: Choose your collage photos
Before you actually create the collage, you’ll need to pick your collage photos – and you’ll need to do this carefully.
I recommend selecting images connected by a theme (such as a location, an event, or even a concept). Include a mix of subjects at different scales; for instance, pick some wide shots that show the entire scene, as well as some detail photos that show lots of texture and personality. Without one or the other, the story won’t be complete. And it won’t carry the level of emotion that you’re after.
Speaking of storytelling: It often does help to focus on the story you’re trying to tell. Do you want to offer a narrative surrounding an event? Do you want to clearly convey a meaningful concept? Make sure to take this into account when picking photos!
One more tip: If possible, include at least three photos and no more than eight. Too few photos, and you won’t be able to tell the full story. Too many photos, and you’ll confuse the viewer with clutter (plus, it’ll be tough to show off individual details).
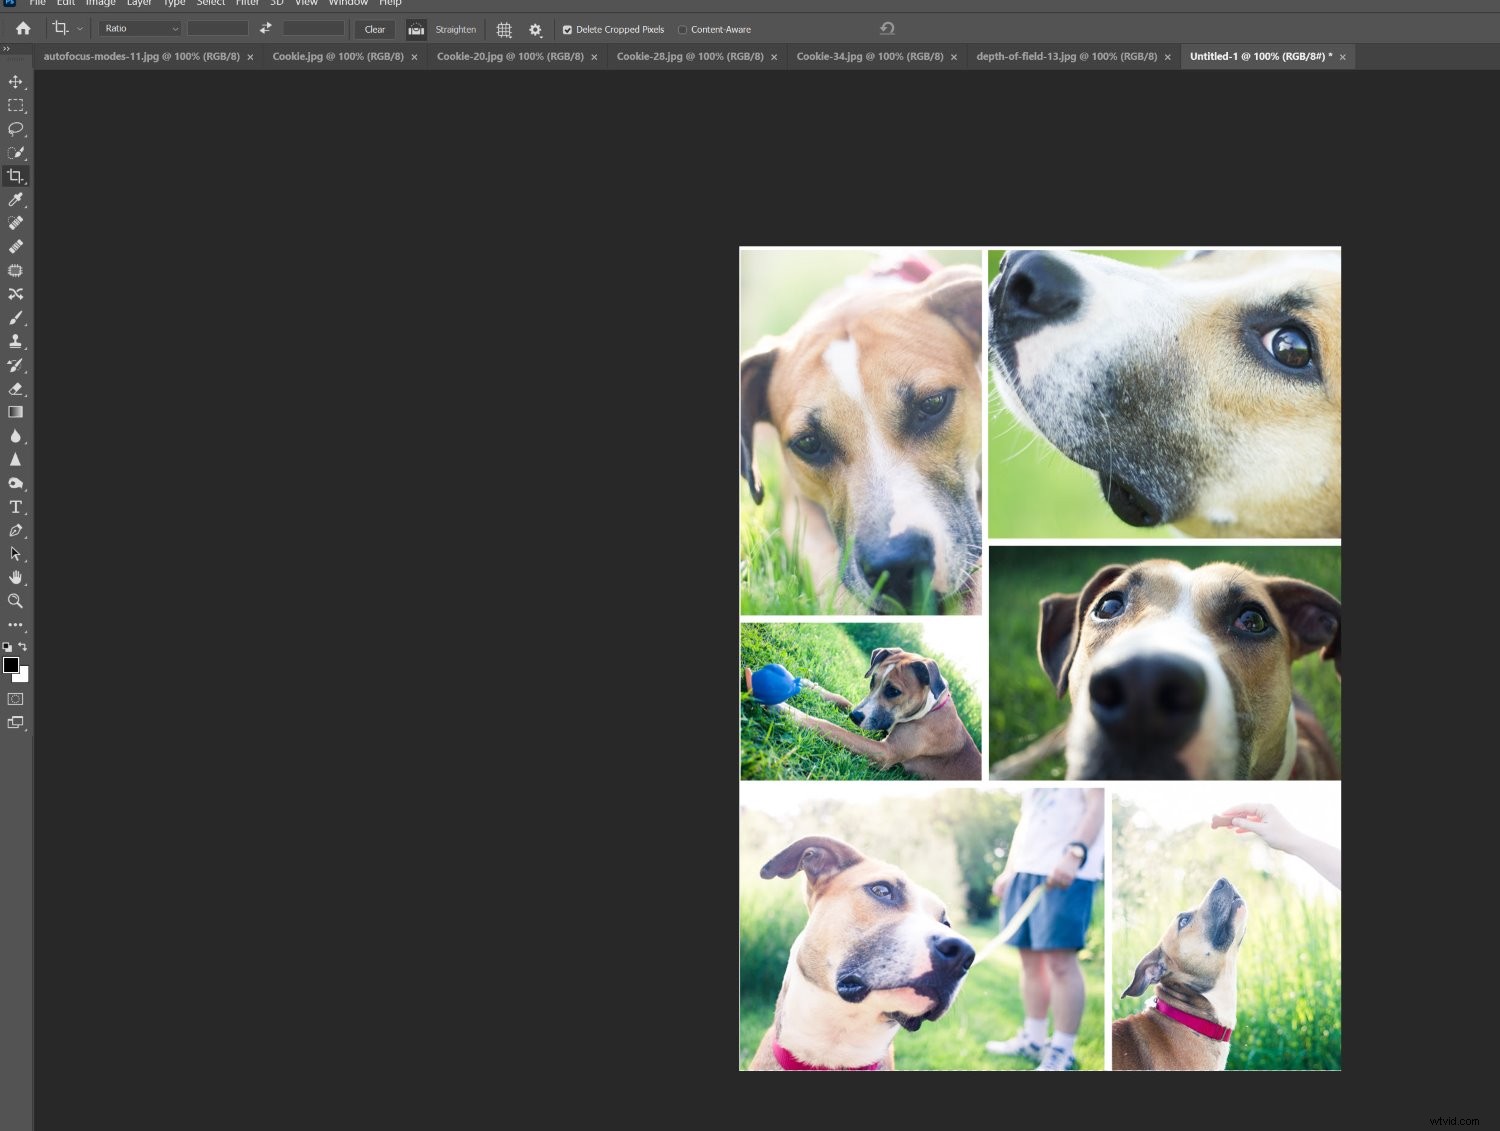
Step 2: Open the selected images in Photoshop
Once you’ve picked your photos, open them all in Photoshop.
To do this, you can drag and drop files directly onto the document window, or you can select File>Open and click on the relevant images.
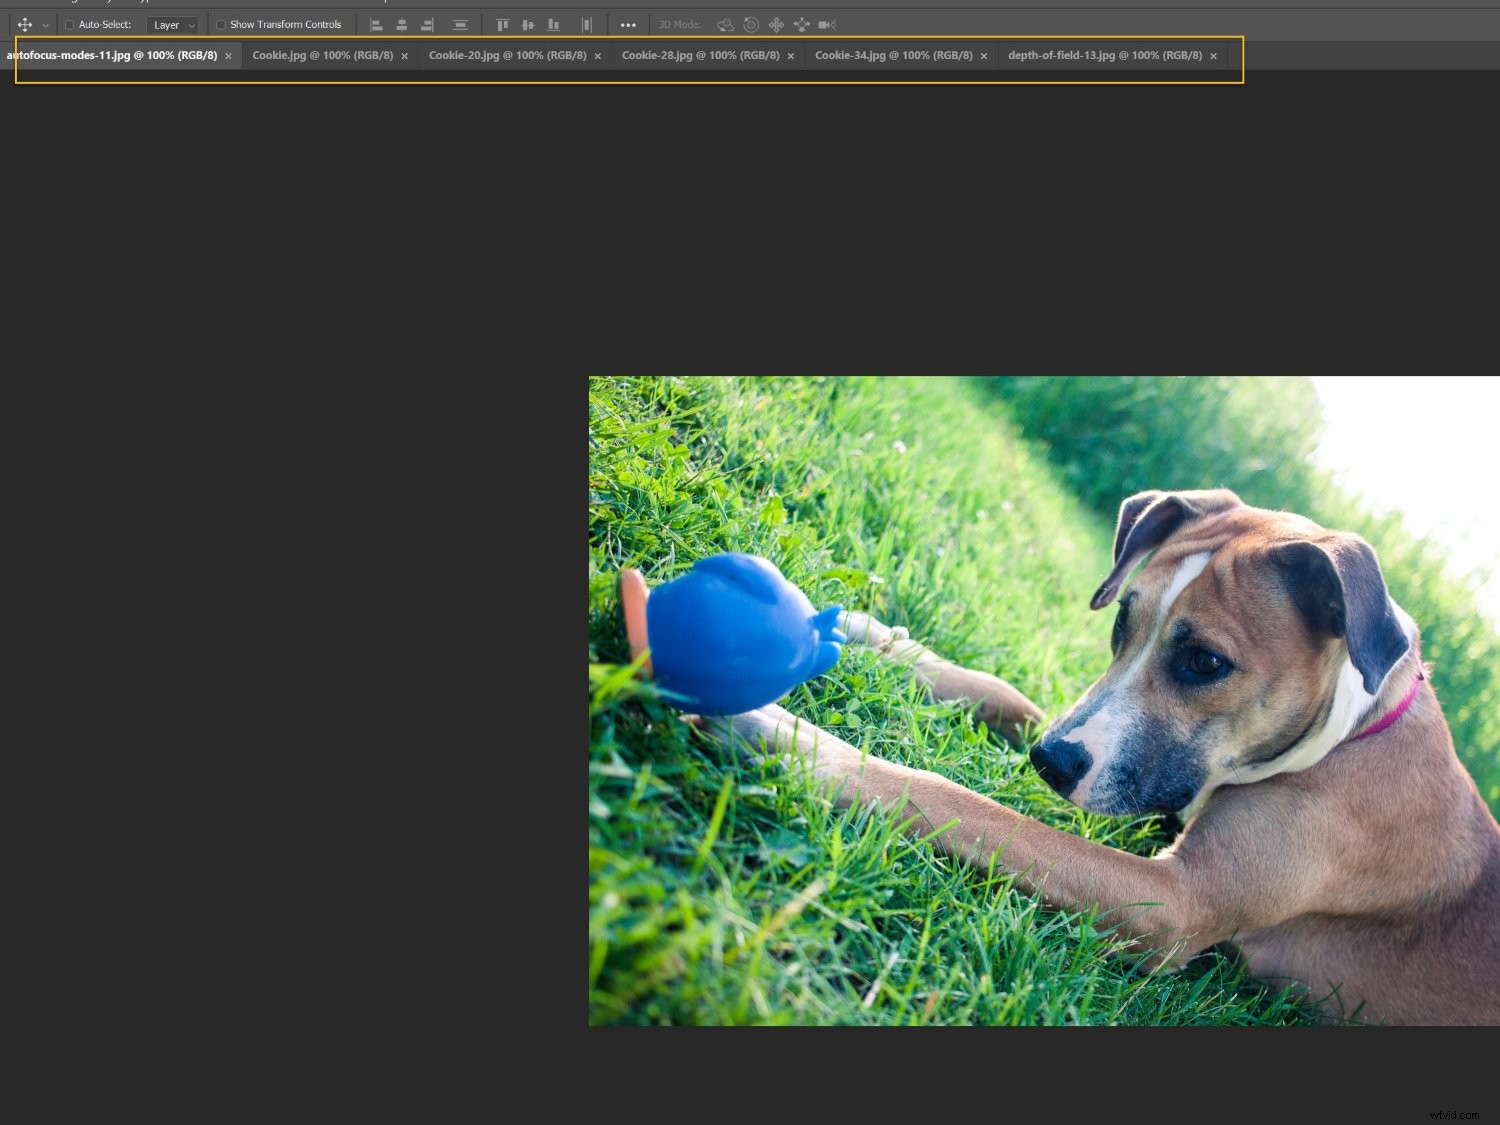
You should see the photos as separate tabs in the document window, like this:
Step 3: Create a new file for your Photoshop collage
Every Photoshop collage needs a background file where all the images will eventually be assembled.
While you can use an old collage template, if you’re making your first-ever collage, you’ll need to create a new document.
So select File>New in the Menu bar (or tap Ctrl/Cmd+N):
A New Document window should pop up, and you’ll need to dial in your file preferences.
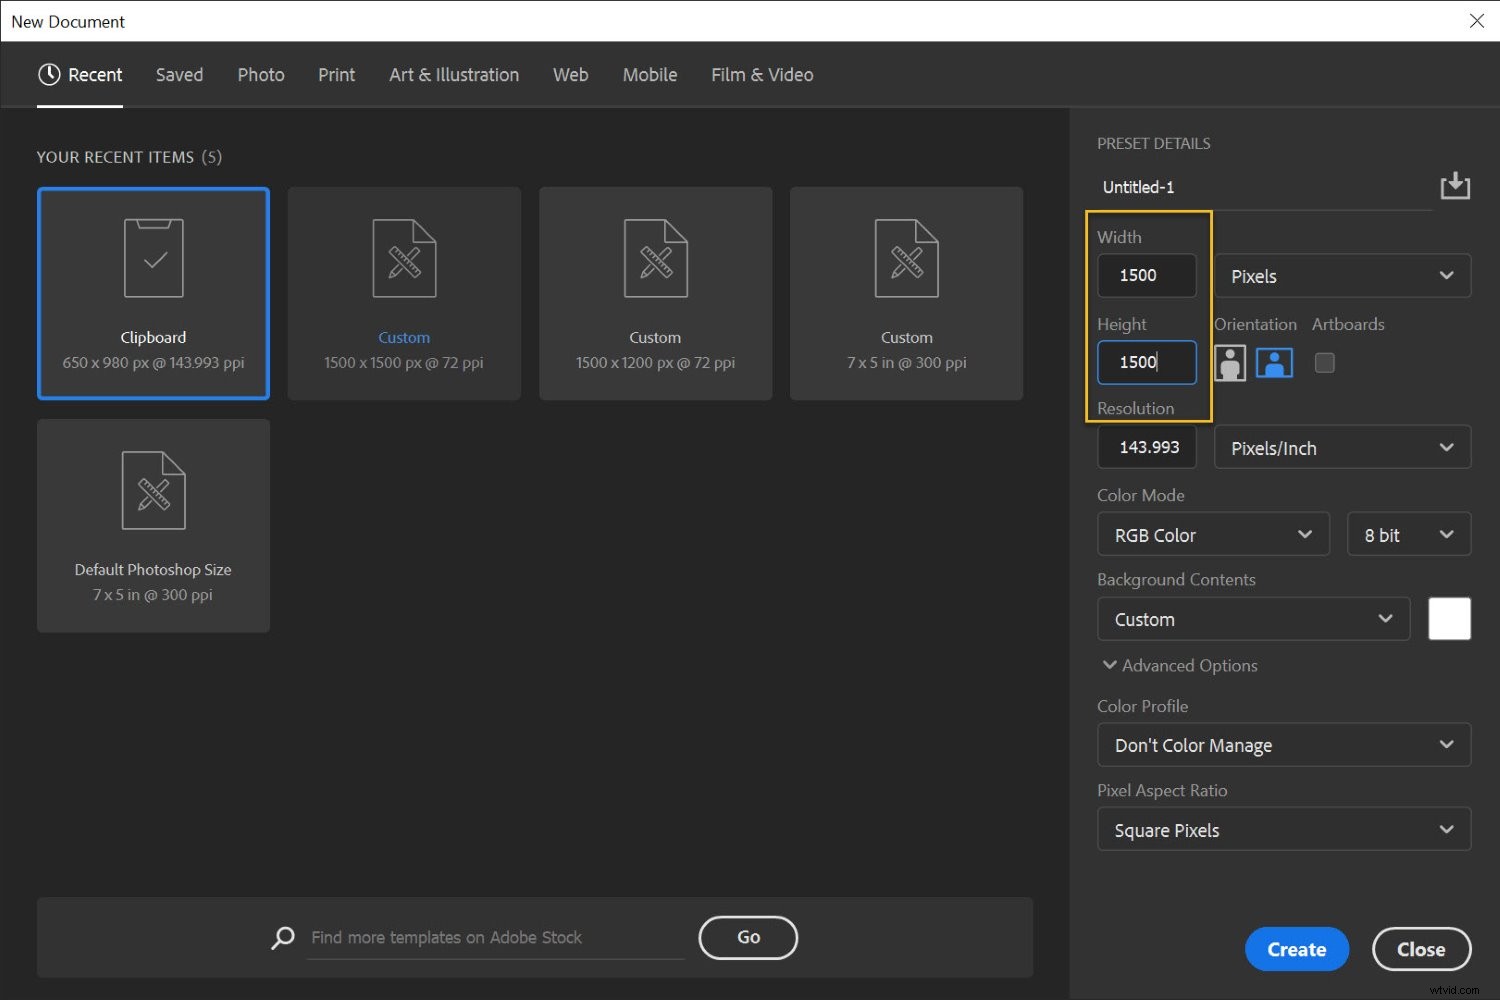
The specifics will depend on what you plan to do with the collage as well as the sizes of your chosen photos. If you’re working with big JPEGs and you aim to print, you should probably pick a 5000+ pixel width and height. If you want to display your collage on a standard web page, however, a 1500 pixel width and height will do just fine (though you can always start big and resize later, as discussed in Step 8 below).
(I do recommend you make the file size a bit larger than the size you want in the end; that way, you can do a final crop to deal with any arrangement issues.)
Step 3: Add your images one at a time
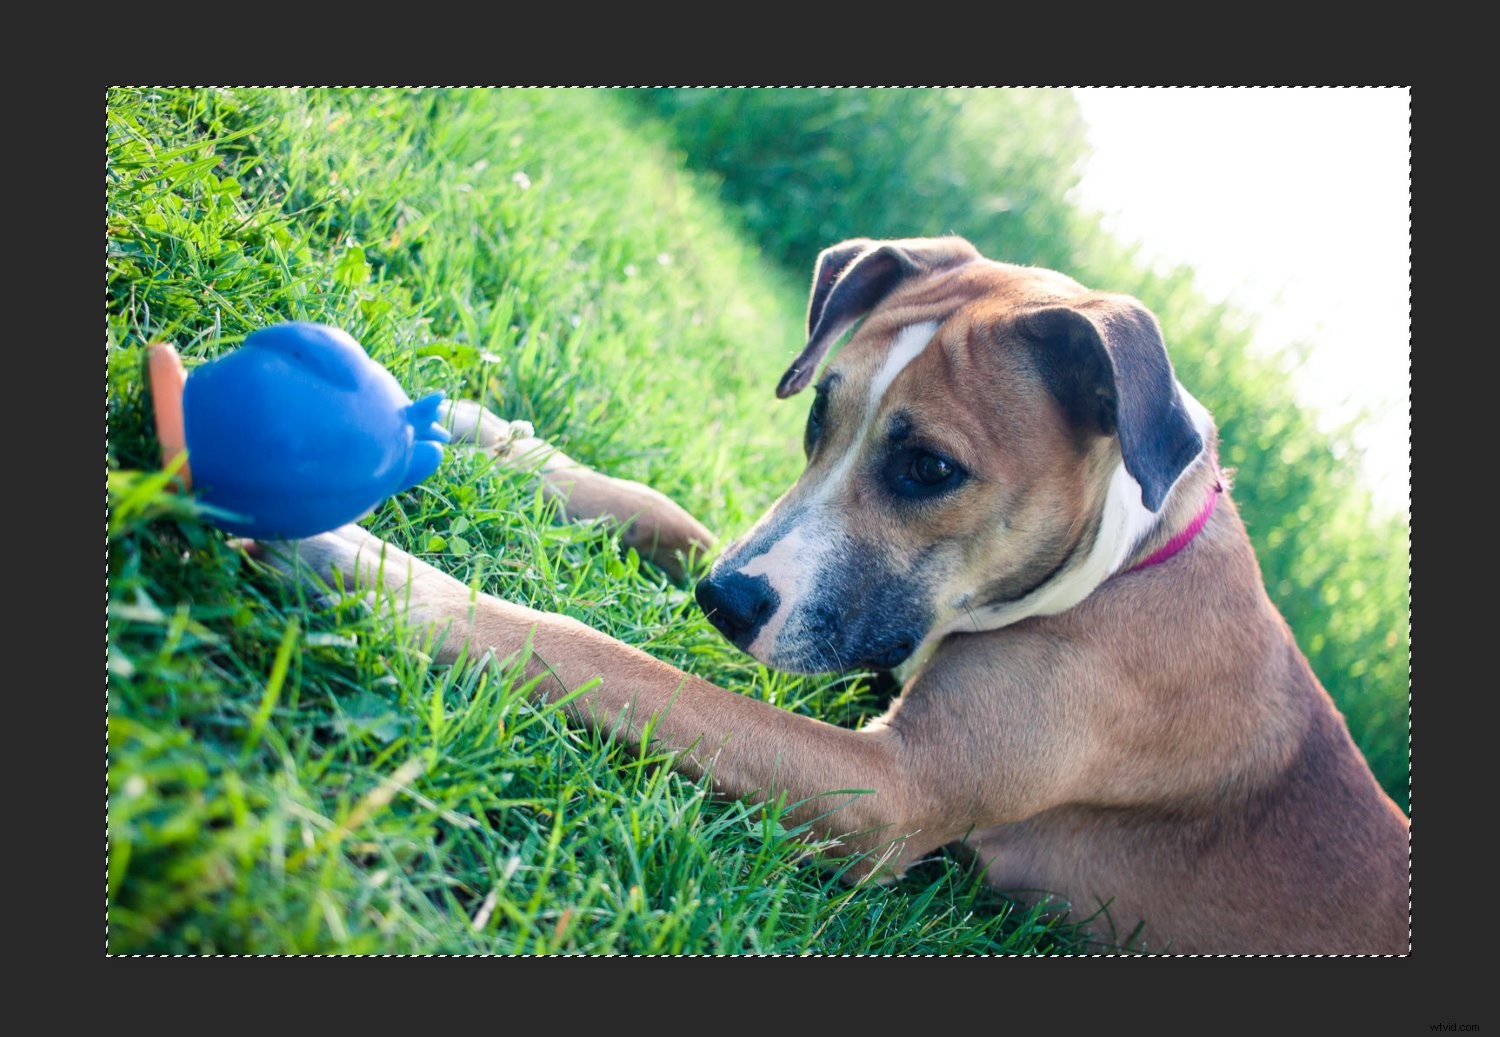
Head to your first open photo, then select it.
To do this, you can drag with the Marquee tool:
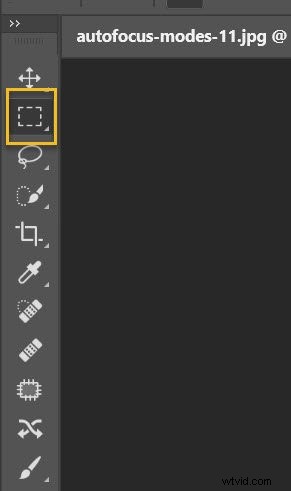
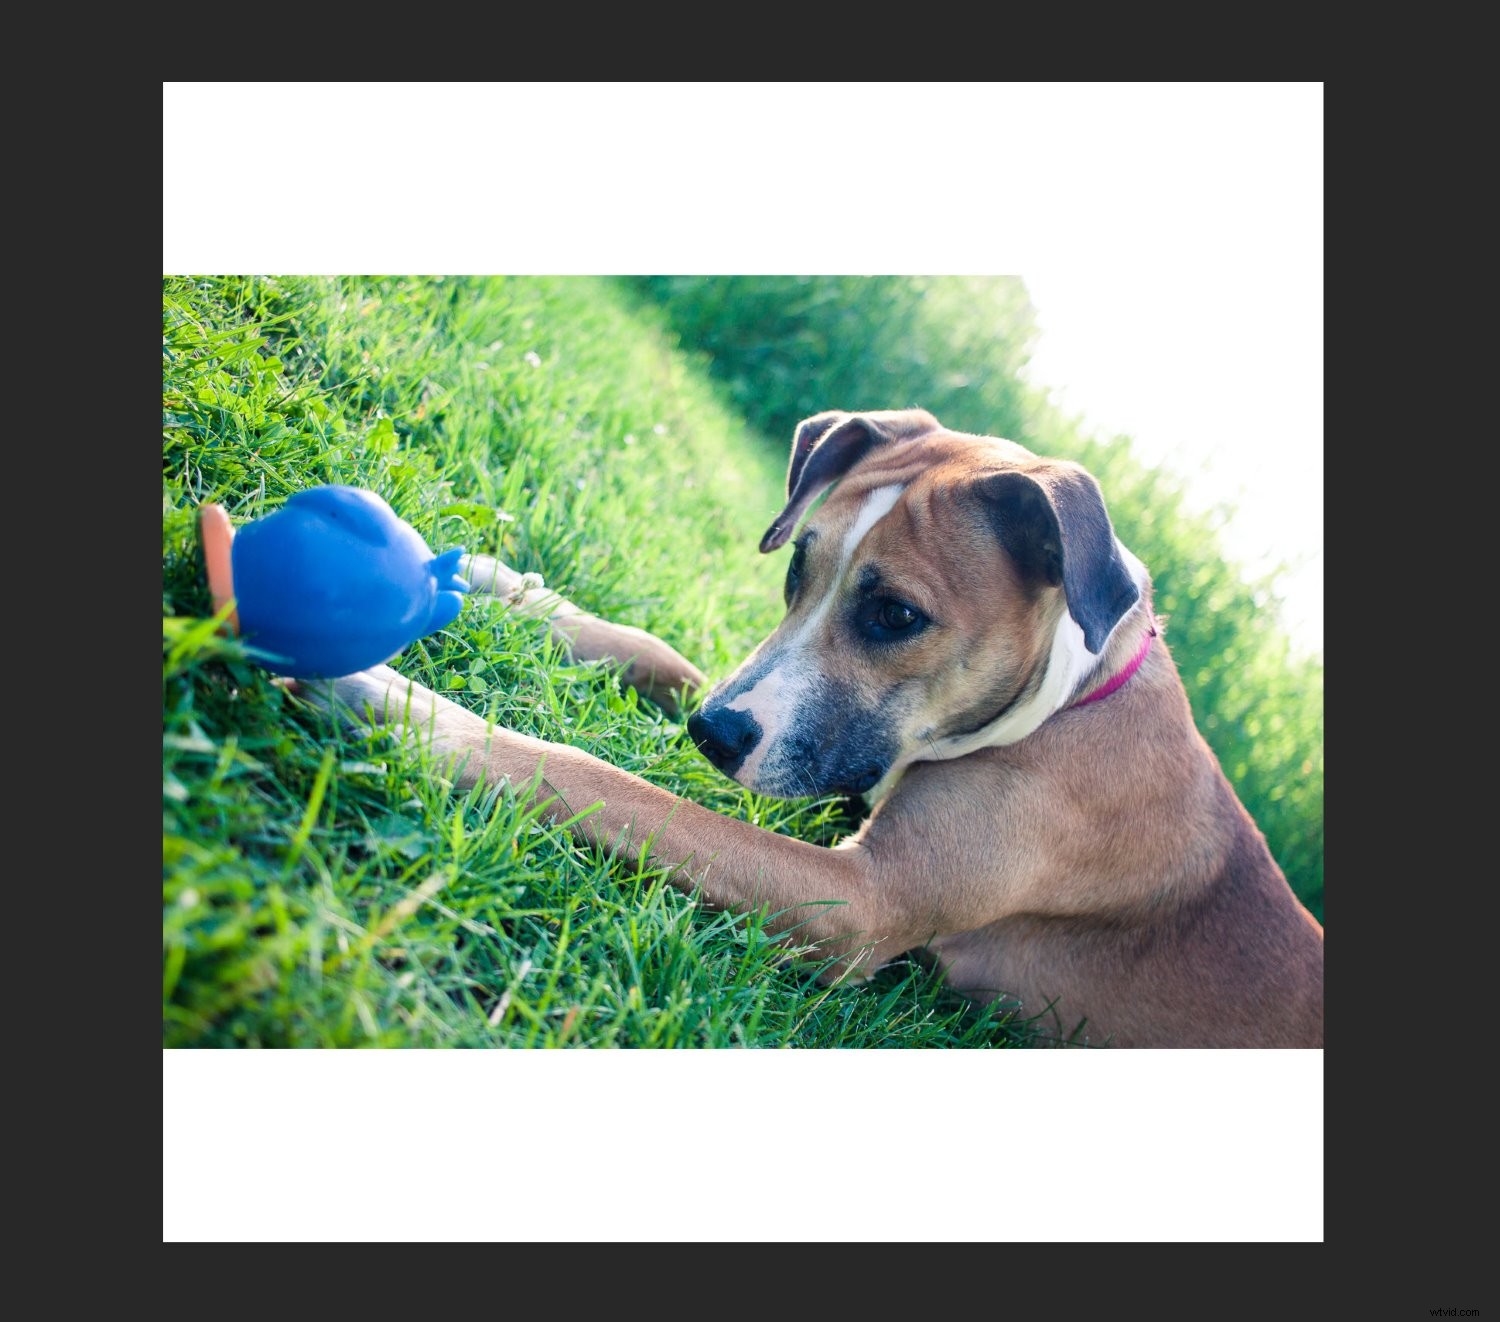
Or you can hit Ctrl/Cmd+A. You should see the marching ants around the border of your image:
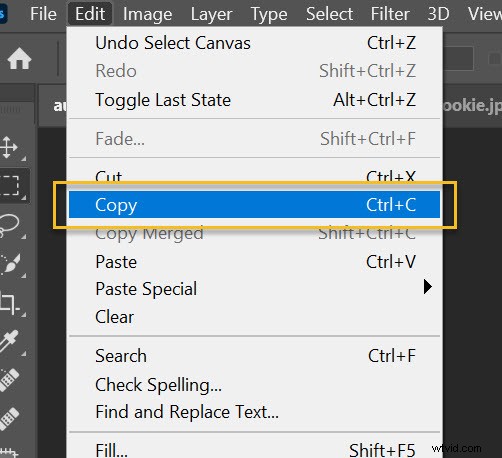
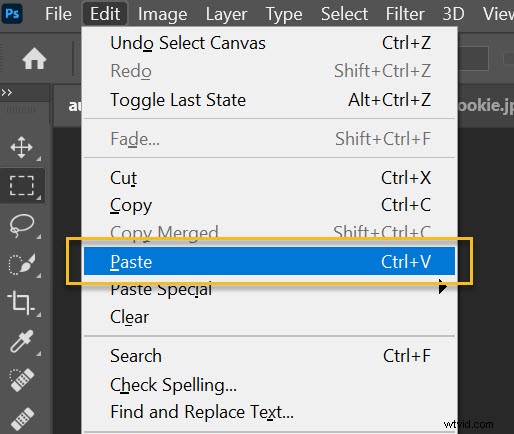
Then choose Edit>Copy (or tap Ctrl/Cmd+C):
Finally, head over to the new document, then choose Edit>Paste (or tap Ctrl/Cmd+V):
This will add the photo to the blank document, but on its own layer.
Depending on the size and resolution of the new image, you may need to make some adjustments with Edit>Free Transform (or Ctrl/Cmd+T). For instance, my first photo was way too large:
So I used the Free Transform option to scale it down:
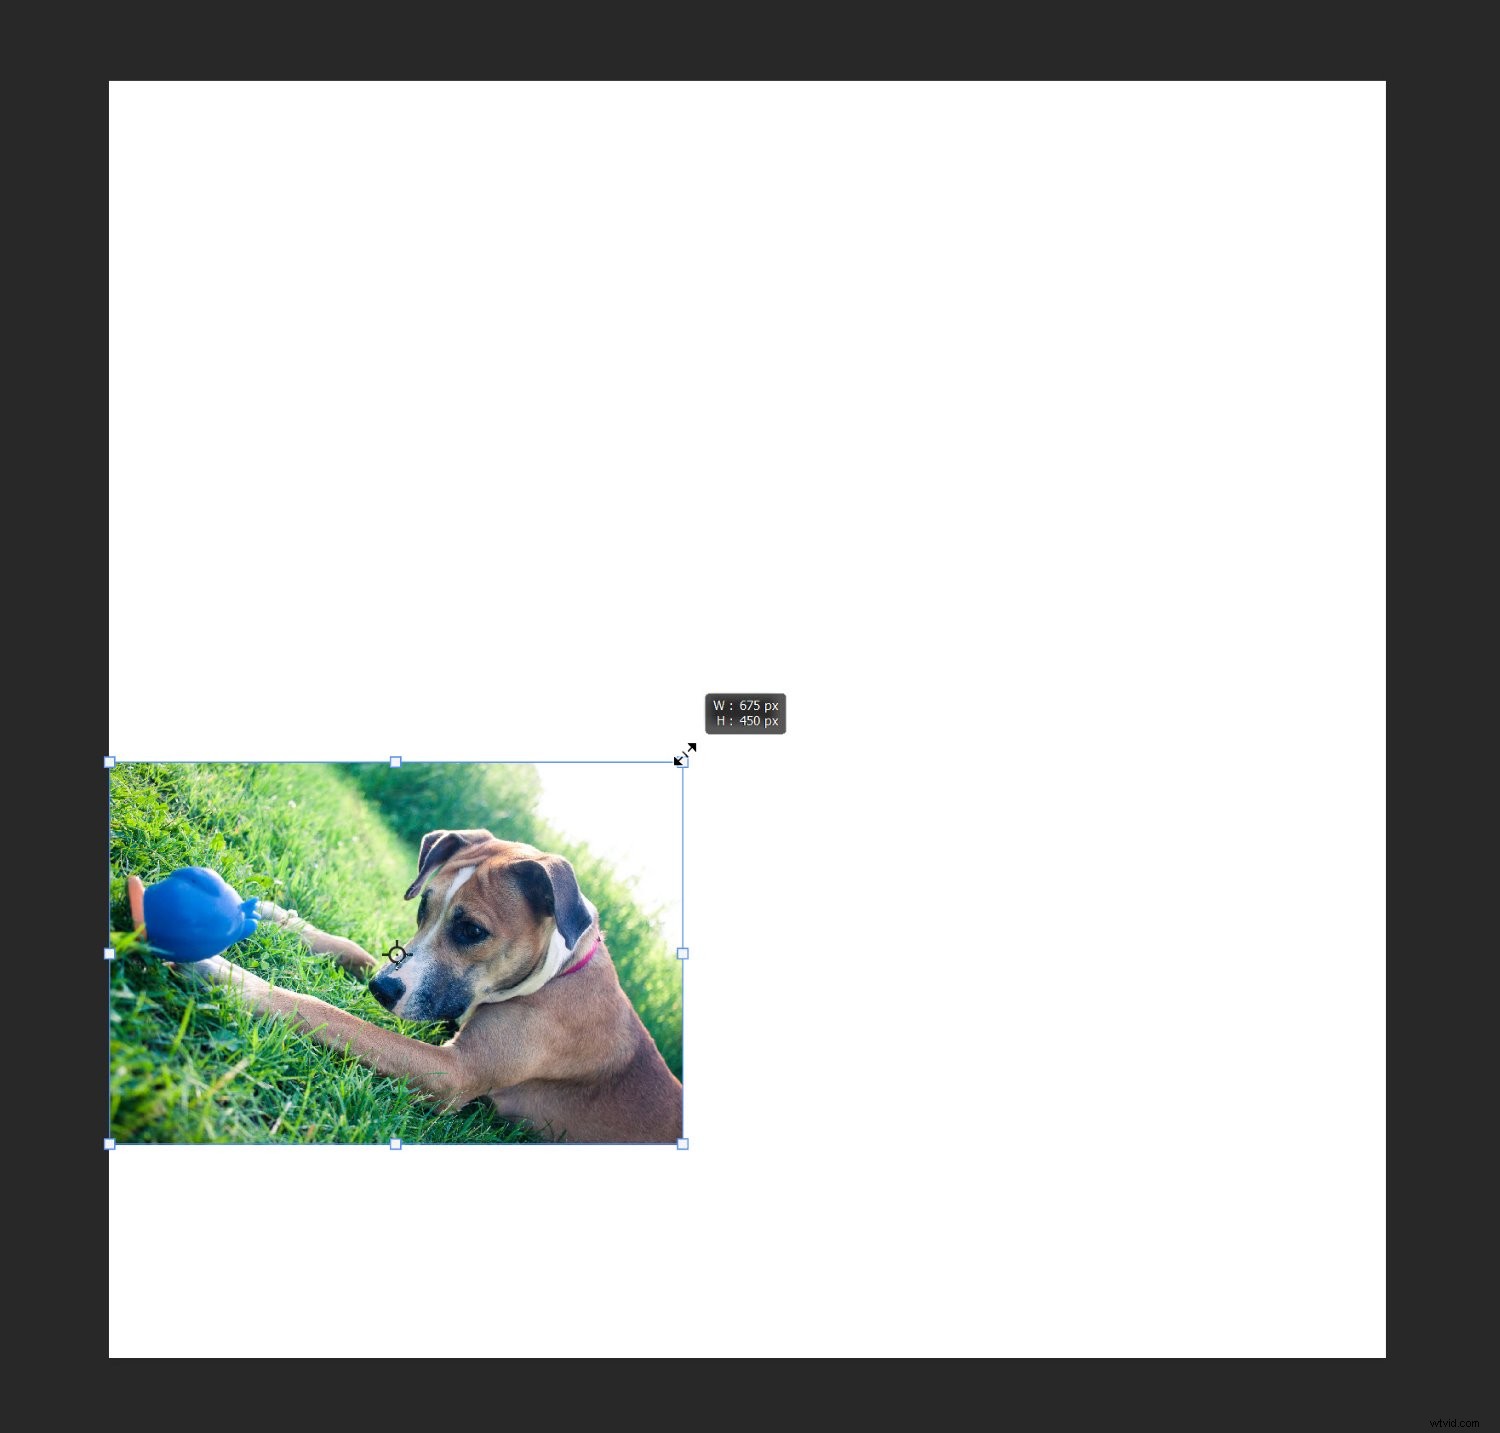
(Once you’ve activated Free Transform, simply drag the edge nodes until you get the result you’re after. You want an image that’s small enough to be comfortably moved around the canvas.)
Then repeat the above instructions for all the remaining collage photos.
Step 4: Arrange your photos
After you’ve added all the collage photos to your document, it’s time to do some arranging. This is where you shift the photos around until they tell your story.
After doing several collages, you’ll start to discover your preferred style; personally, I like to create symmetrical layouts as well as interlocking puzzles. But each story does have slightly different needs, so don’t be afraid to experiment!
To adjust the photo positions, you can select the Move tool (or tap V):

Then drag around all the images until you get a good result. If you’d like to resize any photos, use the Free Transform option discussed above.
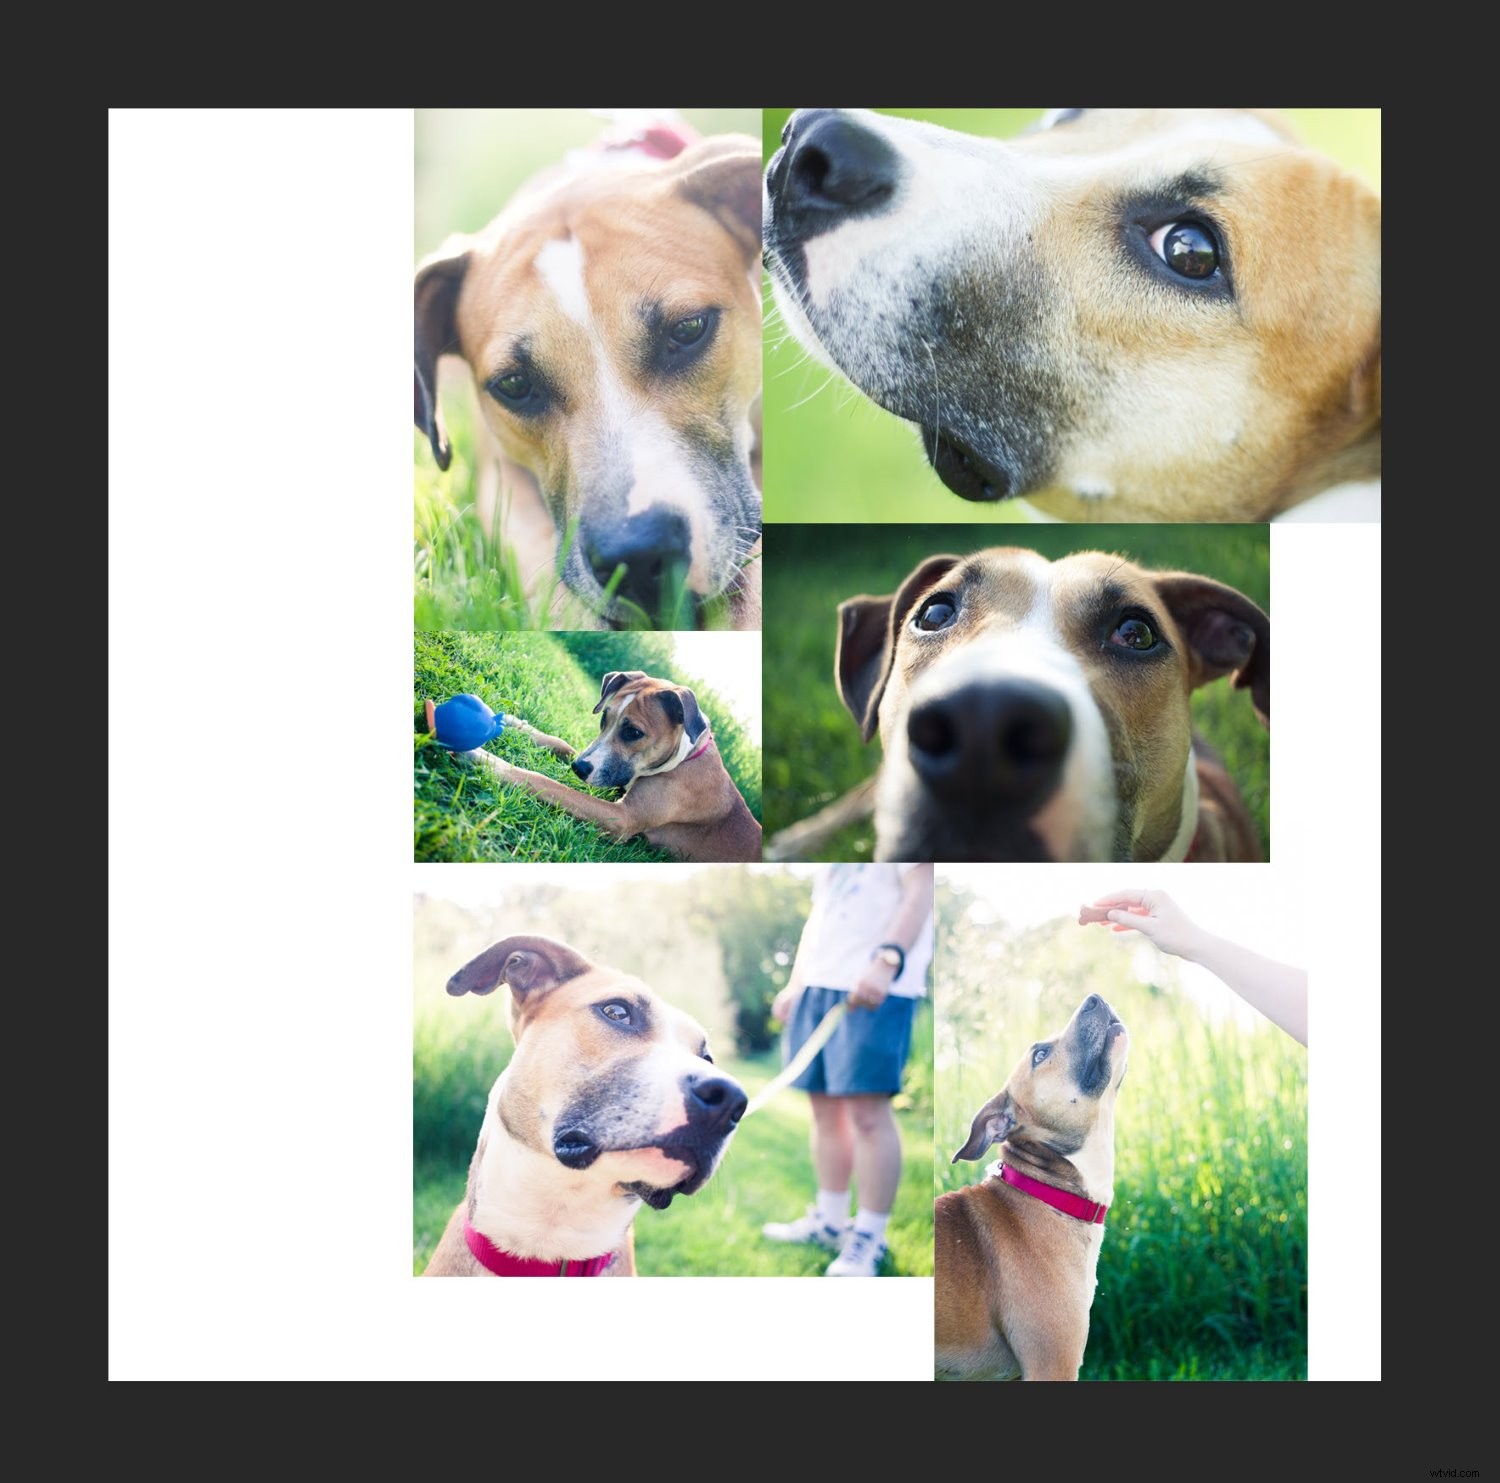
With my pet collage example, I first tried a more symmetrical arrangement:
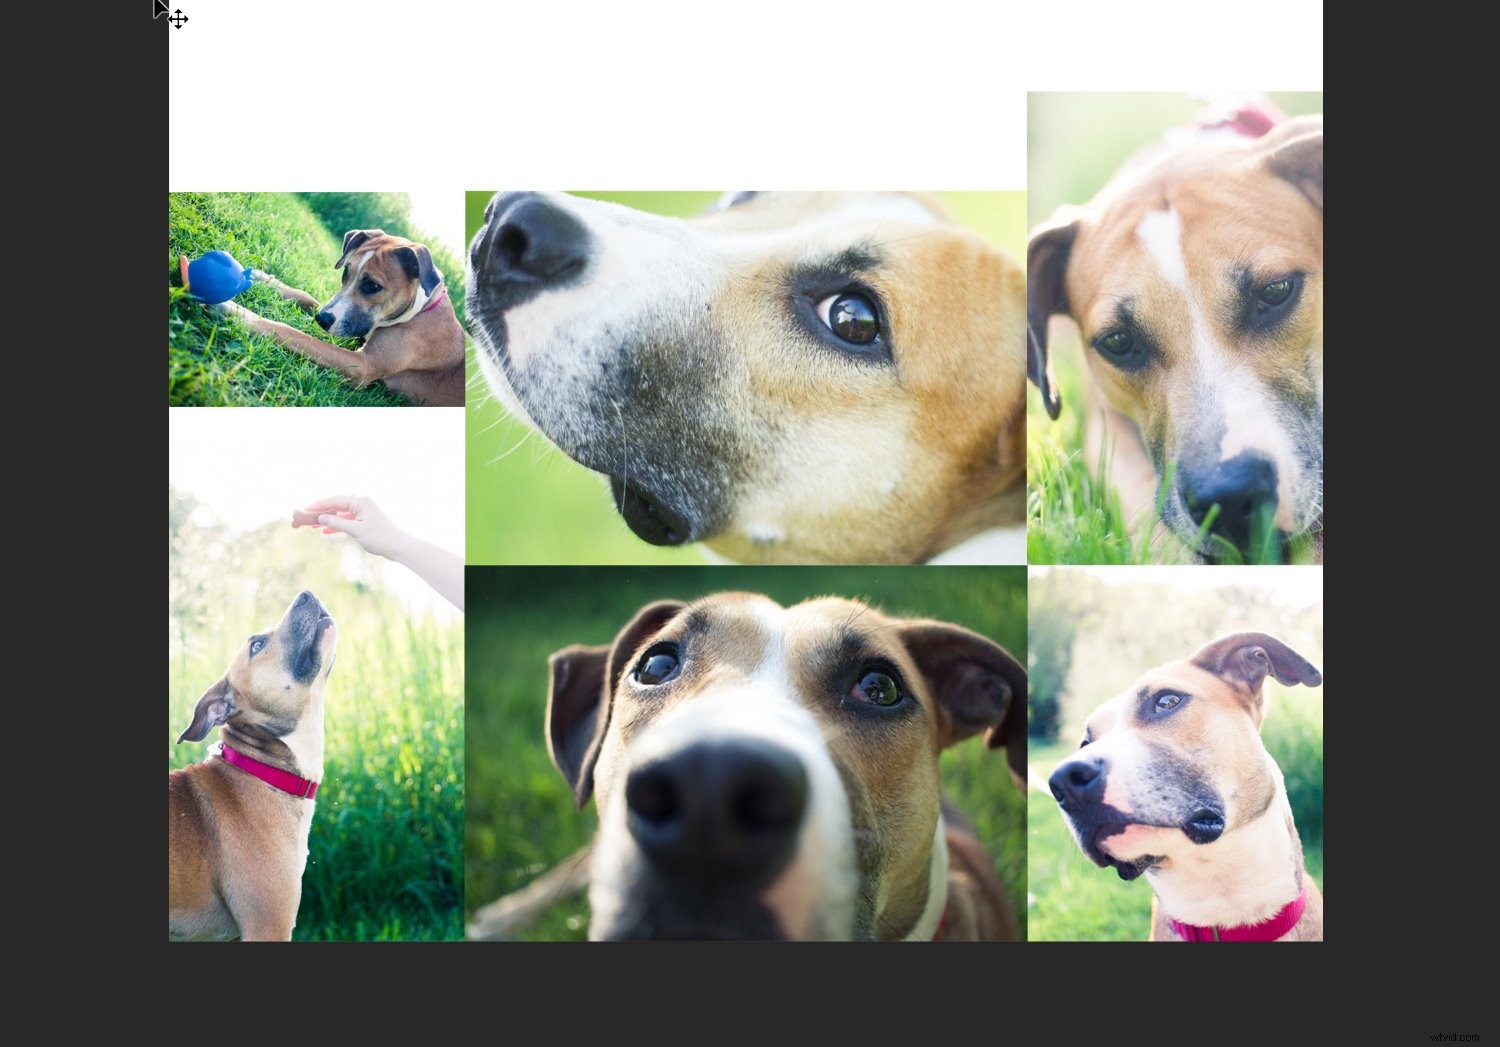
But I settled on a puzzle-type composition:
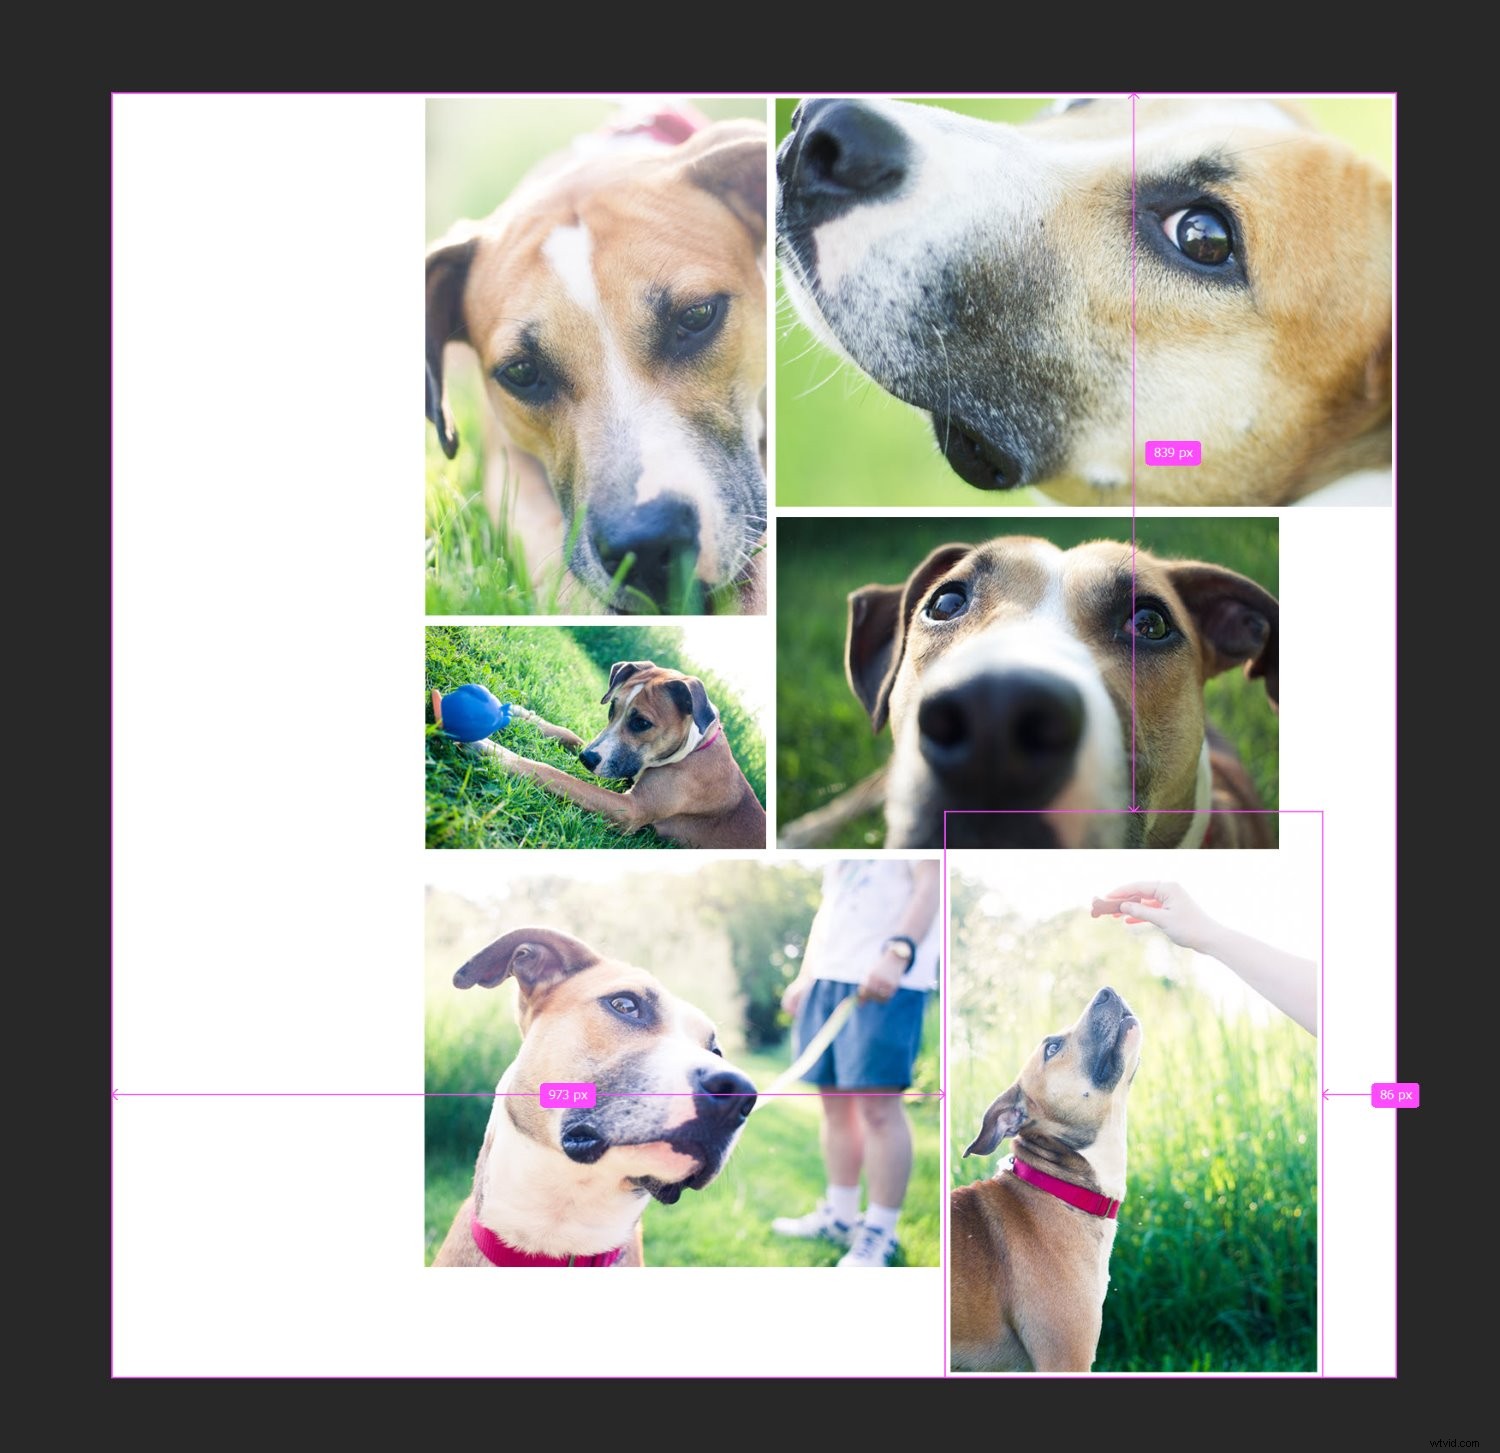
Step 5: Add image spacing
Once you’ve determined the layout and you’ve sized all the images, I recommend giving the design some space. It’s personal preference, but the effect is generally nice.
In other words, instead of a collage like this:
You want one like this:
It’s pretty easy to do; you simply create a thin, white border between the images. You can select each photo, then use the mouse or arrow keys to drag until you see white space. Or you can double-click on each image in the Layers panel:
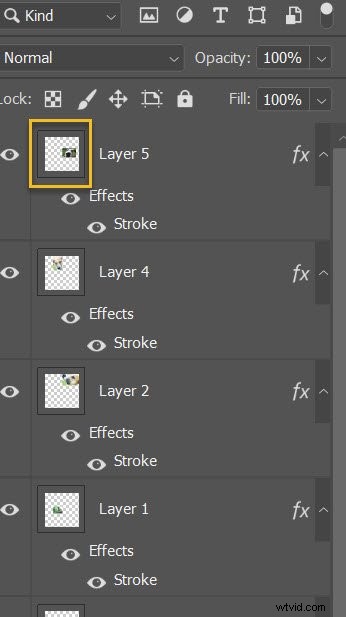
This will open the Layer Style menu, where you can select the Stroke option:
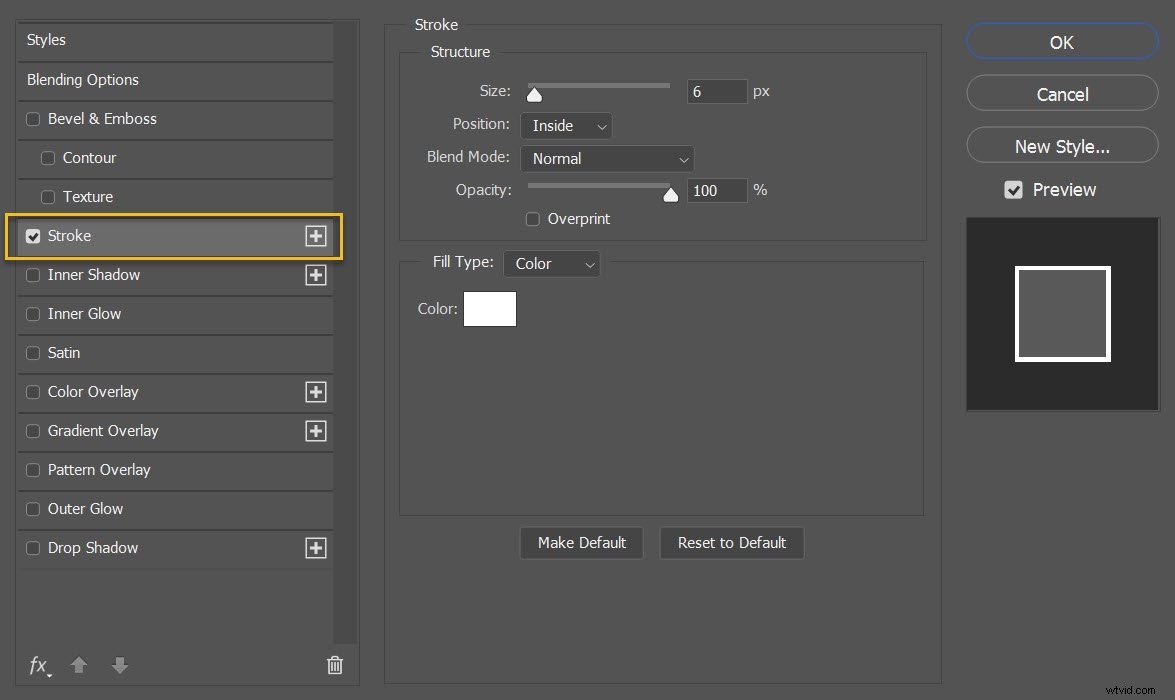
Make sure the Position is set to Inside, the Blend Mode is set to Normal, and the color is set to White:
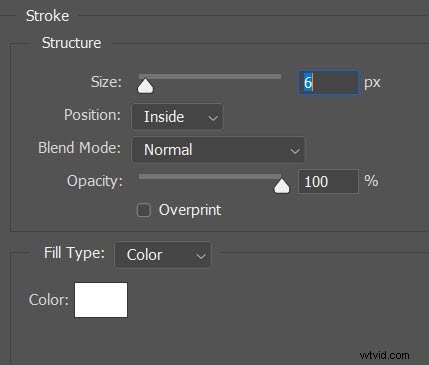
Then increase the Size until you see a nice border appearing around your images.

Unfortunately, this will crop the images somewhat – but depending on the look you like, it might be worth it.
Step 6: Merge all layers
At this point, you should have your collage laid out with perfect photo spacing.
Which means you’re ready to merge all the layers.
Simply select Layer>Merge Visible (or tap Ctrl/Cmd+Shift+E):
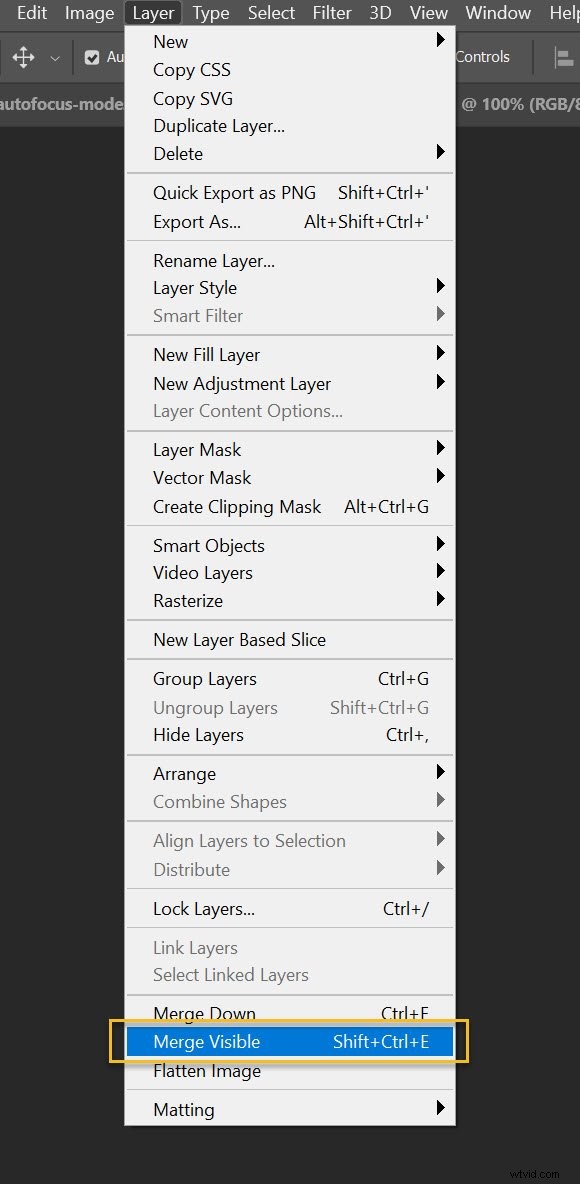
And the layers will merge into a single beautiful Photoshop collage!
Step 7: Crop the final image
Before you resize and export your collage, I recommend cropping any extra white space around the edges (you want the design to look even).
Just hit C or select the Crop tool:
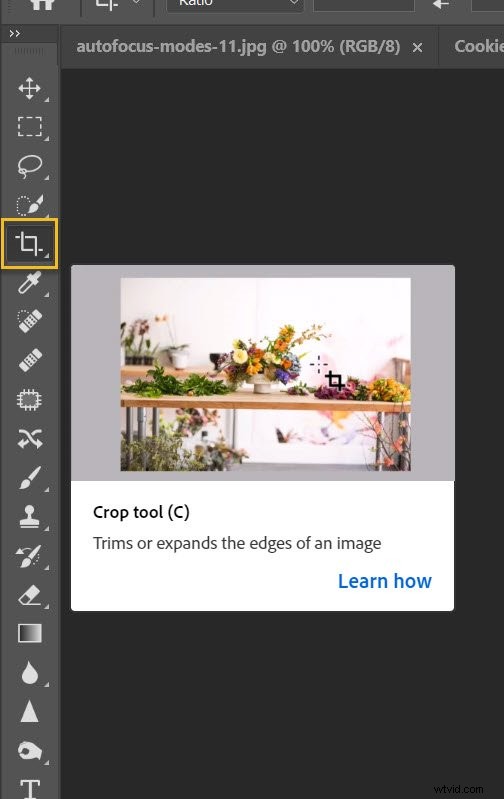
Then drag at the edges of the photo to get rid of any unwanted areas:
Step 8: Resize
This step depends on your goals for the collage. If you want to print, you’ll need to resize based on printing requirements (which will generally involve leaving the image pretty large). If you want to post your collage on Facebook, Instagram, or Pinterest, however, consider sizing down to a maximum of 1500 pixels on the long end.
So select Image>Image Size (or tap Alt/Opt+Ctrl/Cmd+I):
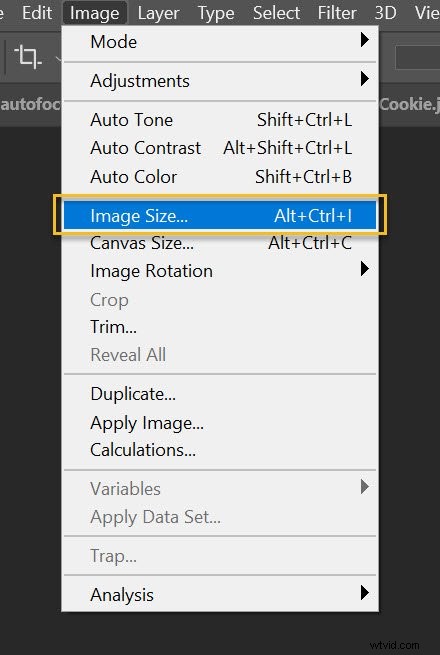
Then dial in your preferred width and height.
Step 9: Save and export your collage
Last but not least:
Save and export!
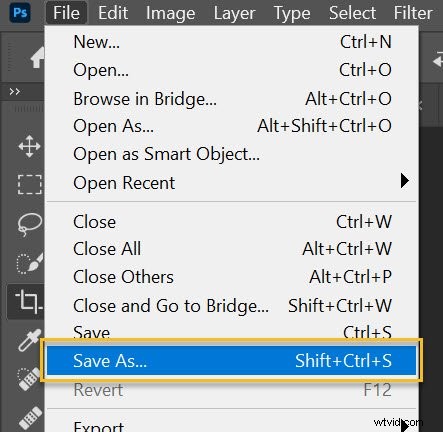
You’ll want to select File>Save As:
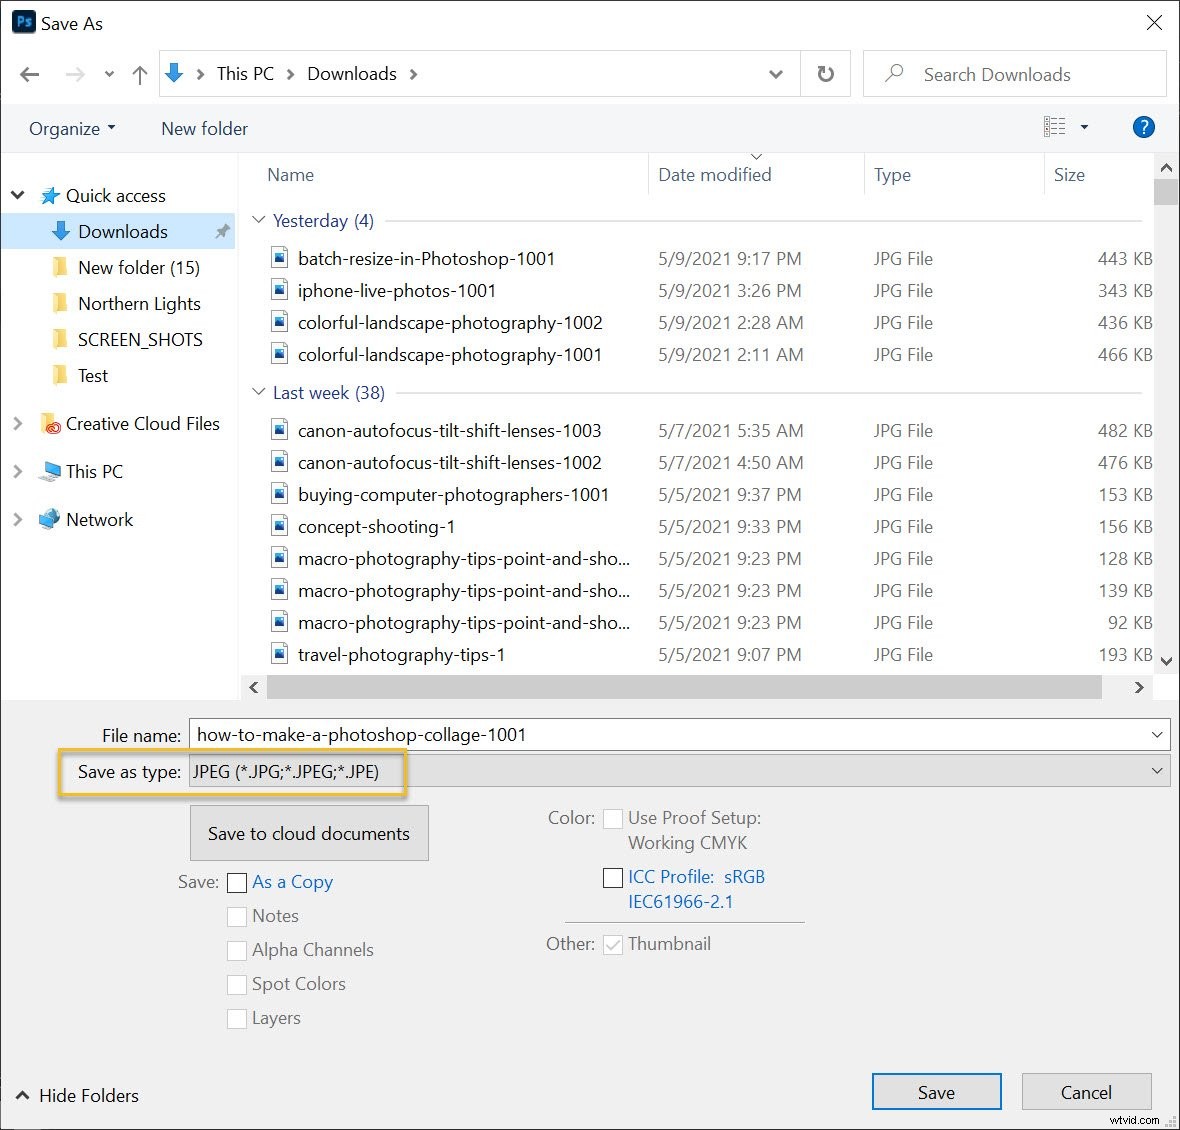
Then choose a location and file name, make sure that Save as type is set to JPEG, and hit Save:
And select your preferred image quality (I usually go for around 8):
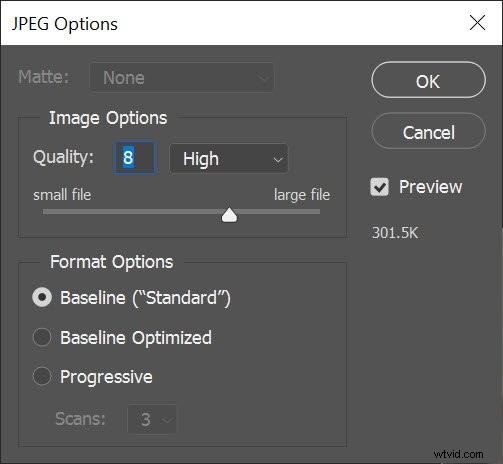
And you’re done! Photoshop will save your collage in the specified location.
How to make a Photoshop collage: final words
Well, there you have it:
A simple process for creating a collage in Photoshop. It’s bound to look great, so don’t be shy; share it all over your social media pages!
Now over to you:
Have you made any collages previously? Have any additional tips? Please share your advice (and collage photos!) in the comments below.