David Hockney’s approach to art has made him one of the most influential British artists of the 20th century. Exploring the nature of photographic representation, Hockney’s distinctive method of photography is both thought provoking and physically engaging. In this tutorial, we’ll have a look at creating a simple David Hockney-inspired Photomontage in Photoshop.
The photography of David Hockney
David Hockney once said, “photography is all right if you don’t mind looking at the world from the point of view of a paralyzed cyclops-for a split second.”
However, in the 1980s, Hockney began to experiment with the photographic medium. Taking numerous Polaroid or 35mm photographs of a scene from a variety of perspectives, Hockney would then arrange the collection of images into a cohesive body, creating an almost Cubist rendering of visual reality. He called these collages and photo montages joiners.
This distinctive approach to image making was a reflection of Hockney’s dislike for photographs executed with a wide-angle lens. By creating his joiners, Hockney sought to reflect the process of seeing, creating a narrative based around visual experience.
How to make a simple Hockney-inspired Joiner
Step 1: Select an image
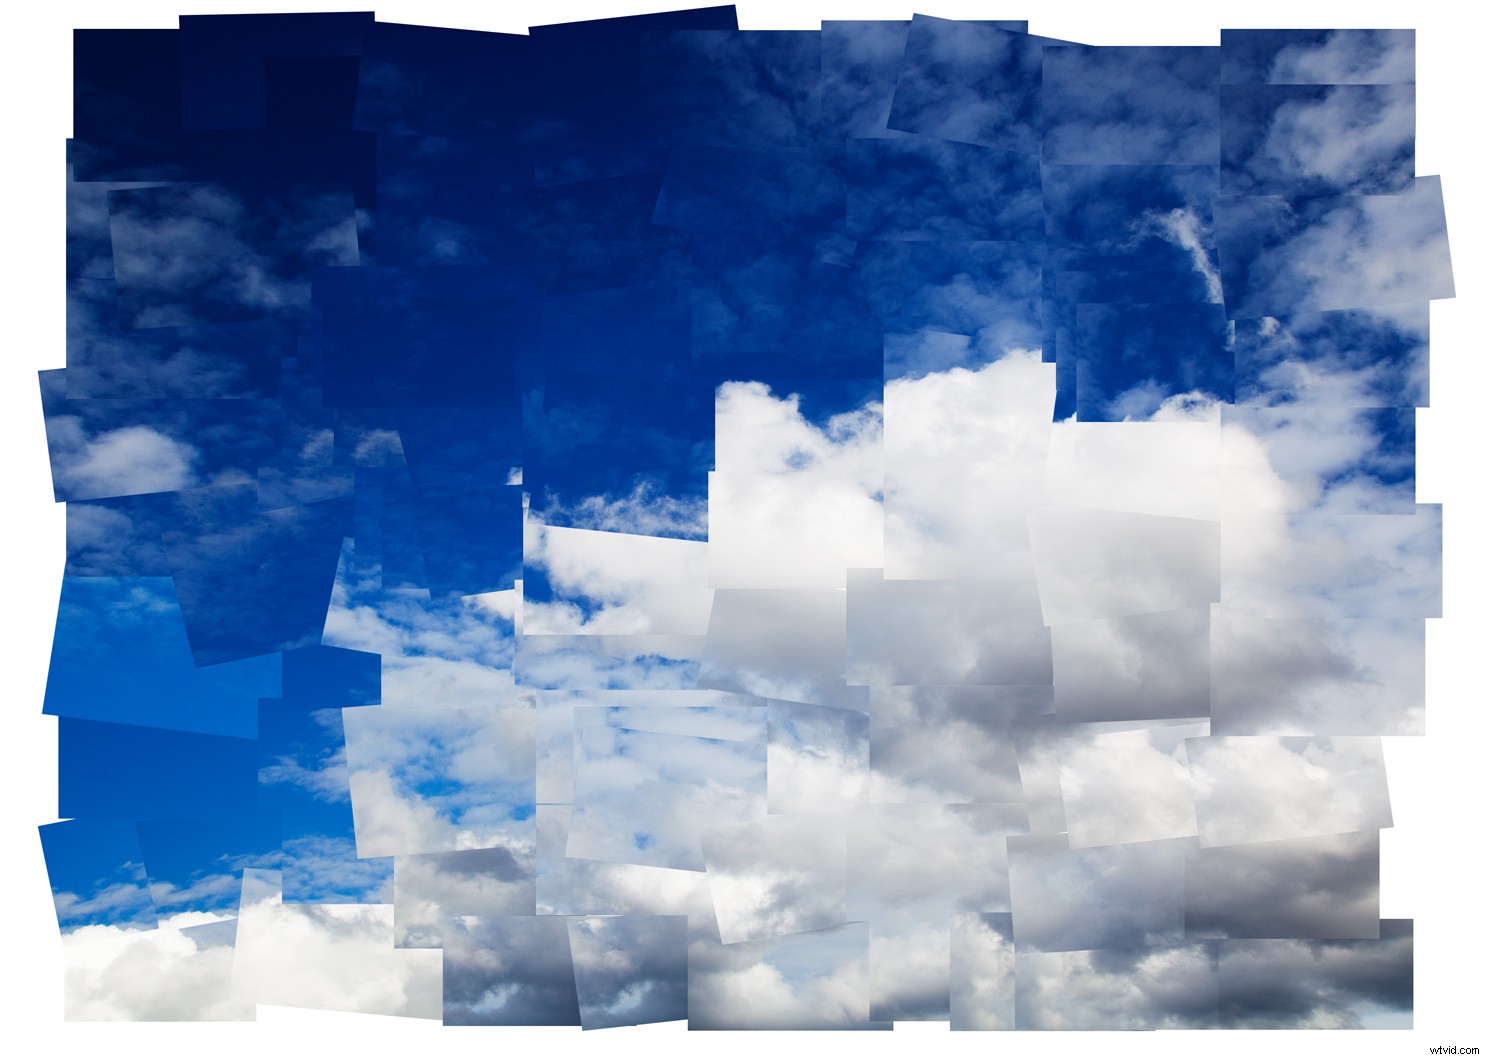
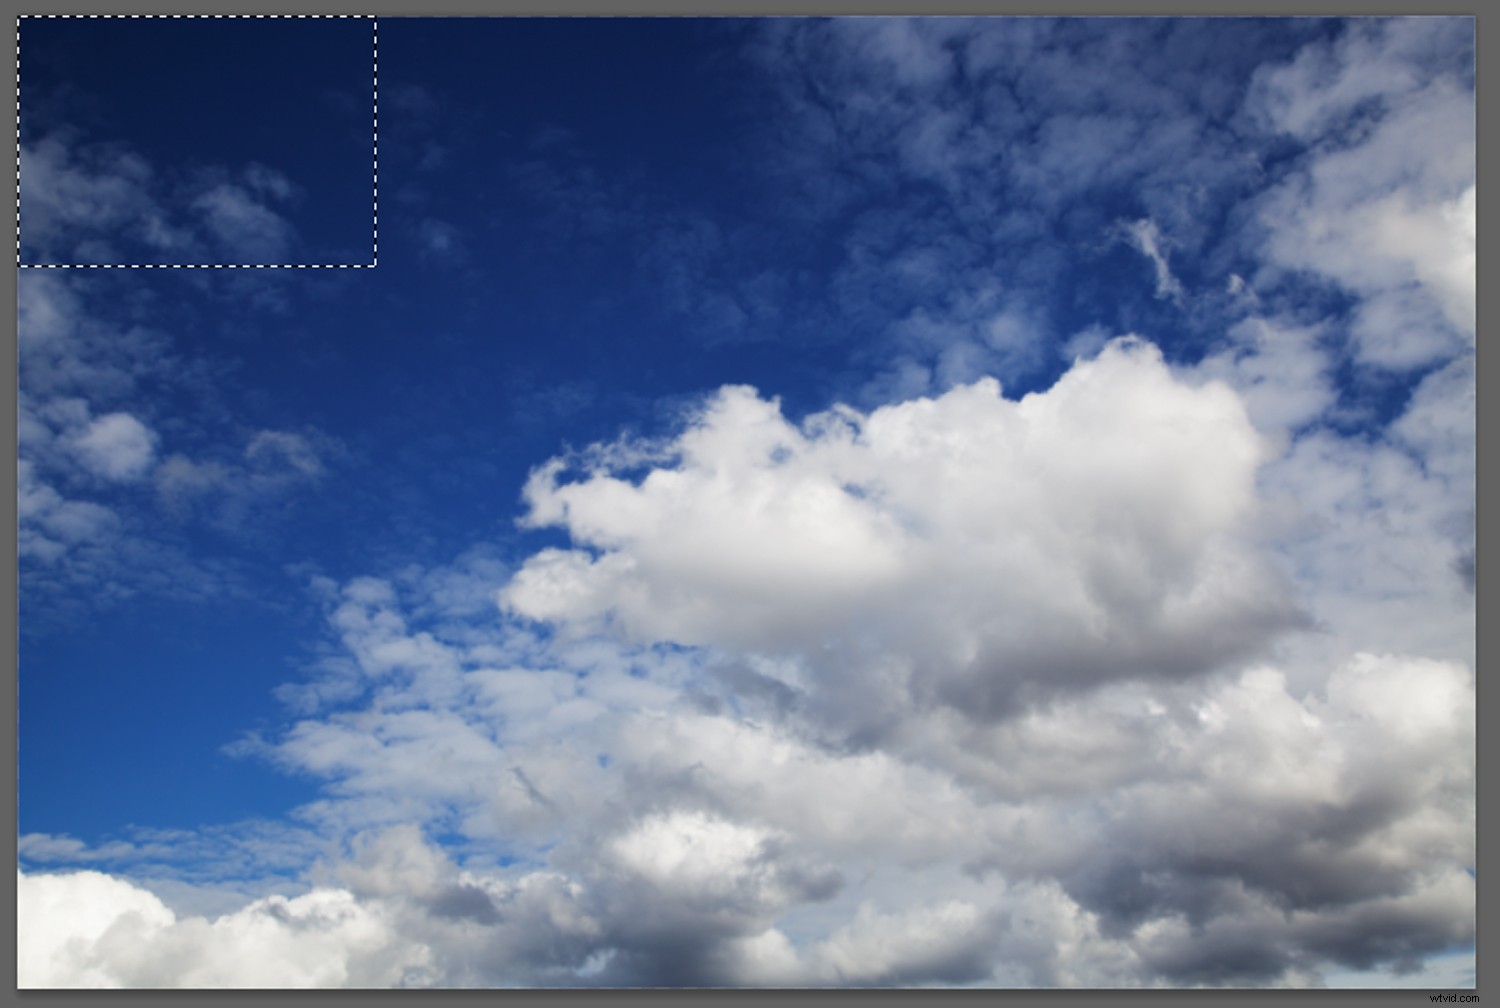
Our source image
For this tutorial, I’ll be using a photo I took of clouds. The photo is made up of strong shapes, forms and tones. When converted into a joiner, these elements are pulled apart to create a mangled scene that is consolidated by the overall character of the source image.
Step 2: Cutting
With your chosen image open, select the Rectangular Marquee Tool from the left toolbar (or type the letter M).
Select a small section of your image and right-click within the selected area.
Click on Layer Via Cut. The selection will be severed from the source image to create a new layer.
Use the rectangular Marquee Tool to select and cut portions of your image
Step 3 – Open a New File
Open a new file by selecting File -> New. Name the new canvas Joiner and select an image size that mirrors the dimensions of your source photograph.
Click OK, and a new canvas will open. This is the canvas we will create our joiner on.
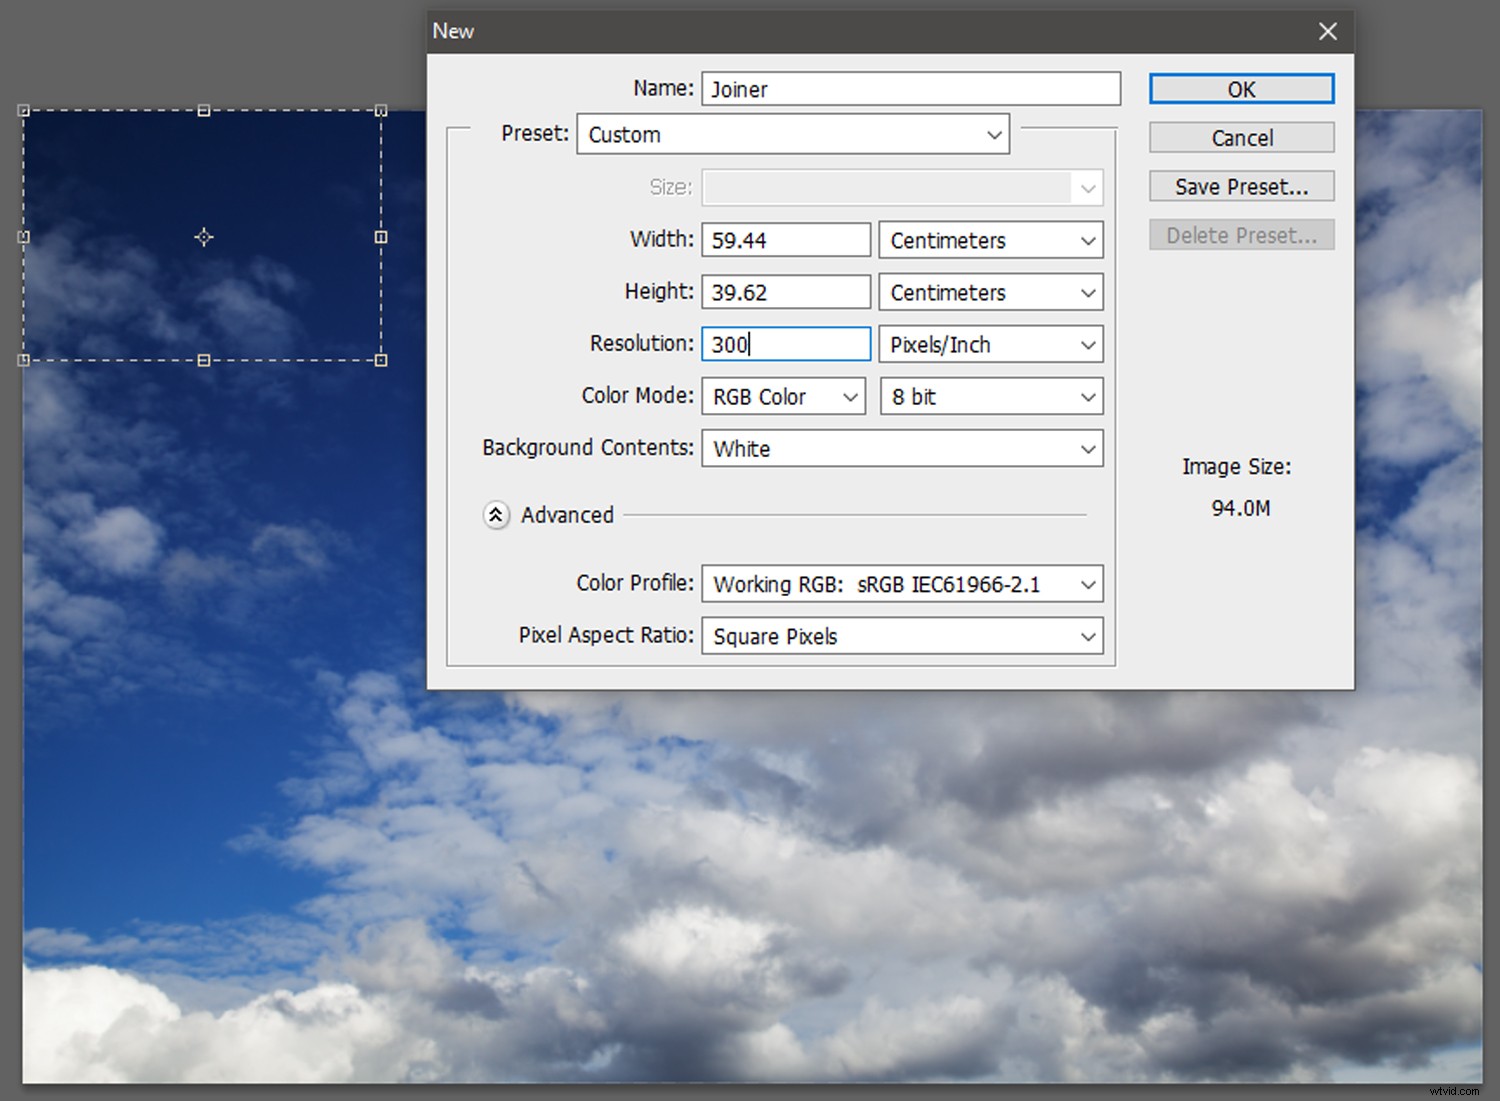
Opening a new canvas. Set the height and width to the same dimensions of the source file.
Step 4: Drag and drop
Return to your source image.
With the Move Tool (V), select the recently cut section of the source image and drag it onto the tab of Joiner. The Joiner canvas will open.
Drag the cut selection onto the Joiner canvas. Place the selection in roughly the same location that it is on the source image. It doesn’t need to be exact.
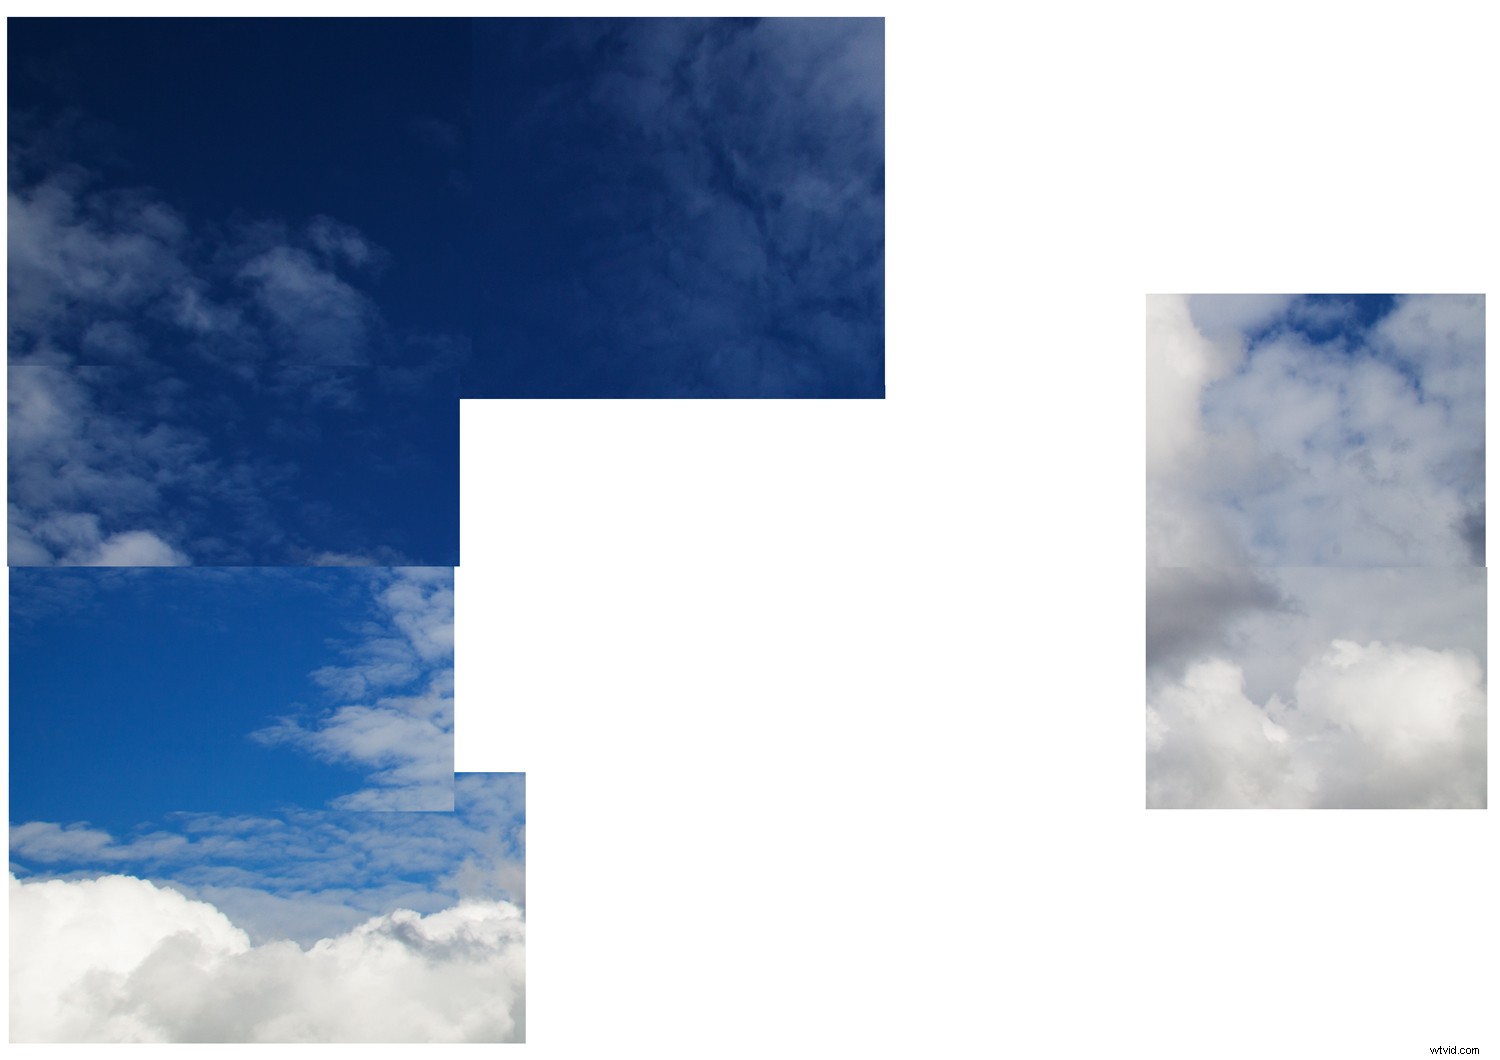
Dropping portions of the source image onto the Joiner canvas. Feel free to overlap the different layers, as this will contribute to the joiner aesthetic!
Step 5: Creating the Joiner Effect
Continue to cut selections from the source image, dragging and dropping them onto the Joiner canvas. You can cut similarly or randomly sized pieces – it’s up to you.
Once you’ve cut and transferred most of your source image to the Joiner canvas, it’s time to emphasize the joiner effect.
You want to cultivate a disjointed aesthetic, like misaligned puzzle pieces.
You can overlap, duplicate, stretch and rotate each piece to exaggerate this disjointed effect.
Make the edges of the joiner correspond, or allow components to poke out of the overall composition like a messy collage.
Be expressive with your perspectives, experiment with different combinations and don’t worry too much about neatness.
You can even place Curves adjustment layers among the image layers on Joiner to alter the exposure of individual pieces.
And that’s it! Once you are happy with your joiner, make sure to save it as a .PSD file in case you want to alter the arrangement later.

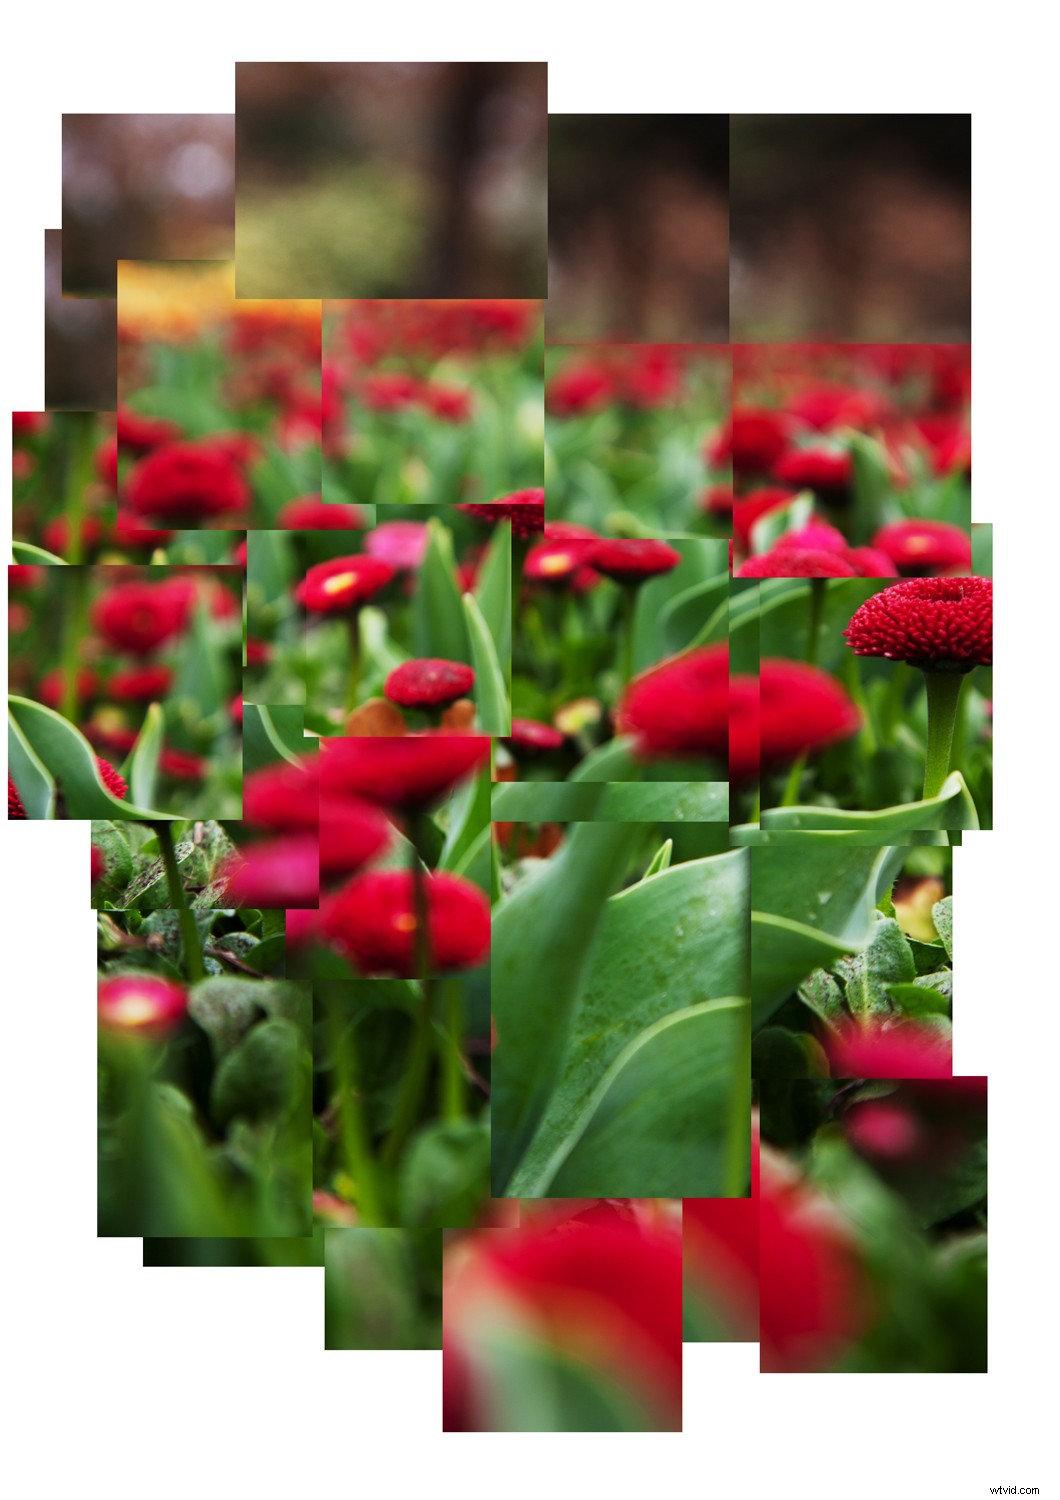
A simple joiner effect created by overlapping the segmented portions of the source image.
When you’ve got the technique down, the sky’s the limit! In the image below, I cut my source image into much smaller pieces before placing them on the canvas. I also duplicated a lot of the layers to create repetition within the layout. The smaller the pieces, the more disjointed the image becomes, creating a greater sense of movement and altered perspective.
Conclusion
David Hockney is a man of many artistic talents. As a photographer, Hockney developed a distinctive style that plays with our sense of narrative and perception.
Experimenting with the joiner effect to create a Photomontage in Photoshop isn’t quite the same as taking a whole bunch of photos and arranging them together manually.
However, with a basic process that involves cutting, pasting, arranging and a little experimentation, we can get close to a Hockney-inspired effect.
Here is another of my own creations – I’d love to see yours! Post them in the comments below!